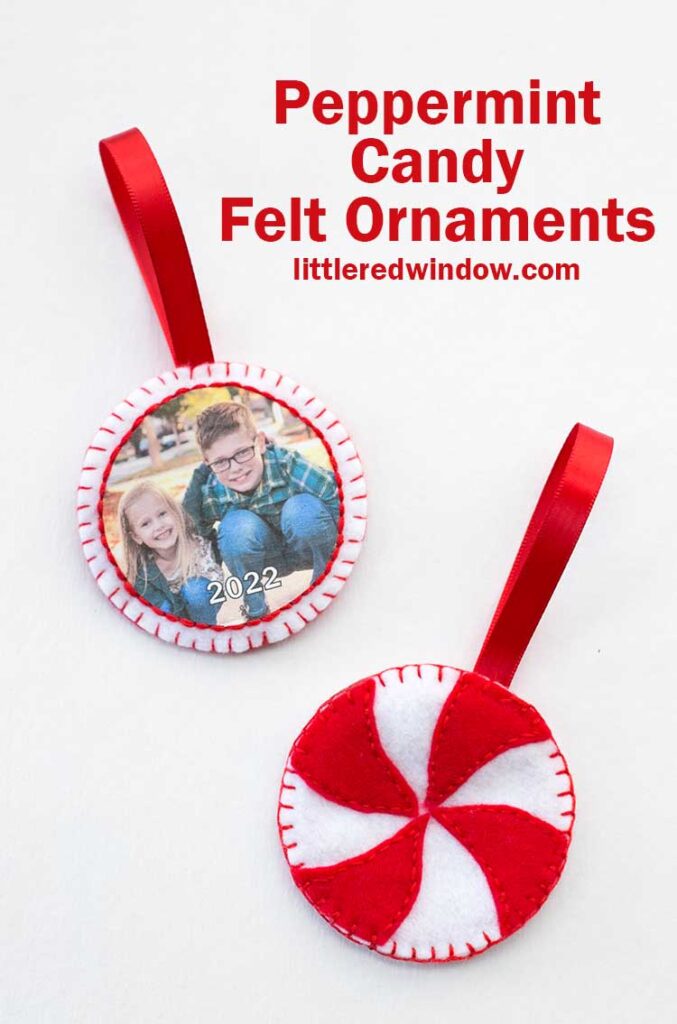
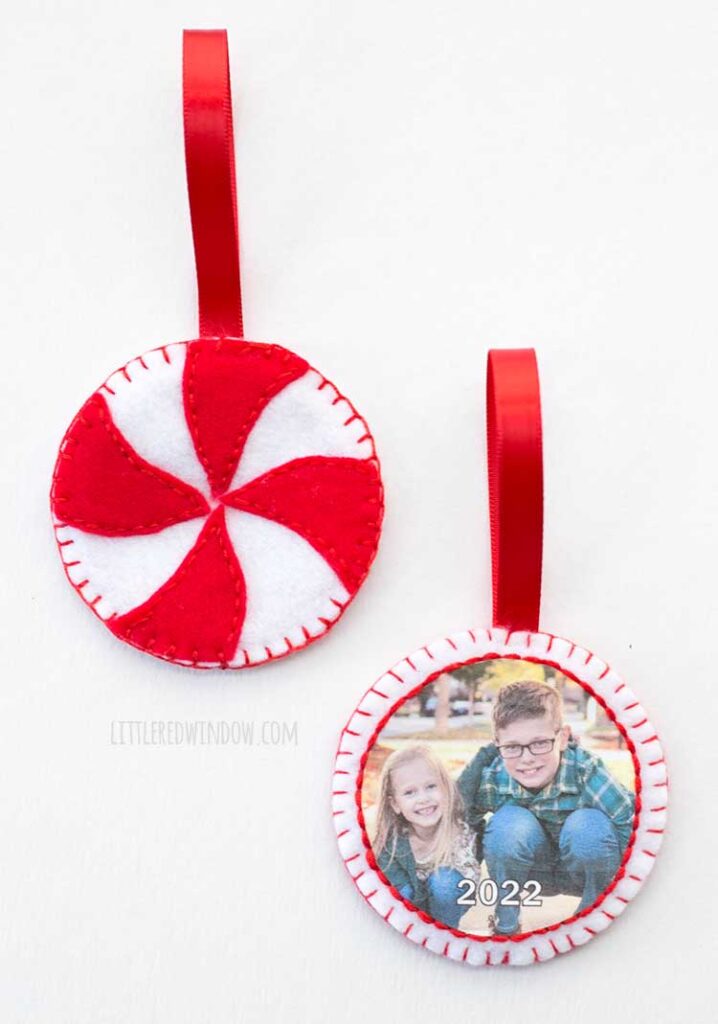
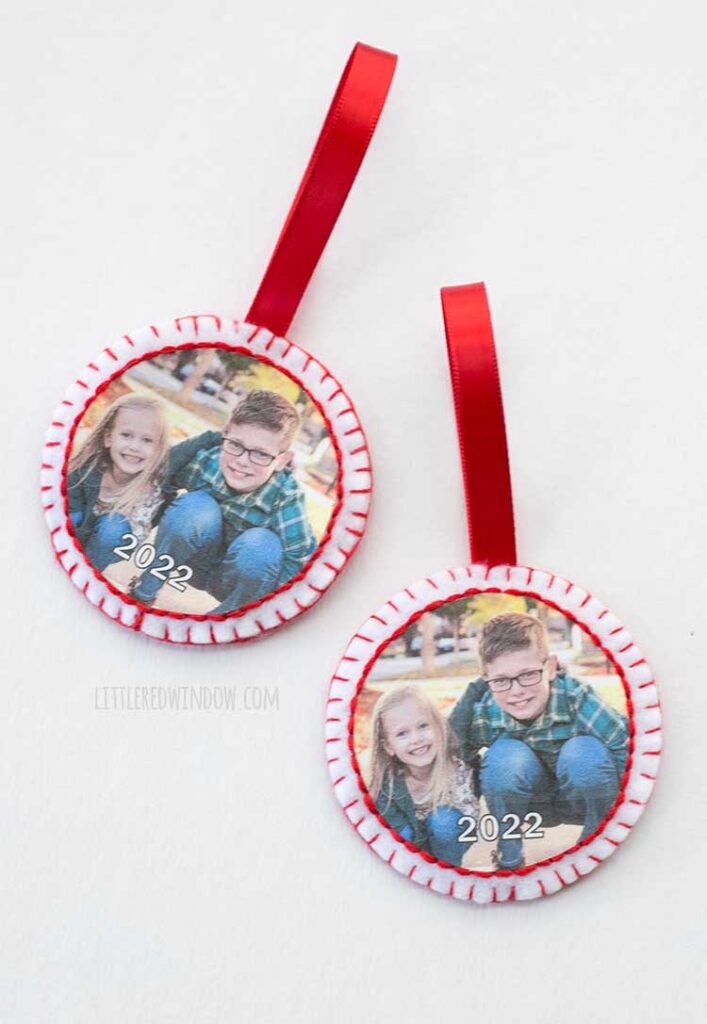
Make your own adorable peppermint candy felt photo ornament with just a few supplies at home, perfect for Christmas!
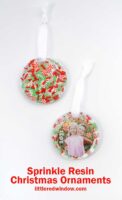
Every year I make some kind or ornament, usually a DIY photo ornament, to give as a gift to grandparents and other loved ones. Last year I made resin photo ornaments that were really fun to make.
This year, I’ve been on kind of an embroidery kick so I decided I wanted to make felt photo ornaments and they turned out SO cute. These peppermint candy felt photo ornaments were actually really easy and honestly, if you do not like or want to embroider them, you could absolutely assemble these felt photo ornaments only using fabric or craft glue.
Are you ready to make your own peppermint candy felt photo ornaments? Make sure you pay careful attention to the supplies that I used so your project turns out perfectly!
DIY Peppermint Candy Felt Photo Ornament Supply List
- Red and White 3 inch felt circles
- Fabric sheets for inkjet printers
- Iron-on adhesive
- Craft or fabric glue (optional)
- Red ribbon
- Red embroidery floss
- Embroidery needle
DIY Peppermint Candy Felt Photo Ornament Instructions
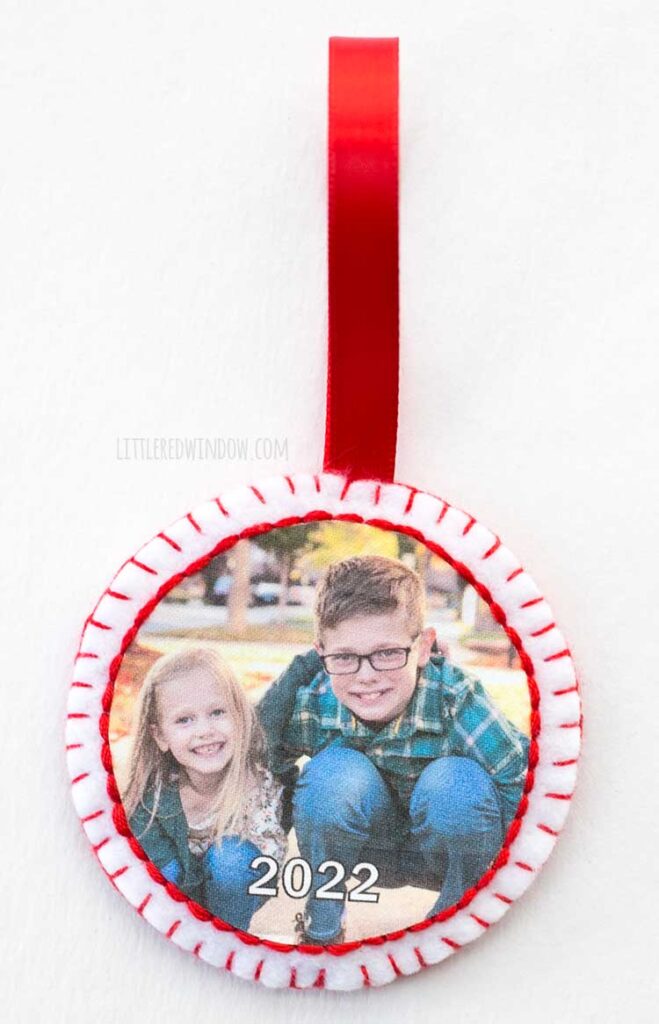
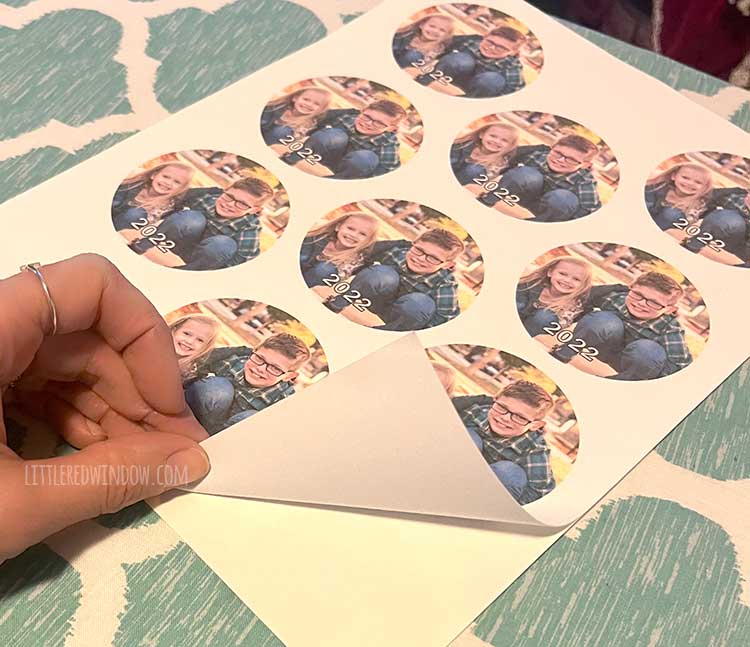
- Step one is to print your photos on the inkjet printable fabric. Make sure to follow the inkjet fabric instructions for printing and setting the printed images. The goal is to have circular photos 2.5 inches in diameter. You can either use a photo editing program so crop the photos into circles that size and then print them, or print them and cut them down to the right size circular photo. I also chose to add the date on my circular photos with my photo editing software.
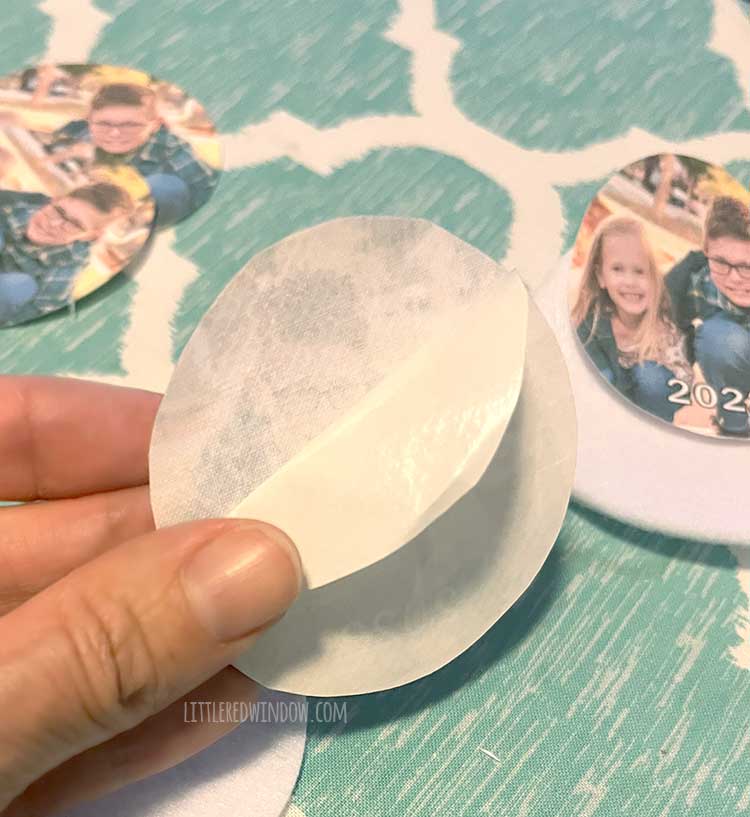
- Cut the photos down to size, peel off any backing and set aside.
- Cut 2.5 inch circles from the iron-on adhesive. Make sure you are using double sided iron-on adhesive not single sided iron-on interfacing. If the circles of adhesive can be just a hair smaller than 2.5 inches in diameter then you can be sure non will stick out and stick to your iron.
- Follow the iron-on adhesive instructions to attach the fabric photo to the center of one white 3 inch felt circle. Set aside.
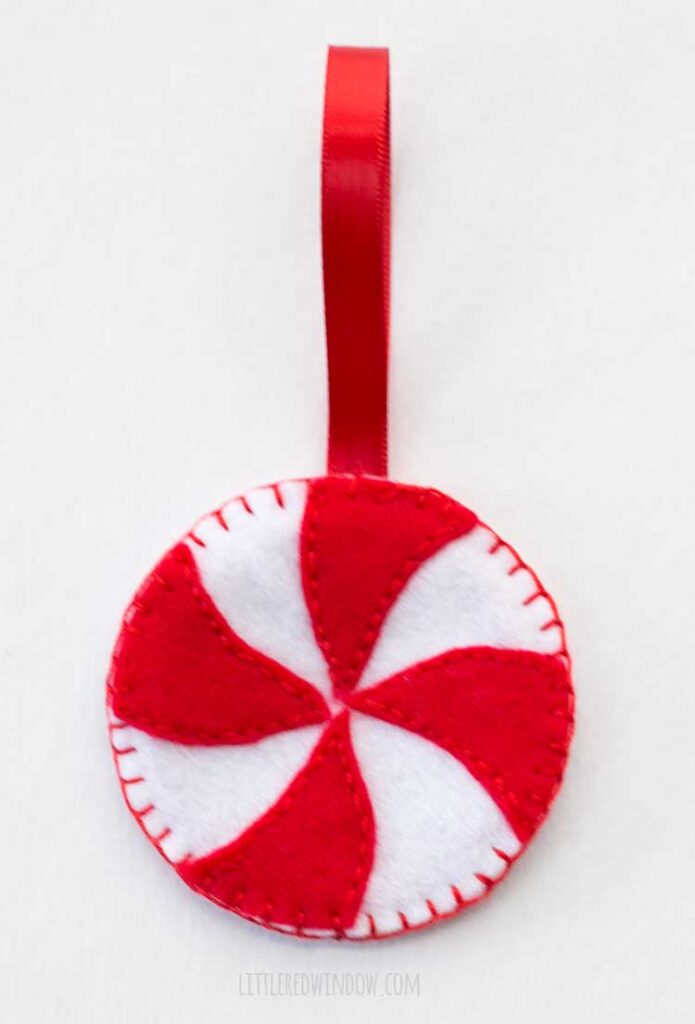
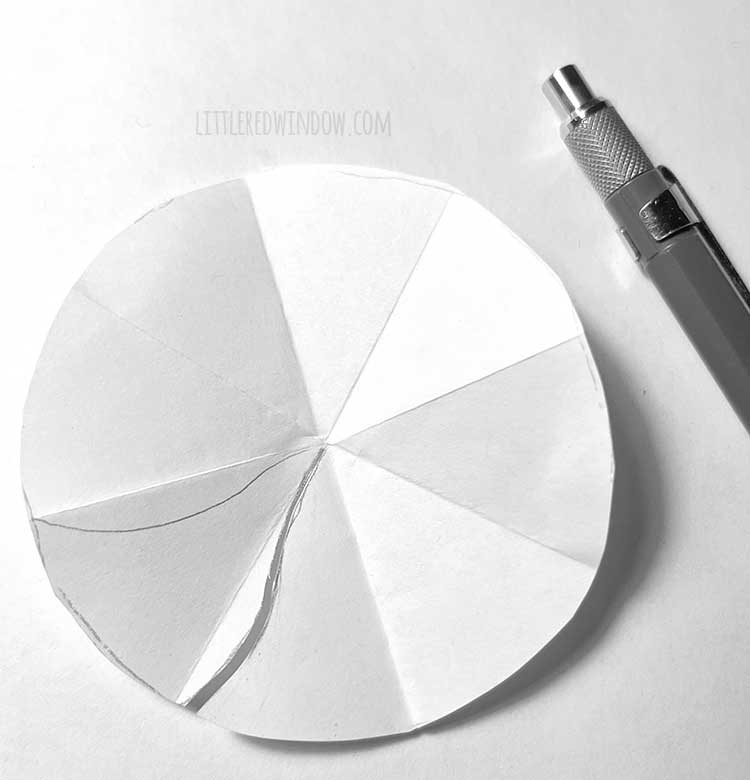
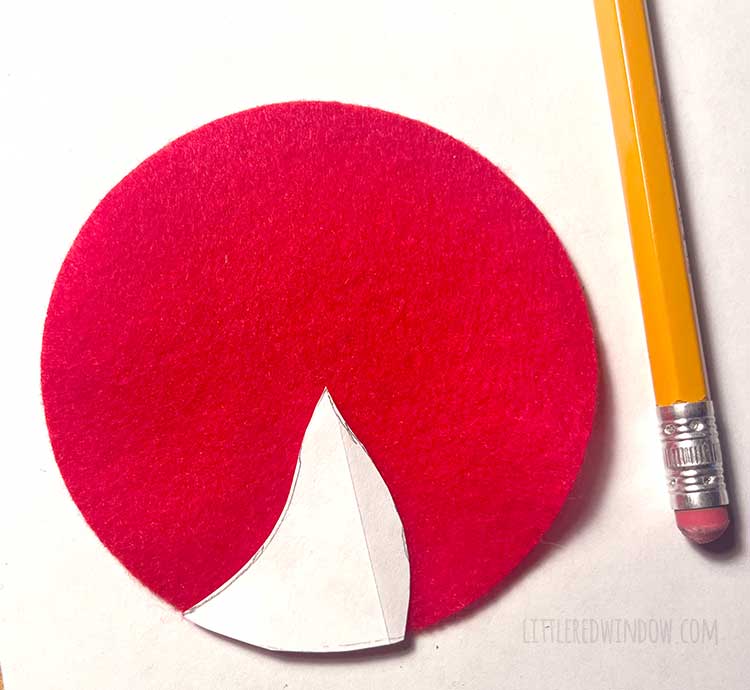
- Trace on felt circle on a piece of paper and fold into eighths. Then sketch a peppermint candy swirl shape in section as shown. Cut that out and that will be your peppermint swirl template.
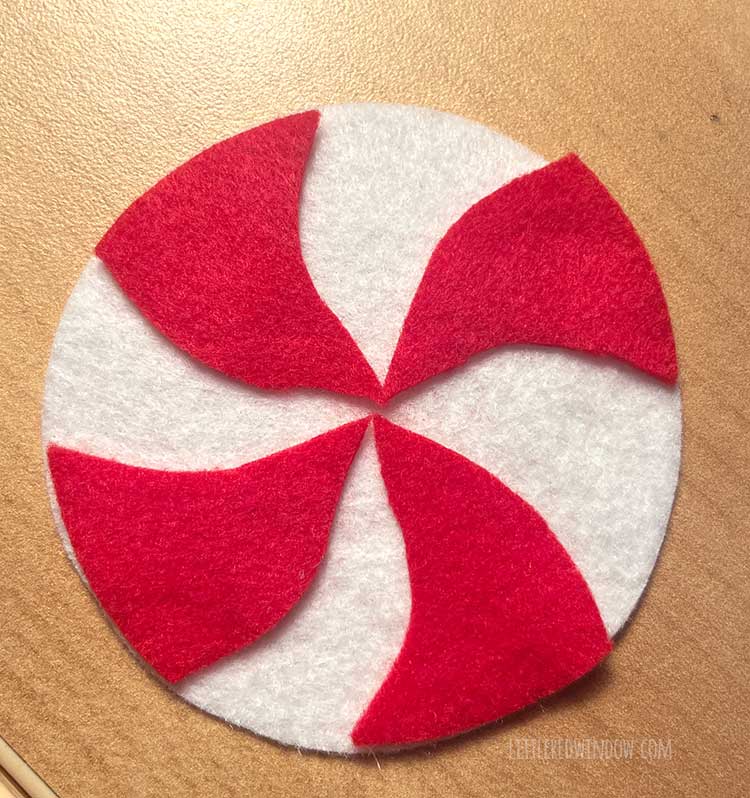
- Trace the swirl template on red felt and cut out 4 swirl shapes per ornament.
- Use craft glue to secure 4 red swirls onto a white felt circle to make it look like a peppermint candy.
- At this point if you would like to embroider your ornaments, this is the time. Thread your emboirdery needle with red floss and start stitching. I chose to embroider around the edge of the photo with a backstitch and around each red swirl section with a backstitch.
- Finally assemble your ornaments. Cut an 8 inch loop of red ribbon and sandwich it between the two layers of your ornament, pinning in place. Then sew the two layers together with a blanket stitch making sure to catch the ribbon hanger with your stitching. (If you choose to skip embroidering, make sure to securely glue those layers and the ribbon loop together.
If you liked this, you may also like some of my other posts…


- 10 Tips for Organizing Your Craft Supplies On a Budget - April 25, 2024
- Rib Zag Hat Knitting Pattern - April 23, 2024
- Double Stockinette Stitch Knitting Pattern: Easy How To for Beginners - April 18, 2024


Leave a Reply