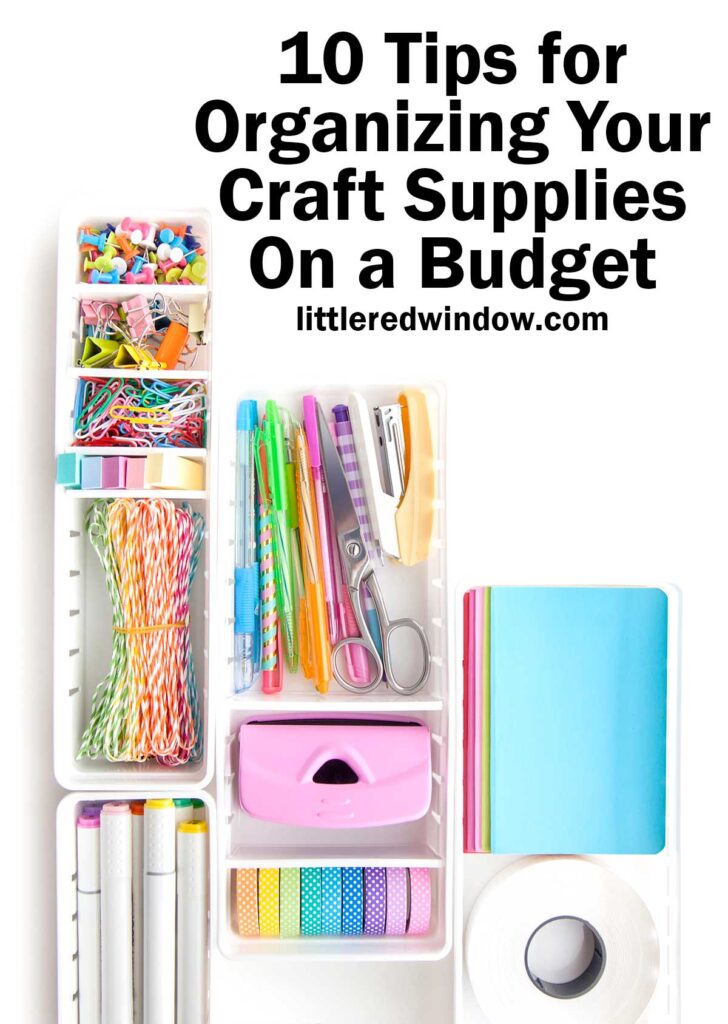
Crafting may be your passion but it doesn’t have to be an expensive hobby, here are some great tips for organizing your craft supplies on a budget!
If you’re here, you probably already a crafting enthusiast. And you probably already have a decent amount of craft supplies. Hereafter those supplies shall be known as your craft supply “stash.”
In a Pinterest world, it’s really really easy to find yourself believing that the only “right” way to organize your craft supplies is in beautiful and expensive ways. Companies want us to think that aesthetics are the most important thing. You must buy matching, color-coded bins. You NEED that several thousand dollar folding craft storage bookshelf/desk. You have to come up with some elaborate IKEA storage hack that pretends to be cheap but really isn’t.
I promise, I fall into that trap all the time. It happens to all of us. And the truth is, if you have the budget and that brings you joy, go for it! And if you don’t have the budget (hello, that’s me), you absolutely DO NOT need to feel bad or inferior. The result of a craft project is 0% related to the “beauty” of the space you make it in.
In all honesty, the only thing that is required of craft supply organization is that it works for you and you are able to find what you need. That’s it! There was a time when my craft supplies were stored on shelves above the shoes in our coat closet. They fit and I could find what I needed. Was it the most logical space? No. Was it pretty? No. Did it matter? No.
Once you free yourself from the expectations of Pinterest-worthy craft organization, it’s pretty easy to figure out some ways to store craft supplies on a budget. And don’t worry, I have plenty of tips to start you off with!
- Take Inventory
You need to know what you have before you can decide how to organize it. And yes, also do this before you buy more craft supplies too. If your craft supplies are currently a jumble, take them all out. Seriously. See if there are any themes or easy categories that you can organize by. - Decide HOW to Organize Your Craft Supplies
There are lots of ways you can choose to organize your craft room. By color, by craft type etc. Don’t worry, I have an entire list of organization strategies to choose from to get you started. Once you have an idea of how to categorize and organize your items, everything else will be easier!
- DIY Storage Solutions
One of my favorite Instagrammers, Kate from Naptime Kitchen, is a big fan of using shoe boxes and shoe box lids to organize and designate areas in drawers. She says no one sees them but you, so they don’t have to be fancy. And she’s totally right. Shoe boxes and shoe box lids are a fantastic ideas.
And the biggest bonus about DIY storage solutions like that is that when they get dirty, and they will because they’re for craft supplies, you can just toss and replace! Here are some other DIY storage solutions made from things you probably already have at home:
– jars
– egg cartons
– cereal boxes (cut down)
– silverware organizers
– tackle boxes (great for beads, floss etc.)
– Letter trays or vertical mail holders
– paper towel or toilet paper rolls (use these for vinyl or other things that can be rolled)
– food storage containers that have lost their lids
– ice cube trays
– twist ties, zip ties and rubber bands - Maximize Vertical Space
I recently took advantage of this tip. I had hung some baskets for yarn in my office and I put up three at about waist to eye level. And I have a lot of yarn, so that was not enough. In a total “ah ha” moment I realized there was absolutely no reason that I couldn’t add even more baskets above and below to store more things. You can also add a basket or bin on top of a bookshelf, for example, as another way to add vertical space. I’ve also seen people hang tiered fruit baskets from the ceiling as a storage solution.
And in the same was as you can go up, you can also go down! I added a set of small drawers under my desk that doubled my desk storage. - Use Labels
Use labels, but do not feel that they have to be fancy. You don’t need buy a label maker or download cute labels from Etsy. There are bunch of cute ways to label your supplies on a budget.
You can simply write on a piece of masking or washi tape. If you have plastic bins, I have written directly on the side of the bin with either chalk markers or dry erase markers, that’s incredibly easy and fast.
You can also USE any of your craft supply stash and make yourself some cute labels that will cost you zero additional dollars. Vinyl, scrapbook paper, painted popsicles sticks, whatever you have on hand! - Budget Does Not Have to Look Cheap
Just because you’re organizing your craft supplies on a budget, it doesn’t have to look like you’re organizing your craft supplies on a budget. The good news here is that you are a crafter! A quick brainstorm and surely you can come up with ways to make your cheap storage solutions look cuter.
Can you line your shoeboxes with scrapbook paper? Decoupage on the outside of a jar? Use vinyl to add a pattern to a plain box? The options are truly endless. For bonus budget crafting points (there are no such thing, ha!) tackle this step using only supplies you already own so it will cost zero additional dollars! - Declutter Regularly
Make decluttering a regular part of your crafting routine. Set aside time every few months to go through your supplies and take out anything you no longer need or use. Donate or sell items that are still in good condition, toss anything that’s expired broken or otherwise cannot be used. Not sure how to tell if your craft supplies are expired? I’ve got you covered! - You Probably Don’t Need New Furniture
I know…we want that super amazing craft room specialty furniture. I’m sure it’s every bit as cool as it looks. But if you take a minute and look around your house there’s a good change that you don’t actually need it. If you’re on a budget you can still have a super functional and nice looking space using furniture you already have.
Bookshelves are fantastic for craft spaces, just add bins boxes to the shelves and you’re all set. You can put a bin or basket on a regular wall shelf, shoe cubbies or cube shelves formerly used for toys are great for craft storage, you can add drawers under a regular desk, you can even use a sturdy dining room table as a wonderful crafting surface. When space is tight, opt for multifunctional furniture pieces that pull double duty as storage solutions. - Think Outside the Box
Don’t be afraid to think outside the box when it comes to organizing your craft supplies. Get creative and repurpose unconventional items like spice racks, shower caddies, or even old suitcases to store and display your craft supplies and projects. - Reduce, Reuse, Recycle and Shop Secondhand
When you do need to buy something to help you organize your craft supplies, or, if you need more craft supplies themselves, do not forget to shop secondhand. I have seen tons of wonderful storage solutions at my local thrift store. You can find everything from bins and baskets, to shelves, desks, cabinets and more. If you’re willing to hunt a little more, you can save yourself so much (and be a little greener). Other options besides a thrift store include Facebook marketplace, Craigslist, other social media sites and even garage sales and estate sales!
With these budget-friendly tips in your crafting toolkit, you’ll be well on your way to creating a clutter-free and inspiring space where your creative spirit can truly thrive. Happy crafting!
If you liked this, you may also like some of my other posts…


- The Most Common Knitting Mistakes Making Your Projects Fail and How To Avoid Them - May 2, 2024
- Mallard Duck Hat Knitting Pattern - April 30, 2024
- 10 Tips for Organizing Your Craft Supplies On a Budget - April 25, 2024


Leave a Reply