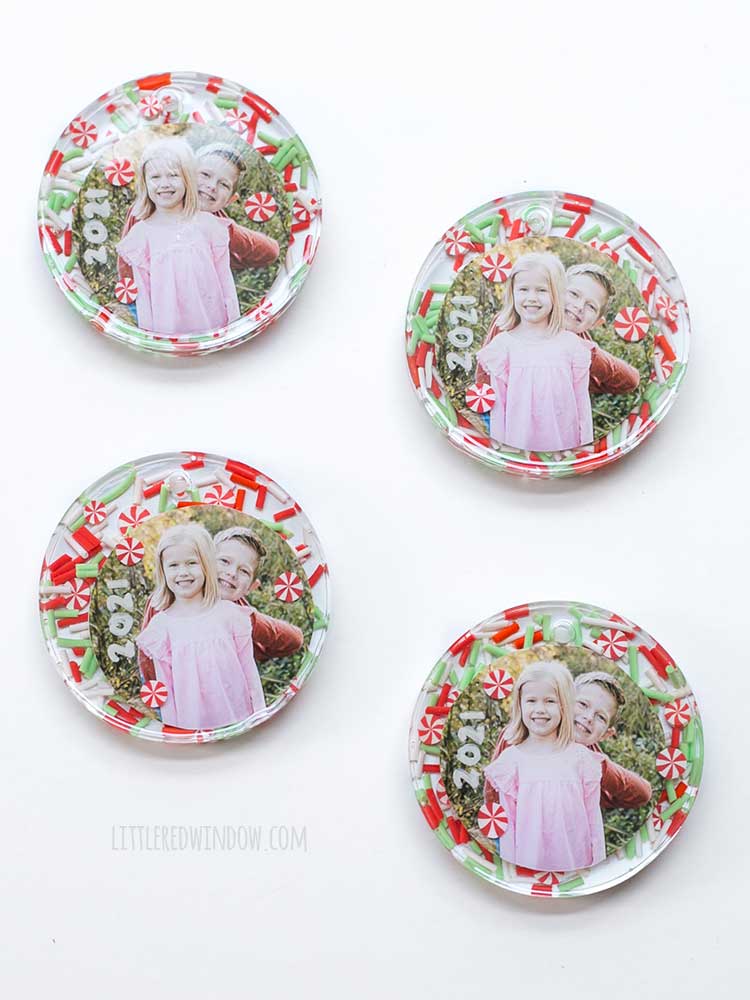
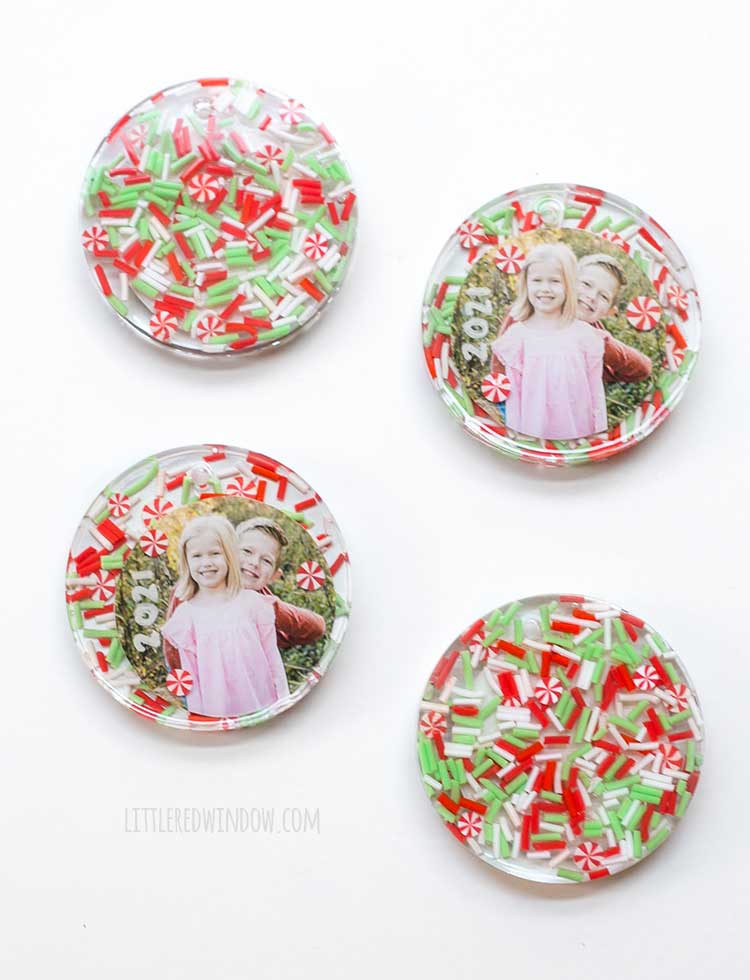
Add faux sprinkles and a cute photo to these resin Christmas Ornaments for a fantastic personalized gift this holiday season!

In our family, I’ve made it a tradition to make photo Christmas ornaments every year. I try to keep them as simple as possible because it’s already such a busy time. But this is a project I really enjoy doing. It’s really fun to take them out of the ornament box every year and see how much everyone has grown. And I make enough to give as gifts to our nearest and dearest. My parents actually have a tiny tree in the entryway that just has these photo ornaments on it and they call it the “grandchild tree” which I think is so cute!
That being said, after watching my friend Bre make lots of really cool resin projects, I’ve been itching to try it. So I figured why not do sprinkle resin Christmas ornaments this year? What could possibly go wrong?? Spoiler: Nothing. Nothing went wrong! Ha!
Anyway, I bought my resin off the internet and followed the specific directions that came with it. That being said, afterwards I learned from Bre, that some brands are better than others. Mine was totally fine, it had good reviews etc. But I guess that’s something you do need to pay attention to! I probably should have asked her about that first.
Before we get started, let’s talk about resin because before I did this project, I was honestly kind of scared of it. Chemical reactions kind of freak me out (I mean, I guess that’s generally a good thing).
What is resin?
Resin or epoxy resin is made up of two liquids a resin and a hardener. When you mix them together in a certain ratio, a chemical reaction occurs that changes the mixture into a solid. This reaction (because no one ever told me this) is not instantaneous, it takes a while and they resin mixture remains workable for a little while. This is called the pot time. The curing time, meaning the amount of time until it is fully solid, is longer. Resin cured hard and clear so it’s great for a lot of things.
I have a full post stuffed with information about how to craft with resin over here. Check it out if you want to learn more! Are you ready to see how I made these cute sprinkle resin ornaments?
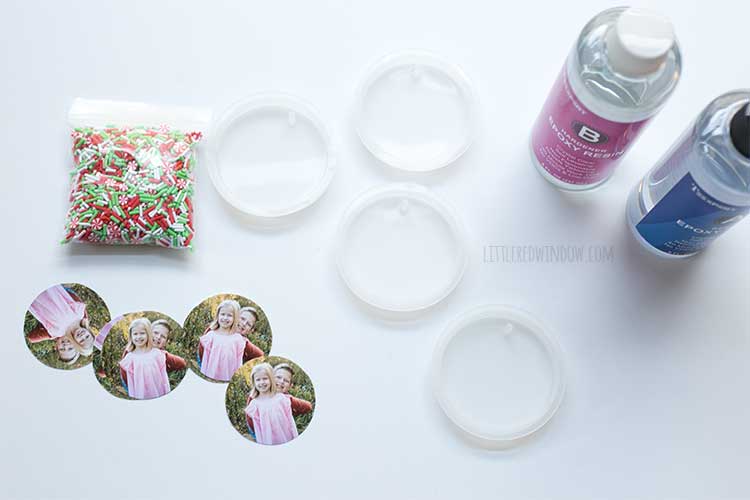
Sprinkle Resin Christmas Ornaments Supply List
- Silicone Ornament molds
- Faux polymer clay sprinkles
- Printed photos cut to size
- Resin kit
- Safety gear (gloves, eye protection, respirator mask)
Sprinkle Resin Christmas Ornament Instructions
- Cut your photos to fit in the ornament molds and prepare your workspace and safety gear.

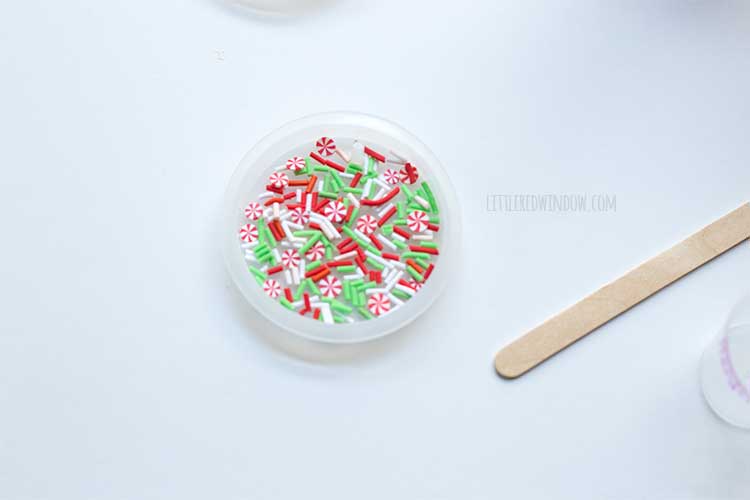
- Fill the molds with some faux polymer clay sprinkles
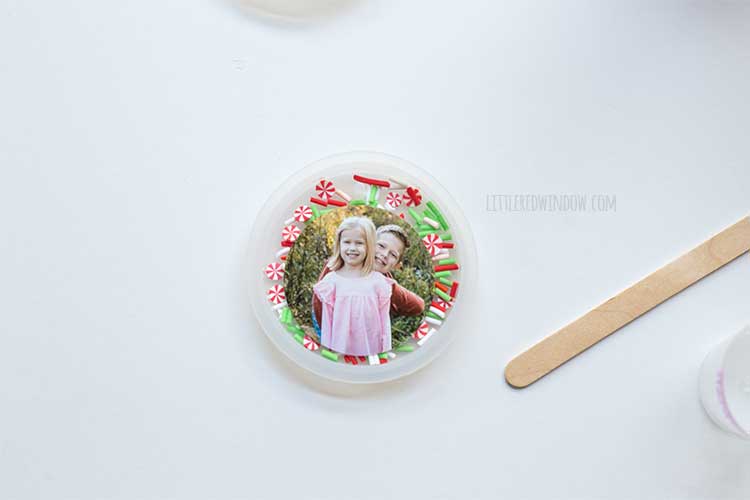
- Add the photo, it will probably help to add some dots of glue to the back of the photo to stick it to the sprinkles so it doesn’t float. That was a problem I definitely had!
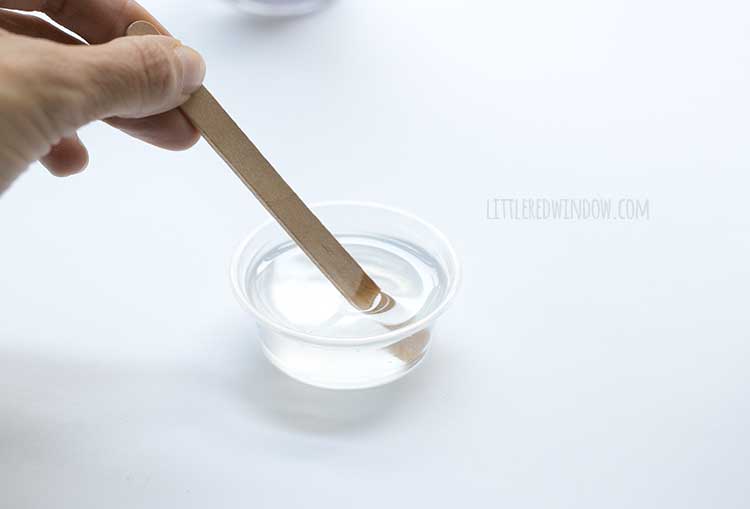
- Mix your resin thoroughly according to the package directions and pour slowly into the mold.


- Wait patiently, according to the manufacturer’s instructions for the resin to completely cure and harden. If you touch it before it’s completely cured, you will ruin the smooth glossy surface.

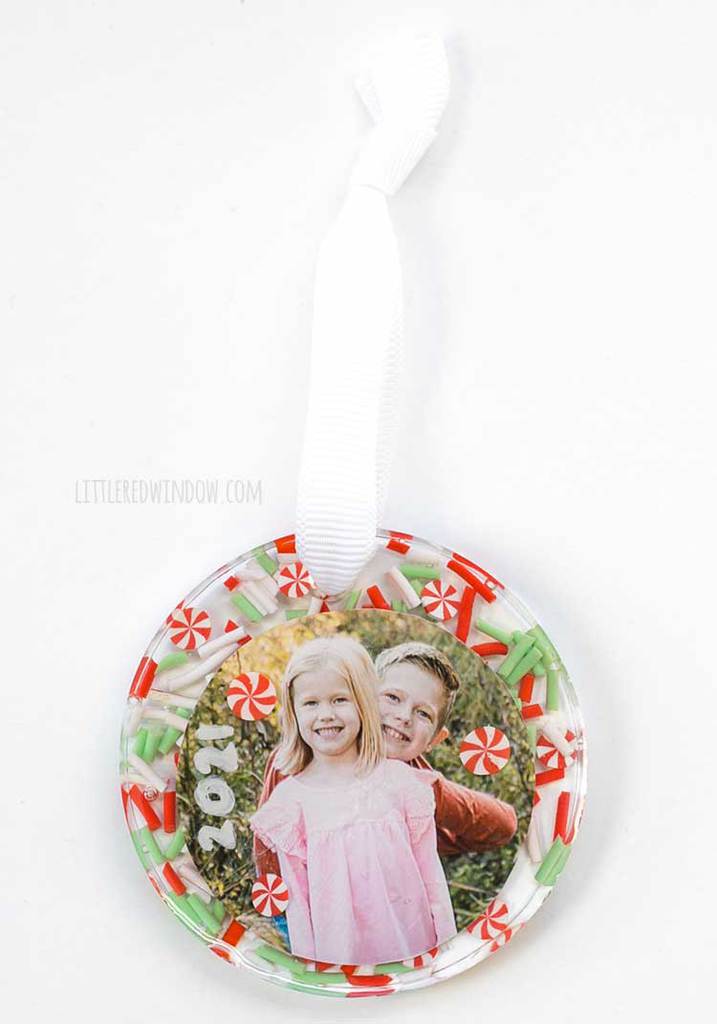
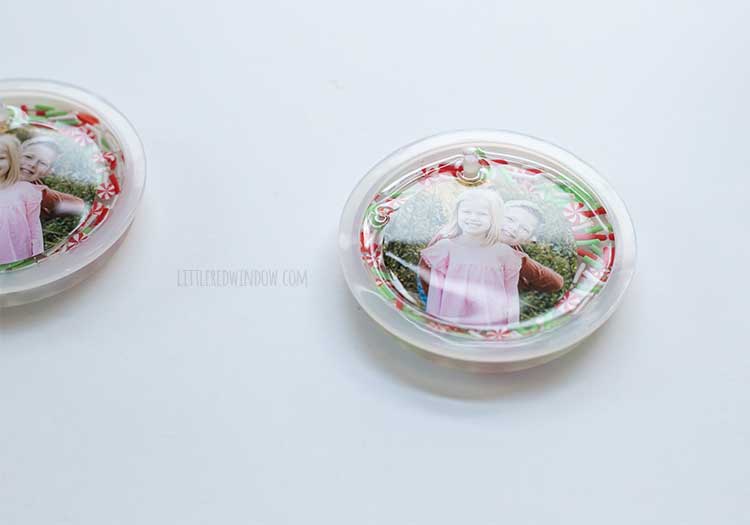
- Pop your ornaments out of the molds and add a ribbon for hanging!


If you liked this, you may also like some of my other posts…


- Pencil Scarf Knitting Pattern - July 7, 2026
- Tri-Color Linen Stitch Hat Knitting Pattern - June 22, 2026
- Yummy Ice Cream Cone Hat Knitting Pattern - June 16, 2026
Jenn says
I’m wondering if you prepped your photos with anything. I tried these yesterday but my photos bled horribly so you can’t even see the picture now 😭
Cassie May says
I wonder if you used an inkjet printer with water based ink. That will bleed. It has to be a laser printer. Hope that helps!