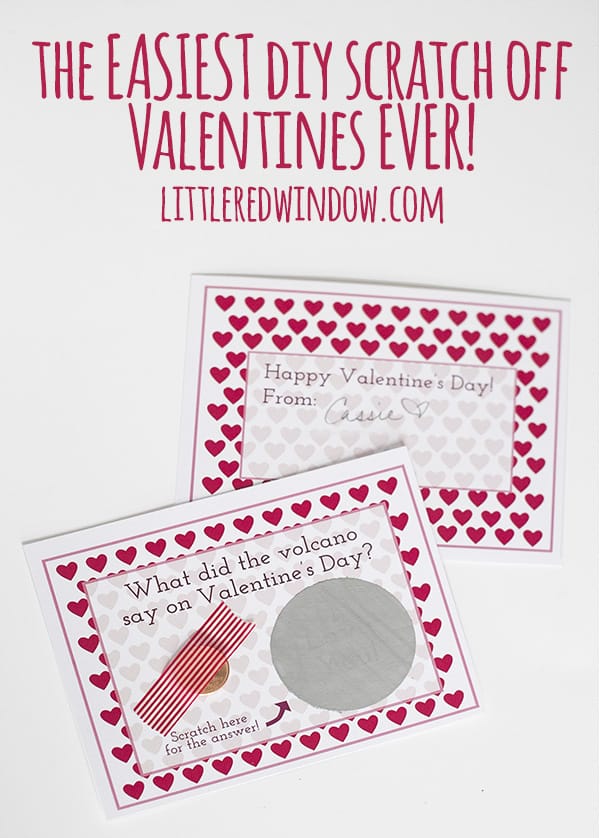
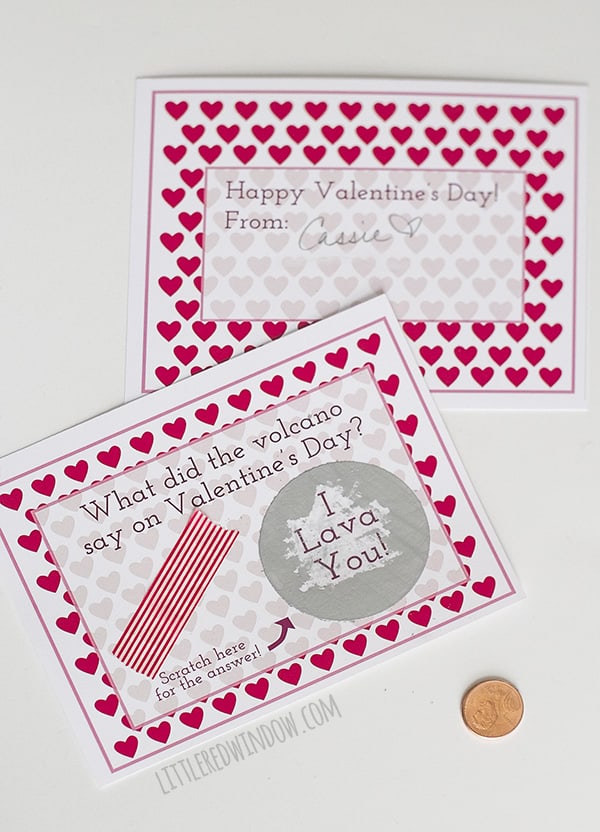
These Easy Printable Scratch Off Valentine’s Day Cards for Kids use a secret craft supply to make this project SO much easier and they’re are so much fun, quick and easy to make and kids love finding them in their mailbox!
Hey friends, so when I was thinking about printable Valentine’s Day cards for kids, I was stumped. I have to tell you, it’s TOUGH to come up with an original idea. Honestly, everything I thought of, someone had done before. And then I was thinking about my friend Lisa’s scratch off gender reveal cards and thought, “Ooo, wouldn’t scratch off Valentine’s Day cards be awesome?!” More specifically I wanted to make printable scratch off Valentine’s Day JOKES for kids.
Spoiler alert: I am not the first person to have this idea. BUT!!! You guys, I figured out a new EASIER and FASTER way to make DIY scratch off valentines!! So maybe instead of reinventing the wheel, I’m really just filling and rotating the tires?
Anyway, when you look up how to make DIY scratch off Valentine’s Day cards, basically every single tutorial on the internet is the exact same thing. You use the same mixture painted on contact paper and then cut out. Some people cut with scissors, most people cut with a cutting machine like a cricut or silhouette… Everyone does it the same way. But you guys! That sounds like a pain in the you-know-what!
I wanted to make it EASIER for you. I mean, who wants to cut something coated in paint and soap in their extremely expensive digital cutting machine? Obviously you pretty much have to sacrifice a blade to the project. And who knows if there will be shavings and bits of sticky paint and mess getting stuck inside the machine or on the cutting mat? Yeah…nope, I don’t want to do that.
So I came up with a new method to make scratch off Valentine’s Day cards that uses a really common supply and takes out half the time and energy and mess from this project.
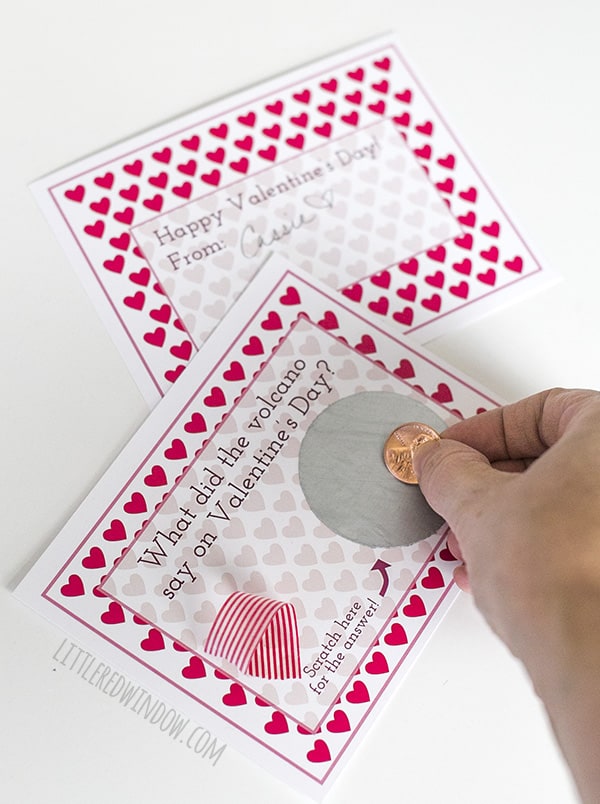
I also identified a second problem with classroom Valentine’s Day cards for kids. At this point we all feel obligated to include a little gift with the valentines. I’m cool with stickers and temporary tattoos, but the rest of it become the same kind of clutter that we all get in birthday party favor bags. I didn’t really want to spend $1 per kid on heart shaped sunglasses that they’ll lose in two days. So I thought of the PERFECT thing to attach to these scratch off valentines…a penny! It’s functional for scratching, AND what little kid doesn’t love getting pennies? That’s right, they all love pennies! And it only costs however many cents as their are kids in the class. For O’s class this year that’s 22 cents! For the whole class! And given that the rest of the supplies were things I already owned and I printed these at home, that’s right, all of these valentines for kids for the entire class cost me 22 cents! That’s a win! (Please don’t send pennies if your little ones are in preschool, they’re still a choking hazard for small children!)
Plus I’ve got my printable file with some adorable Valentine’s day cards with jokes so you can make your own EASY scratch off printable Valentine’s Day cards for kids! You’re welcome, friends! Scroll on down to find out what the super secret supply is!
Printable Scratch Off Valentine’s Day Cards for Kids Supply List
Printable Valentine’s Day Jokes for Kids
- Click HERE to download the front of my Valentine’s Day cards for kids
- Click HERE to download the OPTIONAL back for my Valentine’s Day cards for kids
Pennies
Printable Scratch Off Valentine’s Day Cards for Kids Instructions
- First, print and cut your valentines, printing the back side is optional if you want to save ink!
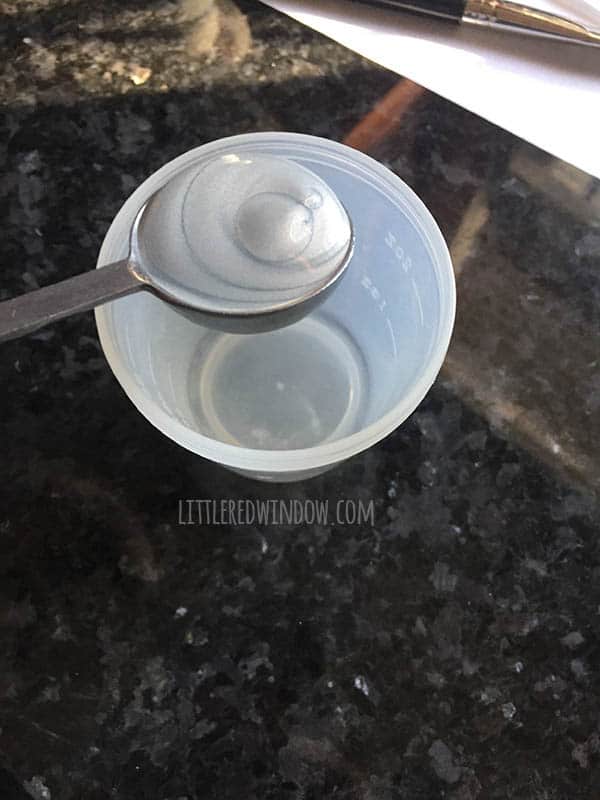
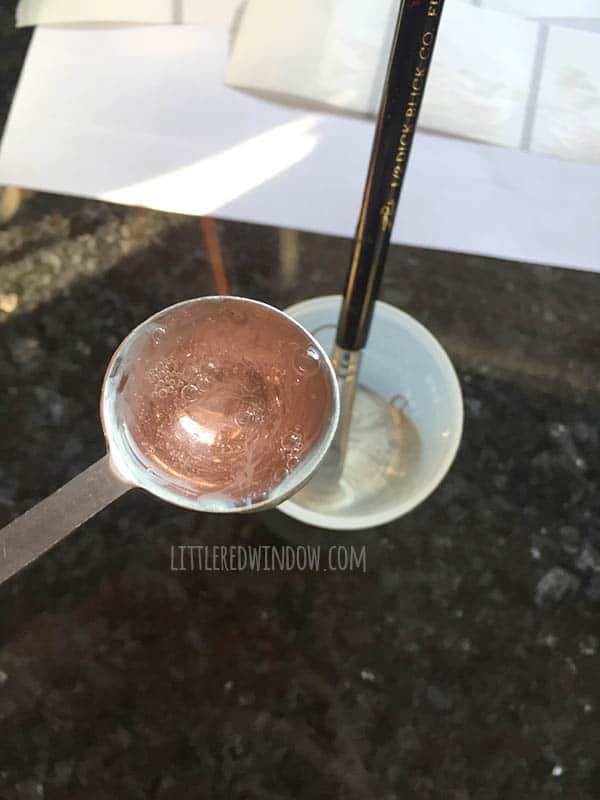
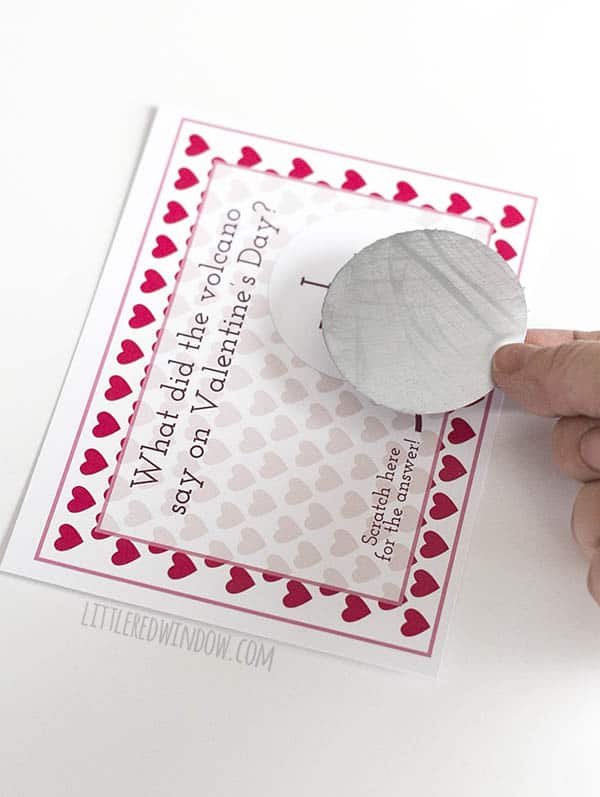
- Then count out however many clear stickers you need (plus a couple extra just in case). Then mix the scratch off paint mixture. In a container or bowl mix 2 teaspoons paint with 1 teaspoon dish soap. This was plenty for me to complete 28 stickers. Make sure you stir gently, you don’t want too many bubbles!
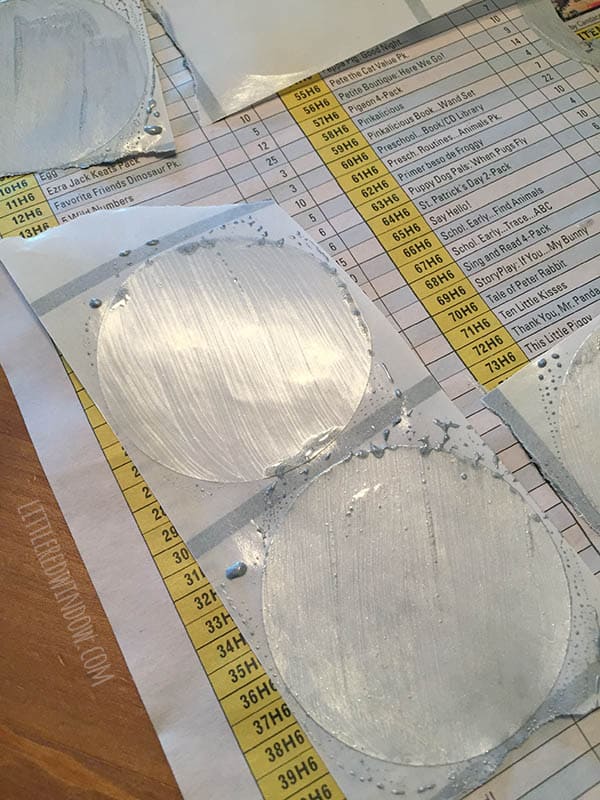
- Gently paint the first coat of the paint mixture on the stickers. The first coat will be really thin and that’s ok. Let that dry fully and add a second (and optional third) coat.
- Before the final steps, have your child write their name on the back of each card!
- Let the stickers dry overnight and then peel them off and stick them to the cards. If there are any bits of messy paint around the edges of the stickers, they should easily come off if you rub a fingernail along the edge.
- Then use a bit of washi tape to stick one penny to each card to use for scratching!
- 10 Tips for Organizing Your Craft Supplies On a Budget - April 25, 2024
- Rib Zag Hat Knitting Pattern - April 23, 2024
- Double Stockinette Stitch Knitting Pattern: Easy How To for Beginners - April 18, 2024



Diego Lopes says
These cards are so cute! Thanks for the project idea, I’ll give it a try here too!