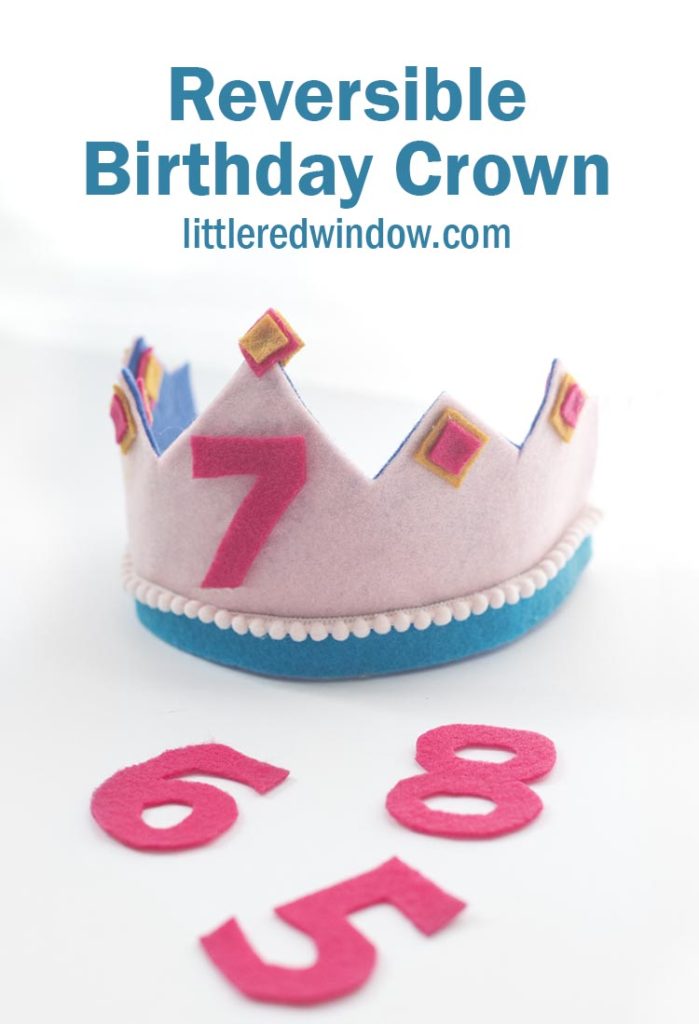
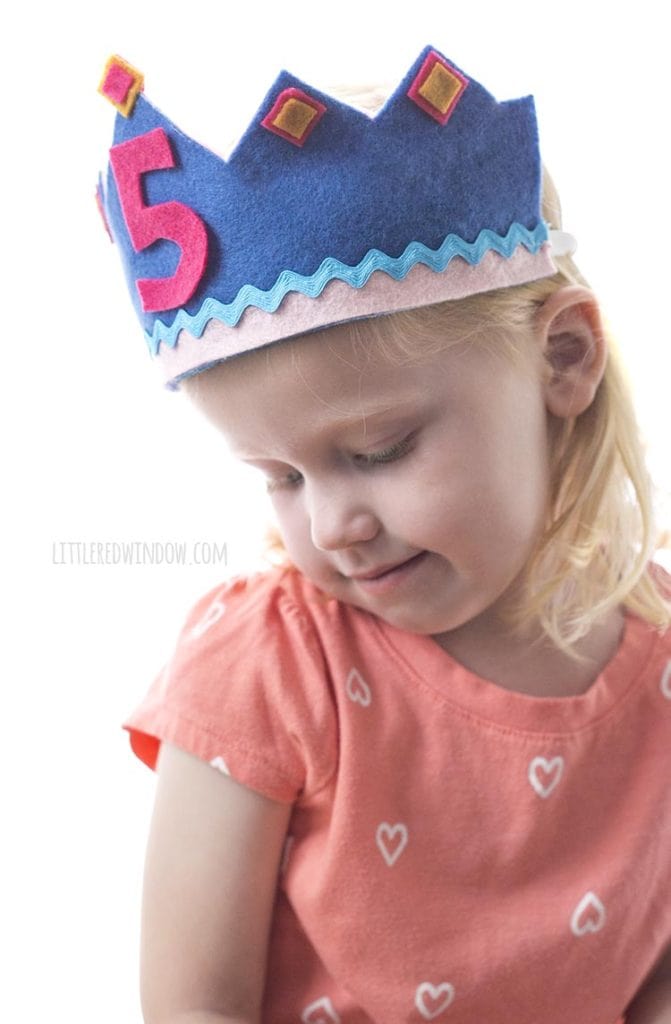
Make a reversible and reusable birthday crown to use year after year for your kids’ birthdays!
A while back I wrote a post about being a Pinterest mom (this was before that was a phrase that people used) and the basic tl;dr summary was that however you choose to celebrate birthdays and holidays is ok.
If you don’t enjoy party planning, that’s totally ok, your kids will have a delightful birthday. And if you find it fun to make hand decorated sugar cookies to go with the birthday theme, that’s ok too. Enjoy it.
Basically, you do you.
But I did have to laugh when I recently put up a picture of Baby V on her birthday wearing a paper crown I had cut out and decorated with sharpie the night before. She was completely happy blowing out her birthday candles, she did not care at all that she was wearing a crown that looked like she might have made it herself.
But I thought it was ironic and kind of funny. I mean, it’s LITERALLY my job. But, you know, life happens. I never have time for anything but paper crowns because my entire family has birthdays all within 3 weeks of each other. It’s a lot.
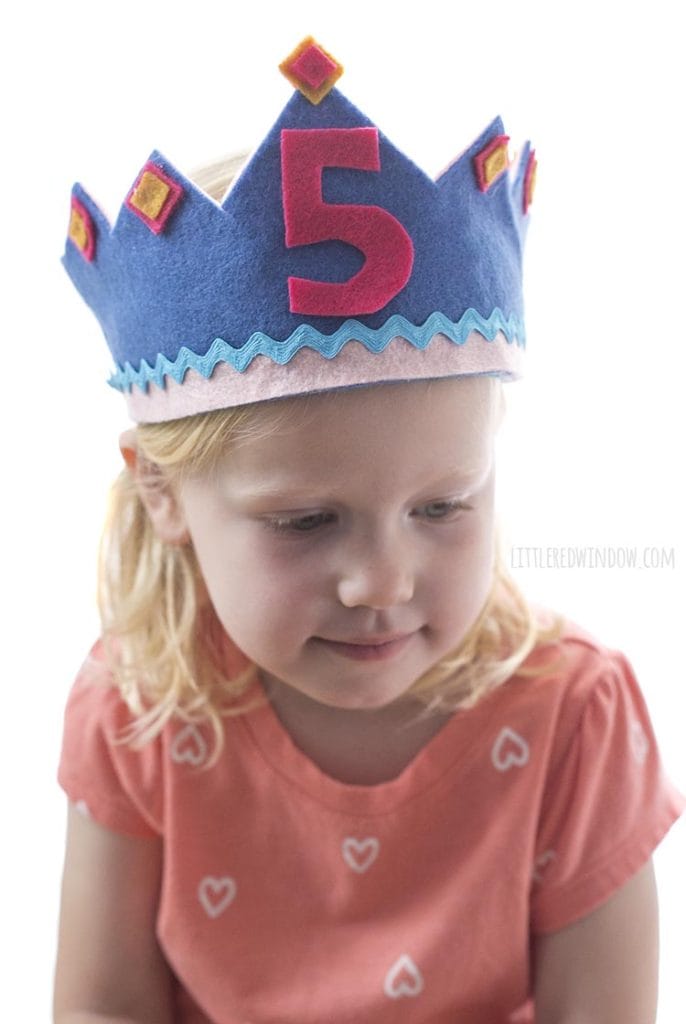
(Psst! Baby V is definitely not yet 5 or 7 years old. She’s just showing off how you can reuse this cute birthday crown year after year!)
Anyway, even with crappy paper crowns, my kids have come to expect birthday headgear of some sort so I figured it was high time to make a reusable birthday crown so I could stop frantically cutting one out of printer paper the night before.
Same idea as my reusable gift bags, a little bit of time invested once and it’ll save me stress later.
Also, it’s super cute.
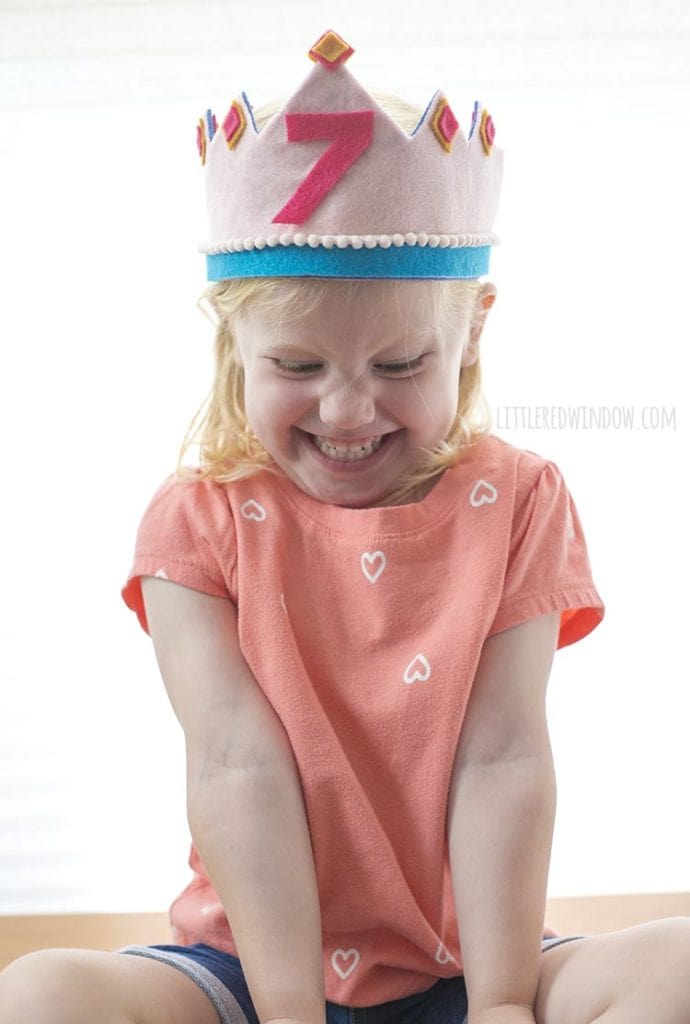
And now that I’ve made one, I’m kicking myself for not doing it sooner.
Here’s how I did it.
DIY Reversible Birthday Crown
Make an adorable two-sided reversible birthday crown to use for family birthdays!
Materials
Instructions
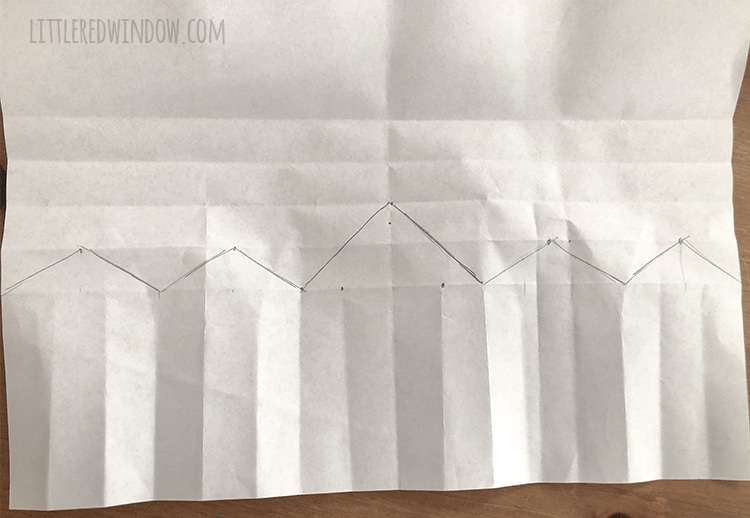
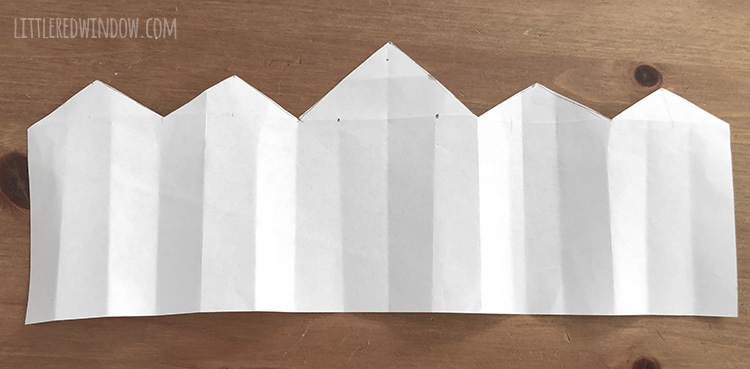
- Grab a piece of paper and make yourself a crown shaped template. I folded my paper in half, then quarters, then eighths to get even divisions to make sure my crown peaks were evenly sized. But you can also do that with a pencil and ruler. I recommend making the middle front peak taller than the others so you can fit a number on the front
- Cut out the paper crown template
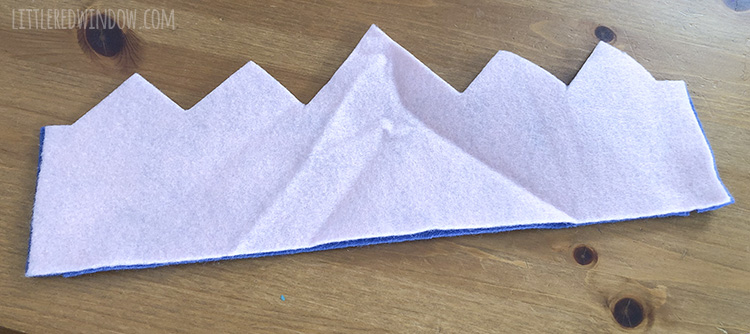
- Use the paper crown template to cut two crown shapes from your felt in two different colors. (If you used regular printer paper, your template will be 11 inches wide and your felt will be 12 inches wide, just center the template across the felt and add an extra half inch on either side when you cut it out. )
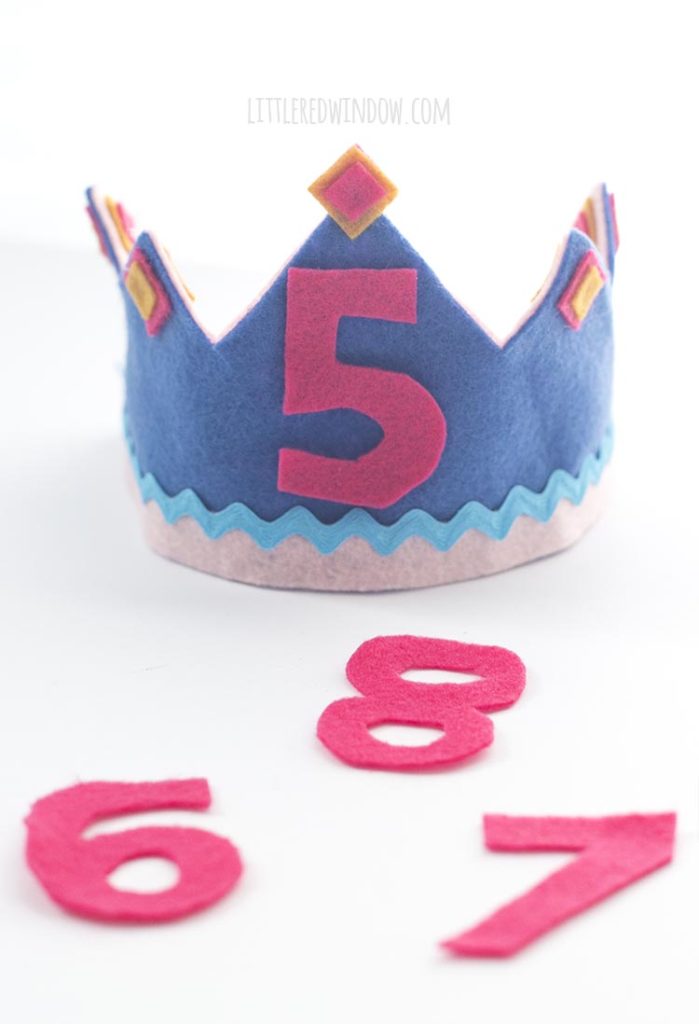
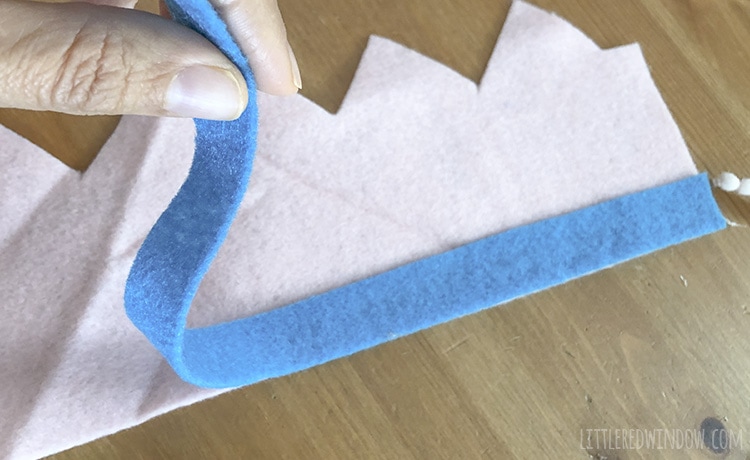
- The two colored crown shapes will be the opposite sides of your reversible crown. Decorate each one, attaching your decorations with small dabs of hot glue. I put a strip of contrasting felt along the bottom of each.
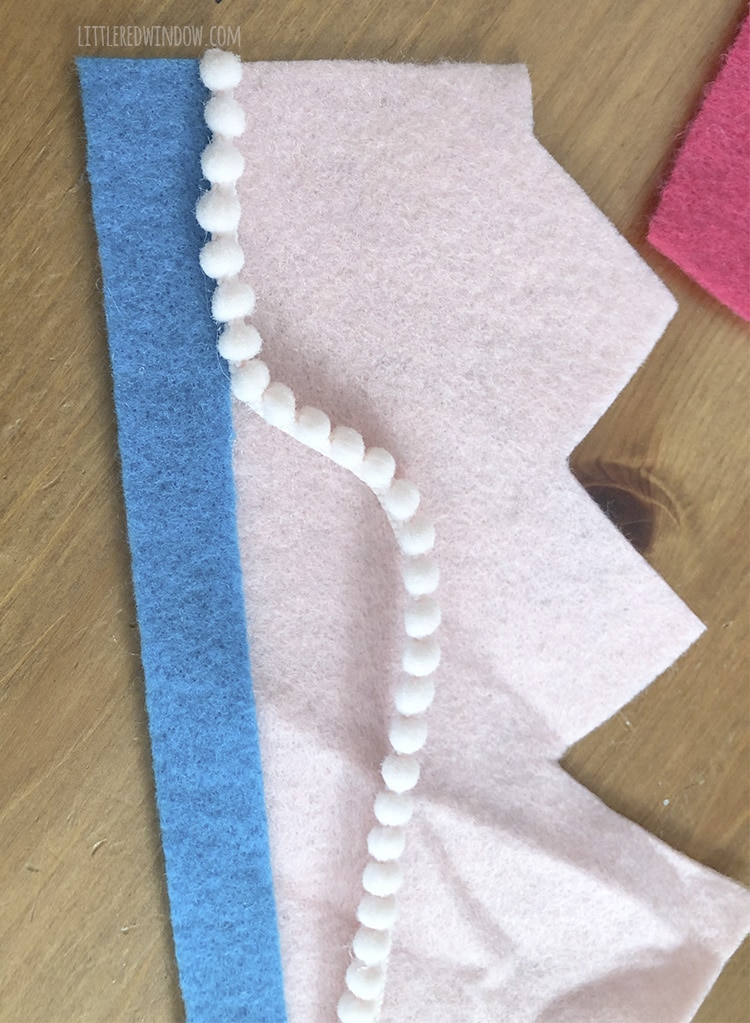
- Then I chose to add tiny pom pom trim to one side (don't use big pom poms or they'll feel weird when your little one is wearing the other side)
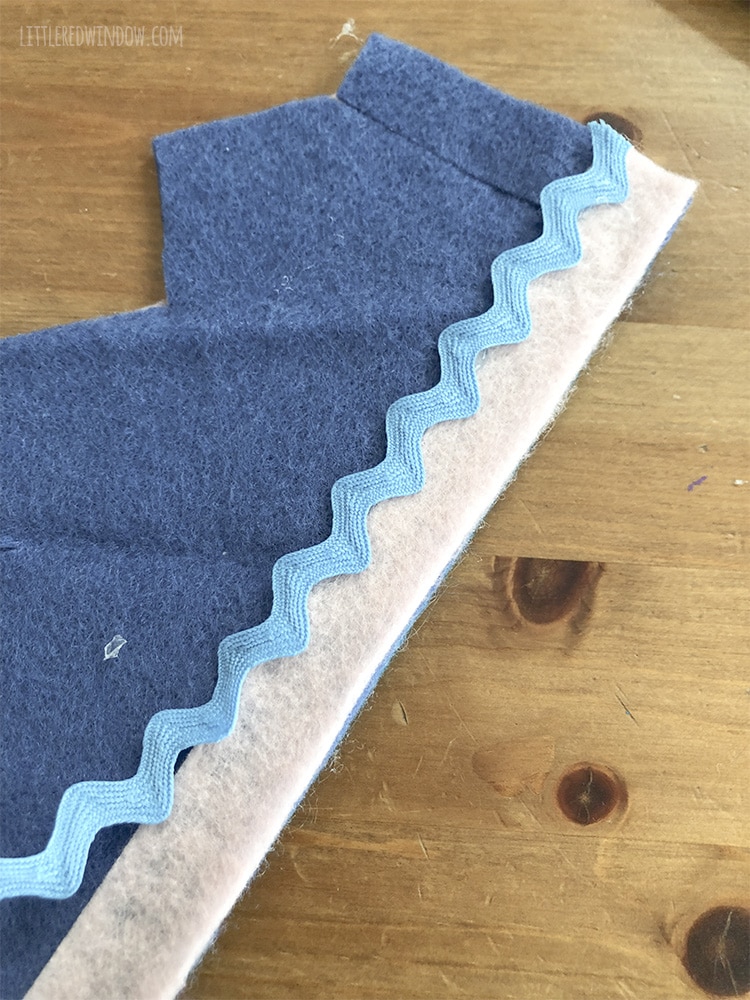
- And I used rick rac trim on the other
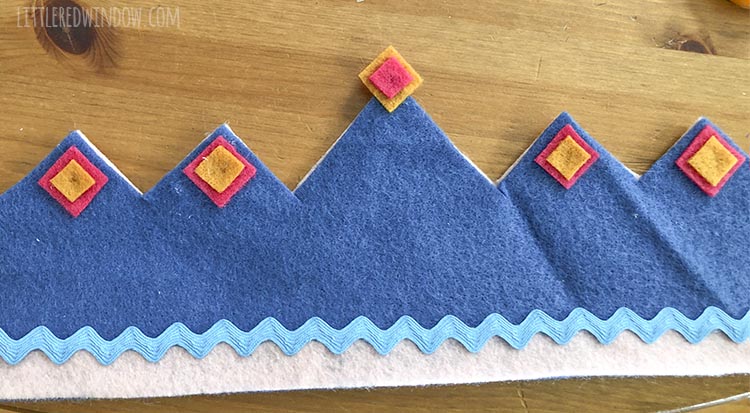
- Don't forget to add some felt "jewels"
- When both sides of your crown are completed, use hot glue to attach them first along the top edge. Make sure things are lining up, then glue in the middle and along the bottom edge. Do not glue along the two short sides yet!
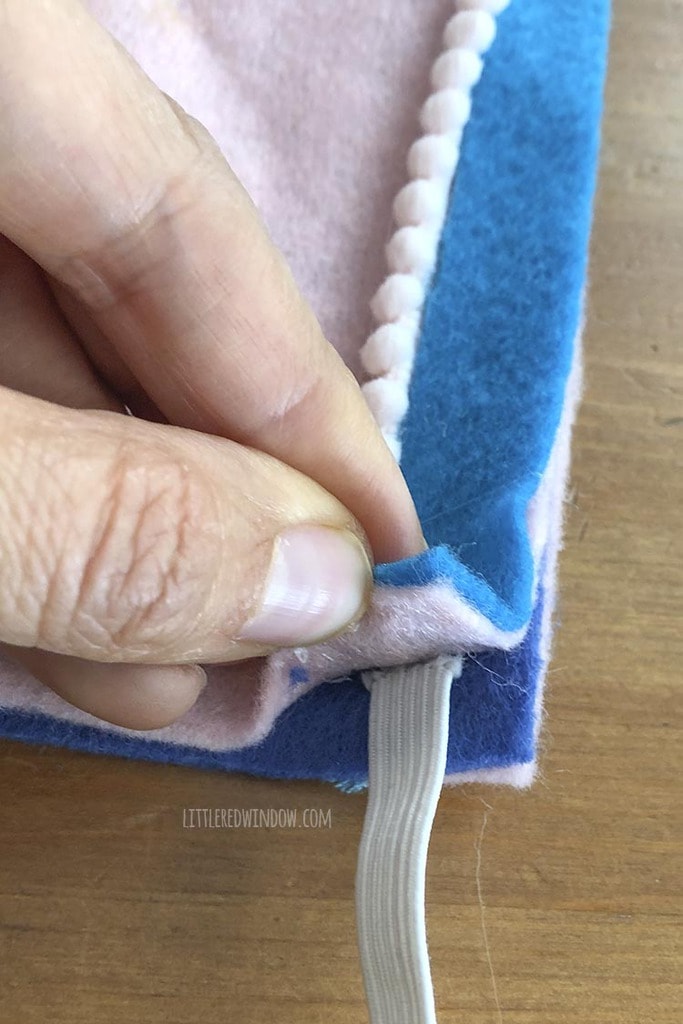
- Before you glue the short sides cut about 6" of elastic. You want this crown to fit your kids for a long time so you need to make it big enough for your big kids. When your little ones wear it, you can tie the elastic in a knot to temporarily make it shorter! Insert one end of the elastic between the layers of the crown, near the bottom, as shown. Then glue the short sides. Repeat with the other end of the elastic and the other short side of the crown.
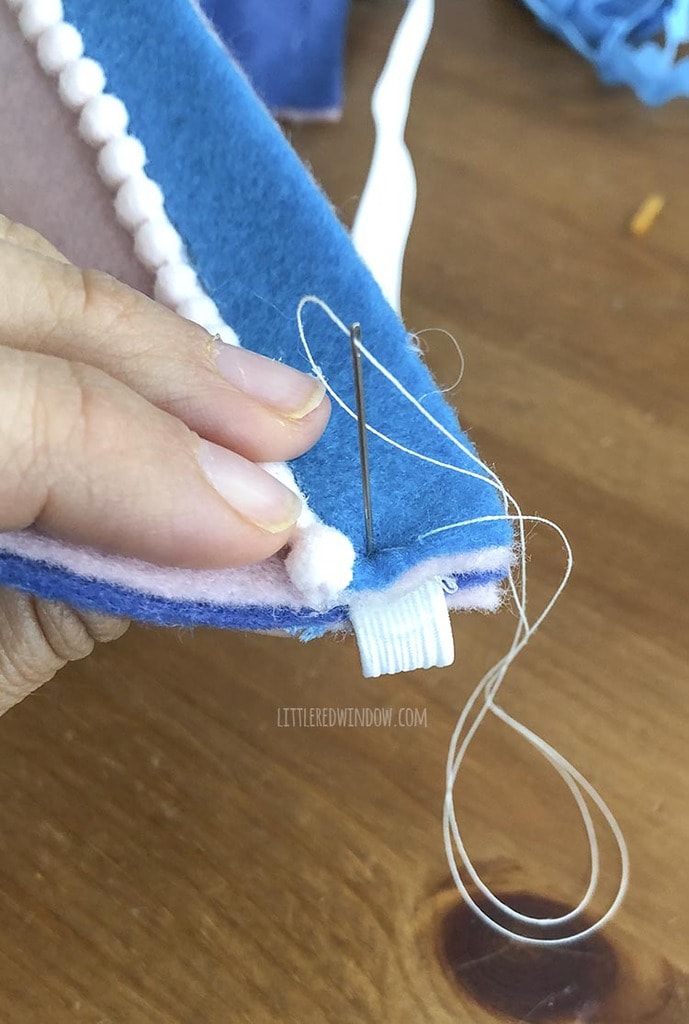
- Use a needle and thread to tack the ends of the elastic between the layers of felt. If you use small stitches, you will barely see this at all, but DO NOT skip this step. Hot glue will not be strong enough to hold that elastic in place year after year as your kids stretch it out!
- Finally, cut out some numbers from another color of felt. I free-handed the numbers but you could make a template by typing the numbers 0-9 in a word processing document and printing them out large and then cutting and tracing onto your felt. (You might be tempted to just cut out the number you need this year thinking you can just cut the next number next year. Just don't. Use your momentum and get it done. You'll be so glad next year when you're busy and it's all ready to go!)
- To attach the numbers to the crown each year, you can add a teeny tiny piece of hook and loop aka Velcro (the scratchy side!!) to the back of each number, that will make them stick to the crown. Or you can do what I did and just use a little strip of double sided tape to attach that year's number and remove the tape when you're done. It only needs to stick on there for an hour or so, so that worked just fine and was easy. Store your reversible crown and all the extra numbers in a large ziploc bag with any other birthday decorations!
Recommended Products
As an Amazon Associate and member of other affiliate programs, I earn from qualifying purchases.
-
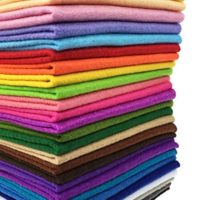
Misscrafts 28pcs 8" x 12" (20cm x 30cm) 1.4mm Thick Soft Felt Nonwoven Fabric Sheet Pack DIY Craft Patchwork Sewing Square Assorted Colors with Thread Bag
-
Sewing KIT, Over 130 DIY Premium Sewing Supplies, Mini Sewing kit, 38 Spools of Thread - 20 Most Useful Colors & 18 Multi Colors, Extra 40 Quality Sewing pins, Travel, Kids, Beginners
-
SINGER 70032 Braided Elastic, 8 Yard by 1/4-Inch, White
-
Hot Glue Gun, TopElek Upgraded 15W/25W Dual Temp Mini Glue Gun with 30pcs Glue Sticks, High Temp Melt Glue Gun, Anti-hot Cover for DIY School Craft Projects, Home Quick Repairs, Festival Decoration
-
SINGER 00561 8-1/2-Inch ProSeries Heavy Duty Bent Sewing Scissors
If you liked this, you may also like some of my other posts…
- 10 Tips for Organizing Your Craft Supplies On a Budget - April 25, 2024
- Rib Zag Hat Knitting Pattern - April 23, 2024
- Double Stockinette Stitch Knitting Pattern: Easy How To for Beginners - April 18, 2024




Coco says
What does it look like in the back? I am not clear about how it closes.