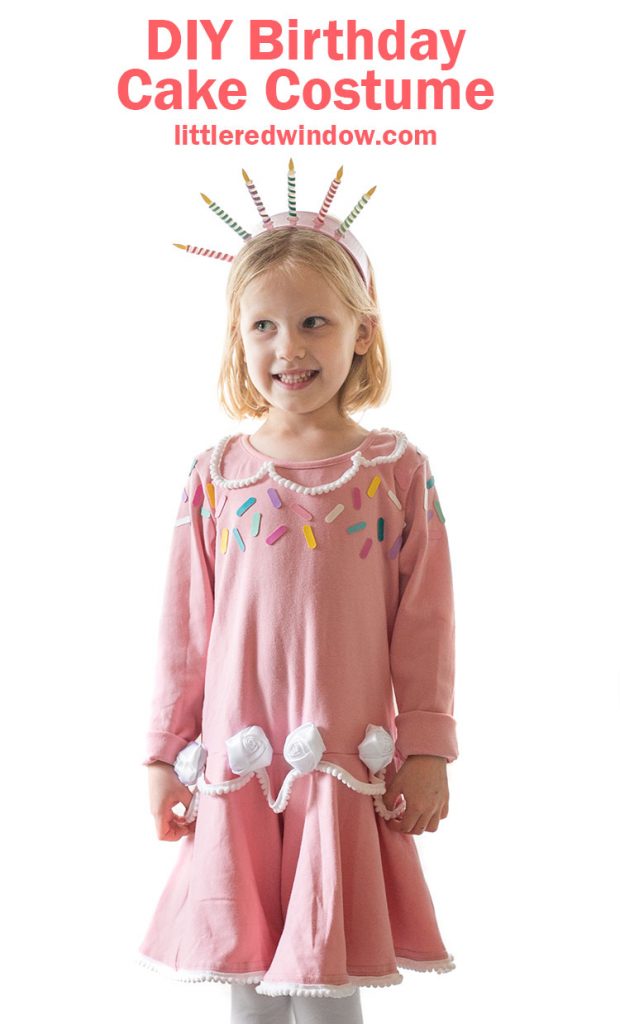
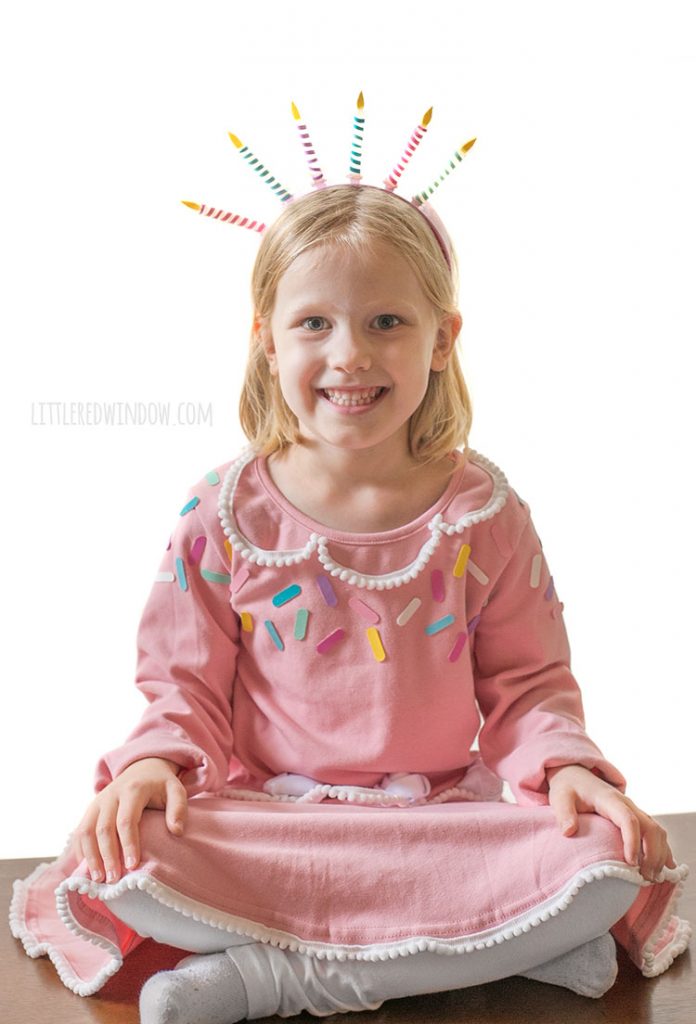
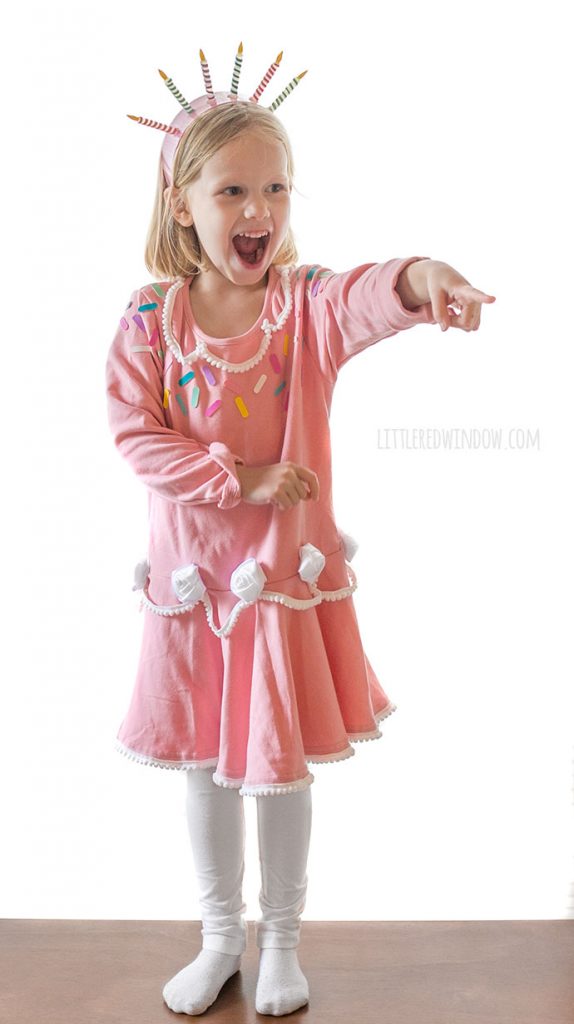
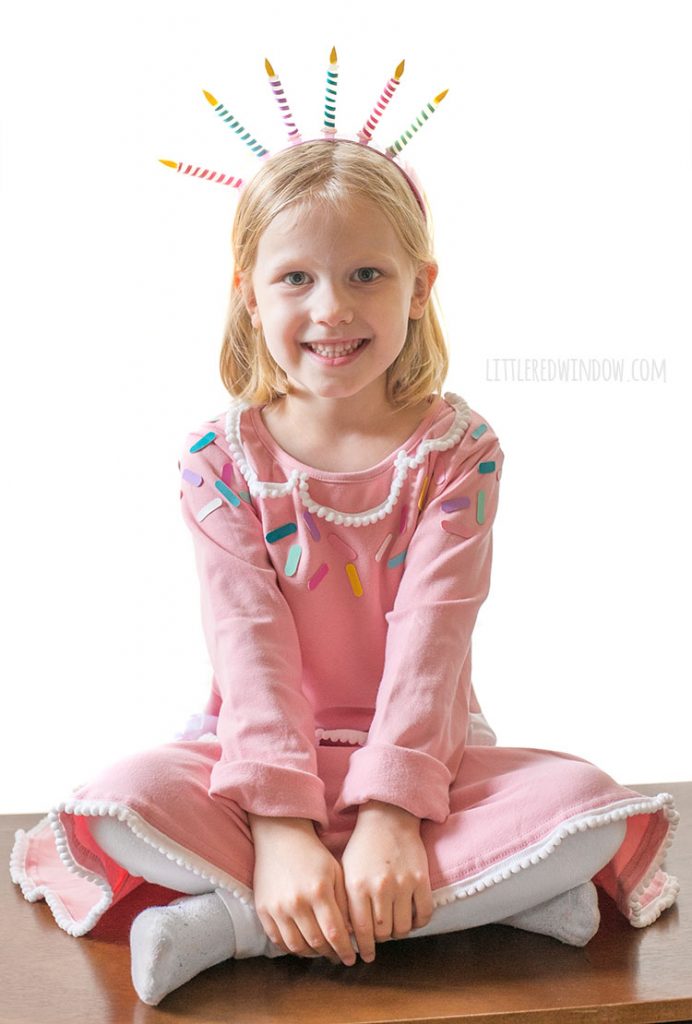
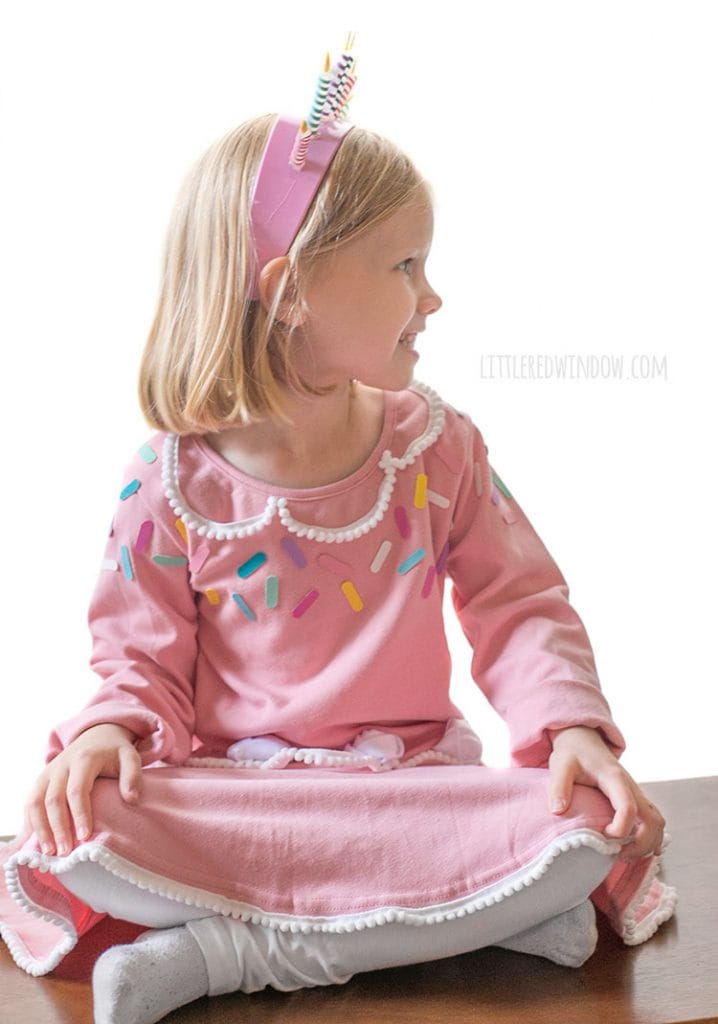
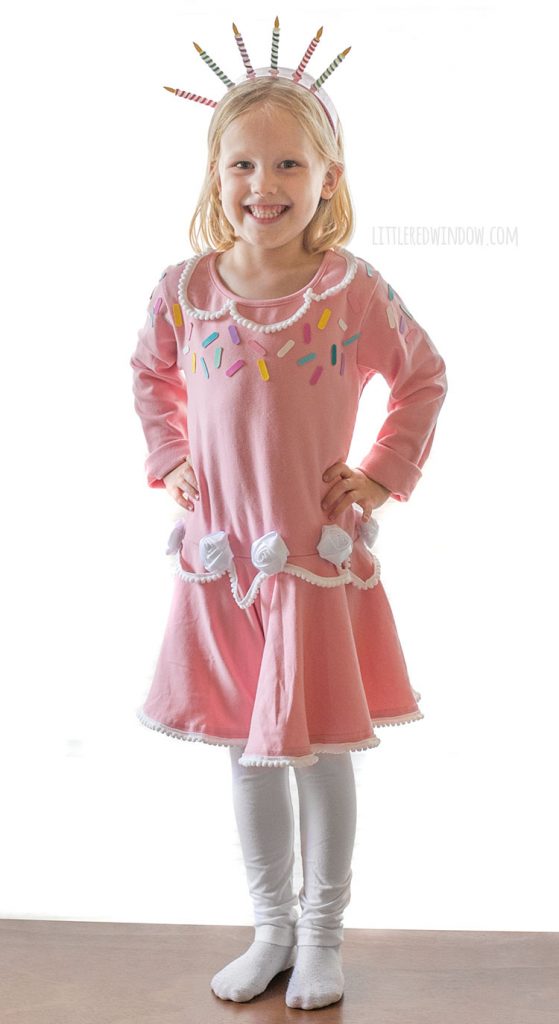
Make your sweetie a birthday cake costume for Halloween with frosting, sprinkles and birthday candles on top!
Good morning, are you ready to chat Halloween costumes and my cute new birthday cake costume? I always made my own Halloween costumes when I was a kid and now I mostly enjoy making them for my little one. (My big kid is way past letting me have a say in his costume!) Of course, usually about halfway through the project I’m cursing myself for making the costume. But the end result is always fun and she loves it so I think it’s worth it.
I’m not sure how many more years I’ll be able to gently “guide” the costume choice though. And by guide I mean, come up with ideas I like and then introduce them carefully to make them seem super cool. I mean, I don’t choose completely on my own, I go with what she likes as a starting point. I wouldn’t make her wear something she hates, but then it ends up being my vision. Luckily she likes it when I make her things! I’m a lucky mama.
This year I actually ended up making two costumes for Baby V. We really missed out on Halloween last year so I’m fine with two options this year. One was super easy so I’ll share that next week. And today we’re talking about this adorable birthday cake costume. I have seen cake costumes before and they almost always are made of cardboard and look like real tiered cakes. Don’t get me wrong, I’m the queen of impractical costumes , but as a more experienced parent I realized comfort is key. As are layers because sometimes it’s hot and sometimes it snows!
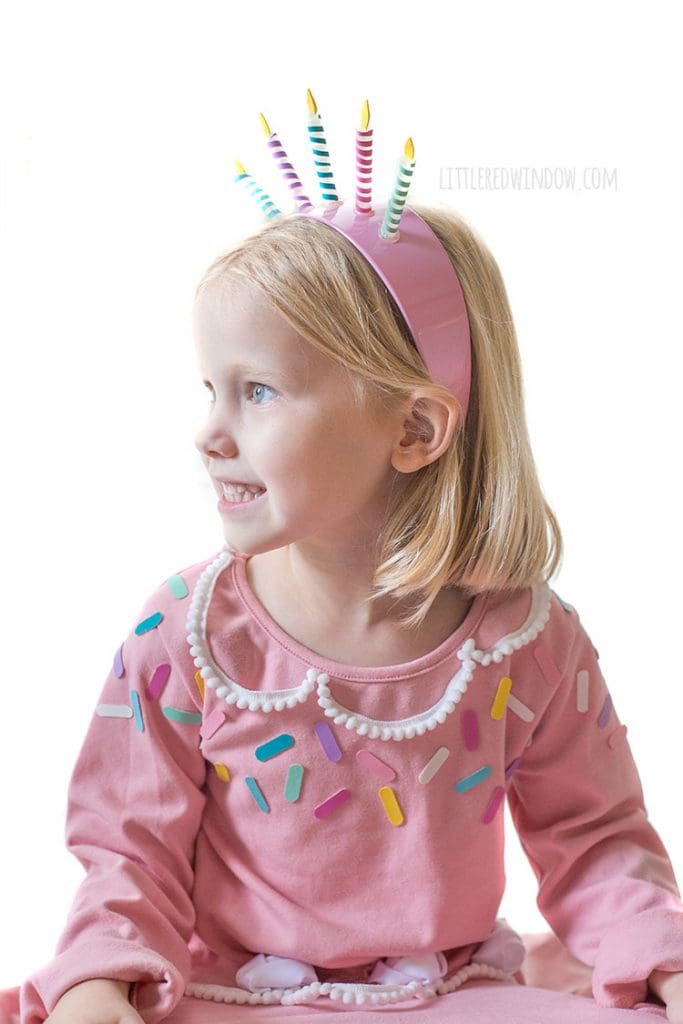
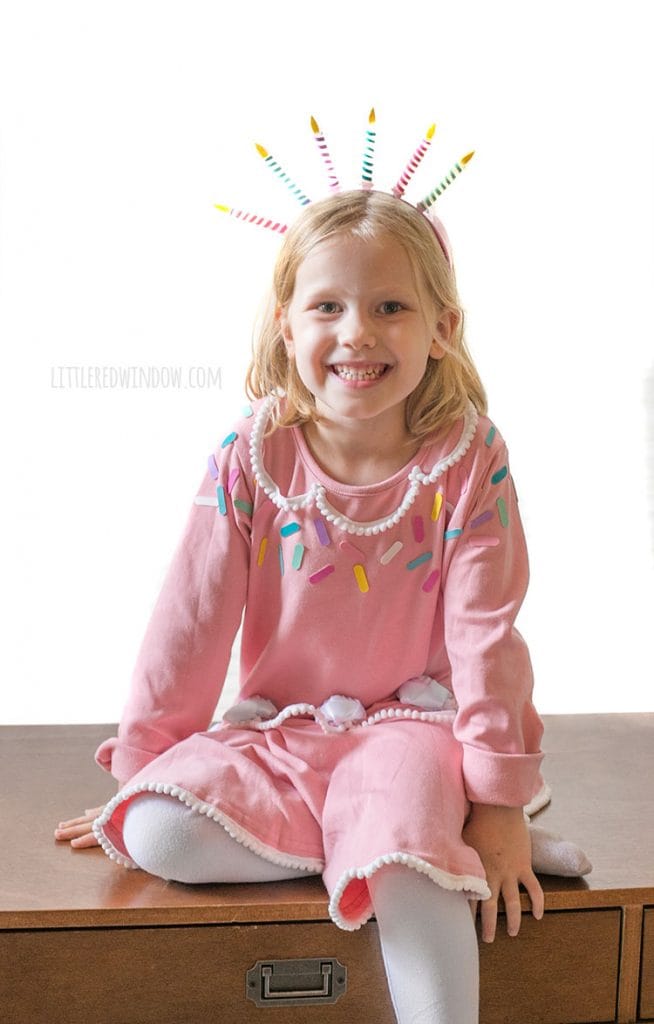
Also, I’m not sure how it is for your kids but our school, they ask the kids to bring their costumes and only put them on after lunch. They still have to be able to do school so she needs to be able to get dressed by herself and be comfy (and fit in her desk)! So I came up with a birthday cake dress and it has frosting piping and frosting rosettes and sprinkles and even a birthday candle headband. This one was so much fun to make, I hope you like it too! Let’s get started on our DIY Birthday Cake Costume!
DIY Birthday Cake Costume Supply List
- Pink dress (doesn’t have to be pink or a dress if your child prefers something different)
- White pom pom trim
- White ribbon rosettes
- Pink plastic headband
- Colorful faux leather
- Mini hot glue sticks
- Hot glue gun
- Craft glue (get the upside down bottle, it’s the best!)
- Scissors
- Rotary cutter
- Metal ruler
- Cutting mat
- Wax paper or parchment paper
- Needle and thread
DIY Birthday Cake Costume Instructions
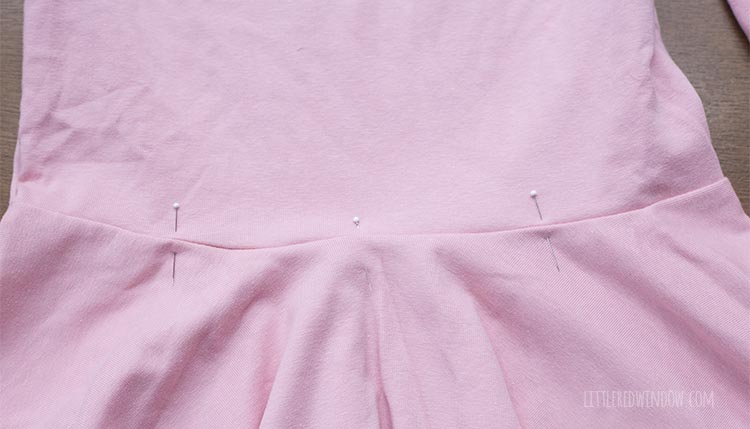
- It’s a good idea to wash and dry your dress before you start. Then lay it out and place some pins evenly space around the waist where you will swag the pom pom frosting trim.
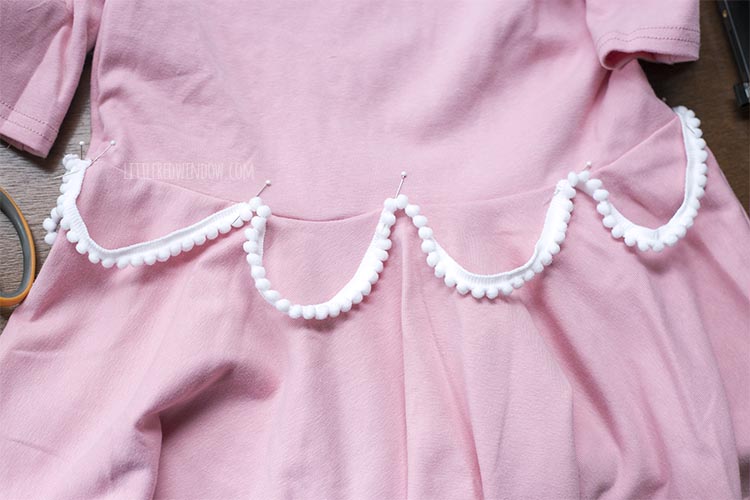
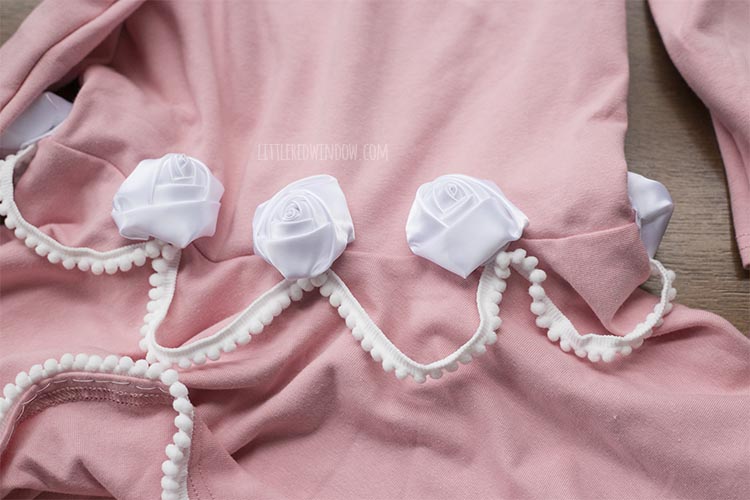
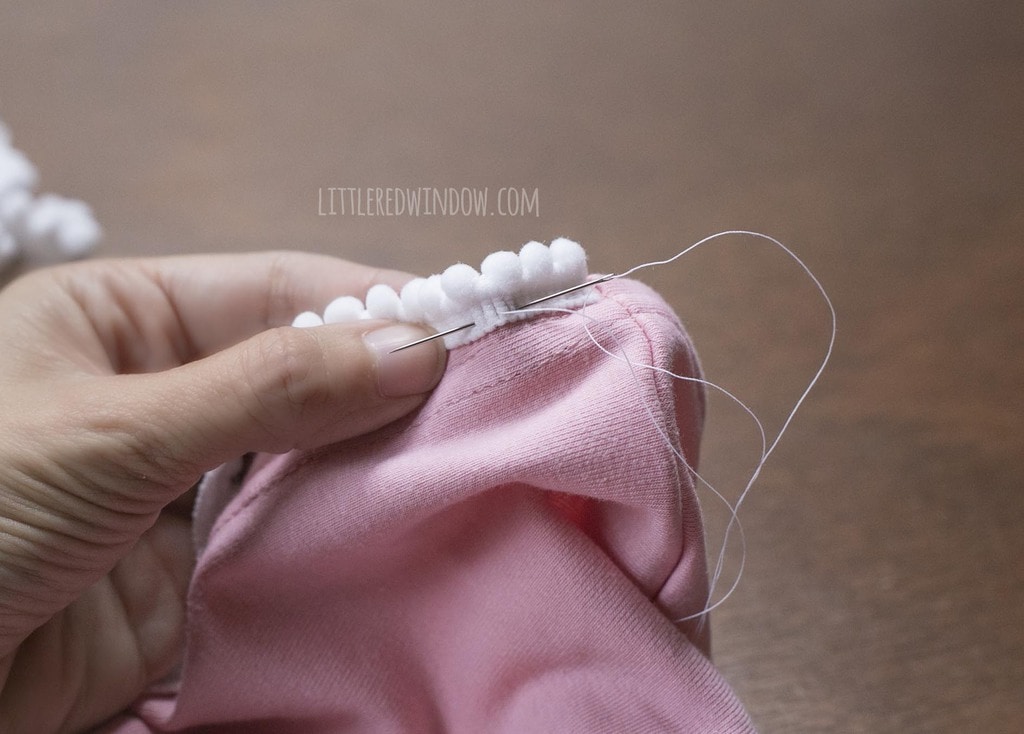
- Pin the pom pom trim in those same spots until you are satsified with how the “frosting” looks. Then sew it in place at the points that touch the waist.
- Again with needle and thread (or hot glue if you prefer) attach the rosettes at the top of each swag point.
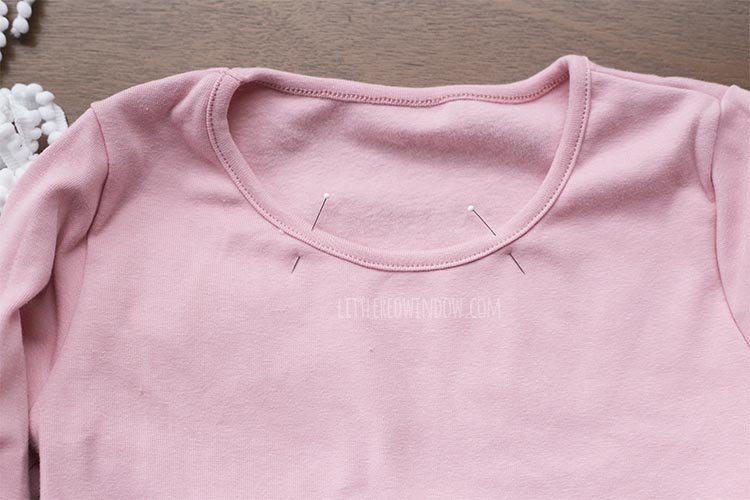
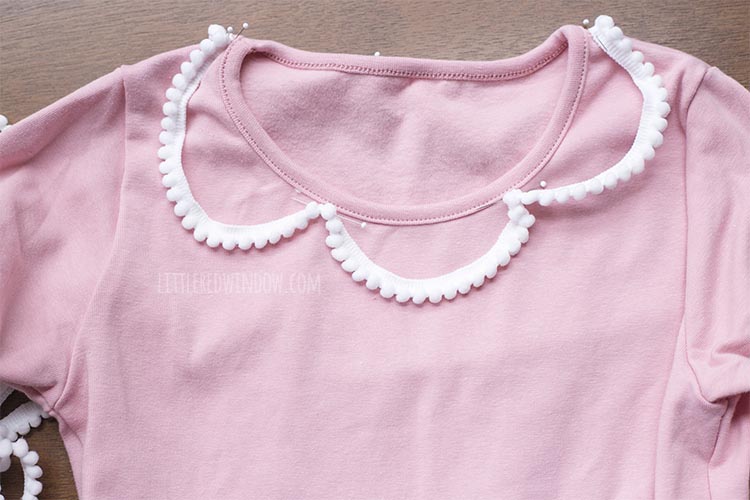
- Repeat the process by placing pins and then sewing on the pom pom trim around the neckline.
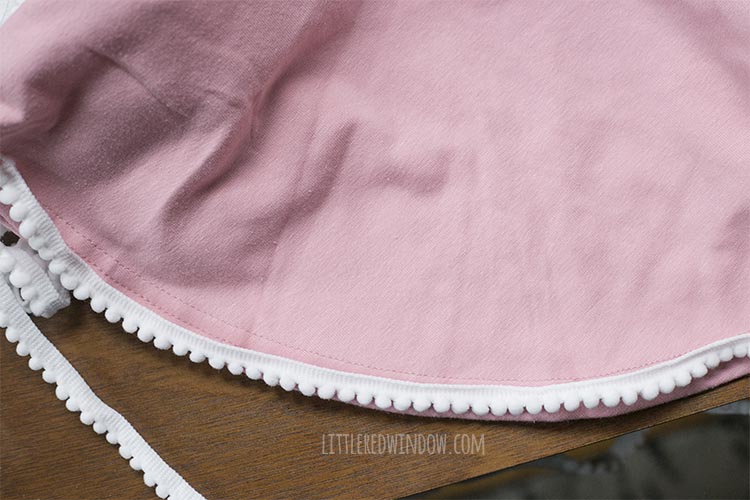
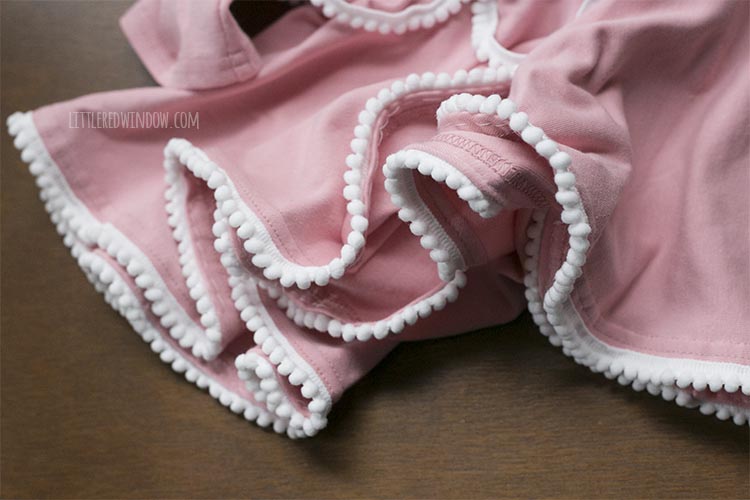
- Attach more pom pom trim around the bottom hem of the skirt. This kind of trim is technically mean to have the white edge without the pom poms hidden but I like it so I sewed it on the outside of the dress. You could sew it underneath so that just the pom poms peek out, if you prefer.
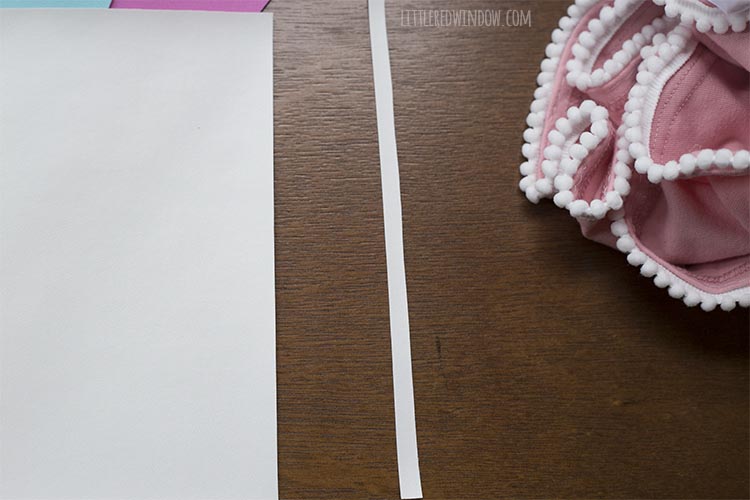
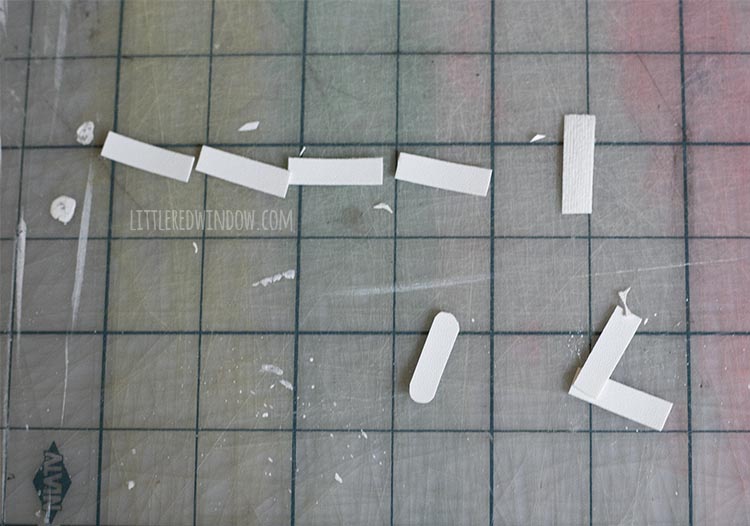
- Cut 1/4 inch strips from your faux leather with your rotary cutter and metal ruler. Check out the fabric backing on the back of your faux leather, I found that if I cut the strips in one direction the edges frayed and if I cut them perpendicularly, the edges did not fray.
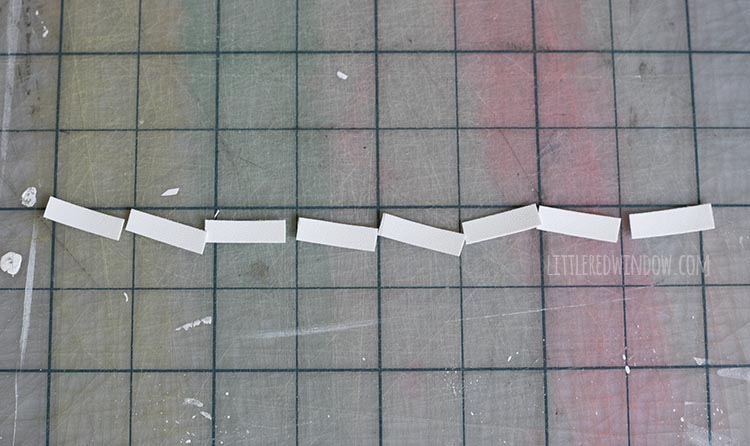
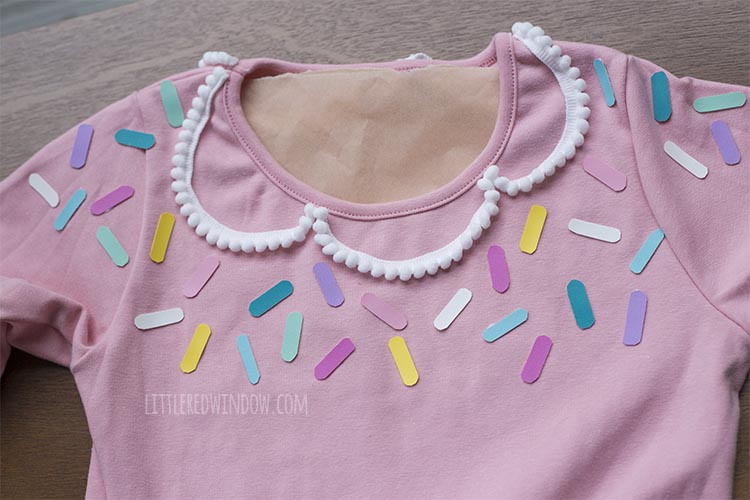
- Cut each strip into 1 inch segments. Then, if you are an overachiever like me, use scissors to round the corners of each sprinkle. It took a little but of time, but not forever. If you like the look of rectangular sprinkles, that’s totally fine!
- Lay your dress out on a table and put some pieces of wax paper or parchment paper inside around the top. Aluminum foil would even work, just something to stop the glue from leaking through. Then arrange your sprinkles so they look good and glue each one down with a line of craft glue. I prefer craft glue because it’s more flexible when it’s dry, but since it’s a Halloween costume and doesn’t have to be infinitely durable or get washed a lot of times, if you want to use hot glue to attach your sprinkles, go ahead.
- When the front sprinkles are dry, flip your dress over and add more sprinkles on the back.
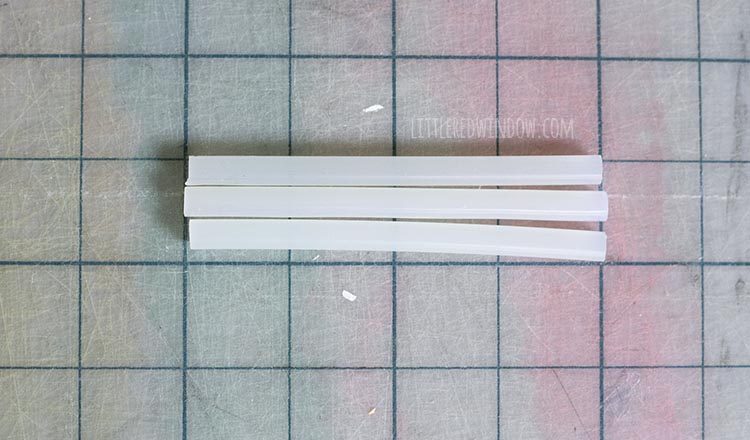
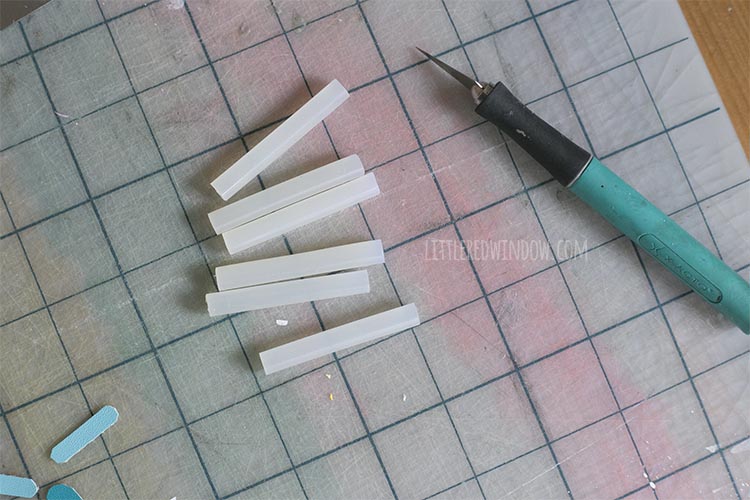
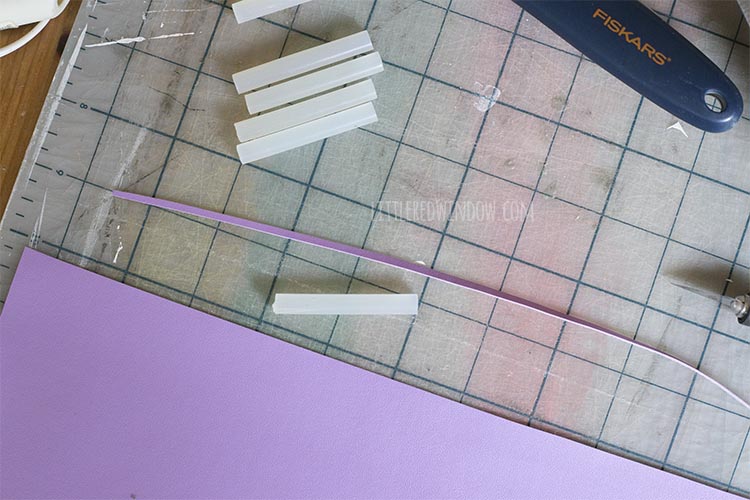
- I decided to make my birthday candles out of hot glue sticks. I started with 4 inch long mini hot glue sticks and I cut each one in half to make 6 2 inch candles. But of course, you can make as many or as few as you want!
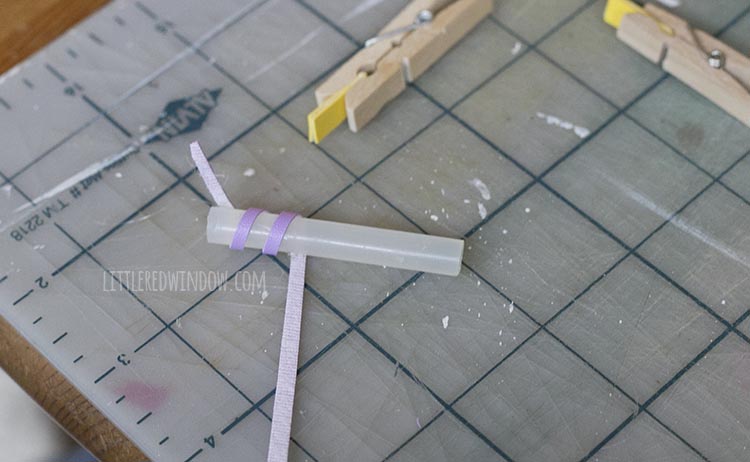
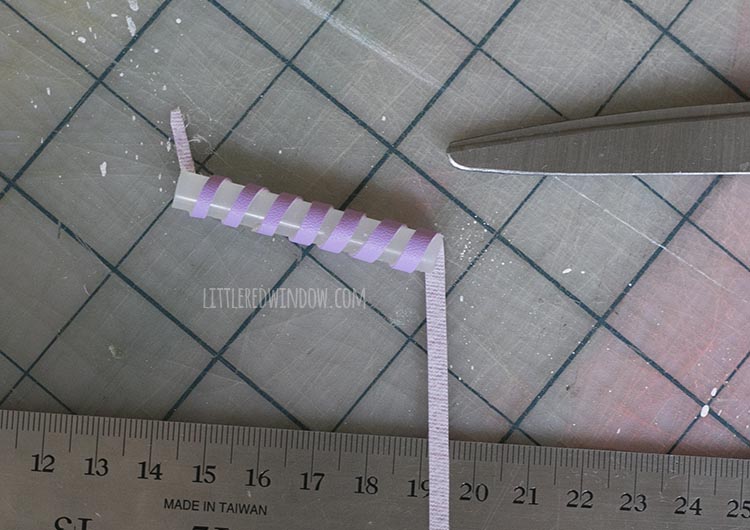
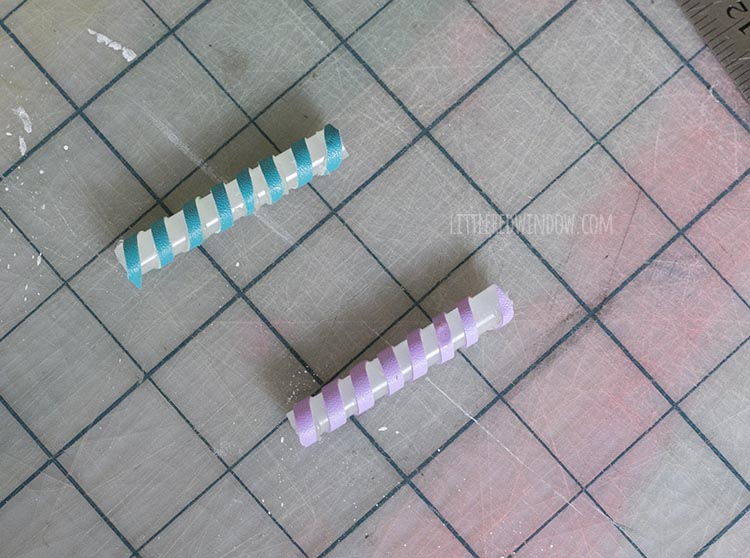
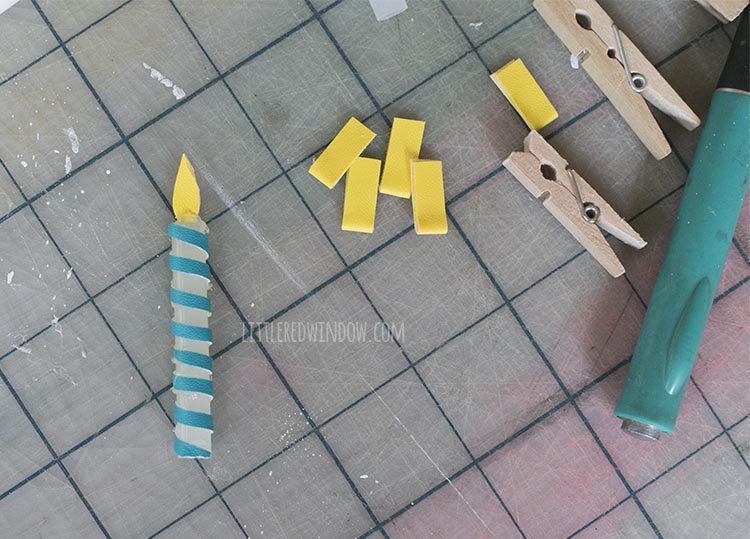
- Then cut a 1/8 inch strip of faux leather. It might seem weird to use a hot glue gun to attach something to a hot glue stick, but boy does it really work well! Starting at one end, wrap the thin strip of faux leather around the glue stick diagonally, securing with tiny dots of hot glue as you go. Trim the ends of the strip to be flush with the end of the “candle”.
- Repeat with as many colors and candles as you like.
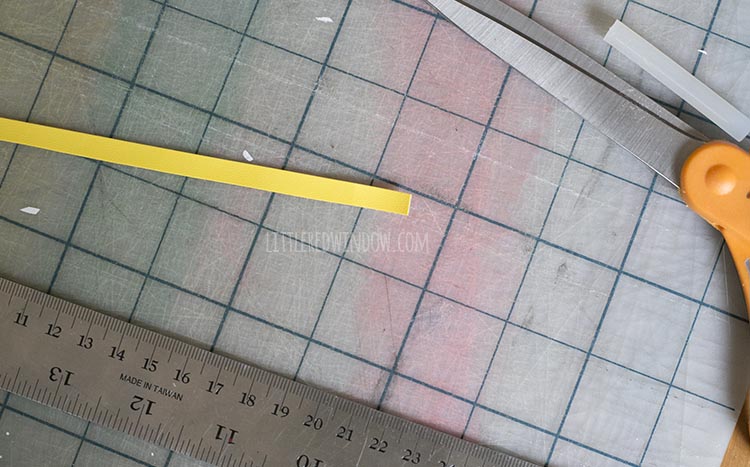
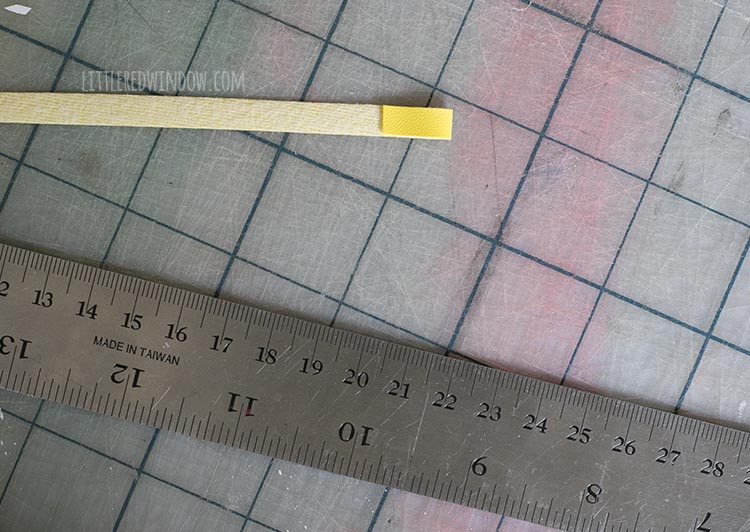
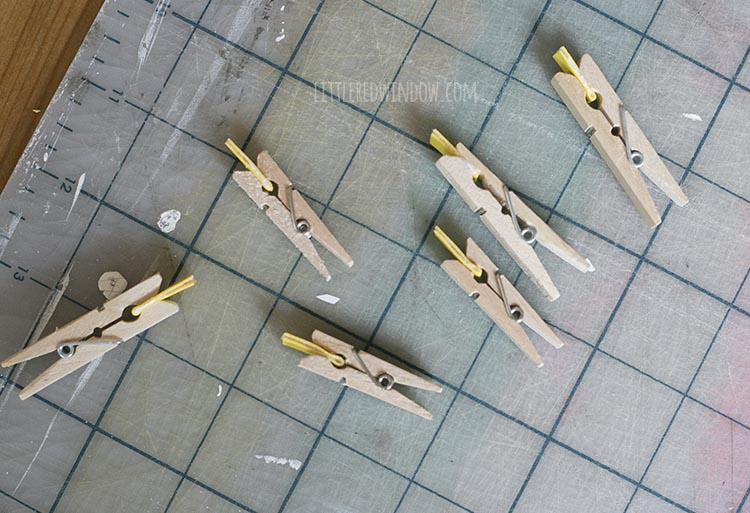
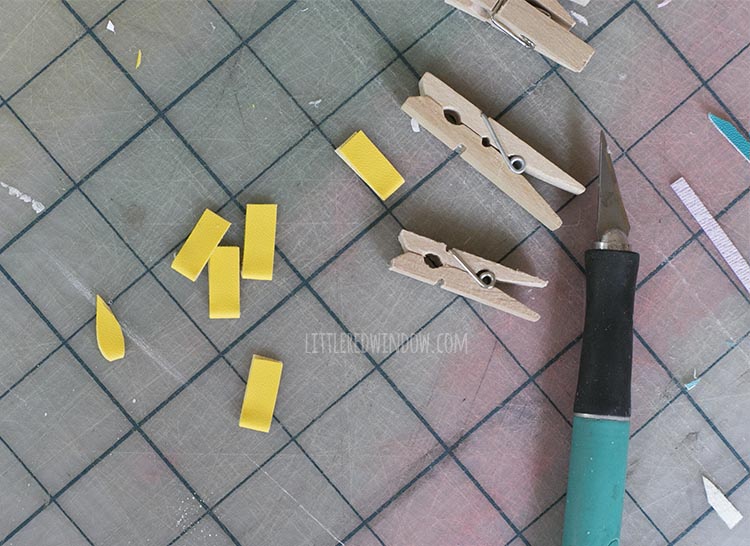
- Next, cut a 1/4 strip of yellow faux leather to make the flames. Cut that strip into 1 1/2 inch segments and fold each segment over. Secure with craft glue. It helped to clamp these little flames while the glue dried, I used clothespin and they worked perfect but a binder clip, chip clip or paperclip would probably work well too!
- When the glue is completely dry, use your scissors to cut each little rectangle into a flame shape (the folded edge should be at the bottom).
- Then hot glue the flames to the top of the candles.
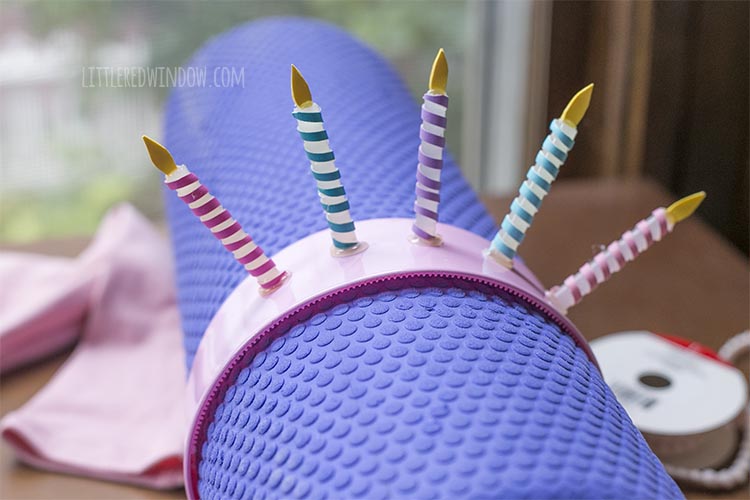
- Finally, hot glue the candles to the plastic headband. Because you’re gluing hot glue to hot glue, this really makes a surprisingly sturdy connection! I found it helped a ton to put my headband over my foam yoga roller so it stayed in place while I glued the candles on. I would have needed four hands to do it without that so look around and see what you can find to hold your headband in place!
If you liked this, you may also like some of my other posts…
- 10 Tips for Organizing Your Craft Supplies On a Budget - April 25, 2024
- Rib Zag Hat Knitting Pattern - April 23, 2024
- Double Stockinette Stitch Knitting Pattern: Easy How To for Beginners - April 18, 2024


Leave a Reply