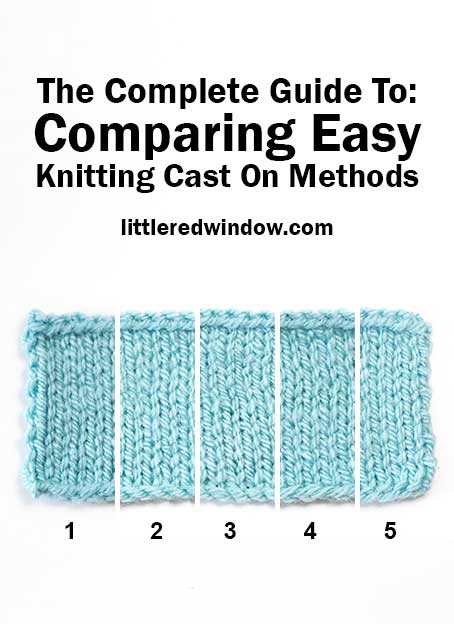
Take a look at some common ways to start your knitting and compare easy knitting cast on methods!
Good morning, today we’re going to chat about easy knitting cast on methods! Yay! There are, of course, more than 5 cast on methods out there, but I’m going to compare the 5 that I use most often and find the easiest to do.
What is a knitting cast on?
When you start a new knitting project, you need to put some initial stitches on the needles to knit. A cast on is the method for looping the yarn around the needles in a certain way to add however many new stitches you need to your needle. You most often cast on stitches at the beginning of a project, but sometimes also in the middle of a project to add more stitches.
Tips and Tricks for Casting On
- Most cast ons start with a slip knot.
- The slip knot DOES count as the first stitch.
- Go slow and make sure your tension and stitches are even so your cast on looks nice.
- When you are counting how many rows or rounds of knitting you have completed, you do NOT count the cast on row.
It can be tricky to know which cast on method to choose if your knitting pattern doesn’t specify, that’s one reason it’s good to know how to do more than one cast on method. It gives you options.
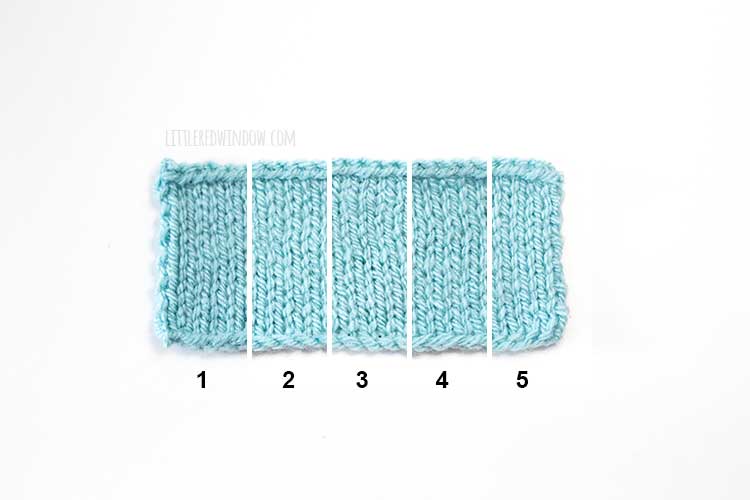
The other great thing about cast ons is that in *most* cases you can substitute one for another without disastrous consequences. Obviously, as you can see in the photos, they do look different, but honestly, aside from other knitters, most people wouldn’t notice.
The main reason to choose one over another usually have to do with structure and stretch!
Are you ready to get started comparing easy knitting cast on methods? I’m going to tackle 5 common knitting cast on methods in order of difficulty. Let’s do it!
1 – Backwards Loop Cast On
AKA: Other names for the backwards loop cast on include: single cast on, loop cast on, thumb cast on, or e-loop cast on.
SUPPLIES:
- yarn
- one knitting needle (whatever size you are using for your project)
- your left thumb
LEARN: If you would like to learn backwards loop cast on, take a look at this tutorial
LOOK: Here is what the backwards loop cast on looks like on the needles:
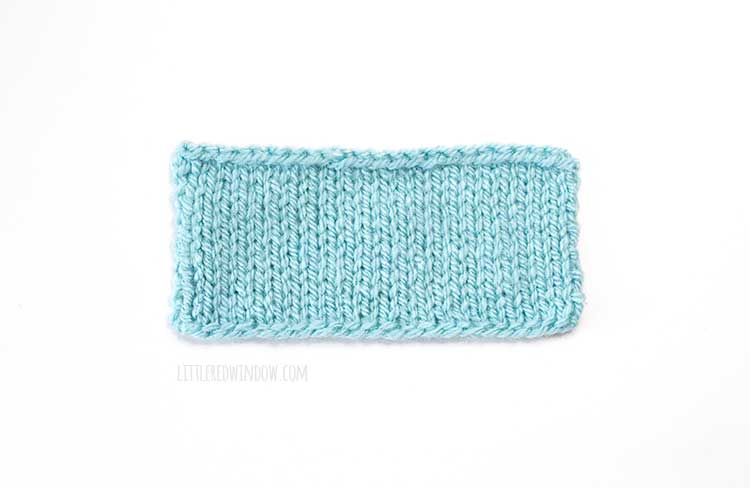
And here is what the backwards loop cast on looks like after it’s knit:
COMPARE:
Pros:
- Backwards Loop Cast On is the easiest cast on method by far. Many knitters learn this cast on first because it’s so easy to teach and to execute. It’s also really easy to teach kids and young knitters.
- Backwards Loop Cast On is fantastic for adding stitches in the middle of a row of knitting (for example for things like buttonholes, bag straps etc.) or at the end of a row.
- This cast on is very minimal, the cast on edge almost disappears visually.
Cons:
- Despite being easy to cast on, knitting the first row of a backwards loop cast on is really difficult which can be frustrating for beginners. It’s very hard to get the tension right in the first row and the cast on stitches can spread farther and farther apart as you knit making it more and more difficult.
- Backwards loop cast on unravels easily and because of that and the previously mentioned first row tension issues, it’s not great for casting on a large number of stitches.
2 – Knitted Cast On
If you can knit a knit stitch, you can do the knitted cast on. You are literally knitting a new stitch and adding it back to the left needle.
AKA: knit cast on, knitting on
SUPPLIES:
- yarn
- two knitting needles (whatever size you are using for your project)
LEARN: learn to knit a knitted cast on with this easy knitted cast on tutorial.
LOOK:
Here is what a knitted cast on looks like on the needles:
Here is what a knitted cast on looks like after it’s knit:
COMPARE:
Pros:
- It’s very easy to do. (If it were up to me, this is the cast on I would teach to beginners).
- You can learn the knit stitch as you learn this method.
- Knitted cast on has a very neat and tidy appearance.
- Relatively stretchy method.
- No need to estimate how much yarn you need ahead of time.
- Can be used to add stitches to the beginning of a row.
Cons:
- Having to use two needles can make it a little slower than other methods
3 – Cable Cast On
The cable cast on is extremely similar to the knitted cast on except you insert the right needle between the first two stitches on your left needle instead of into the first stitch.
SUPPLIES:
- yarn
- two knitting needles (whatever size you are using for your project)
LEARN: Learn how to use this cast on method with this easy cable cast on tutorial.
LOOK:
This is what a cable cast on looks like on the needles:
This is what a cable cast on looks like after it’s been knit
COMPARE:
Pros:
- Creates a pretty and sturdy edge.
- This cast on is less stretchy than knitted cast on and has good stability.
- Cable cast on is good for an edge where stitches will be picked up later.
- Cable cast on is just as easy to learn as knitted cast on.
- Cable cast on can also be used to cast on additional stitches at the beginning of a row.
Cons:
- Less stretch would not be good for some projects like socks or hats.
- The distinctive edge is visible and may not be what you want for your project.
- Cable cast on often results in tight stitches which can be frustrating.
5 – Long Tail Cast On
Long tail cast on is my favorite cast on, it’s a great all-purpose method and it’s super fast!
AKA: Continental Cast On, Long-Tail Cast On, Y Cast On, Two Strand Cast On
SUPPLIES:
- yarn
- one knitting needle (whatever size you are using for your project)
LEARN: Learn this method with this easy long tail cast on tutorial.
LOOK:
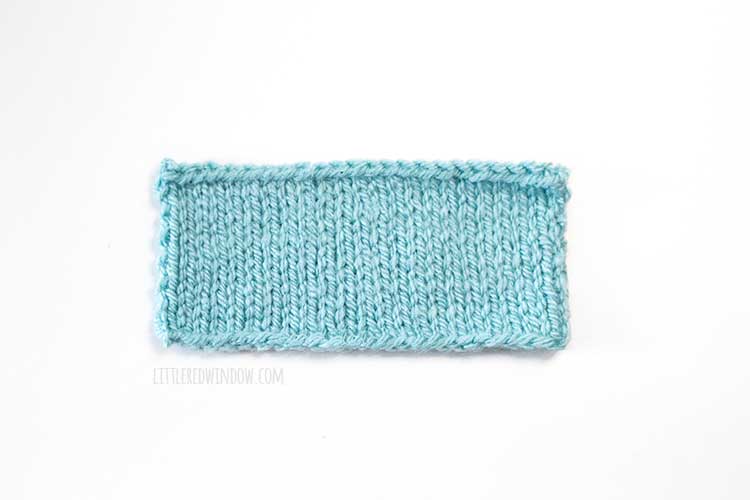
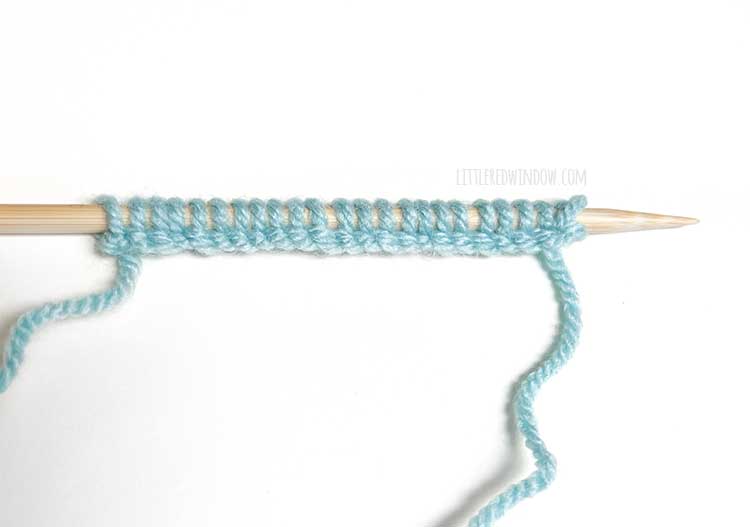
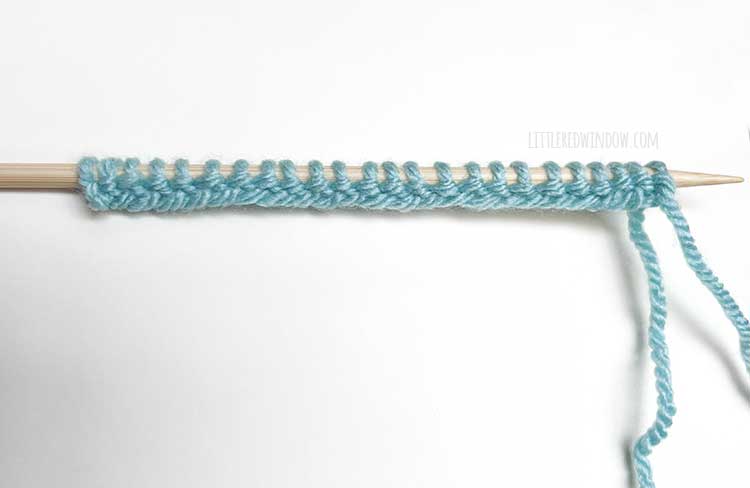
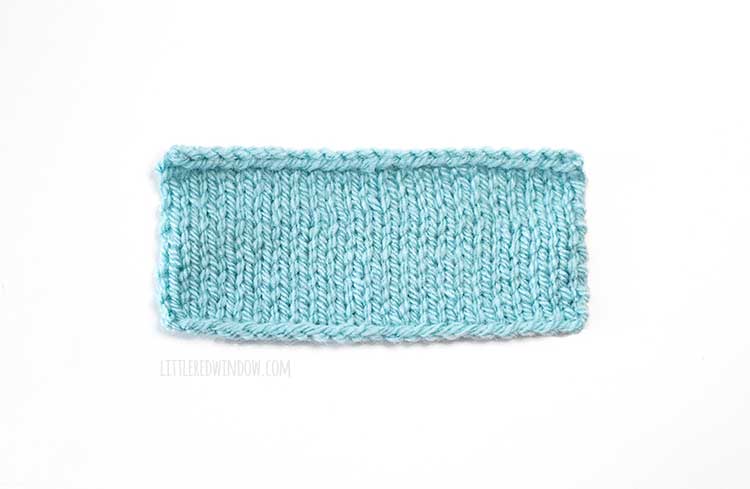
Note: Because the long tail cast on essentially makes knit stitches, when you turn your cast on row and begin knitting your first row, you are actually starting on a wrong side row. You can see the purl bumps on the wrong side and especially if you are knitting stockinette, it looks best to start with a purl row.
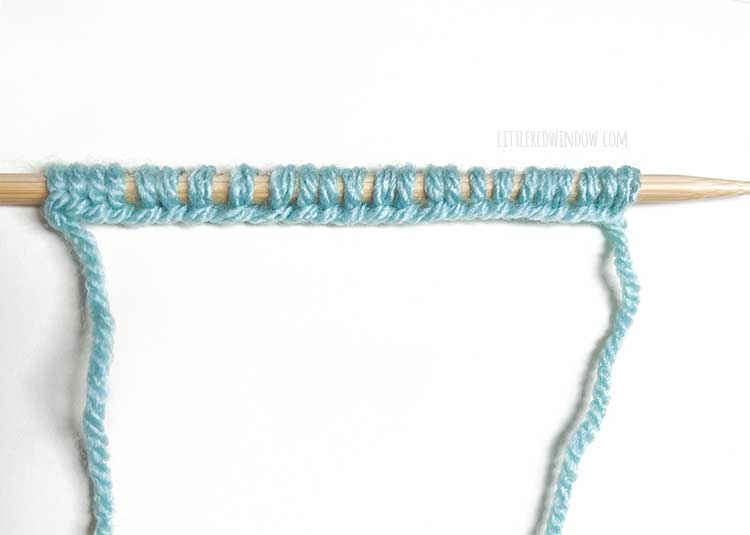
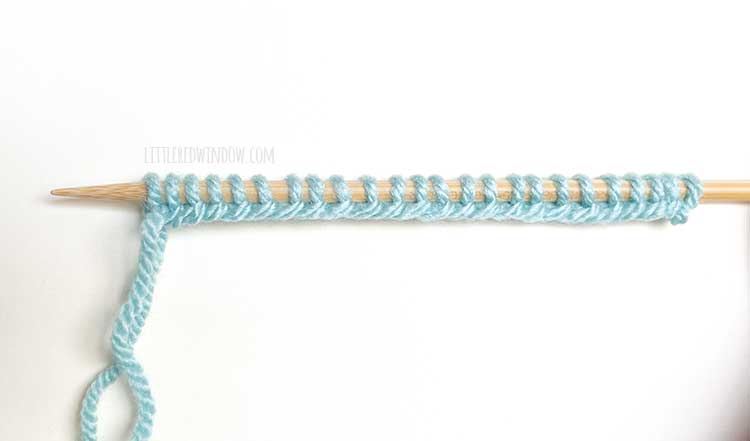
Here’s what the long tail cast on looks like on the needles:
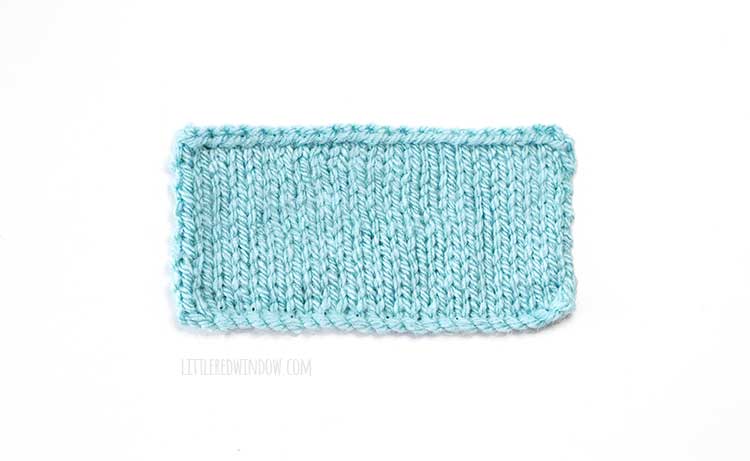
Here’s what the long tail cast on looks like after it’s been knit:
COMPARE:
Pros:
- Long tail cast on is nice and stretchy
- Long tail cast on has an even attractive appearance.
- Long tail cast on is super fast once you know how to do it!
Cons:
- Long tail cast on requires you to estimate how much yarn you need for the yarn tail before you start and that can be difficult.
- This method is a little more difficult to learn at first than some others.
5 – German Twisted Cast On
For this cast on, you hold the yarn in the same way as long tail cast on, but this method adds and extra twist that makes the stitches more stretchy.
AKA: Old Norwegian Cast on, Twisted German Cast On
SUPPLIES:
- yarn
- one knitting needle (whatever size you are using for your project)
LEARN: Learn this method with an easy German twisted cast on tutorial.
LOOK:
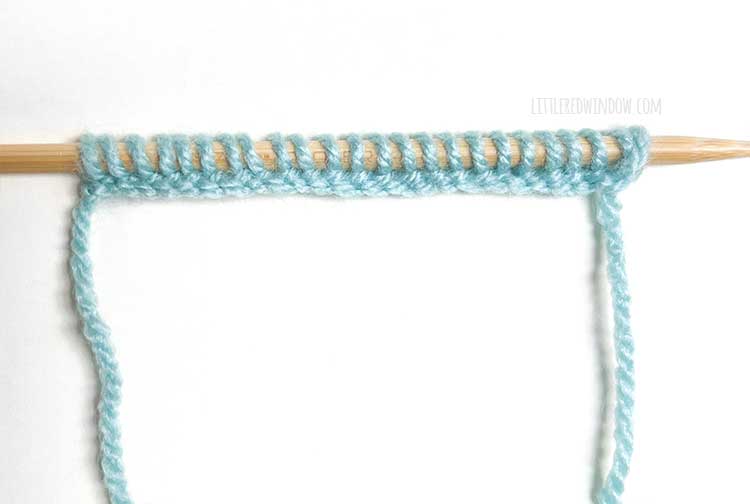
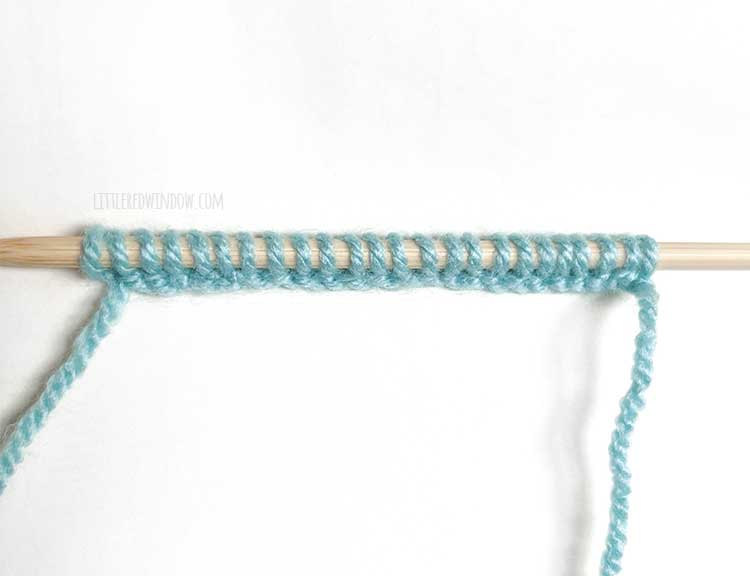
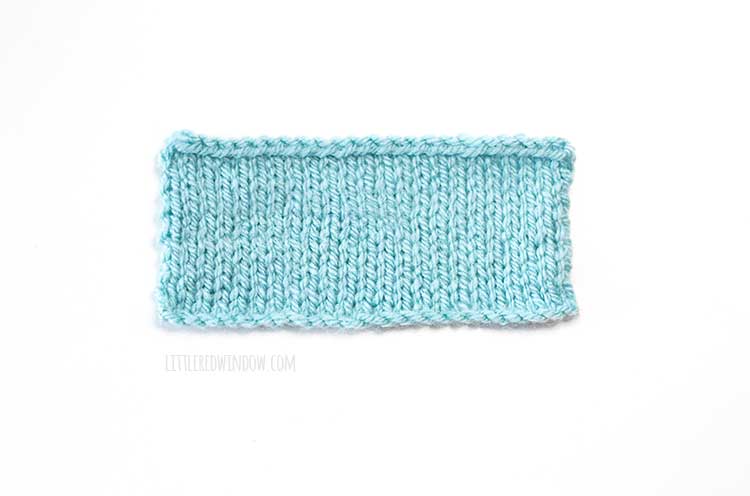
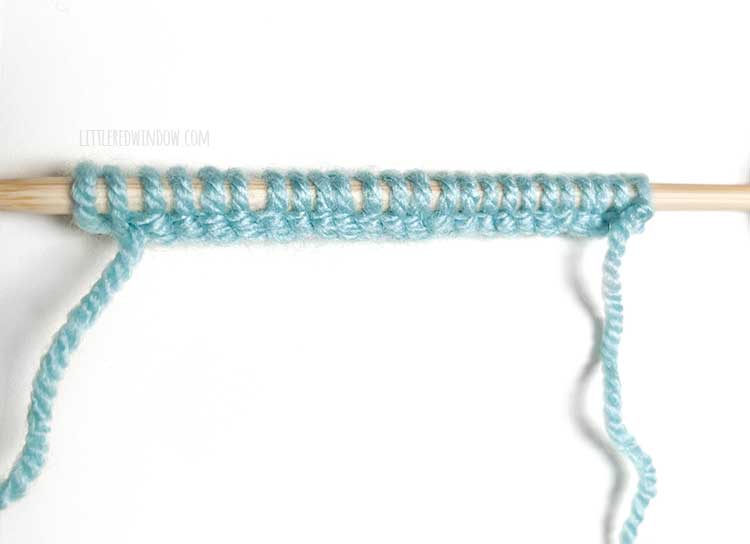
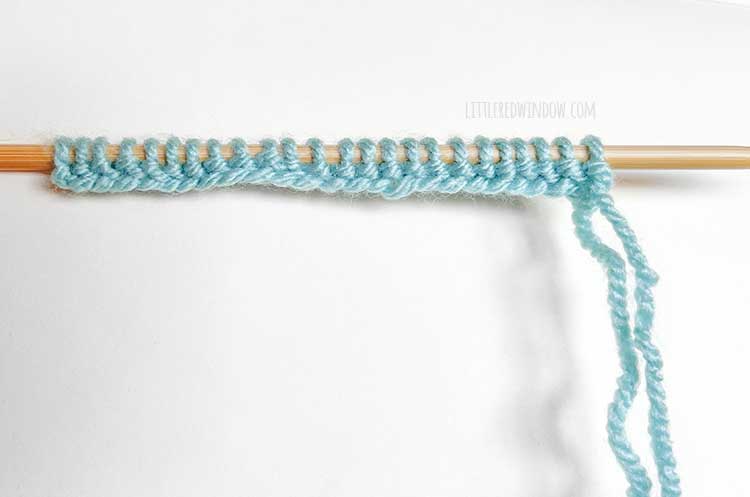
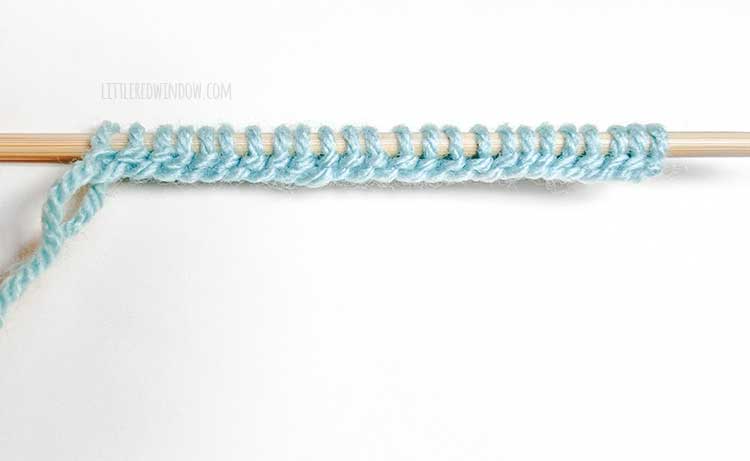
Note: Unlike long tail cast on, German twisted cast on looks the same on both sides.
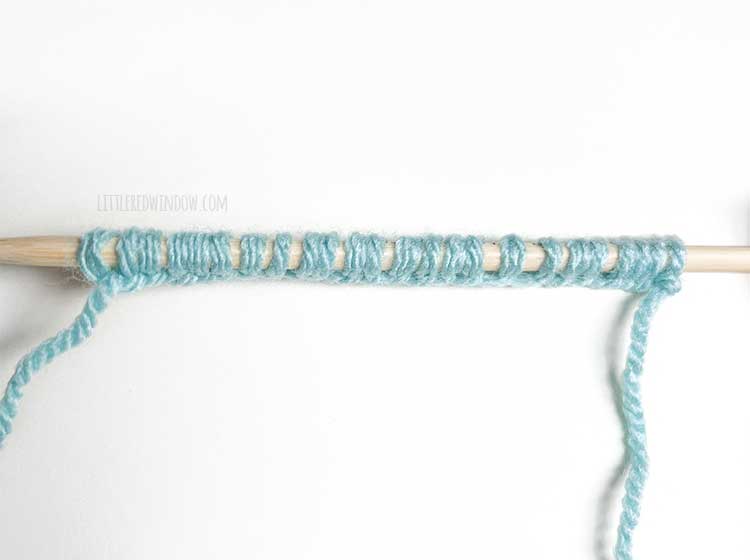
This is what the German twisted cast on looks like on the needles:
This is what the German twisted cast on looks like after it’s knit:
COMPARE:
Pros:
- German twisted cast on is very stretchy and a favorite of sock knitters
- It looks great with garter stitch
Cons:
- German twisted cast on can be kind of tricky to learn.
- Like long tail cast on, you also have to estimate how much yarn you need for your yarn tail before you start your German twisted cast on.
Of course there are more cast on methods out there, but these 5 are pretty common and understanding how they are different will hopefully help you choose a cast on for your next knitting project!
If you liked this, you may also like some of my other posts…


- Rib Zag Hat Knitting Pattern - April 23, 2024
- Double Stockinette Stitch Knitting Pattern: Easy How To for Beginners - April 18, 2024
- Fiery Fades Hats Knitting Pattern - April 16, 2024


Kirsten says
Thank you – this is brilliant!