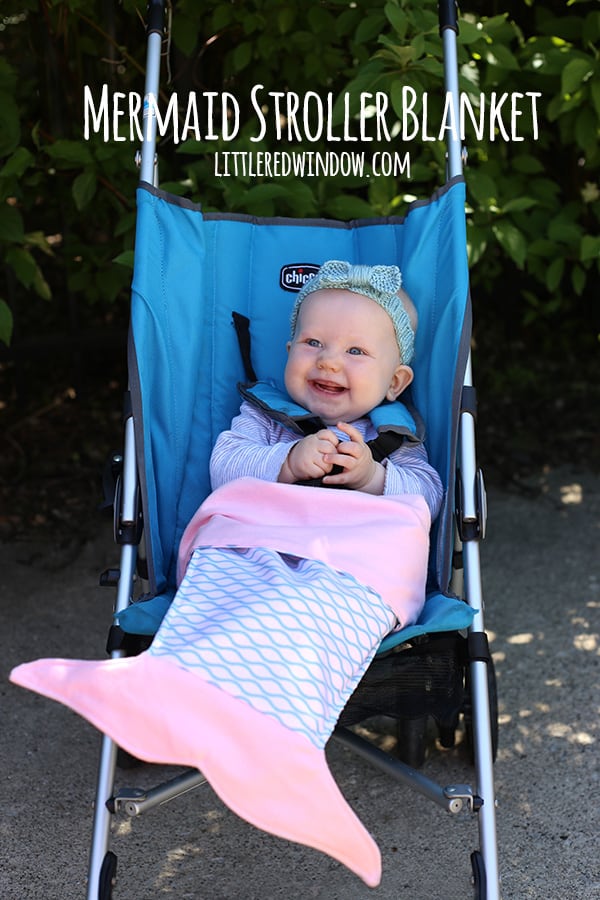
Sew your little one a sweet mermaid stroller blanket!
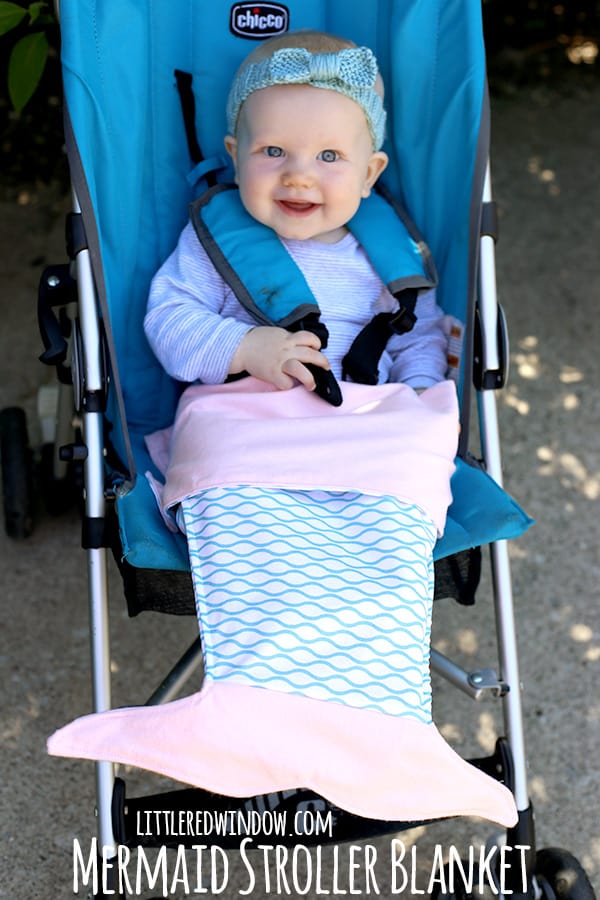
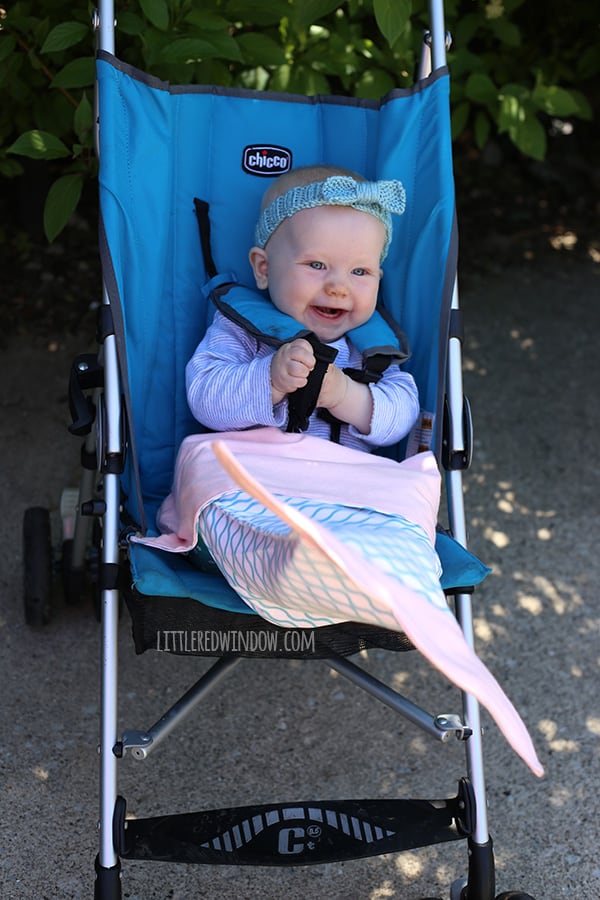
A couple weeks ago, my friend Lisa messaged me with a link to a mermaid blanket and said, “you should make one of these!” It was actually a crochet pattern and it was really cute. And so I thought about translating it to knit but if you’ve ever knit a baby blanket, you know, they take forever. And then while I was bundling Baby V into her carseat with a too-bulky blanket I realized it would be a perfect carseat / stroller blanket. So the Mermaid Stroller Blanket was born! A lot of mermaid blankets out there work like a sleeping bag, the entire mermaid tail is basically just a tail shaped pouch that the kid or baby slips their legs into. But because I wanted to use this with a stroller I knew that wouldn’t work because it would get in the way of the straps that go between their legs. So I devised this shape and so far it’s actually really working well! Her lower legs go into the pocket at the bottom half of the tail and then you can tuck the top half of the blanket in around her without disrupting the function of the straps and buckles! Plus it keeps her from kicking her feet out which was a constant problem with a regular blanket. So there you go! That’s how this ridiculously adorable mermaid blanket came to be. And obviously, as with all baby items, follow the instructions for securing your little one in their stroller or carseat, and don’t leave them unattended with a blanket. Got it? Great. Here’s how to make your own!
Mermaid Stroller Blanket (fits a 6 month old)
Mermaid tail template: Mermaid_stroller_blanket_template_littleredwindow
3/4 yard cotton quilting fabric
3/4 yard flannel fabric
Scrap of sew-in interfacing (optional)
Matching thread
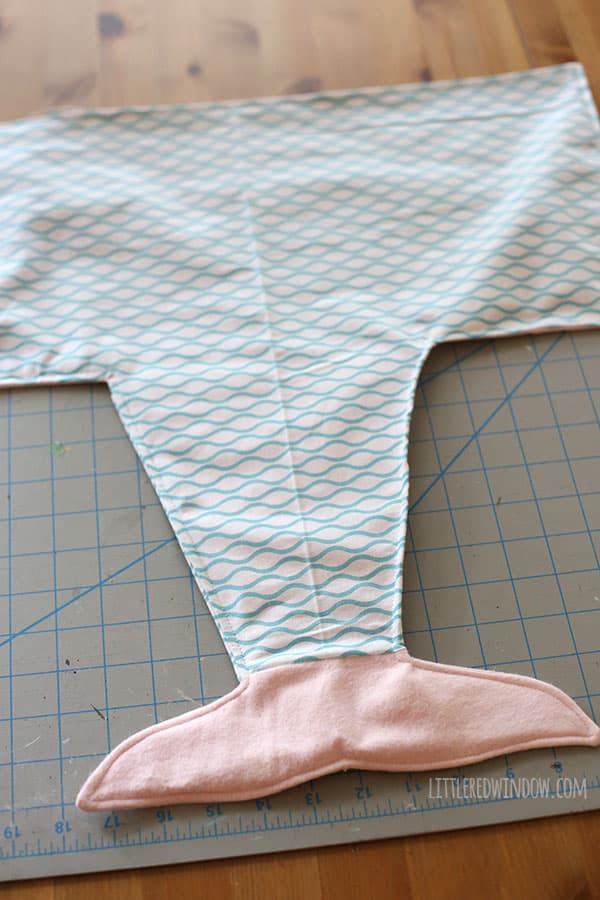
Before we start, it might help to see the finished shape of the blanket as well as a diagram of what pieces you will need to cut:
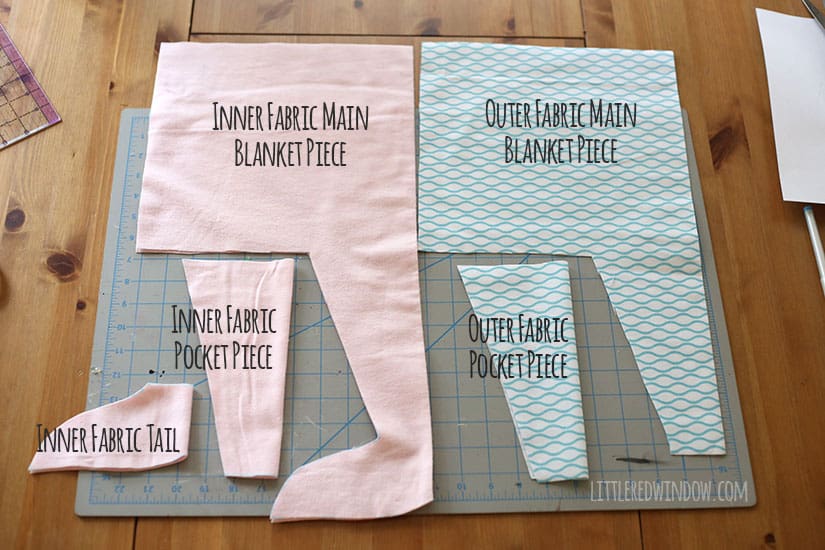
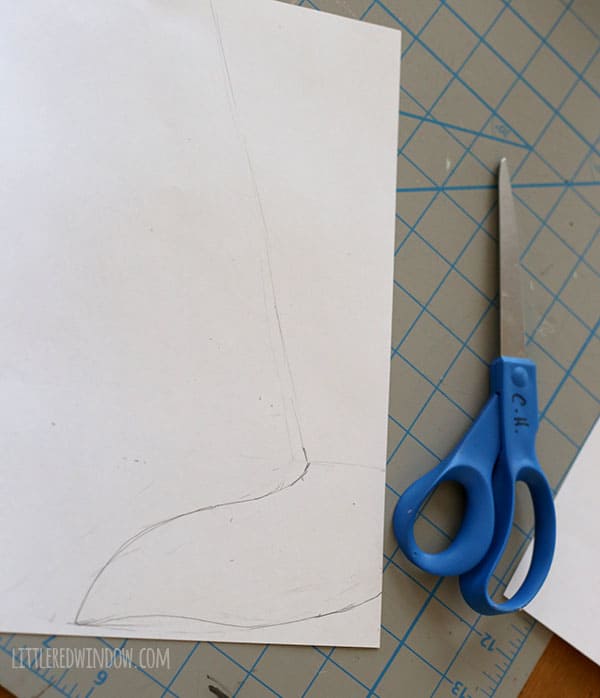
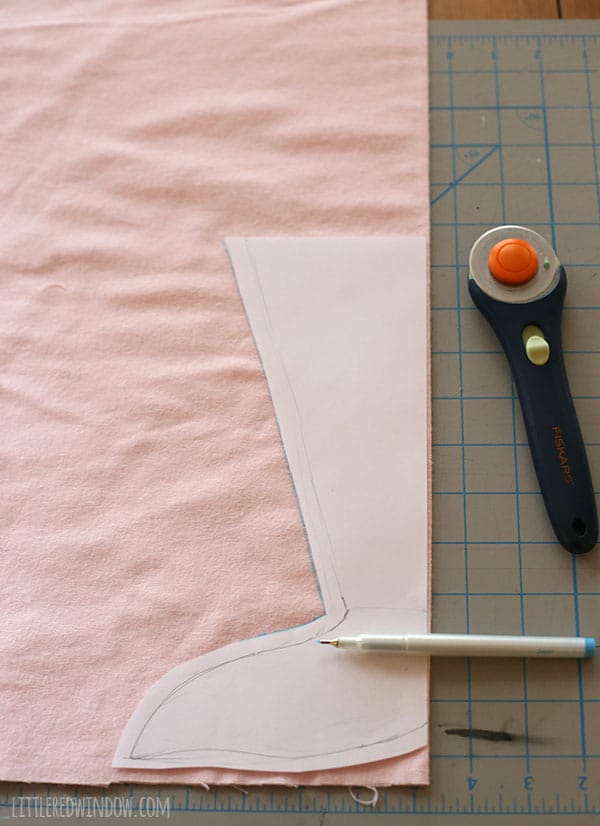
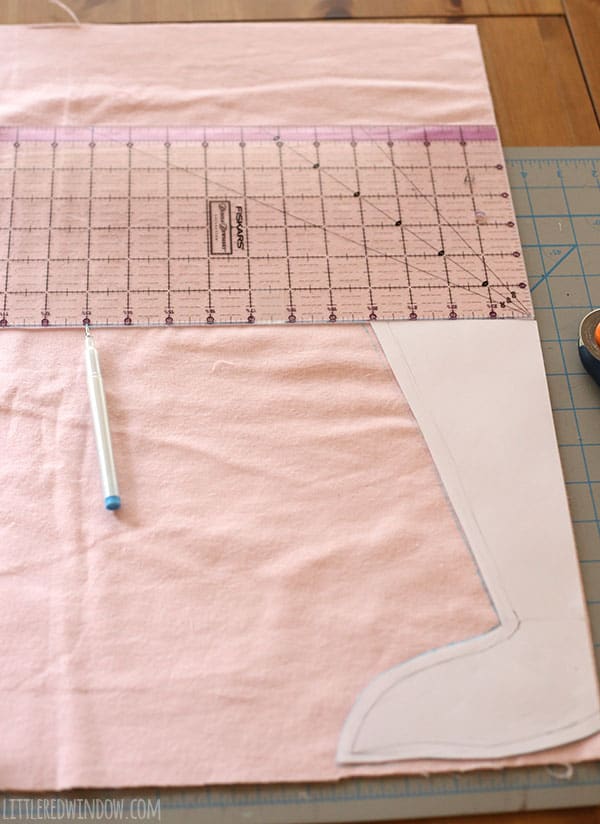
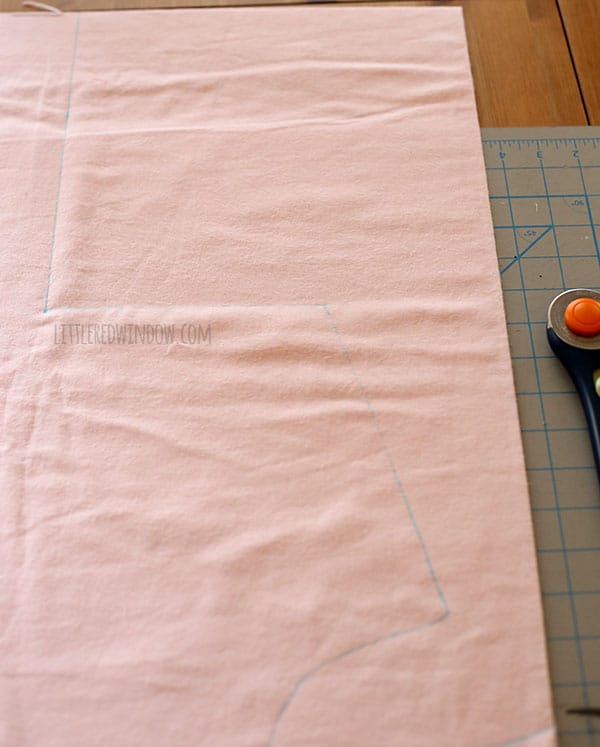
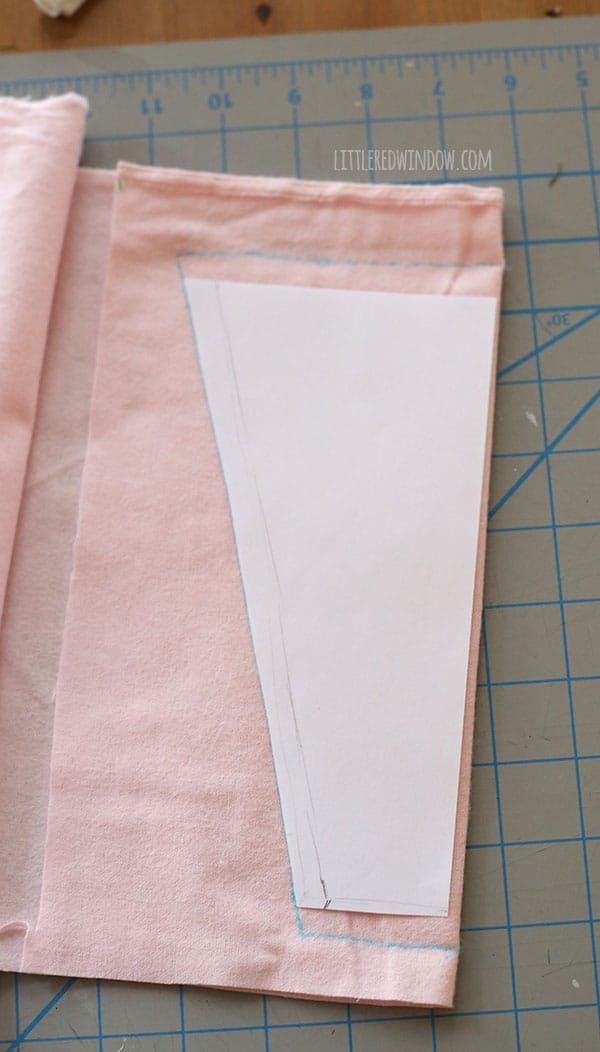
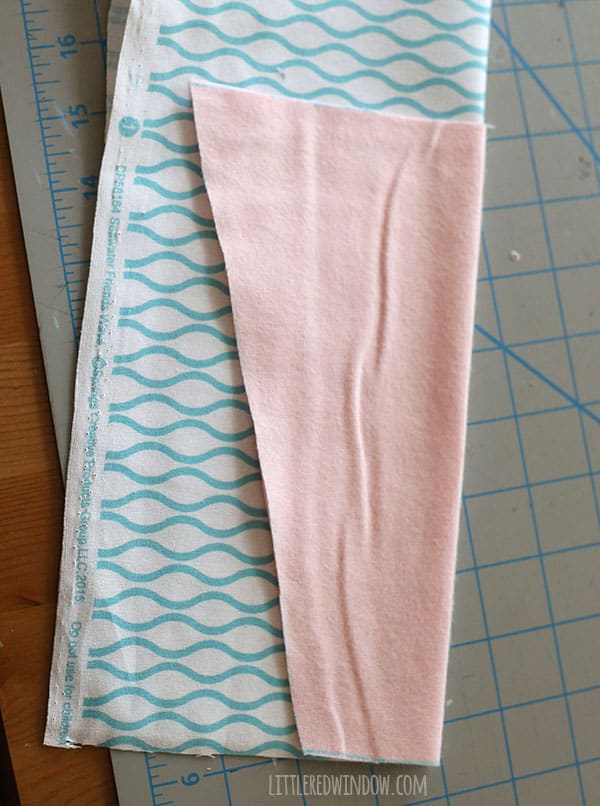
- Print and cut the mermaid tail template along the seam allowance line (link in supply list above) 2. Lay the template along the folded edge of the inner fabric (in my case, the pink flannel), trace with a fabric marking pen. Then use a ruler to draw the upper piece of the blanket (the side flaps that tuck around baby). The flaps go out an additional 4 1/2 inches and up 10 1/2 inches. Cut this piece out, this is the “inner fabric main blanket piece”.
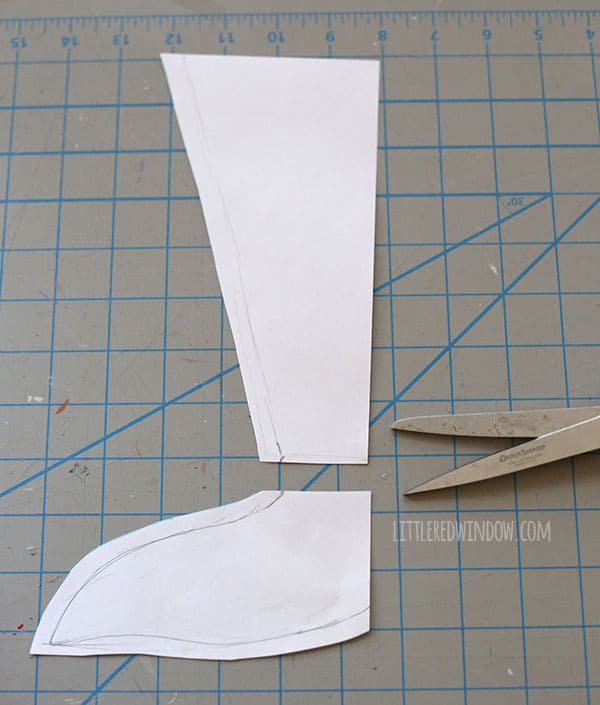
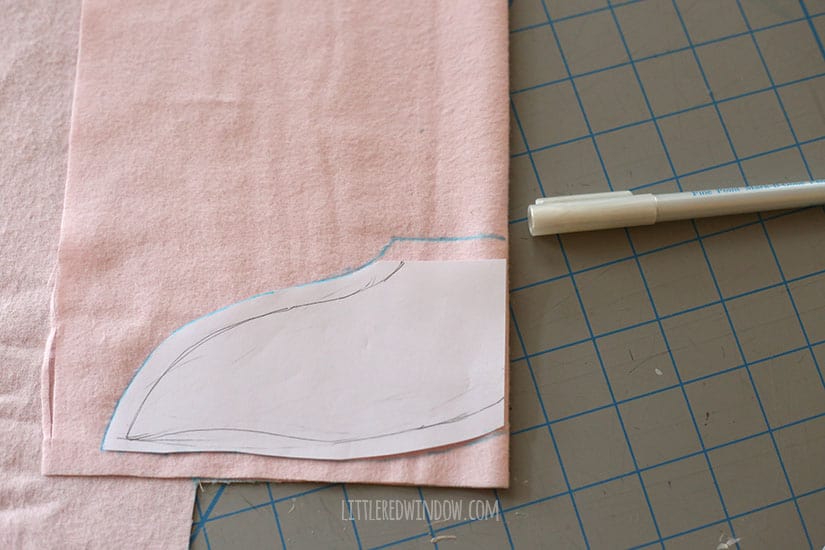
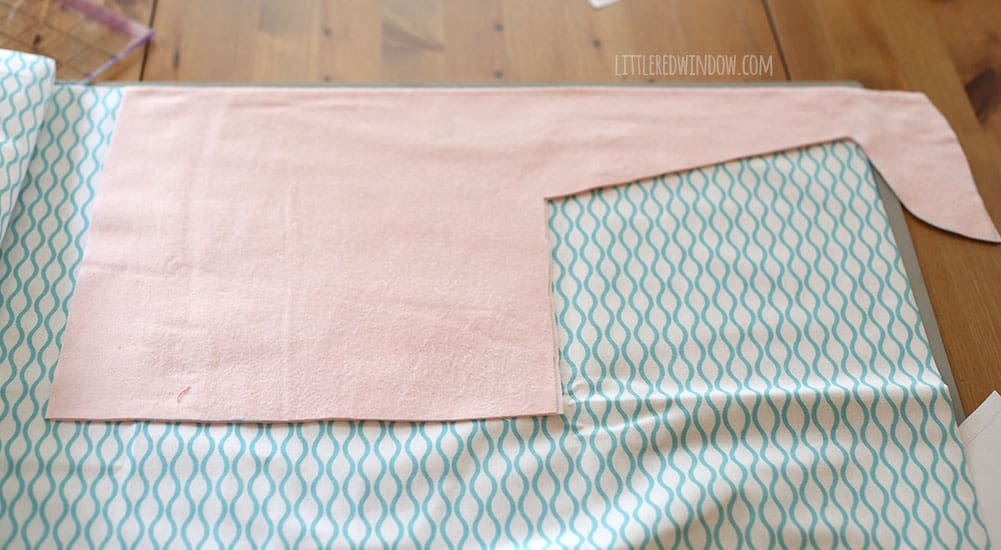
3. Next cut the mermaid blanket template into two pieces as shown.4. Lay the top half also along the folded edge of your inner fabric, trace and add a 1/2 inch seam allowance to the top and the bottom as shown. Then cut it out. This will be the “inner fabric pocket piece”. 5. Take the bottom tail part of the template, put it against the fold of the inner fabric and trace, adding a 1/2 inch seam allowance to the TOP of the tail shape only. Cut this out. This is the “inner fabric tail piece”6. (Optional) I added some sew-in interfacing to the tail to make it a little stiffer. If you choose to do this, trace and cut two copies of the “inner fabric tail piece” that you created in the previous step. 7. Now switch to your outer fabric. You can use the “Inner Fabric Main Blanket Piece” to trace the “Outer Fabric Main Blanket Piece” Just lay it out along the folded edge of the outer fabric, BUT do not include the tail part. 8. Cut an additional pocket piece from the main fabric using the “inner fabric pocket piece” as a template. This will be the “outer fabric pocket piece”.
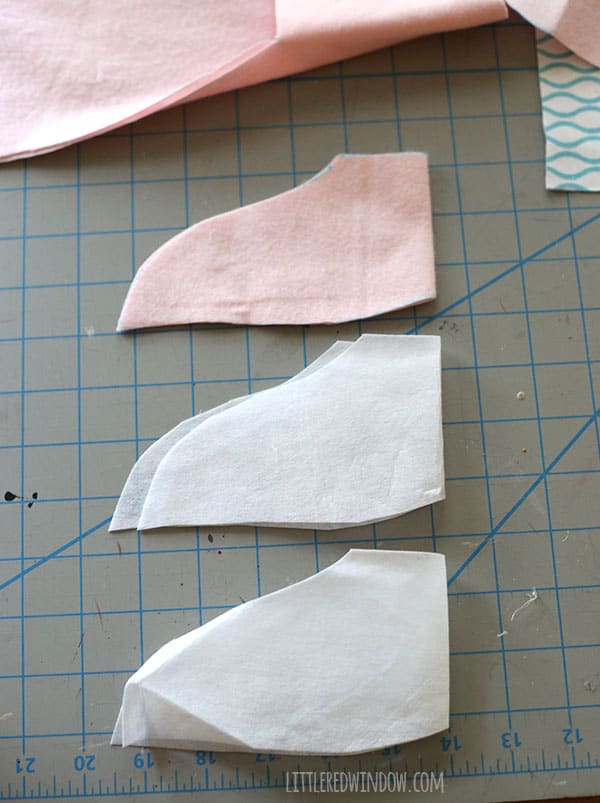
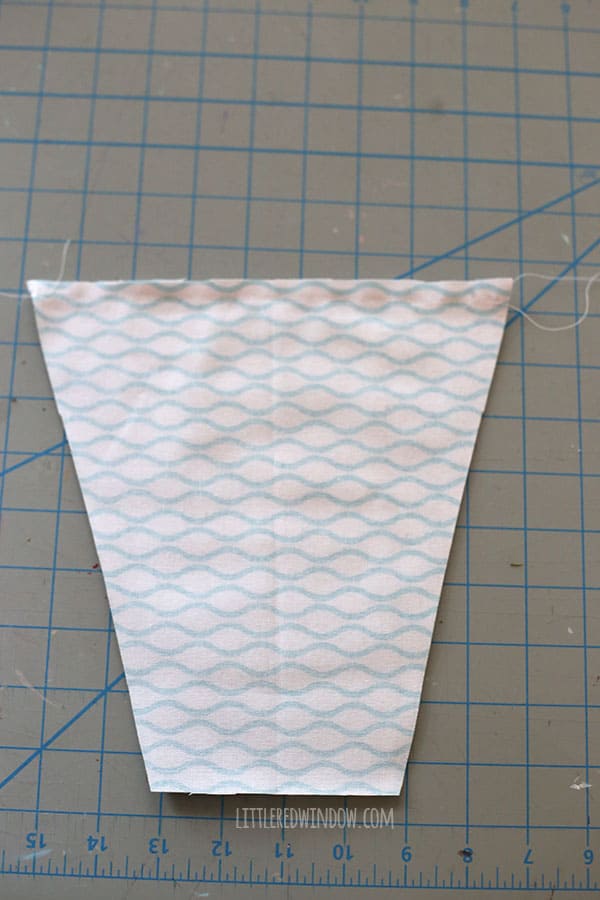
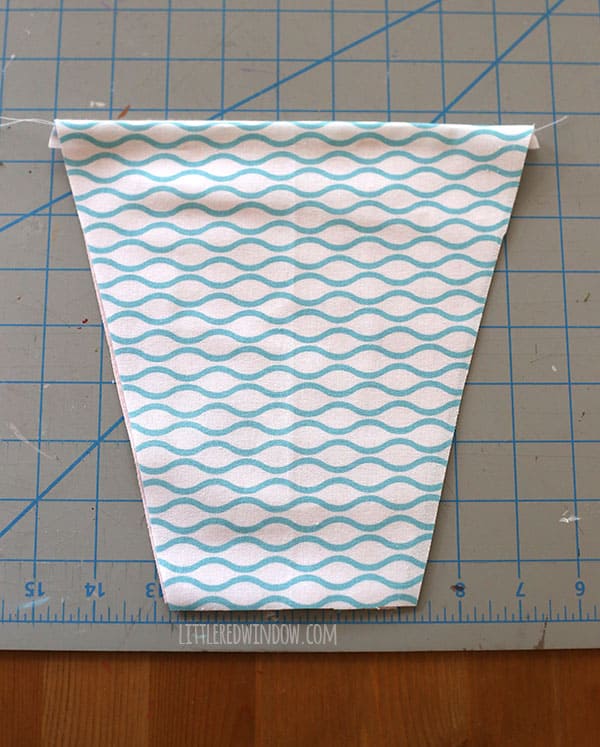
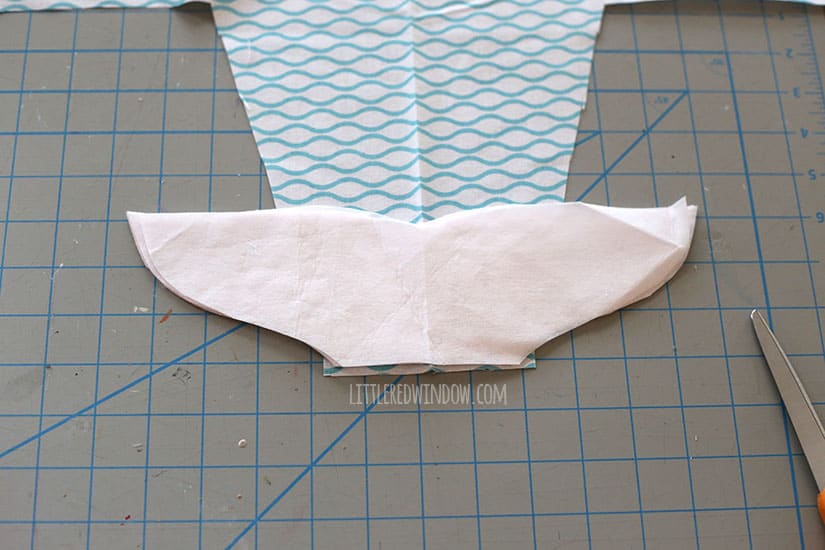
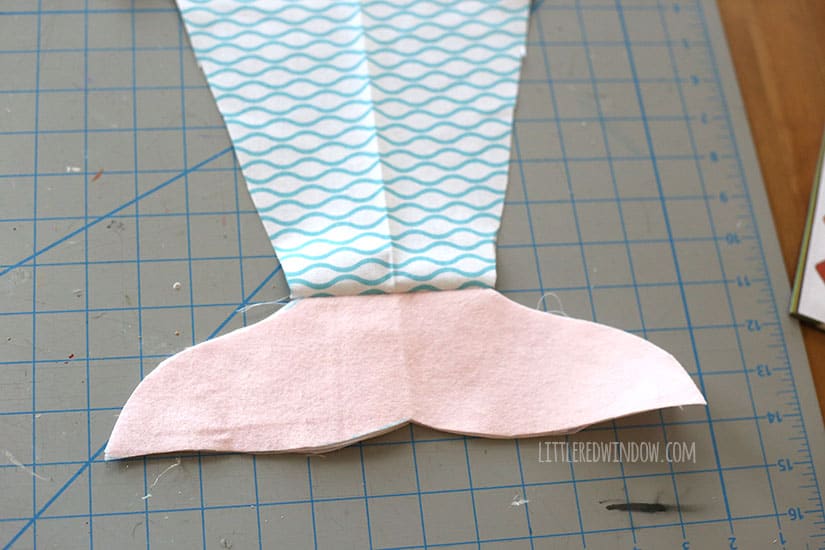
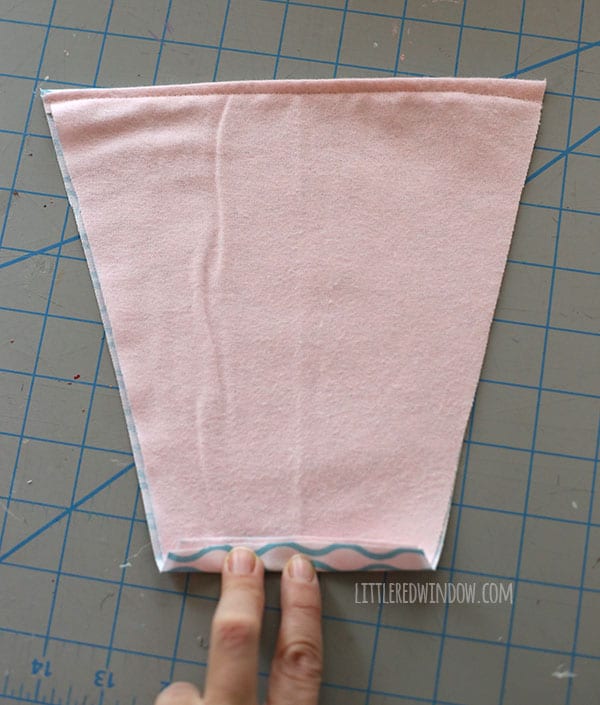
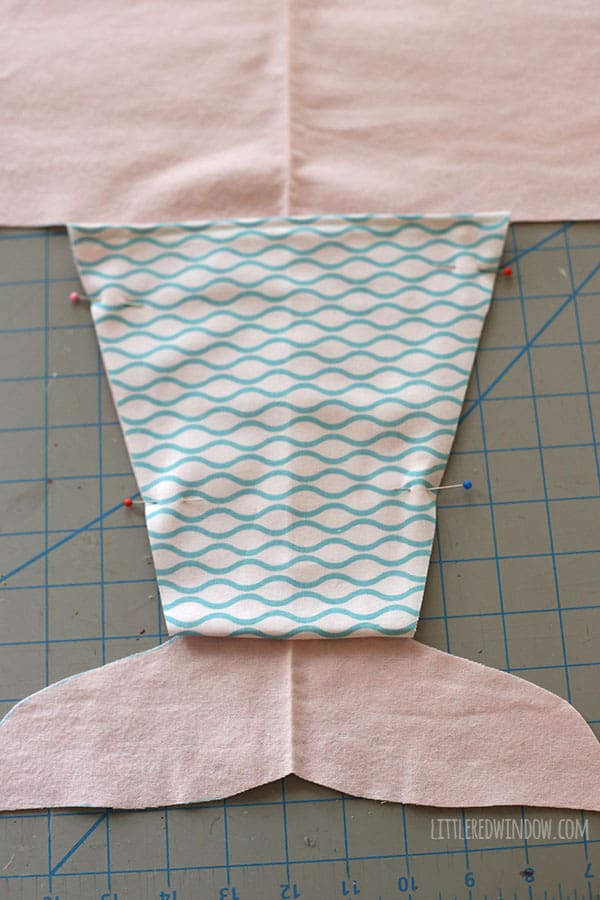
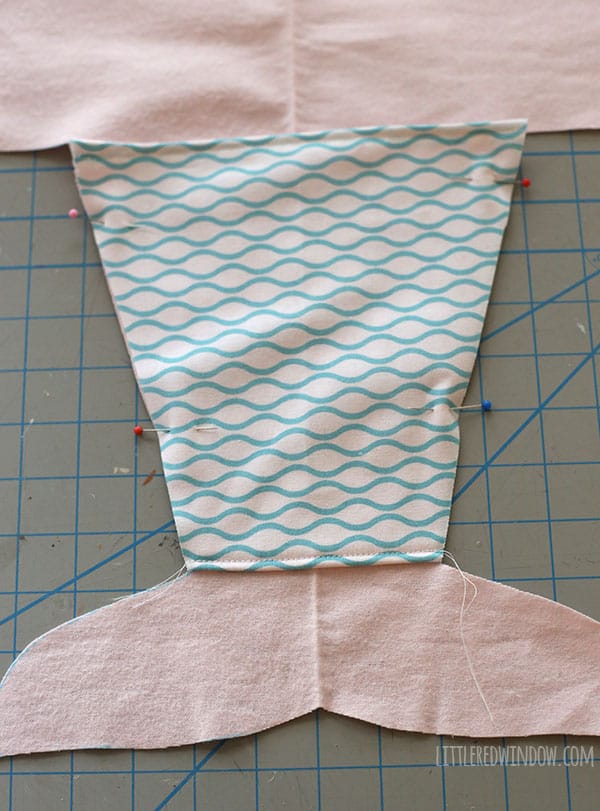
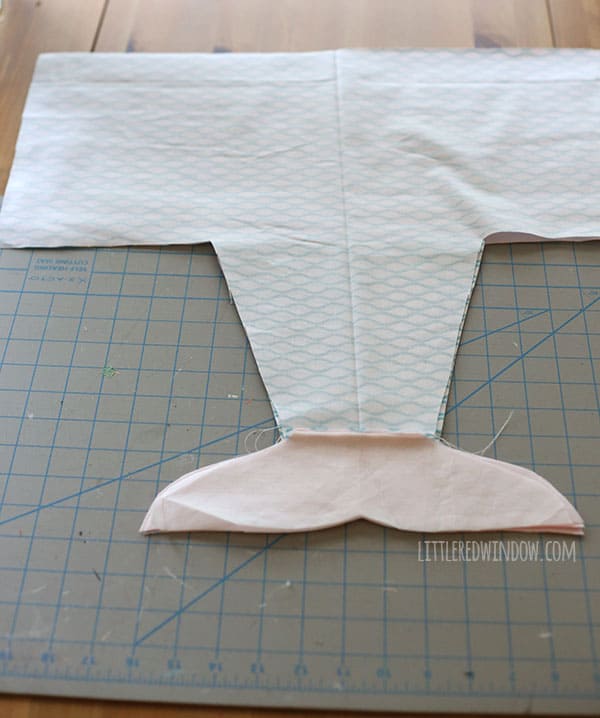
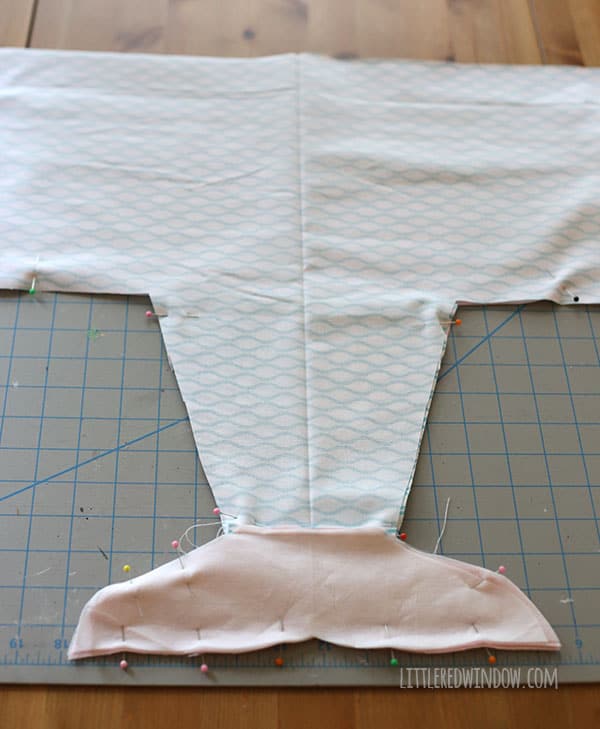
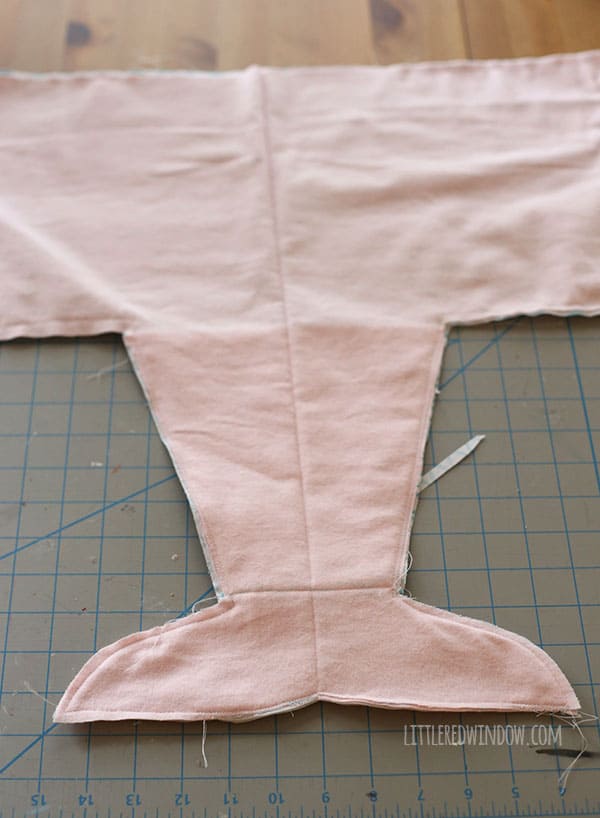
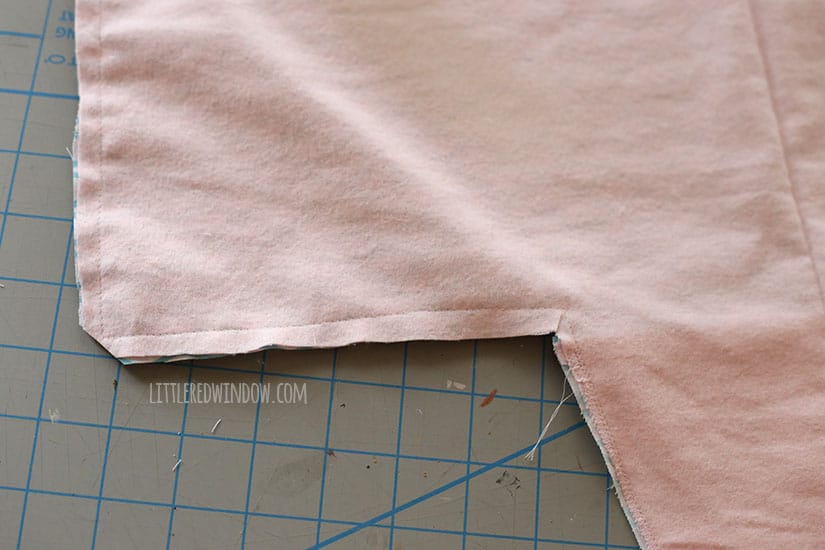
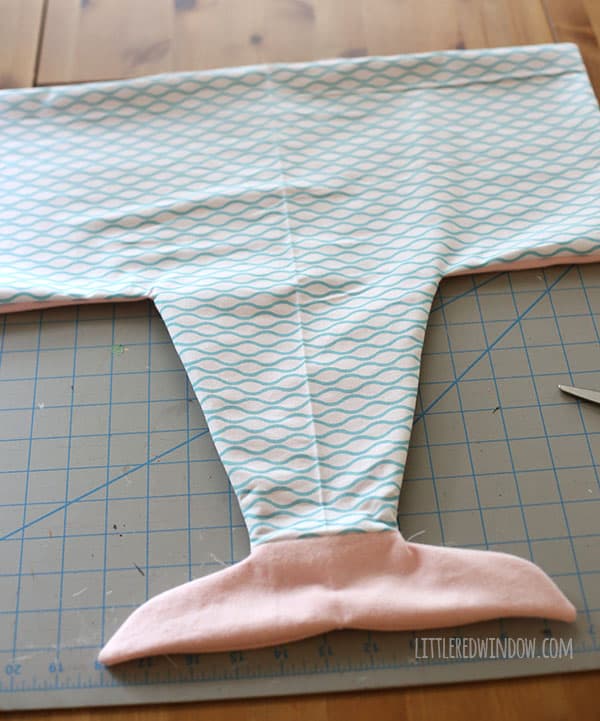
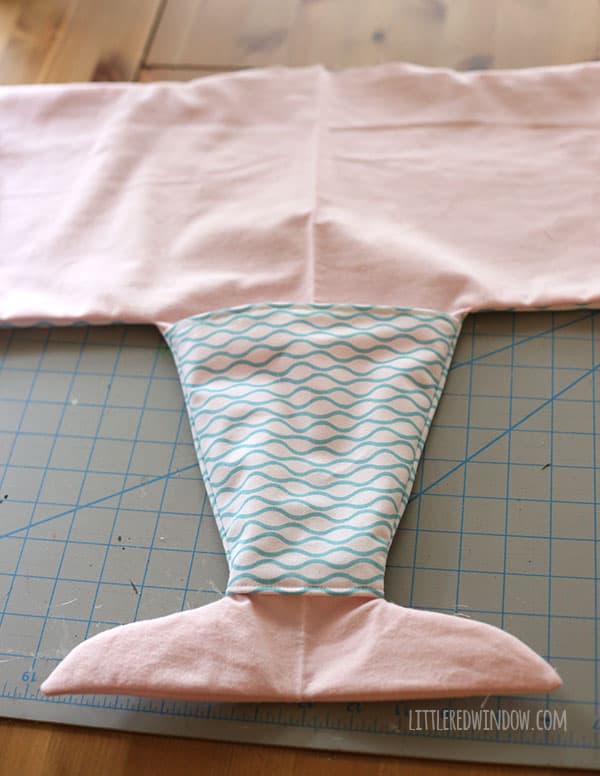
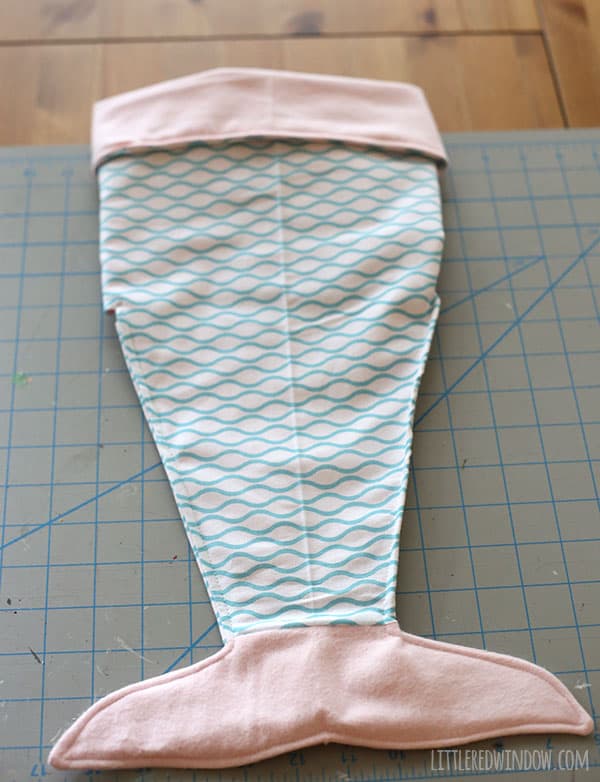
Ok, so here are all the pieces cut out again:9. Lay the two pocket pieces down right sides together and pin. Stitch across the top edge.10. Now flip them right sides out and topstitch across that same top edge. 11. To attach the tail to the outer fabric main blanket piece, lay the outer fabric right side up, then lay the tail (and the two layers of interfacing if using) on top, right side down as shown. Stitch across that seam then open it and press. 12. Take the pocket pieces (which are now attached along their top edge and fold up the bottom edges and press (towards the inner fabric side) as shown. 13. Lay out your “inner fabric main blanket piece” right side up and then lay the pocket piece on top with its inner fabric facing down. 14. Pin in place and topstitch across the bottom folded edge of the pocket that you created in step 12. When you’re finished, lay this entire inner blanket piece out again with the pocket facing up as shown below. 15. Lay the “outer fabric main blanket piece” (with tail attached) on top with its right side DOWN. Align it all the way around the perimeter and pin. 16. Now stitch around the entire mermaid blanket with a 1/2 inch seam leaving a 6 inch opening along the top edge for turning. 17. Before you turn the blanket right side out, clip the corners and clip along the curves to make the seams lay nicely. 18. Turn the blanket right side out and press. Fold in the open edges. (Here’s what it should look like, front and back) 19. Topstitch around the entire blanket with a 1/4 inch seam, closing the opening as you go. 20. And that’s it! To keep baby warm, buckle them in their stroller according to its instructions and then put their lower legs in the pocket and fold the blanket flaps down around them! Just FYI, the process photos show the first one I made which was a little too small so the version that you have a template for has more room in the tail and narrower flaps. It fit my tiny 8 month old nicely so I would say it is reasonably sized for a 6 month old or less. And it is seriously SO cute.
The best part is that when Baby V kicks her legs (which babies do all the time) it looks like a little fish tail flopping around. Sooo adorable.
If you make one, I’d love to see it! Happy Sewing!
(Baby V is also wearing one of my knit bow headbands, perfectly adorable for warmer weather and a super quick knit!)
If you liked this, you may also like some of my other posts…
- Make It Yours: Customize and Personalize Any Craft Project - September 19, 2024
- Slip Knit Twist Hat Knitting Pattern - September 17, 2024
- Learn to Knit – p3tog (Purl 3 Together) - September 12, 2024
Maryanne Senko says
Little Red Window – Mermaid Stroller Blanket: https://littleredwindow.com/mermaid-stroller-blanket/
Have you tried to make a larger size of this sew darn cute mermaid stroller blanket?
Cassie May says
I have not, it should be pretty easy though!
Renita Merkson says
this blanket is so adorable, do you have a boy version for this blanket?