Turn an old table base into something gorgeous with this easy stain technique!

When we moved into this house, my Father-in-law was downsizing at the same time, and he very kindly passed on a lot of his outdoor furniture and garage supplies (shovels etc.) and one of the things he gave us was this table. However, at the time it had what might have been the world’s heaviest marble top. It’s a long story but he had the top made out of a piece leftover from the slab used in his last kitchen remodel. And there was some kind of snafu with the base it was supposed to sit on which resulted in them “temporarily” using this base, but them temporarily became permanent, you know how it goes…. Anyway, this base wasn’t going to collapse or anything but it was wobbly. And the granite wasn’t attached, it just sat on top. I don’t know about you, but the idea of a wobbly 250 pound slab of granite and a very active five year old just wasn’t very relaxing for us, so we hardly ever used it. Plus the chairs we have have arms and didn’t fit under the table. And that’s just annoying, you know, when you can’t scoot all the way in? So this summer we finally sold the slab (to a very nice woman who planned to use it for a kitchen island) and we were going to just get rid of the base until we thought maybe we could reuse it! It turned out there was lip just inside the edge of the top that allows a piece of plywood to sit in there securely, so Aa had some wood cut (shockingly difficult to get anyone at the home improvement store to do accurately, he had to take it to the woodshop at his office) and I got work making it pretty. It turned out about a thousand times better than I even imagined, so before summer is over, I wanted to share it with you! Here’s how I did it…
Stained Patterned Wood Tabletop
Piece of 3/4″ plywood
1 1/2 ” painter’s tape (for spacing)
Paper towels
Outdoor water based polyeurethane
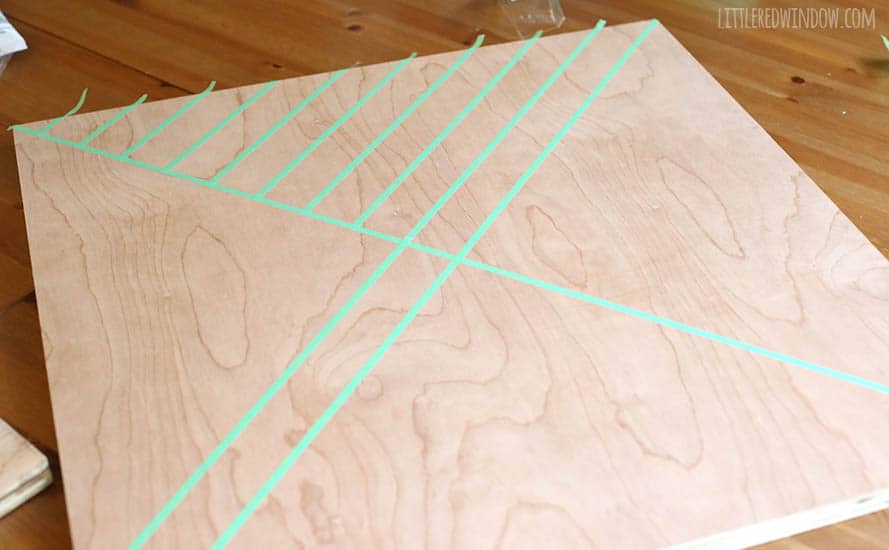
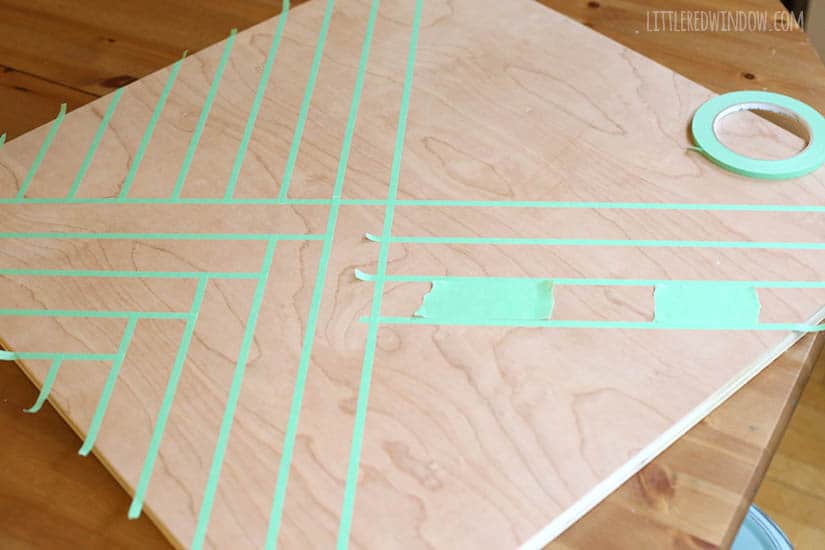
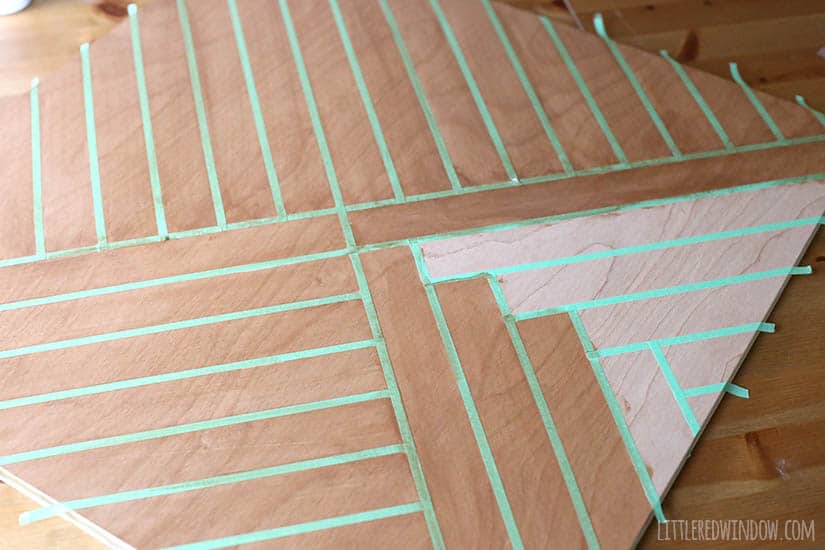
After we got the wood cut to the right size, I sketched out what design I wanted and then got to work laying it out with the painter’s tape. I used a few pieces of the thicker 1 1/2″ tape just to space the lines evenly apart, the design is all made with the 1/4″ tape. 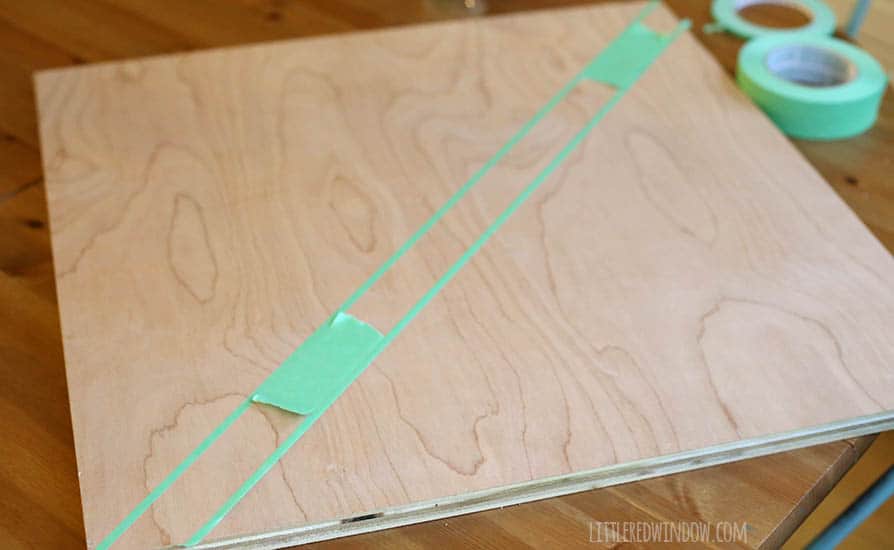
At any rate, I have used this stain on several projects before and I just really like it. The walnut colors is a nice dark medium brown and for this project, I used the pecan color. It also, inexplicably comes in bright red, green and blue, but the natural wood tones are nice and it goes on smoothly, is not stinky and is easy to cleanup with soap and water. So it’s great for small indoor craft projects. I put it on in a thin even coat with a paper towel. I tried to put the stain on parallel to the tape lines as much as I could to minimize pushing stain up and under it. This stain soaked right in and there really wasn’t much to wipe off so you have to work quickly one section at a time.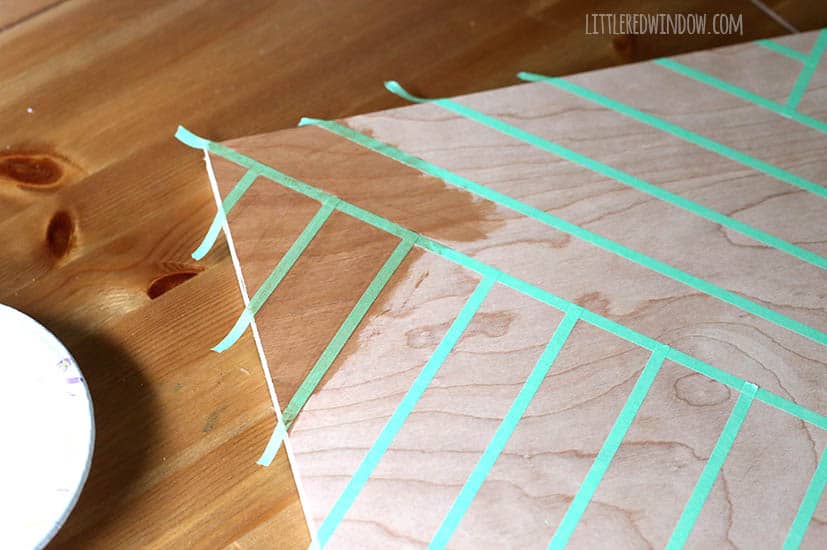
 Once it was dry, I carefully peeled the tape off.
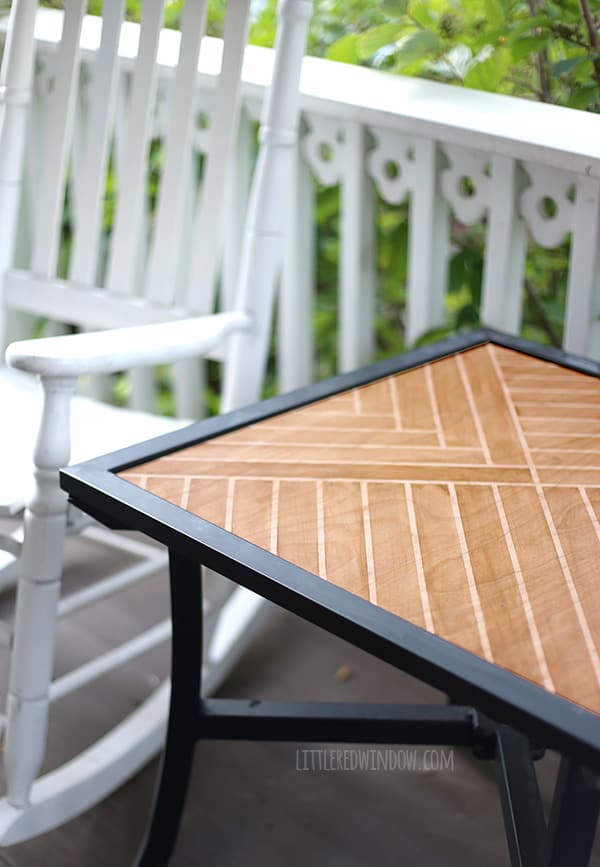
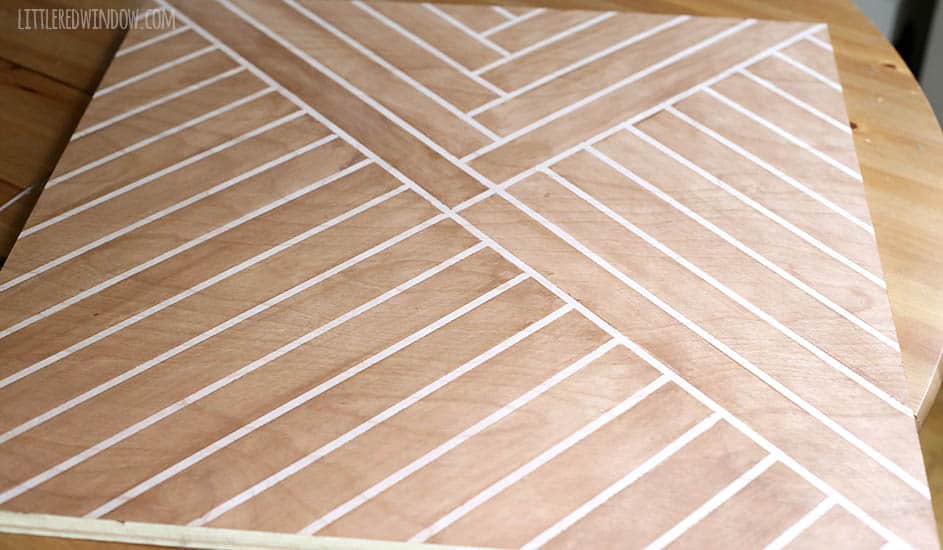 I mean, come on?! How gorgeous does that look?? I want to stain everything now! I let it “dry” some more according to the instructions on the stain and then I took it outside to give it a few coats of outdoor poly. This table will be on our porch now so it will get a little wet (probably not soaking) but people will put drinks and things on it too, so it needs to have a waterproof surface. The brand of poly I used was new to me but I liked it quite a bit. It had pretty much no smell and went on easily. But it did tend to get bubbles if I worked too quickly so a light sanding with 220 grit sandpaper between coats smoothed things out. I put on 4 coats including along the edges, and then let it dry! Then all we had to do was set it back in the table base!
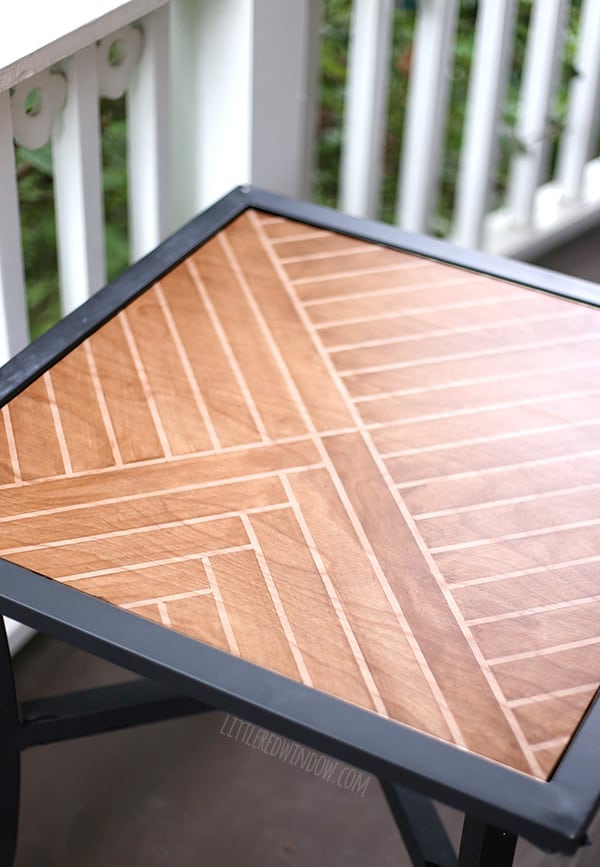
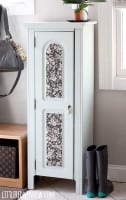
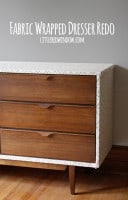
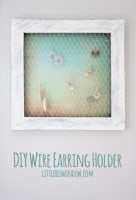
If you liked this, you may also like some of my other posts…

- Crayon Scarf Knitting Pattern - July 21, 2026
- Pencil Scarf Knitting Pattern - July 7, 2026
- Tri-Color Linen Stitch Hat Knitting Pattern - June 22, 2026
Leave a Reply