Make this adorable and easy DIY Valentine Pom Pom Tray to display in your house or give as a gift this Valentine’s Day!
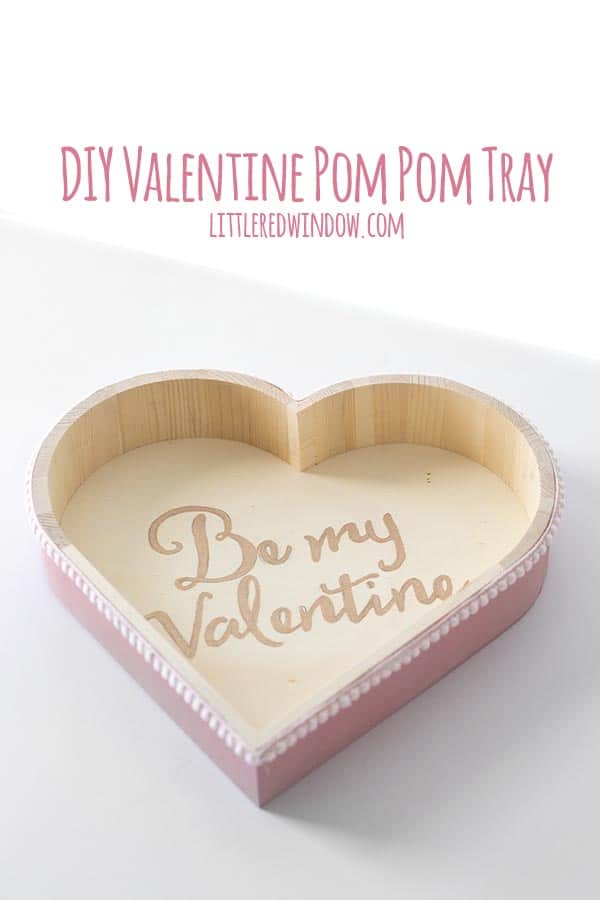
I grabbed this cute little wooden heart shaped tray from the dollar section the other day. I love the light pink color it was already painted and I also love that that saves me a step!
You know I love efficiency. I decided I wanted to add some cute lettering to my DIY Valentine Pom Pom Tray. But I really didn’t want to drag out my Silhouette. I love that thing but it definitely sometimes takes longer. Plus I was pretty sure I didn’t have the color of vinyl that I wanted.
And you know when the crafting bug hits, you have to start IMMEDIATELY. Am I right?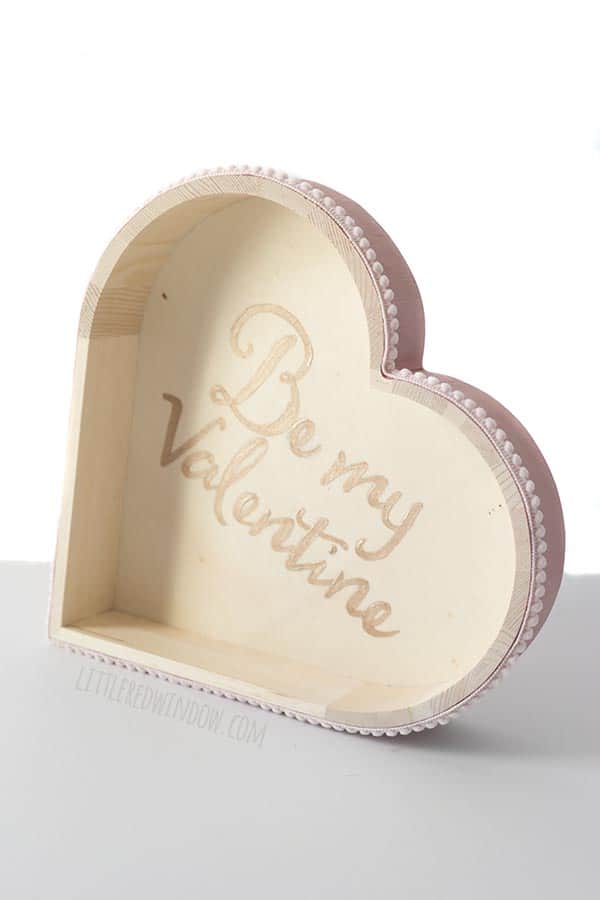
So anyway, I just love how this turned out and the hand painted lettering was really easy. Plus doing it this way you have endless options for colors and styles! And I find that kind of painting kind of soothing. So I enjoyed that too.
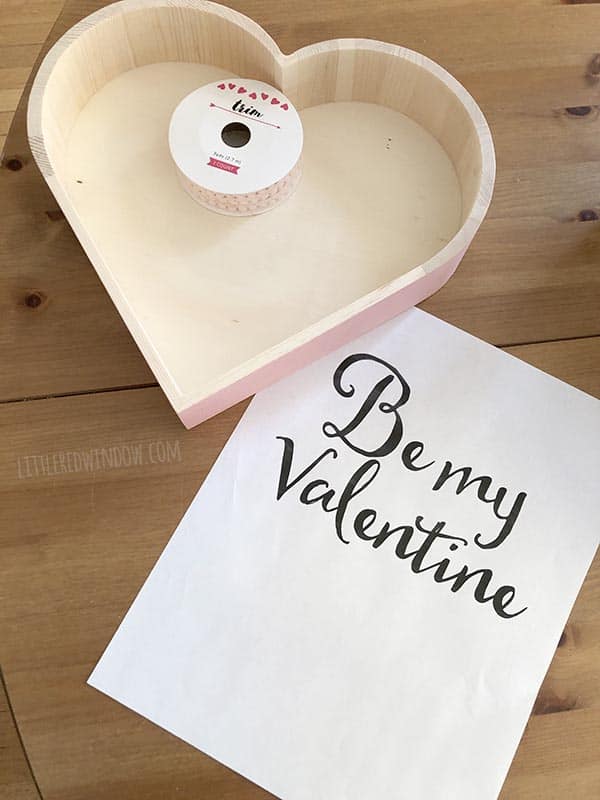
Here’s what you need and how to get started on your own Valentine Pom Pom Tray!
DIY Valentine Pom Pom Tray Supply List
- Wood heart shaped tray
- Acrylic craft paint
- Small paintbrush
- Printer and paper
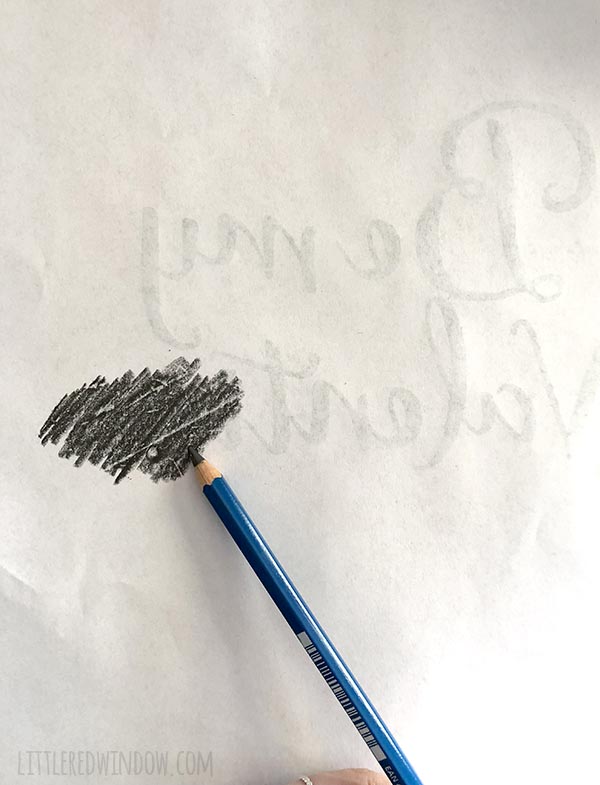
- Soft lead pencil (4B or 6B would be best)
- Tiny pom pom trim
- Hot glue gun
DIY Valentine Pom Pom Tray Instructions
- First, if your tray isn’t already painted on the outside, give it a couple coats in the color of your choosing. Mine was already pink so I skipped this step (yay!)

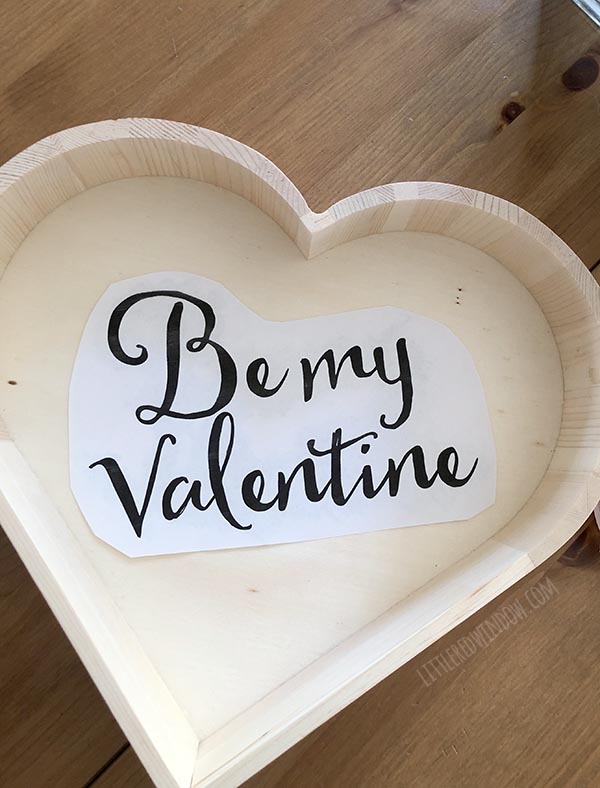
- Then measure your tray and type out your Valentine’s Day message in a font that you like. Make sure the printed size will fit inside the tray. I used Photoshop for this but you can also use a free design program like Canva.
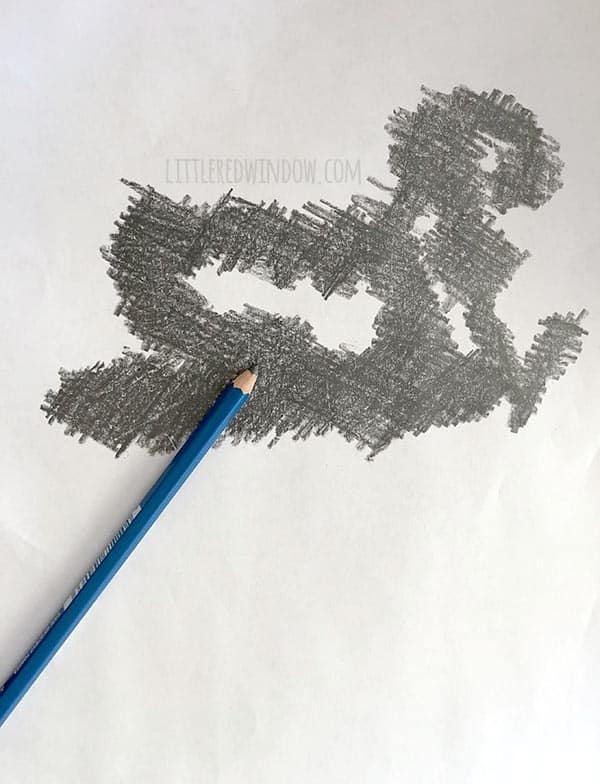
- Turn your printed letter over to the back side and using the side of your soft lead pencil. scribble all over the printed areas. Make sure you really really cover it well with graphite.


- Cut out the lettering to get rid of some of the extra paper and tape it right side up inside your tray wherever you want it.

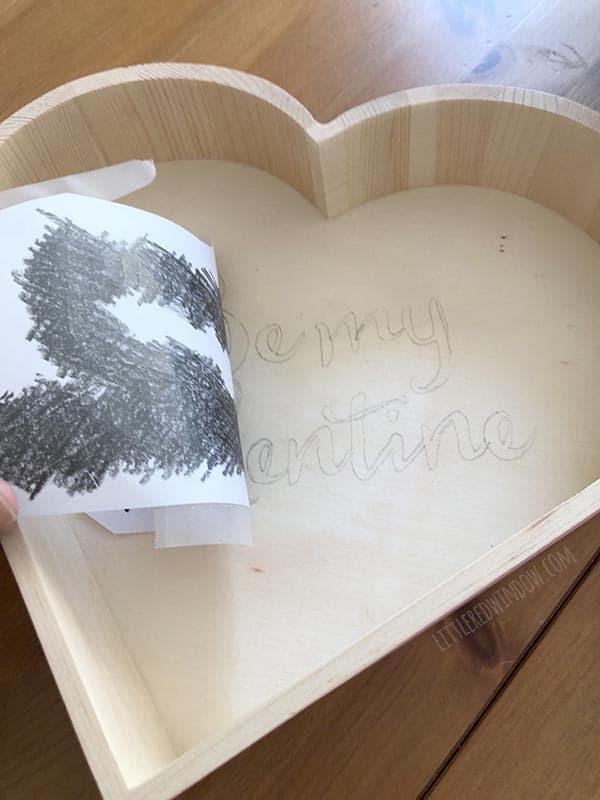
- Now sharpen your pencil and use it to trace, with firm pressure, around all of the edges of the lettering. Make sure not to forget the insides of letters like ‘o’ and ‘e’! This will transfer the lettering design from the paper to the wood surface.
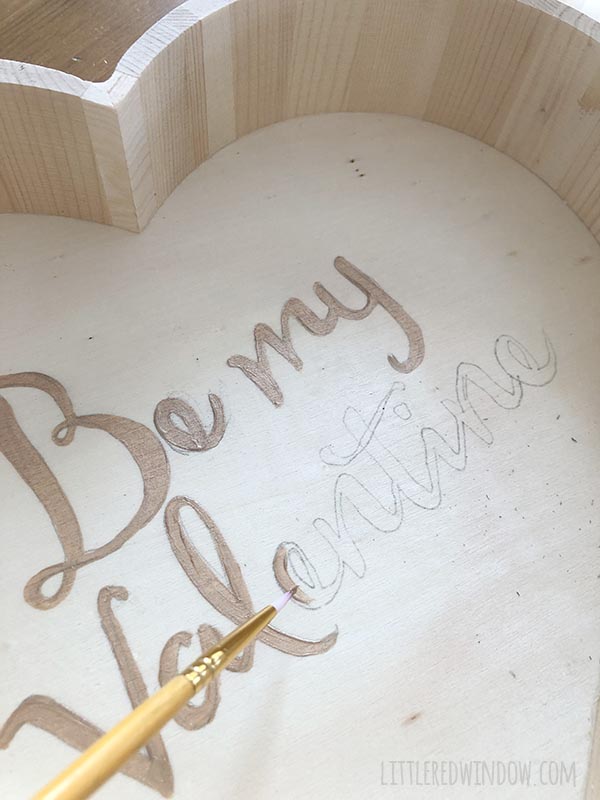
- When you are finished, your design will be transferred to the wood and you can begin filling it in with your acrylic craft paint and small paintbrush. Apply at least 2 coats.
- When the paint is dry, erase any remaining pencil marks.
- Finally, use a hot glue gun to glue tiny pom pom trim around the edges of the tray.

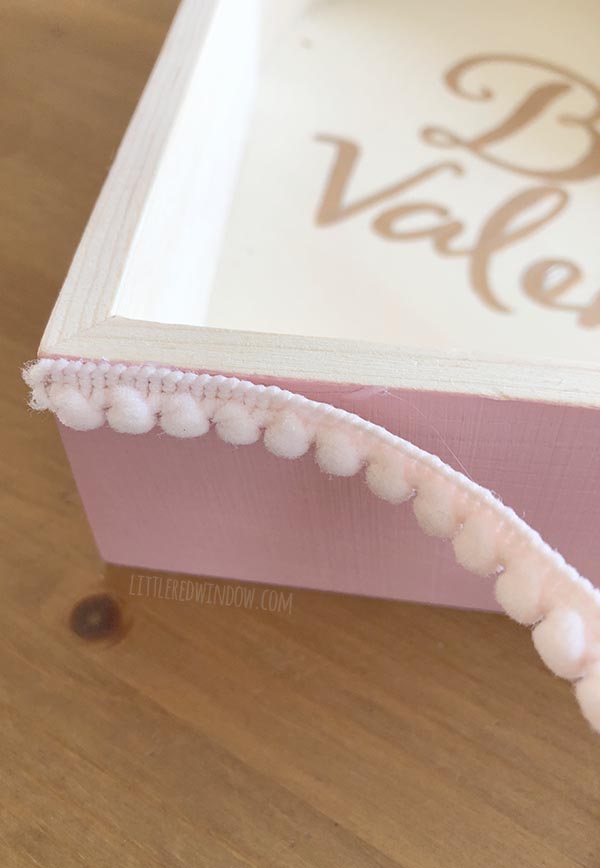
And that’s it! Enjoy (or gift) your adorable Valentine Pom Pom Tray!

If you liked this, you may also like some of my other posts…


- Crayon Scarf Knitting Pattern - July 21, 2026
- Pencil Scarf Knitting Pattern - July 7, 2026
- Tri-Color Linen Stitch Hat Knitting Pattern - June 22, 2026
Leave a Reply