
Make an adorable Vintage Kissing Booth Sign for Valentine’s Day!
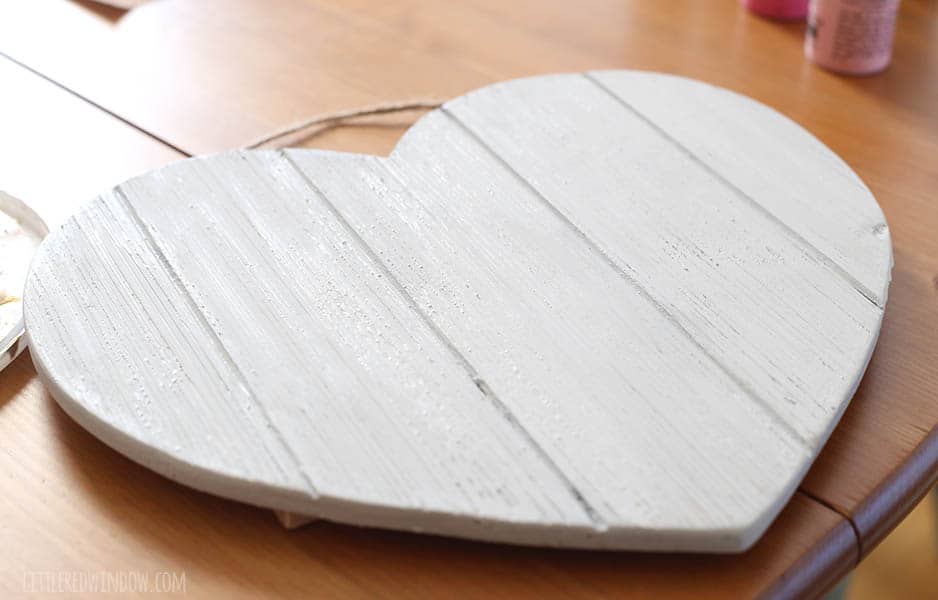
Well, this, in classic Little Red Window fashion, this Vintage Kissing Booth Sign is one of those projects that I thought was going to be a total disaster. I grabbed this cute planked heart sign from the craft store without really paying attention to how rough the surface was.
I guess I just assumed I could sand it? And then I went to actually go sand it and realized that I wouldn’t be able to do that, the grooved surface of the boards was there to stay.
I knew I wanted to put text on this but I had NO idea how to do that on such a rough uneven surface. I even considered free hand painting it but time constraints with small children won out and I figured I’d try a stencil and just see what happened. Spoiler alert, my kissing booth sign worked out fabulously! So that was a pleasant surprise! Here’s how I did it:
DIY Vintage Valentine Kissing Booth Sign Supplies
Chalk paint in white/light gray and charcoal
Acrylic craft paint in hot pink
Clear contact paper or vinyl transfer tape
Cutting machine like a Silhouette Cameo or Cricut
DIY Vintage Valentine Kissing Booth Sign Instructions
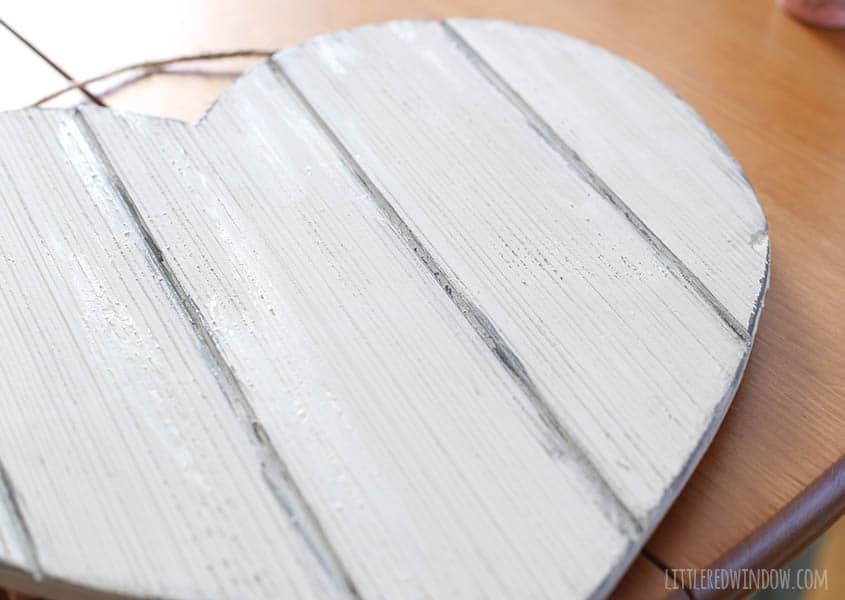
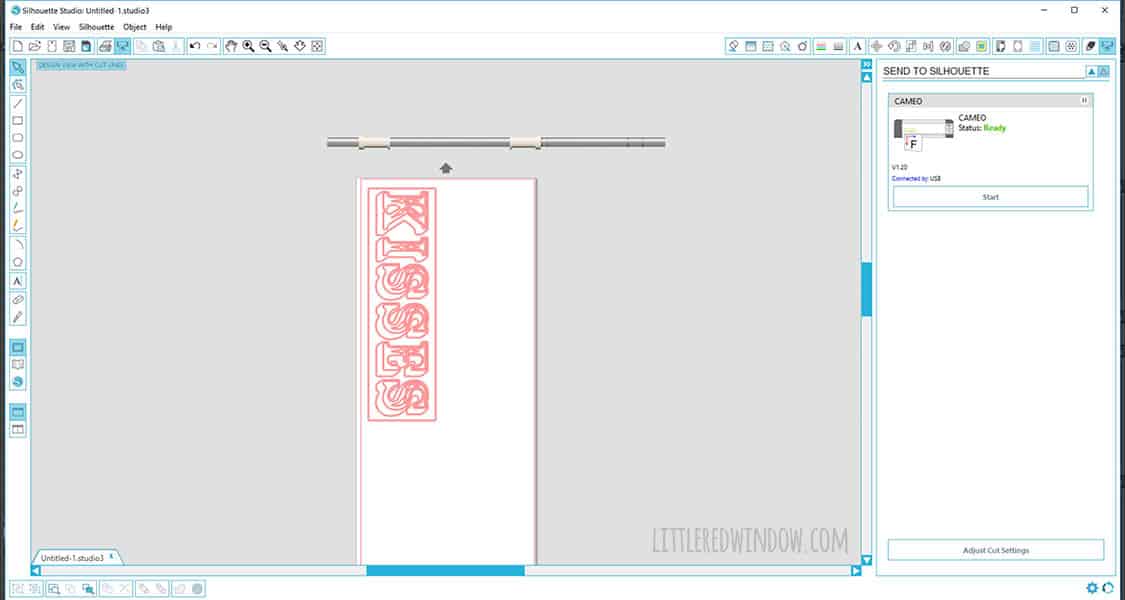

1. The first thing I did was give my wood heart a light sanding. The one I bought was meant to be rustic but it still needed a little sand along the edges and rougher spots. Then I gave the entire thing a good coat of light gray chalk paint. I used Martha Stewart chalk paint in smoke which you can see is an almost white light gray.2. Then I went back with a little bit of the charcoal chalk paint and an almost dry brush and brushed along the edges of the planks and the edges of the heart to make it look distressed. 3. I measure my heart shape and then set up a stencil in my Silhouette Studio software. My stencil was 8 ” x 3″ and the font I used is called Rosewood Std. As always for vinyl I used a blade depth of 2, a speed of 1 and the recommended width for vinyl. I also always overcut by 0.1 when I cut vinyl with intricate parts. It makes it much easier to weed.
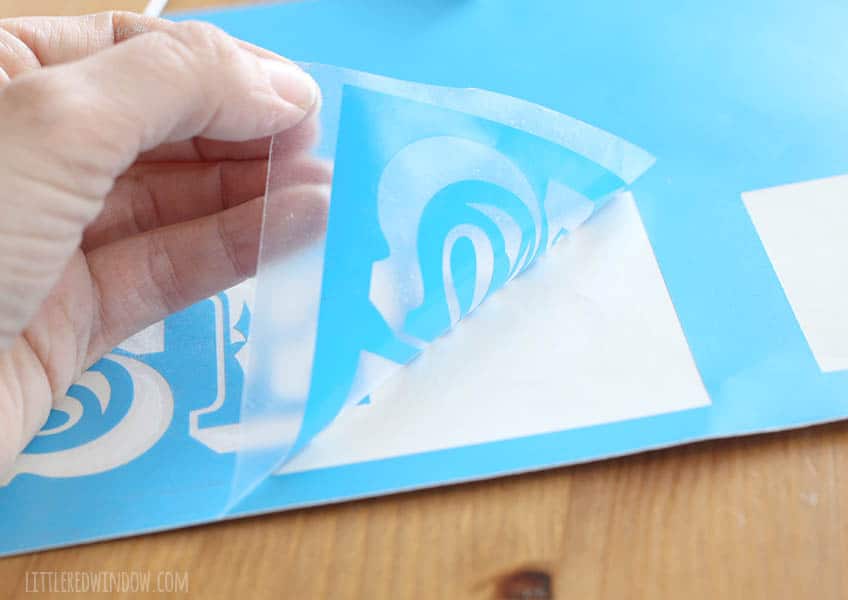
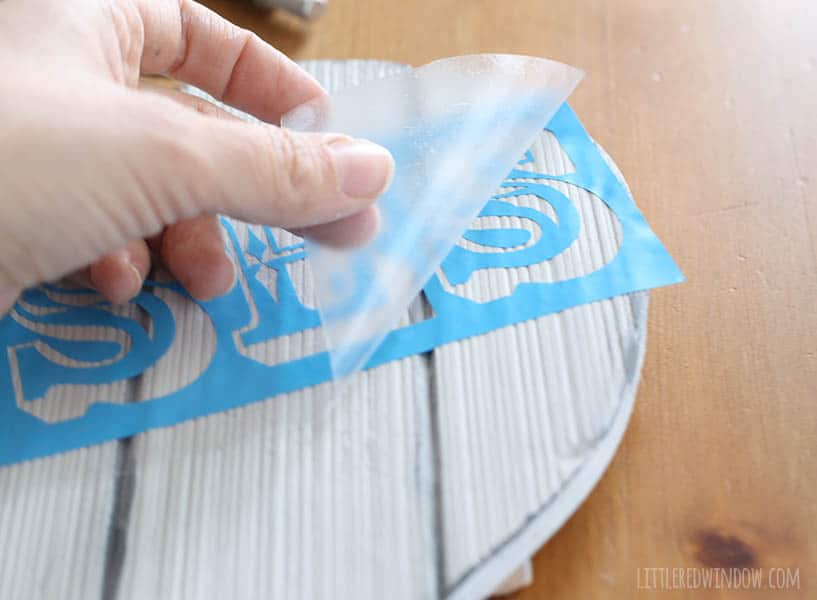
4. My secret to trick to vinyl projects is that I always used clear contact paper from the dollar store instead of the expensive name brand transfer tape. It works great and it’s way cheaper. So after you weed out the negative space pieces of your cut vinyl, lay a piece of contact paper sticky side down on top. Rub all over and then slowly life your vinyl design.
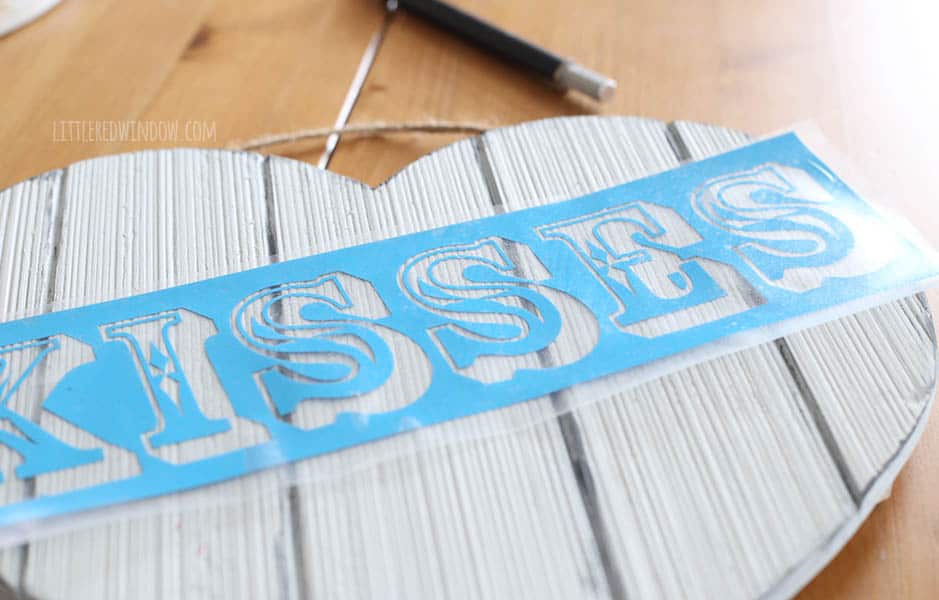
5. Then lay the vinyl back down on your project. Because the wood was so “rustic” and rough I rubbed the stencil all over much better than I usually do. I even used a fingernail edge to make sure it was pushed down into all of the grooves and low spots. I think this was the key to getting a good result so make sure it’s really really on there.

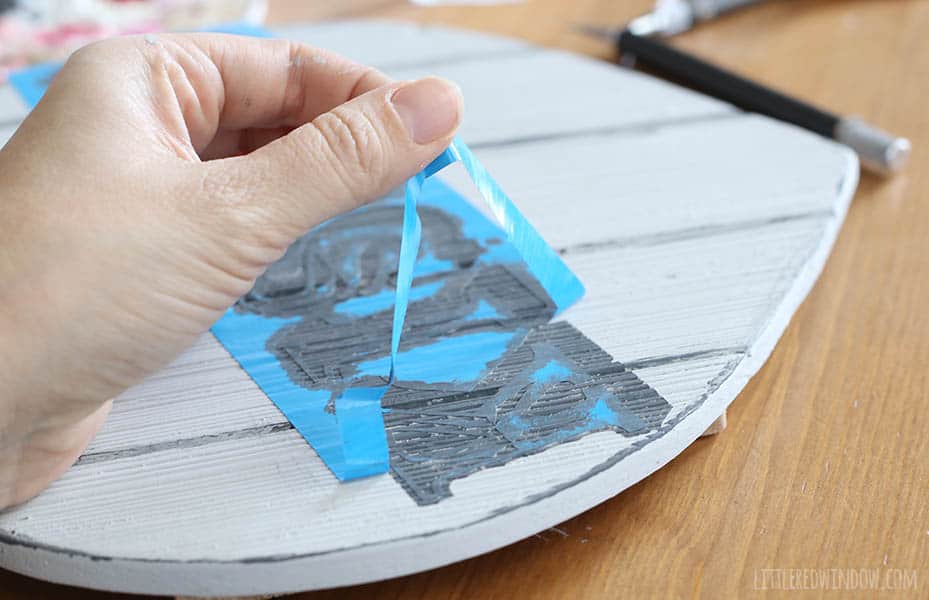
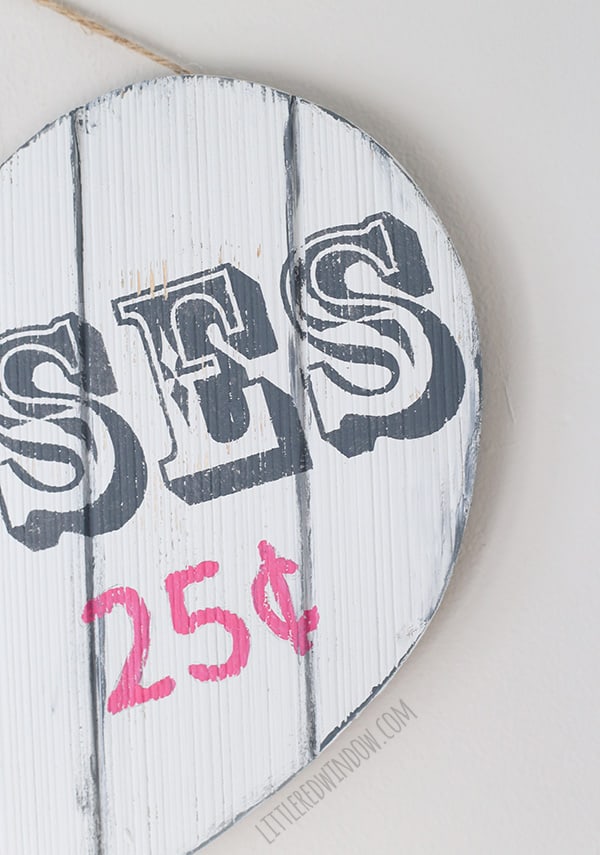
6. Then I used the charcoal chalk paint, again with a nearly dry brush and an up and down stippling motion. Always move your brush away from the stencil edges and toward the center of the design to make sure you don’t push paint up under the edge. 7. At this point I got nervous because the stencil has lots of little pieces and the wood is really rough. Which is, of course, when Aa walked past and said, ” oh wow! Is that going to work?!” But I figured if it didn’t I could always paint over it and try again. But I slowly peeled off the stencil while the paint was still a little wet and what do you know! It was perfect! 8. Repeat the stenciling steps for the 25 cents sections only with pink acrylic craft paint instead. Hang up your adorable vintage kissing booth sign and enjoy!
Happy Valentine’s Day!
If you liked this, you may also like some of my other posts…


- Crayon Scarf Knitting Pattern - July 21, 2026
- Pencil Scarf Knitting Pattern - July 7, 2026
- Tri-Color Linen Stitch Hat Knitting Pattern - June 22, 2026
Leave a Reply