Make this adorable and SUPER EASY DIY Personalized Growth Chart to document your little ones!
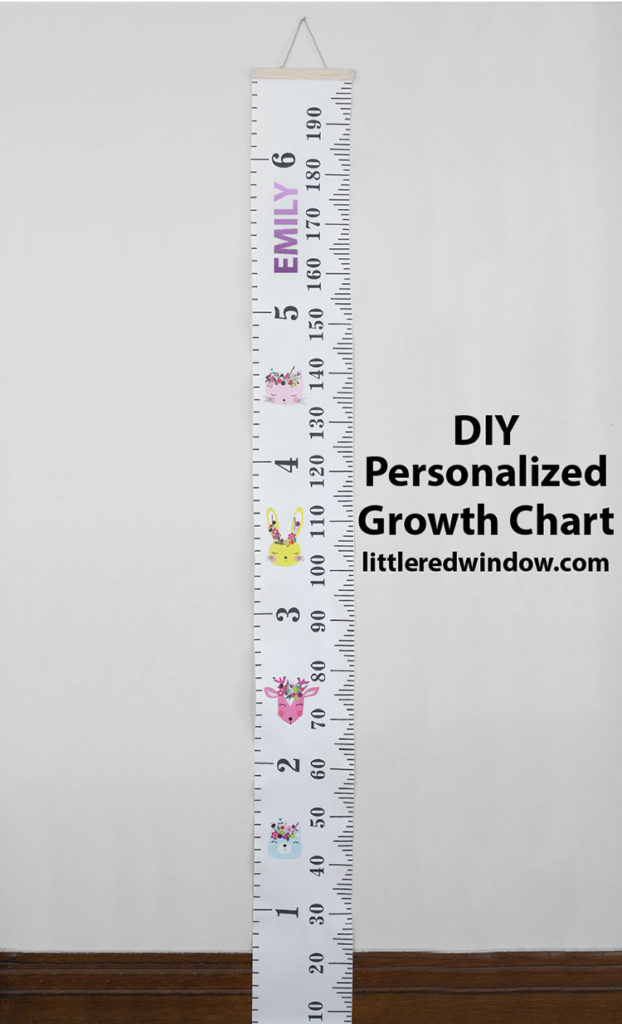
Friends, I am so happy with how this cute personalized growth chart came out. But there were some hiccups so make sure you read my entire post and learn from my tips & tricks!
I got O a growth chart when he was little and at some point when he was toddler he got ahold of a Sharpie and scribbled all over it. I was mad for a half a second before I realized that he could have Sharpie-d over a lot of other way worse things in his bedroom so maybe that wasn’t so bad after all.
He still has it hanging up all scribbled on in his bedroom and now it makes me laugh. His best friend even added their height to it unbeknownst to me during one of their playdates. It’s very sweet.
I actually love when families have all of the kids’ heights in one place and that was my original plan but since the growth chart we already have has since become SO personalized by O, I figured Baby V needs her own. In typical second child fashion, this didn’t happen until she was 4.
(I seriously bow down to parents with more than 2 children, you are amazing)
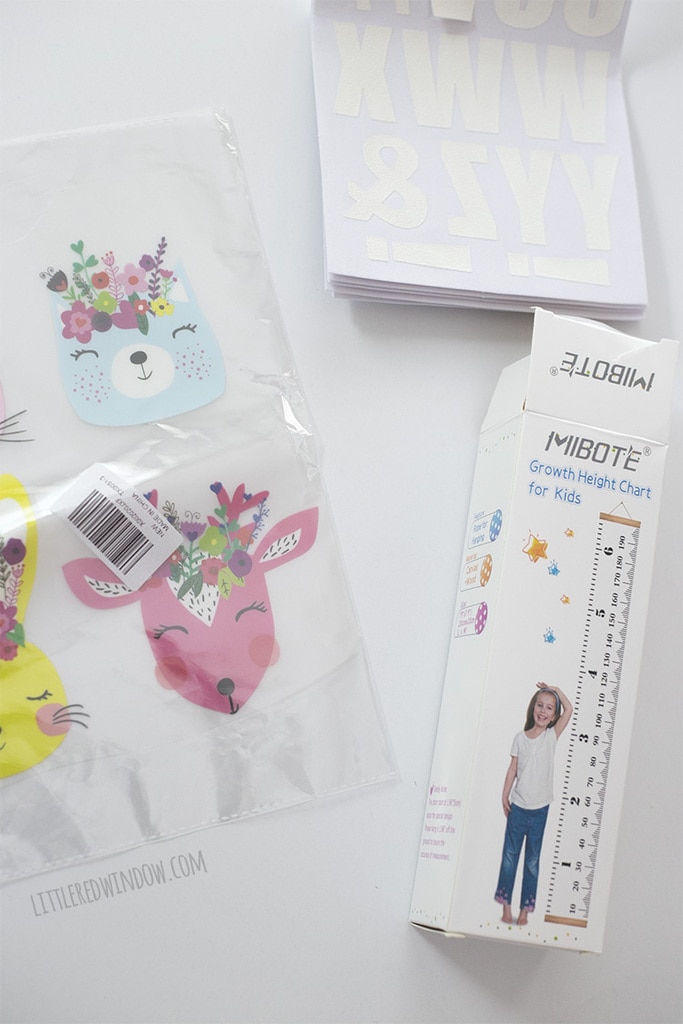
Anyway, I took a plain growth chart and personalized for Baby V with some super easy iron-on customization and it turned out so cute! And I was delighted to discover that there are SOOOOO many amazingly adorable iron-on transfer options available these days, here are some of my faves!
The cutest iron-on transfers
- bunnies and cats with flowers
- jungle animals
- dinosaurs
- butterflies, flowers & birds
- owls
- construction vehicles
- all kinds of animals
- farm animals
- unicorns
Tips and Tricks for using iron-ons
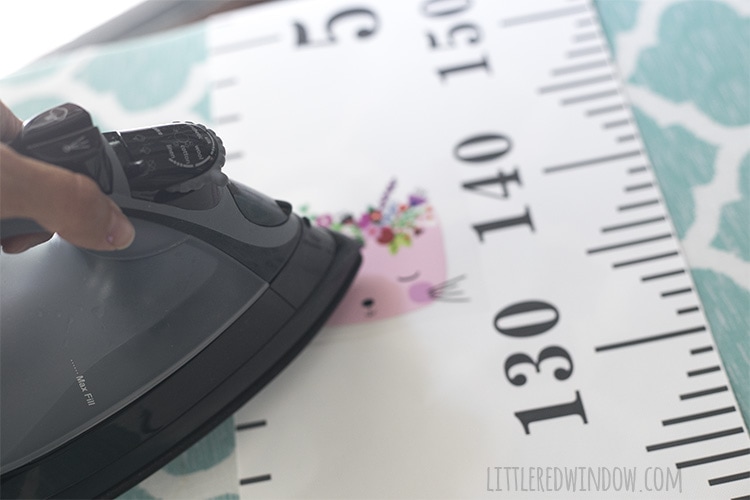
- The growth chart I am linking to in this post is made of canvas but it does have a plasticky coating on the entire surface, for best results, use the lowest possible heat on your iron that still works to transfer the iron-on decal. If your iron is too hot, the growth chart will warp and get wavy edges. Don’t say I didn’t warn you.
- Follow the directions on your transfers or iron on letters as to whether or not to use the steam setting on your iron (in my experience, most say to turn it off).
- Follow the directions that come with your iron on s, if they say to use a pressing cloth, do. If they say not to, don’t.
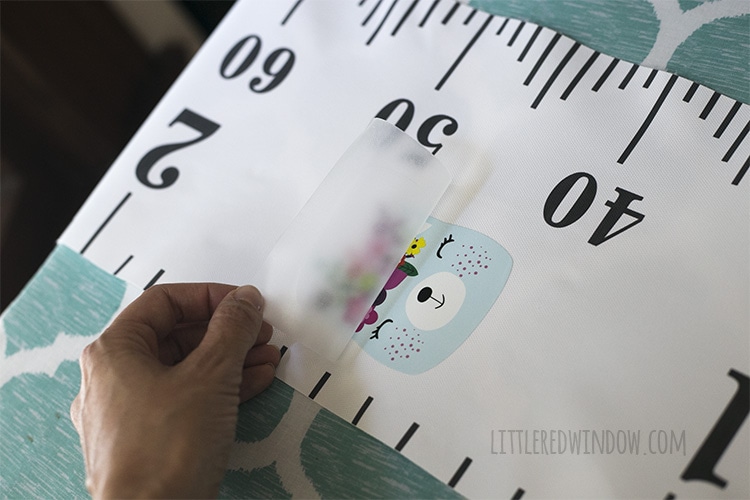
- Follow the directions on your iron ons as to when to peel the backing off (if there is a backing), some direct you to peel right after you iron while the decal is still hot, some say wait a few seconds and some direct you to peel when the decal has cooled. You may need to experiment with this. Mine turned out best when I waited 2 seconds and then peeled.
- Don’t try and rip the backing off all at once, peel just a bit at a time to make sure your iron-on decal is really sticking. If it’s not, iron it a little bit longer.
- I got the best results by keeping my iron constantly slowly moving, rather than pressing down hard in one spot at a time. When I pressed in one spot it left marks in the growth chart.
DIY Personalized Growth Chart
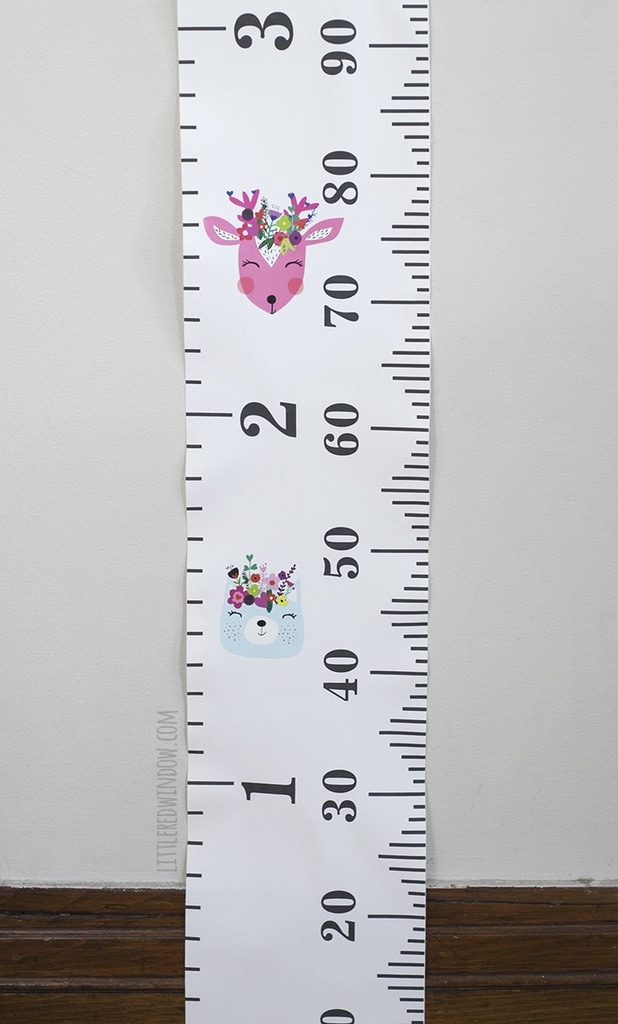
Personalize a growth chart for your little one with adorable and easy iron-on decals!
Materials
Tools
Instructions
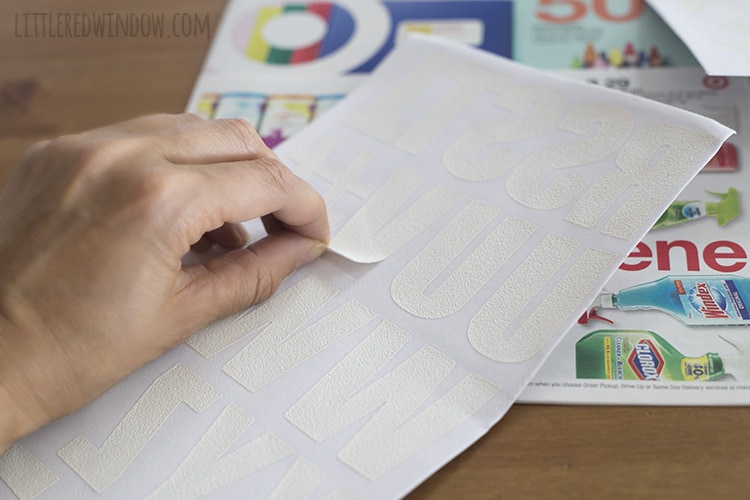
- First we need to color the letter decals to add your child's name, peel the letters you are using off of their backing and lay them out on some scrap paper.
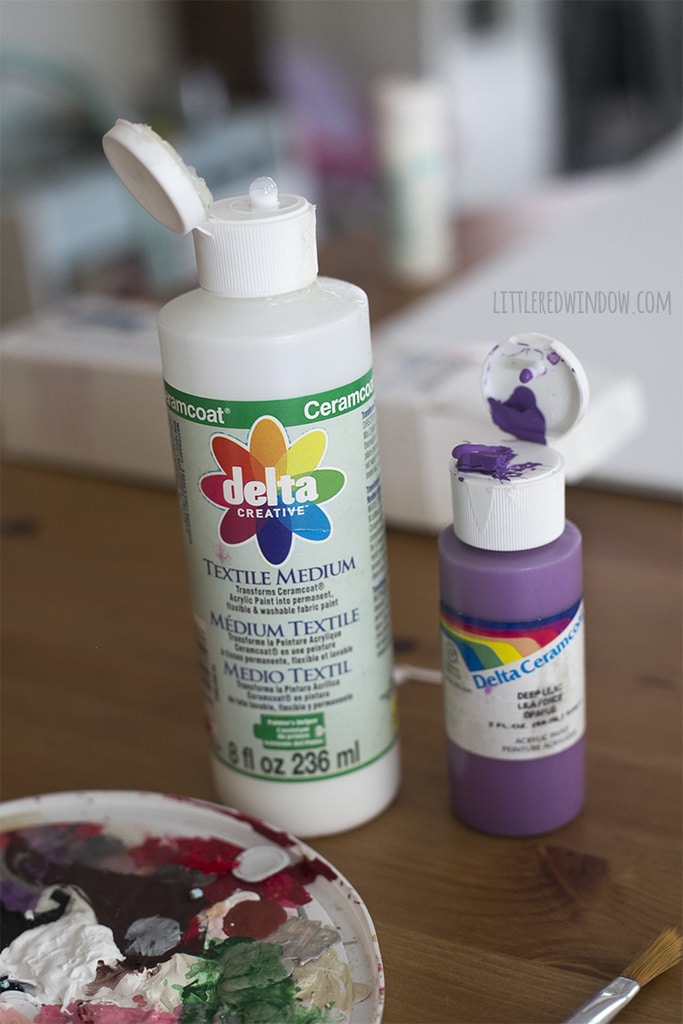
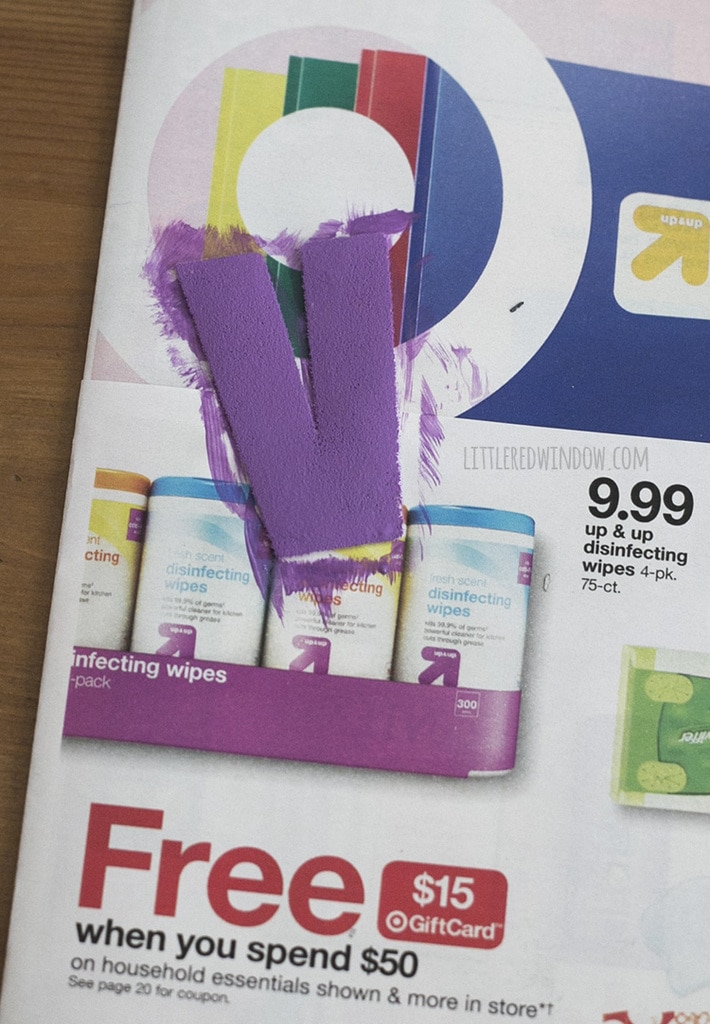
- Then, using my iron-on letter tutorial (click here), mix acrylic paint and fabric medium and carefully paint the fuzzy iron-on letters a new color of your choice. I went with an ombre effect where each letter was a little lighter than the one before. Allow to dry according to the directions.
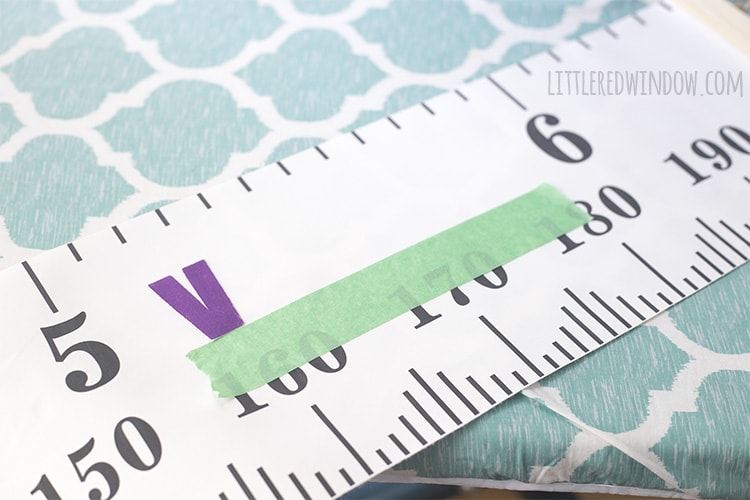
- To place your child's name lay a piece of painters tape down to give you a straight line and position the iron-on letters carefully.
- Then, using the lowest heat setting possible (you may need to experiment to see what will get the iron-on letters to stick) iron the name on to the top of your growth chart. I got the best results by gently keeping the iron slowly moving rather than pressing hard in one place. Be sure not to jostle the letters that aren't stuck yet as you go.
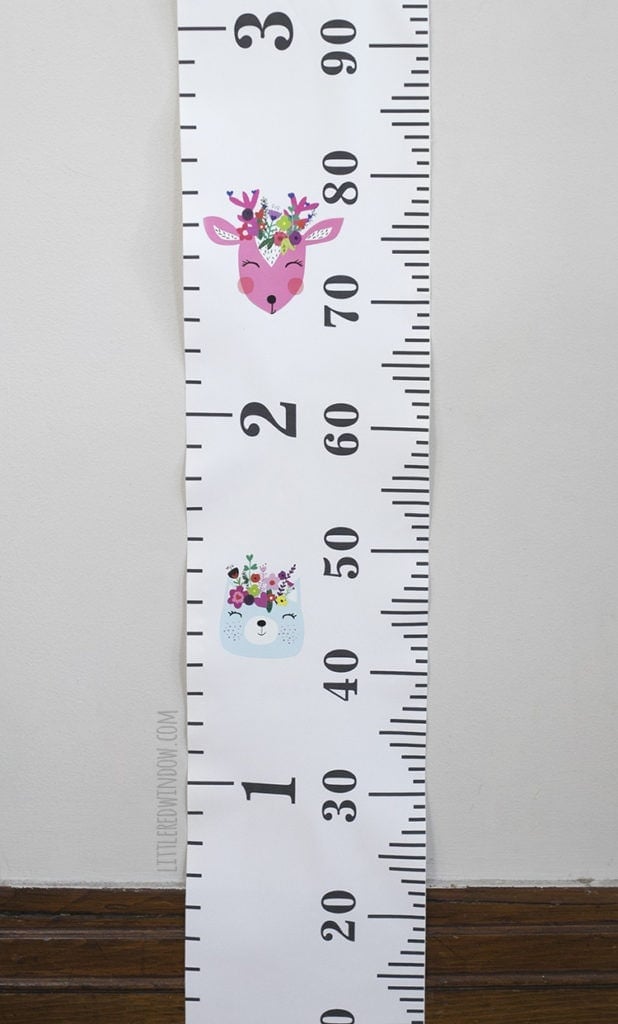
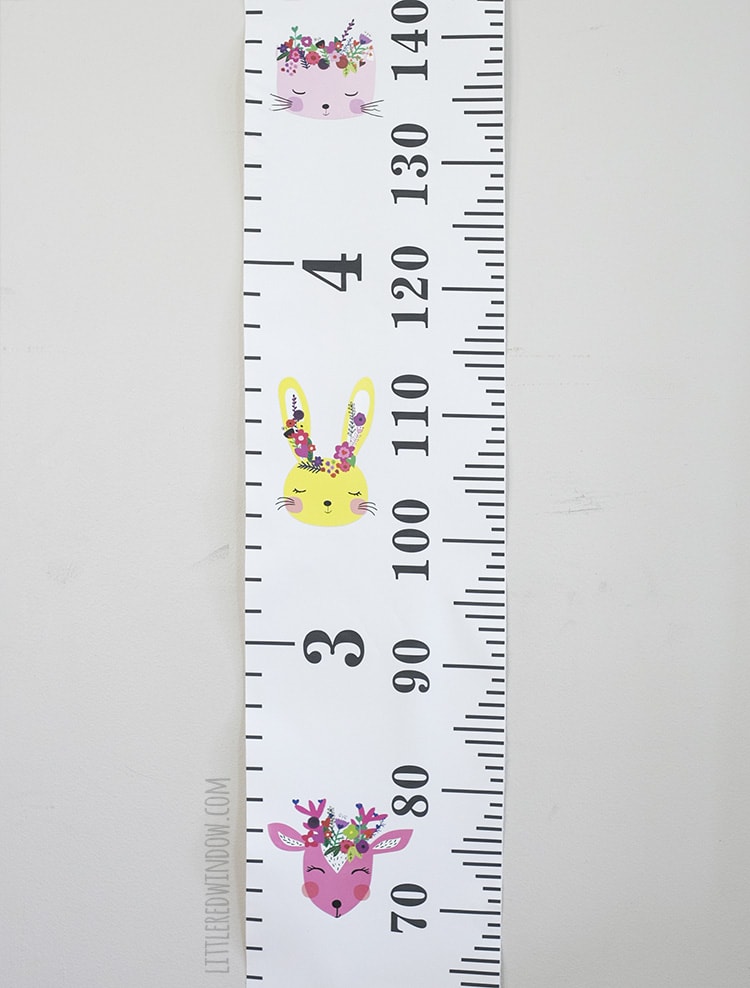
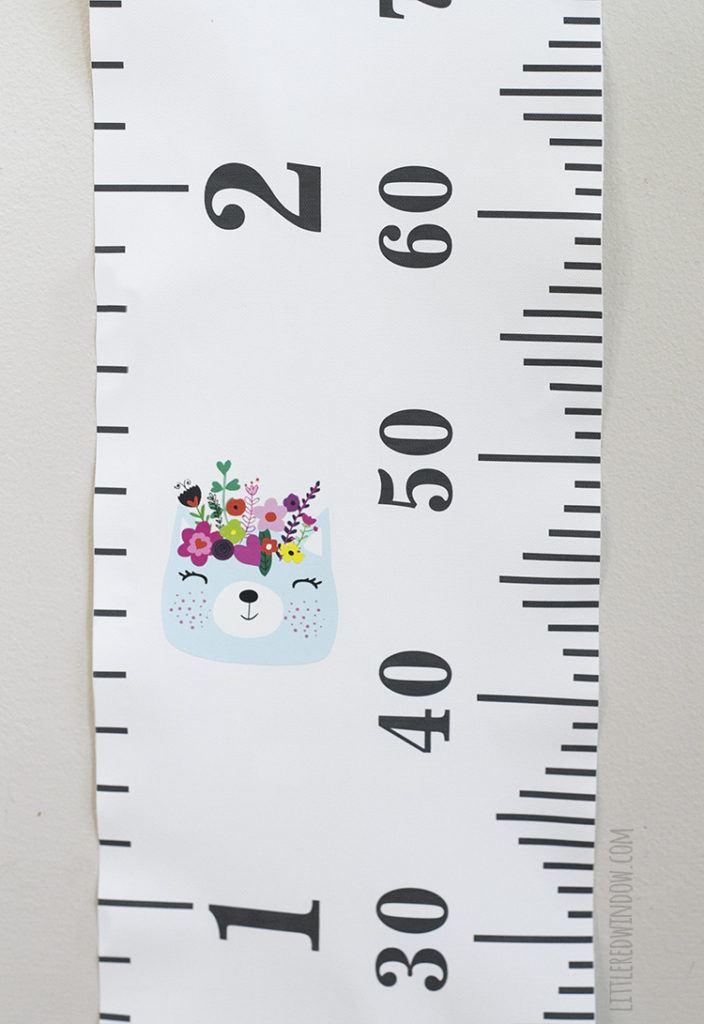
- To personalize the rest of the growth chart, cut your cute decorative decals apart with scissors.
- Position them on the growth chart and again, using the lowest possible heat setting and a constantly moving gently iron, iron them on.
- Peel off the backing according to the directions (for mine it worked best to wait about 2 seconds and then peel while the decal was still fairly hot
Notes
- The growth chart I am linking to in this post is made of canvas but it does have a plasticky coating on the entire surface, for best results, use the lowest possible heat on your iron that still works to transfer the iron-on decal. If your iron is too hot, the growth chart will warp and get wavy edges. Don't say I didn't warn you.
Recommended Products
As an Amazon Associate and member of other affiliate programs, I earn from qualifying purchases.
-
Iron on Patch Heat Transfer Patches Set for Kids Baby DIY Decoration Cute Cartoon Animal Clothes Jeans Pants Appliques Stickers
-
MIBOTE Baby Growth Chart Handing Ruler Wall Decor for Kids, Canvas Removable Height Growth Chart 200cm x 20cm
-
Sunbeam Steammaster Steam Iron | 1400 Watt Large Anti-Drip Nonstick Stainless Steel Iron with Steam Control and Retractable Cord, Chrome/Teal
-
Martha Stewart Crafts Multi-Surface Satin Acrylic Craft Paint in Assorted Colors (2-Ounce), 32014 Pool
-
Delta Creative Ceramcoat Acrylic Paint (8-Ounce), 0802 Textile Medium
-
Magfok Iron on Transfer 2 Inch White Flock Letters, 6 Sheets (Black or White Optional)
-
Paint Brush Set by heartybay, 20 pcs Nylon Hair Brushes for Acrylic Oil Watercolor Painting Artist Professional Painting Kits
-
Scotch Painter's Tape 2090EL-36E Trim + Baseboards, 1.41" Width, Blue
If you liked this, you may also like some of my other posts…
- Rib Zag Hat Knitting Pattern - April 23, 2024
- Double Stockinette Stitch Knitting Pattern: Easy How To for Beginners - April 18, 2024
- Fiery Fades Hats Knitting Pattern - April 16, 2024



Leave a Reply