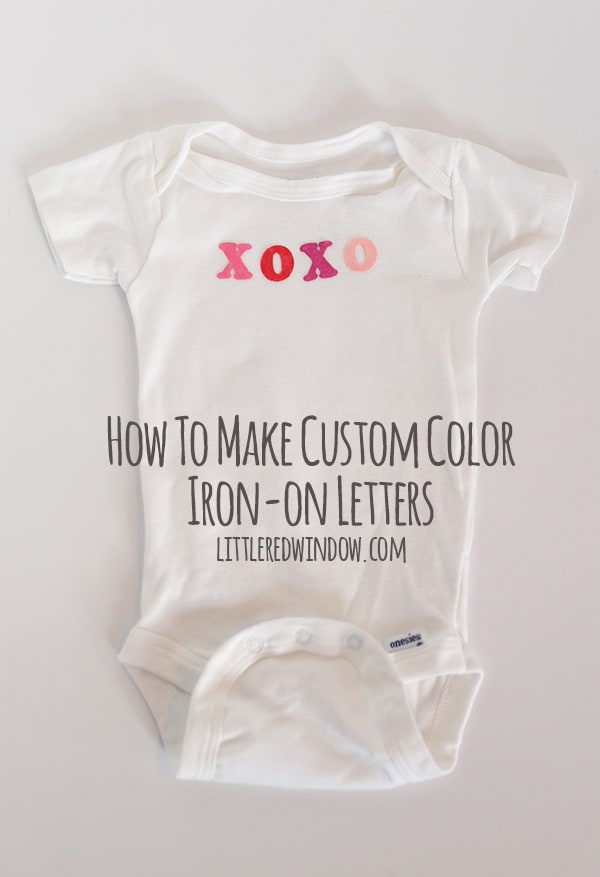
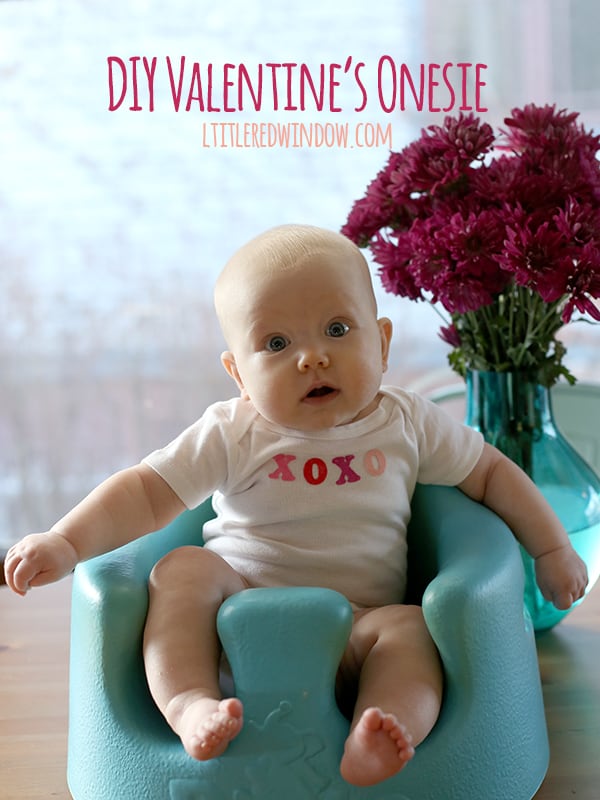
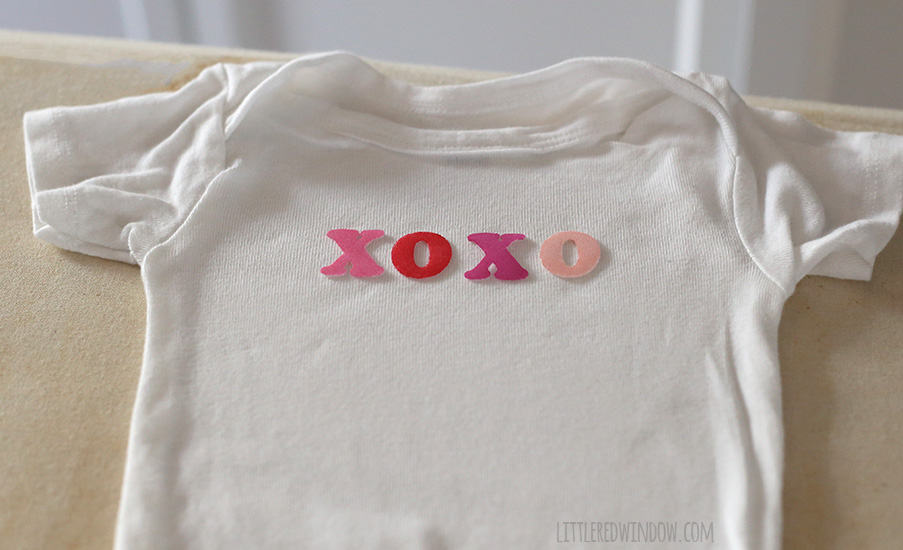
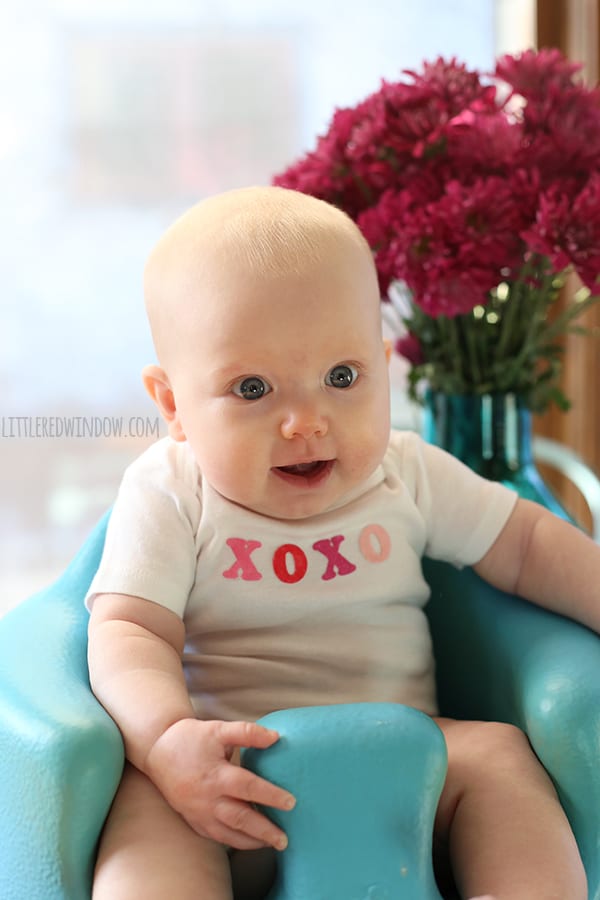
Learn how to custom color store bought iron-on letters to make this adorable Valentine’s Day Onesie!
I had those letters in a pile with the receipt to return but in the middle of the night, when I was awake (I’m having that problem where baby finally starts to sleep longer but then you keep waking up wondering if she’s ok. Moms and dads, I know that happens to you too!) Anyway, I was lying there awake when I started wondering if I could change the color of those iron-on letters. Because there are a lot of situations when they could be handy and way faster than a stencil or something. Plus I write a lot of tutorials where I use stencil either cut by hand or with a cutting machine and I know not all of you have the time or the equipment for that. And you’re in luck because my strategy worked! I whipped up this cute Valentine’s Day onesie for baby V the next morning and it was super fast! You guys, I’m so excited about this because these letters usually only come in a handful of colors or if they have the color you want, it’s not the font you want. But they ALWAYS come in white! So now you can totally customize them for yourself!
How to make a Valentine’s Day Onesie with Custom Colored Iron-On Letters
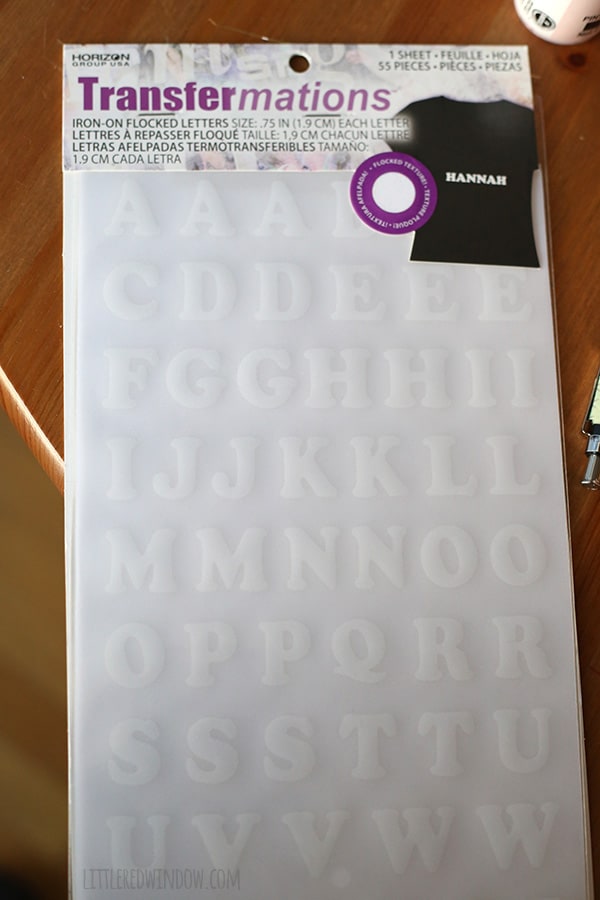
1. Ok, so the important thing about your iron-on letters is that they need to be flocked (that’s when they’re covered with that soft fuzzy surface. And they need to be white.
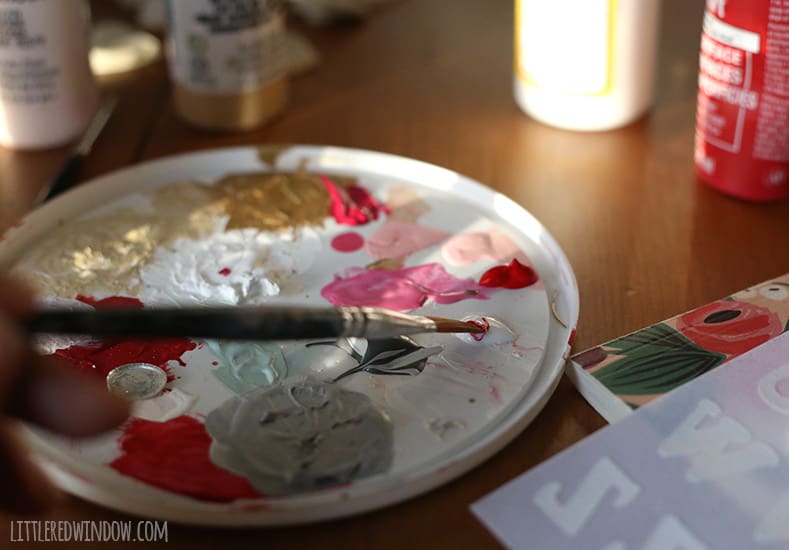
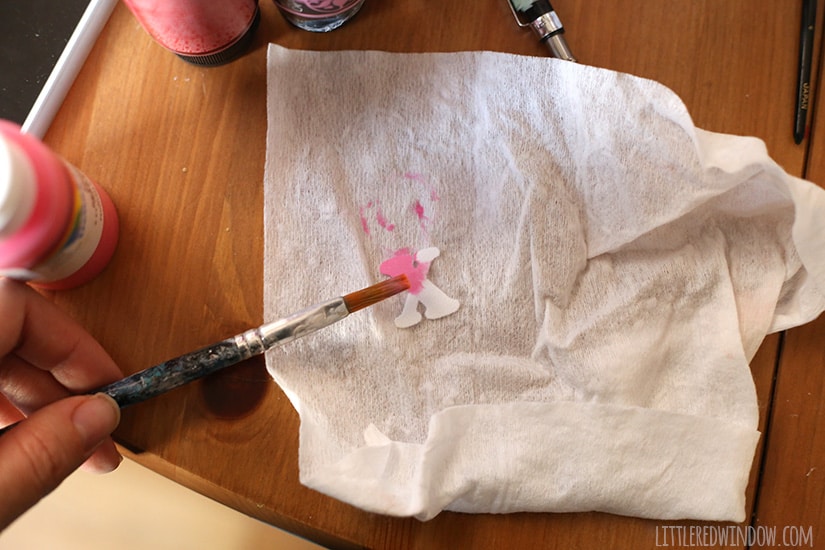
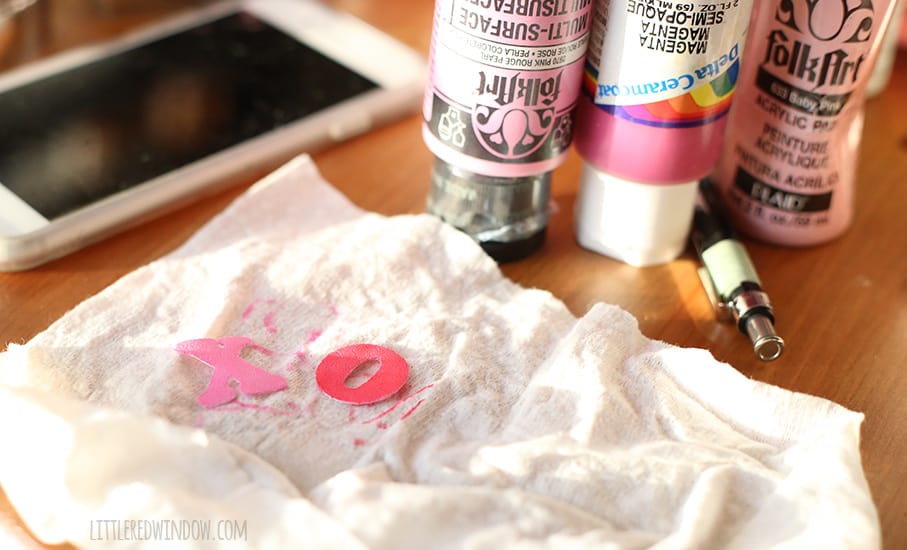
3. Mix some textile medium with the color of acrylic craft paint you want to use. I used about 4/5 textile medium to 1/5 paint. Or about 4 drops of medium and 1 drop of paint. I was only painting one letter at a time so adjust that if you’re doing a bunch the same color. Because the transfer medium is white, be aware that your color will come out a little lighter than it is in the bottle.
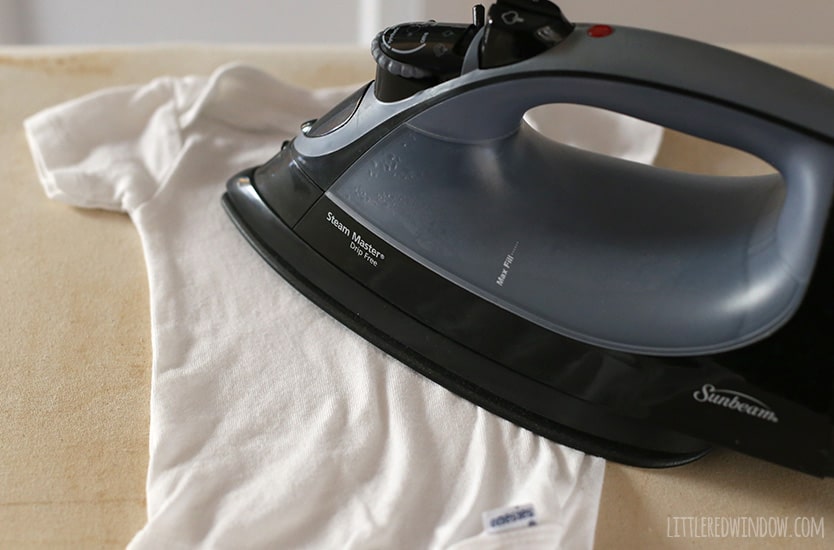
6. Then arrange your letters on the fabric (tshirt, onesie, tote bag etc.) Now, the directions for my letters instructed me to leave them on the plastic (which I did not do) and then to cover with a cloth and iron. When I covered mine with a cloth, they stuck to the cloth a bit. So I ended up carefully pressing them directly with the tip of my iron until they started to stick to the onesie and then pressing as directed. I would really recommend you test this out with your letters and your iron on a scrap of fabric first to see which way works best for you. Use a Q or a Z or something.
I was SOOO excited to be be able to successfully change the color of these iron-on letters. And the combination of craft paint and textile medium means they still feel soft and flexible instead of kind of rubbery and thick like you might get with fabric paint. I think this is a great technique because this is so much faster and much much easier for those of you who don’t have a cutting machine! Let me know if it works for you! Enjoy!
- Rib Zag Hat Knitting Pattern - April 23, 2024
- Double Stockinette Stitch Knitting Pattern: Easy How To for Beginners - April 18, 2024
- Fiery Fades Hats Knitting Pattern - April 16, 2024




Brenda Razo says
My sons football game is coming up and I want to make my own tshirts that resemble a Jersey. my only problem is im having a hard time finding orange numbers in the team font. sooo i figured maybe id paint them. I decided to do a little research and ran into your tutorial. do u think painting each letter after I iron the letters on would work??
Cassie May says
Hi! I think that would be WAY harder. The beauty of doing it ahead of time is you don’t have to worry about getting paint on the shirt. If you do it after, that will be really hard! Good luck and I’m so glad you found my post!
babs says
Hi there, looks great! (am getting around your site as good friend has just announced her pregnancy and wanting to see what’s out there now as been awhile since browsed and found your knitted hats first)
Just want to confirm it definitely ‘sets’ the colour though, and no issues when washing? (with running or adherance)
Cheers!
Cassie May says
Hi!
I did not have any problems washing mine! I would read the laundry instructions on both the iron-on letters and the textile medium and follow those though. They might require washing in cold or on gentle or something. Although, I forgot mine was in the hamper and ran it through on a regular cycle and it was fine. But, if you’re worried, you could do a test with a letter ‘x’ , painted and ironed onto a scrap of fabric and run that through the wash. Good luck and congrats to your friend!
babs says
thx so much for the response!
DazzleWhileFrazzled says
Great tutorial! I’m probably one of the few bloggers who is without a vinyl machine so glad I found this. Visiting from Keeping It Simple link party.