Make your own adorable pumpkin patch sign with an easy DIY stencil!
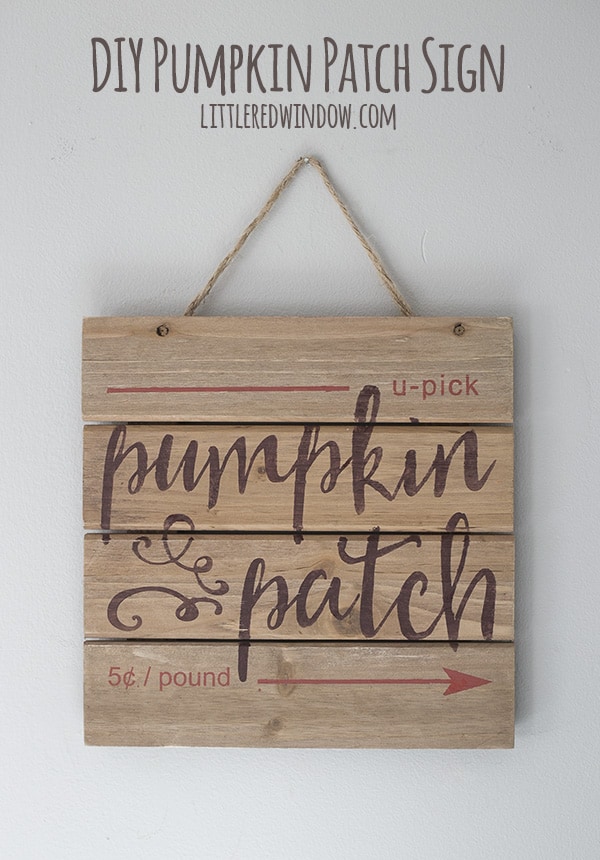
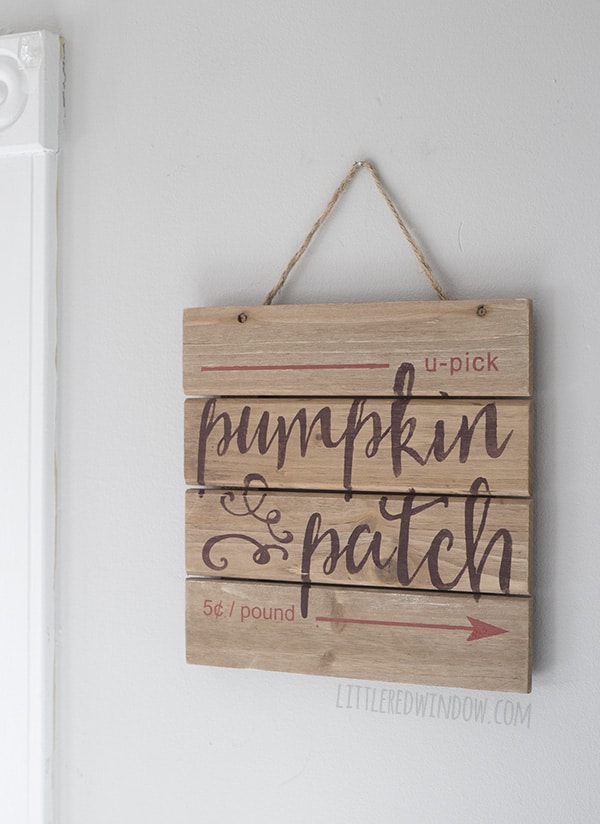
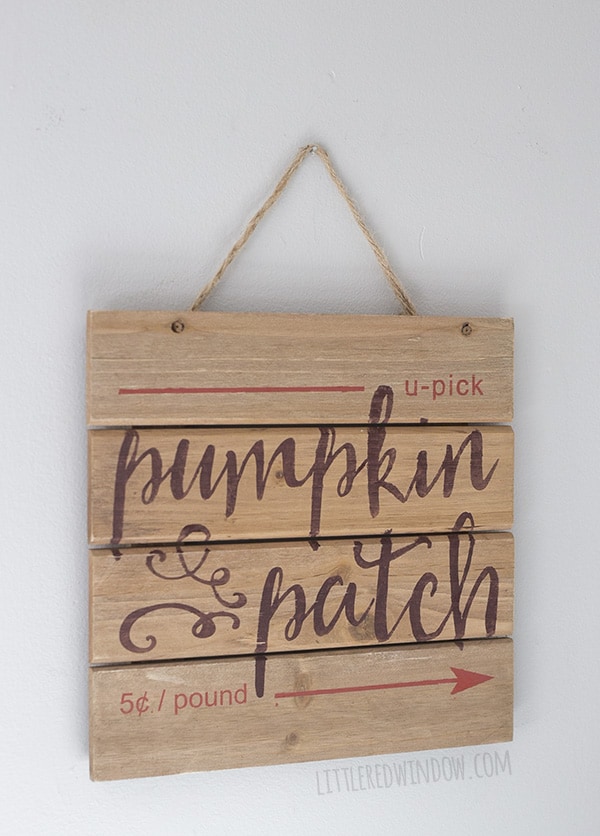
So I grabbed this cute little wood plank sign in the dollar section at Target the other day. Or I guess it’s not called the dollar section anymore? It wasn’t a dollar. Mabe only $3 though. Not much. Anyway, I decided I wanted to turn it into a cute little vintage looking pumpkin patch sign and I just love how it turned out!
I love fall / Halloween decor that you can keep up through Thanksgiving. I might take down the witches and bats, but if I can leave the pumpkin stuff another month, that’s great! And anyway, I love this sign because it makes me think of pumpkin patches which are just the best.
Fall is my favorite season anyway, but give me an orchard and cider and pumpkins and I am in heaven. Now, letting my kids actually pick a pumpkin, that’s a different story. I may or may not have them choose their actual pumpkins from Trader Joe’s. Because maybe that’s significantly cheaper. I mean, maybe… ha!
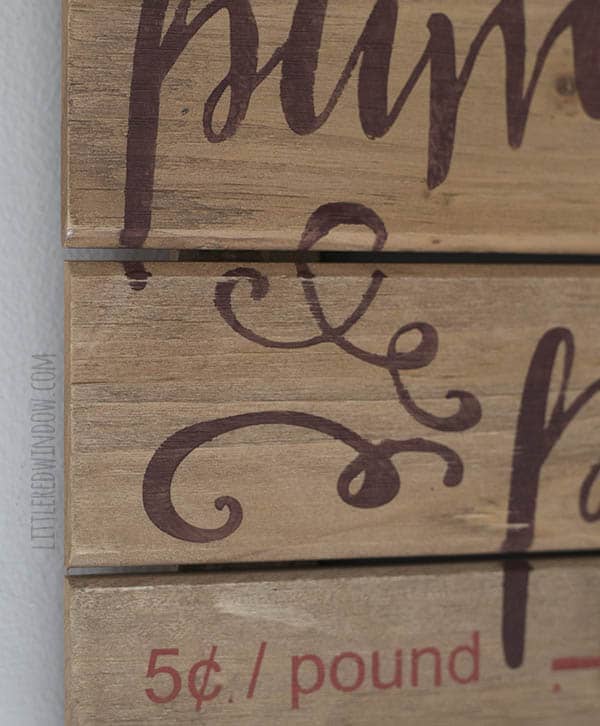
Anyway, this pumpkin patch sign is a quick DIY and it’s just so darn cute! Here’s how I did it.
DIY Pumpkin Patch Sign
Cutting Machine like Silhouette Cameo or Cricut
Transfer tape or clear contact paper
Acrylic craft paint in brown and brick red
1 . First measure your sign and then lay out your pumpkin patch sign in your cutting machine design software. The fonts I used were Heart and Soul and Arial. Cut your vinyl using using the vinyl settings on your machine. I always lower my speed to 1 and do an overcut of .1mm to make sure my designs cut cleanly. Be sure to cut a rectangle around the design so you have a complete stencil.
Then weed out the text. Finally use your transper tape or contact paper to lift the stencil .
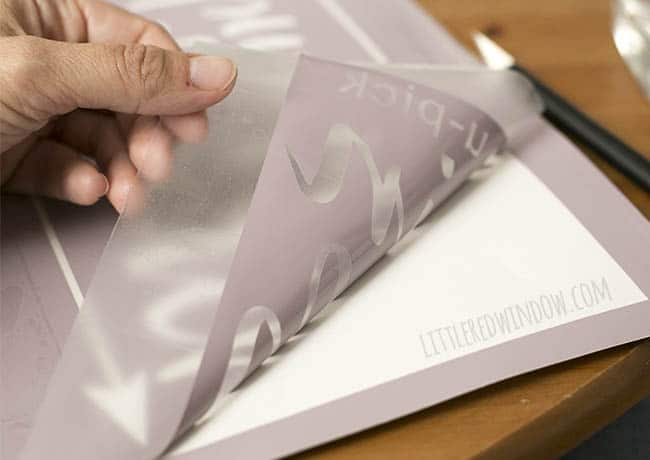
2. Position the stencil on your pumpkin patch sign, rub all over and carefully remove the transfer tape, leaving the vinyl stencil behind.
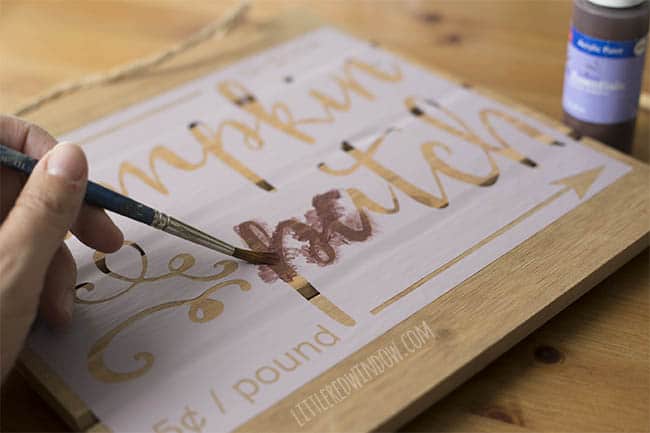
3. Paint the stencil with dabbing motions being sure to move your brush away from the edges and toward the centers of the letters so you don’t push paint under the edges of the stencil.
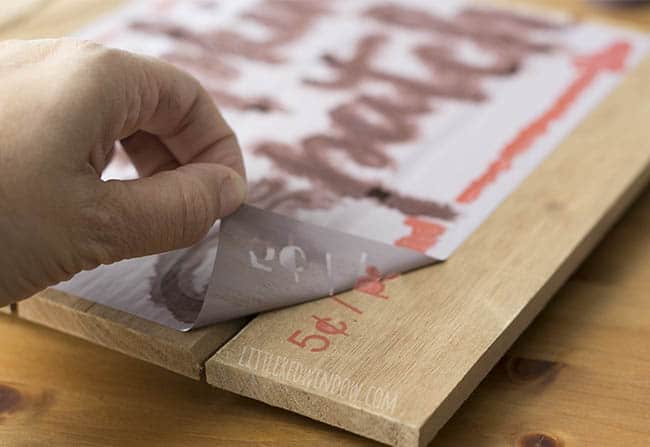
4. Peel off your stencil while the paint is still damp.
And that’s it! You have a cute DIY pumpkin patch sign of your very own! Happy Fall!
If you liked this, you may also like some of my other posts…
- 10 Tips for Organizing Your Craft Supplies On a Budget - April 25, 2024
- Rib Zag Hat Knitting Pattern - April 23, 2024
- Double Stockinette Stitch Knitting Pattern: Easy How To for Beginners - April 18, 2024



janicemcbrien says
I have taken off the pattern last week for the fall acorn hat . but am uncertain after the first 4 rounds if I continue in ribbing for 5” before I go to dpn needles.Can you help/ Love this hat! Thanks
Cassie May says
No, after the first 4 rounds, knit all stitches (stockinette) until it’s 5″. 🙂