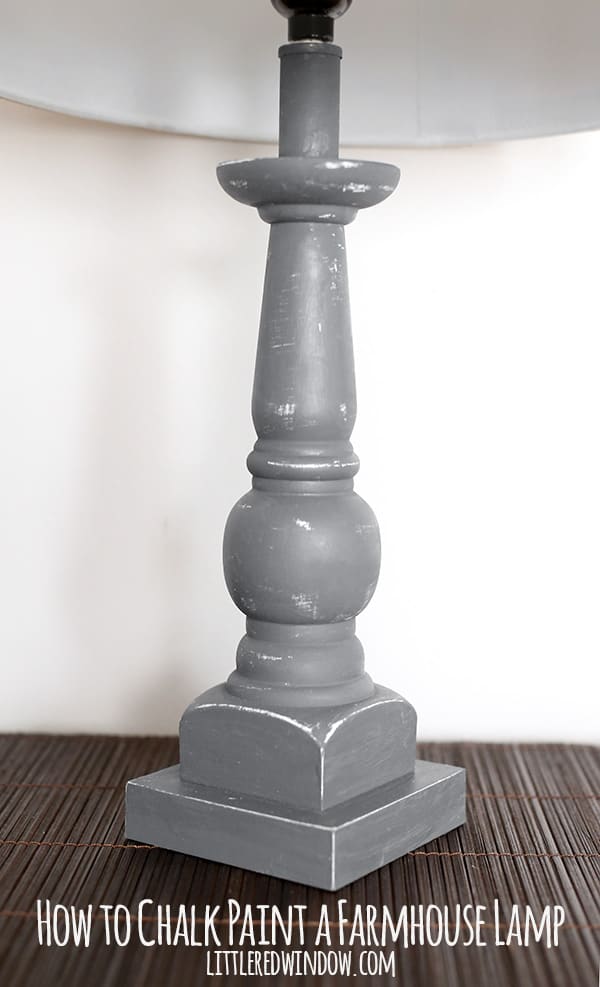
Turn a boring lamp into a gorgeous distressed chalk painted farmhouse lamp!
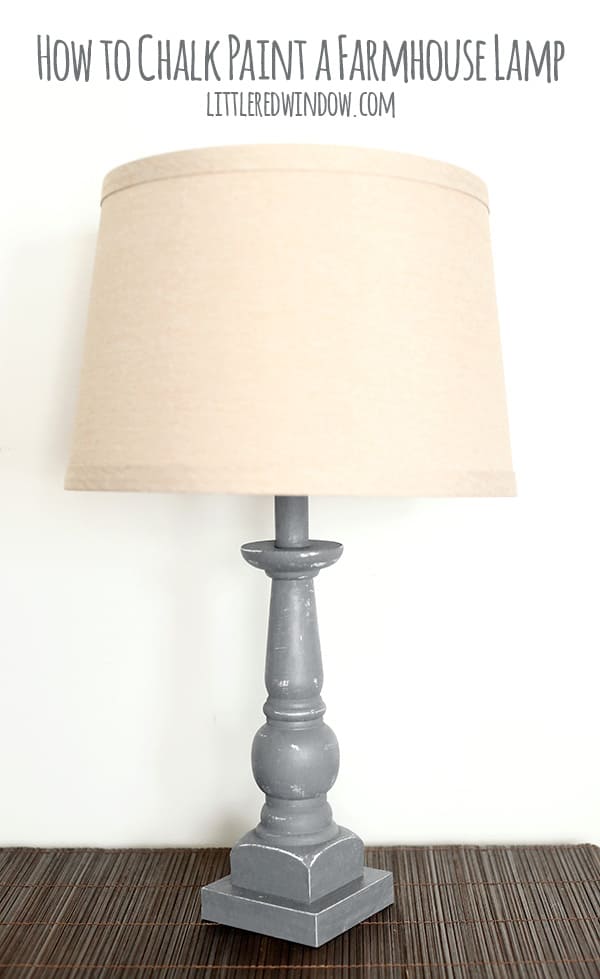
How to Chalk Paint a Farmhouse Lamp
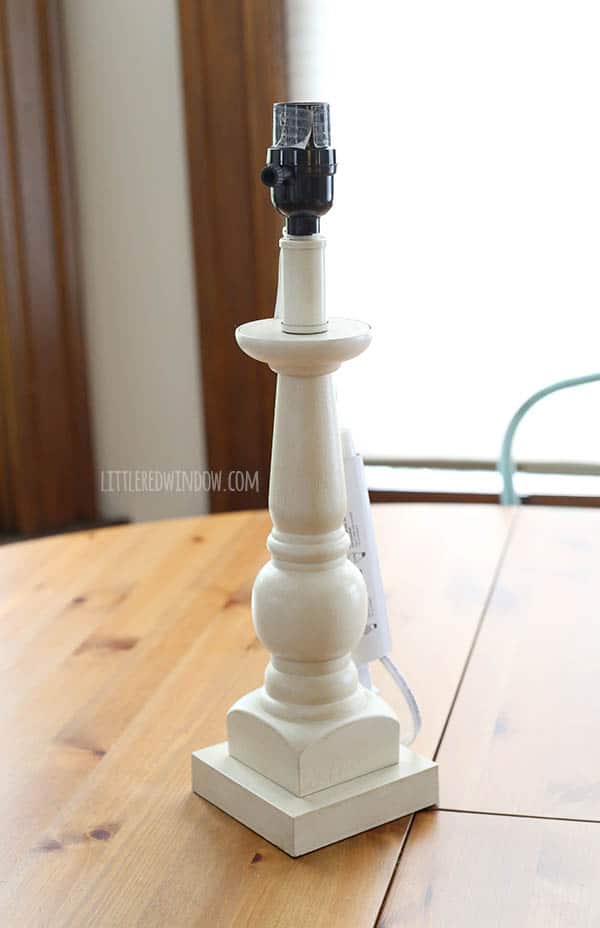
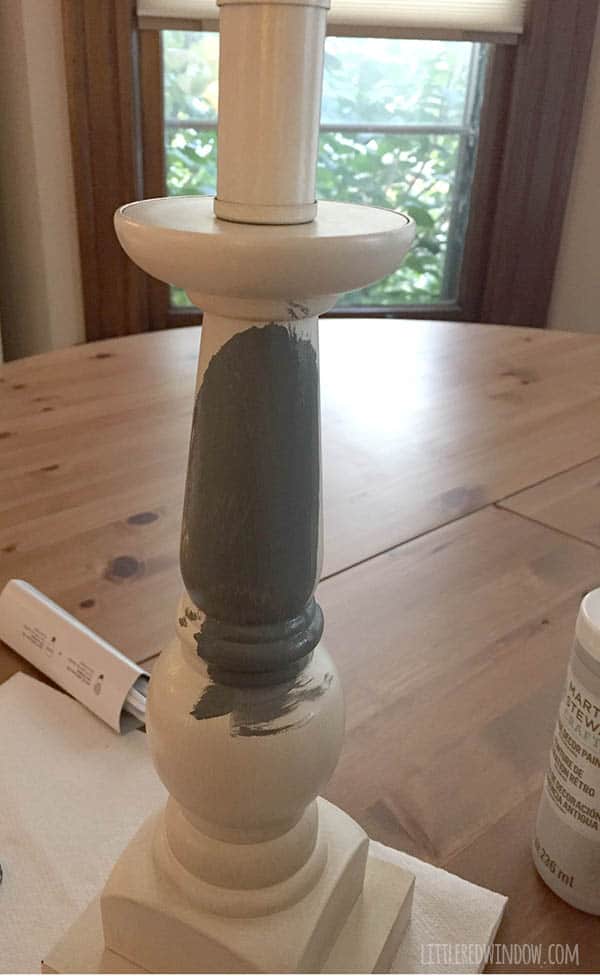
- Technically most chalk paint tells you that you don’t need to sand before you apply it. But I’m of the mind that it can’t hurt. Especially if your surface has any sheen or gloss to it. I think it helps the paint stick even better. You don’t have to sand off all the existing finish, just rough it up a bit with a medium/fine grit sandpaper. But it’s optional. Anyway, after sanding (or not) use some painters tape to block off the part of the lamp that holds the light bulb and the cord so you don’t get paint on them. If you have a steady hand you may not need to do this. Then apply at least two thin even coats of chalk paint to lamp base.


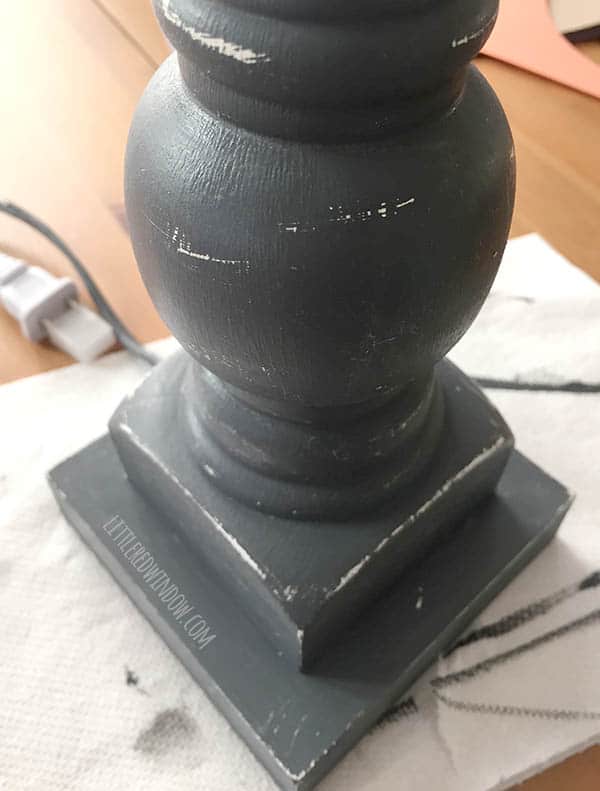
3. Apply a coat or two of chalk paint wax either with a brush or a cloth, and then buff it when it’s dry! This pic shows the nice satin finish the wax gives your project. And that’s it! Enjoy your pretty new farmhouse lamp!


- Pencil Scarf Knitting Pattern - July 7, 2026
- Tri-Color Linen Stitch Hat Knitting Pattern - June 22, 2026
- Yummy Ice Cream Cone Hat Knitting Pattern - June 16, 2026
Teresa Anderson says
I am a huge fan of chalk paint, I’d would use it on everything if I could. Your lamp looks incredible! I have a couple old ones here that I think would be perfect for this project. Thank you for the post!