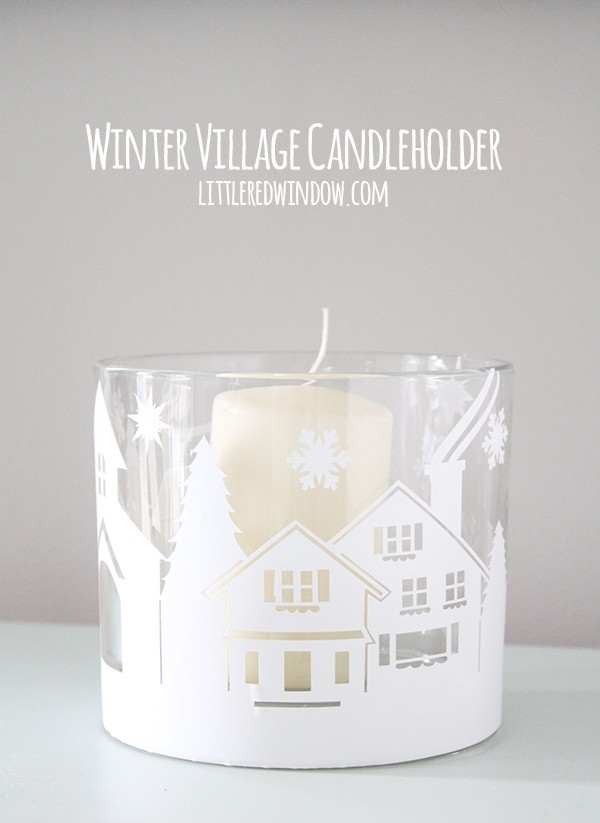
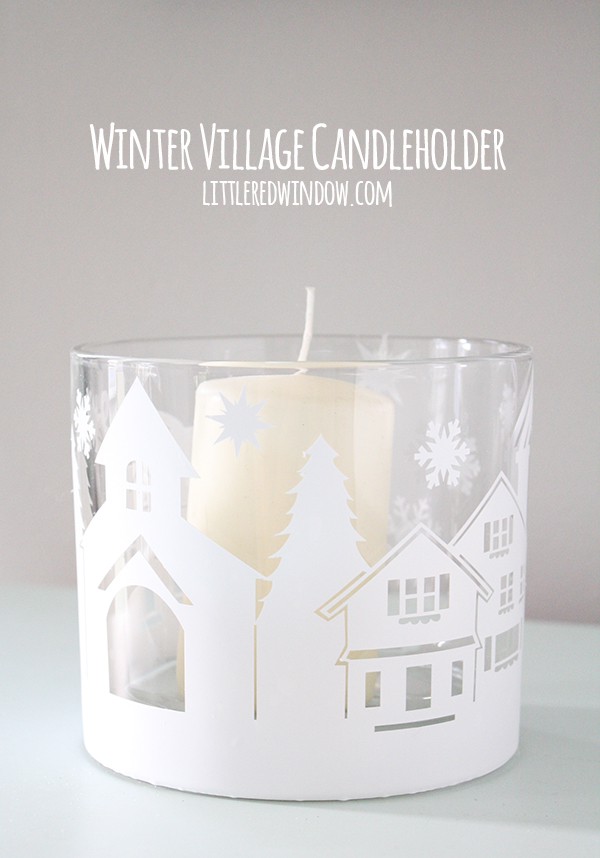
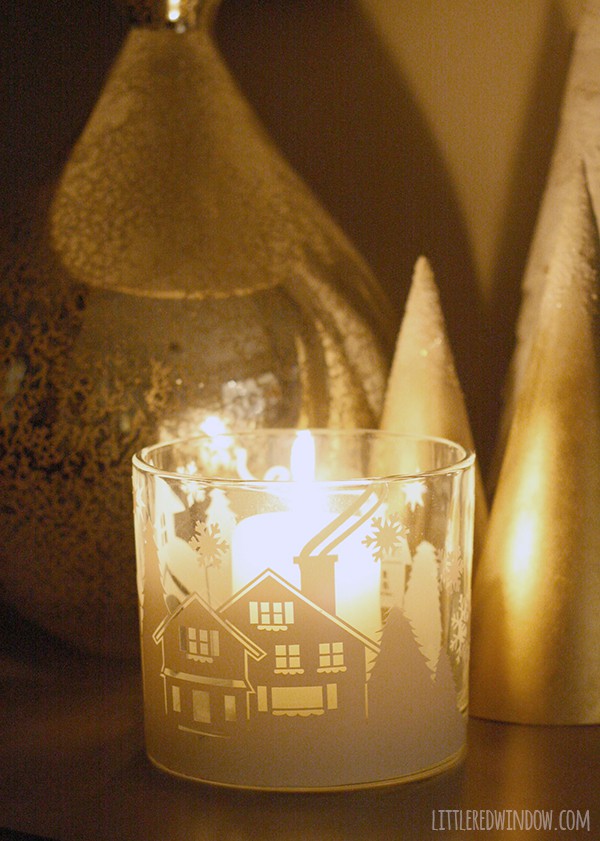
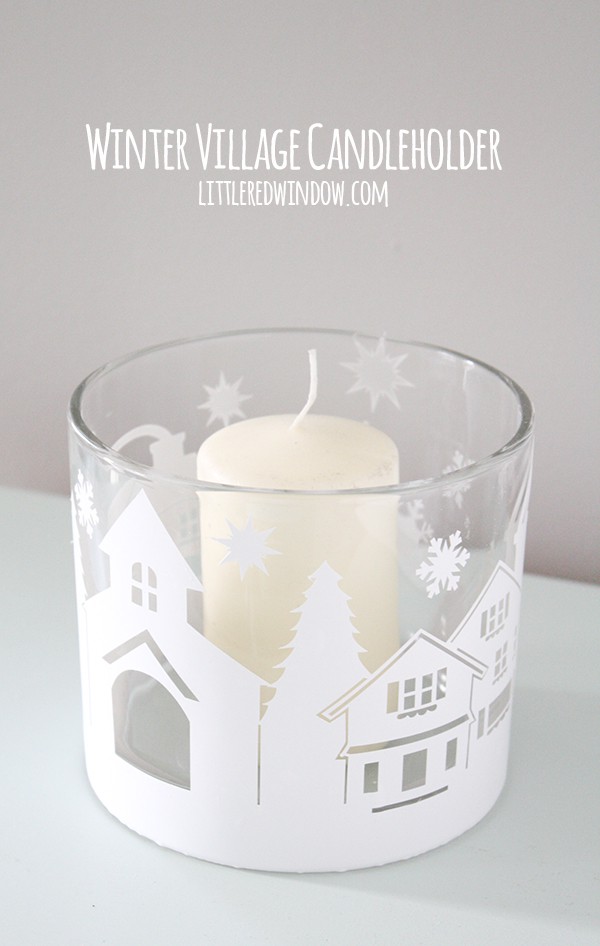
Make this adorable winter village candleholder for your holiday mantel!
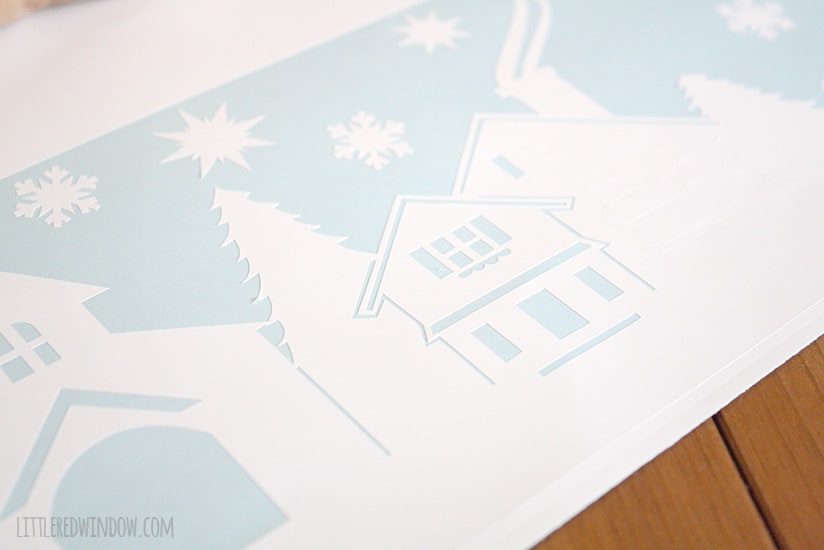
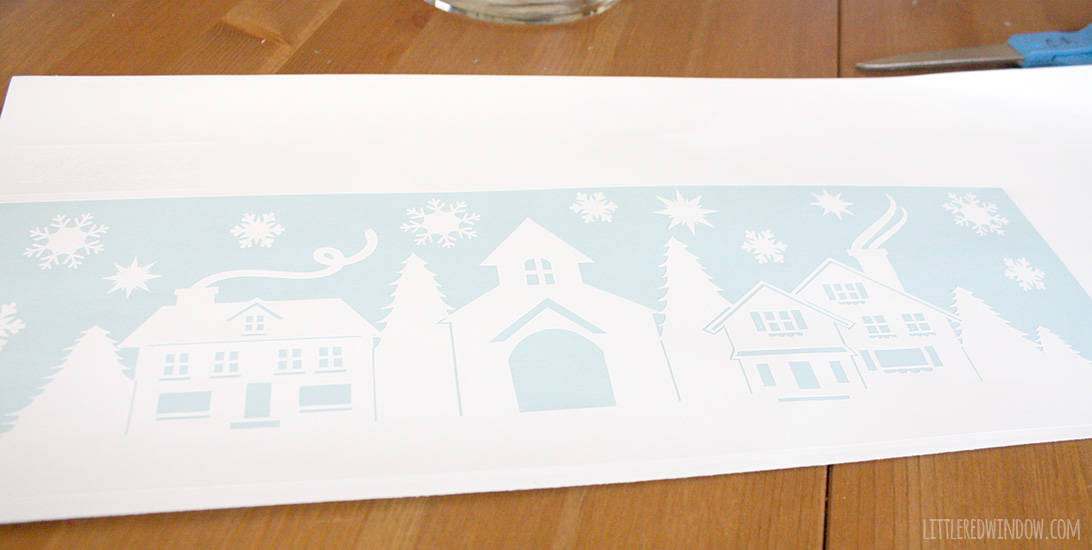
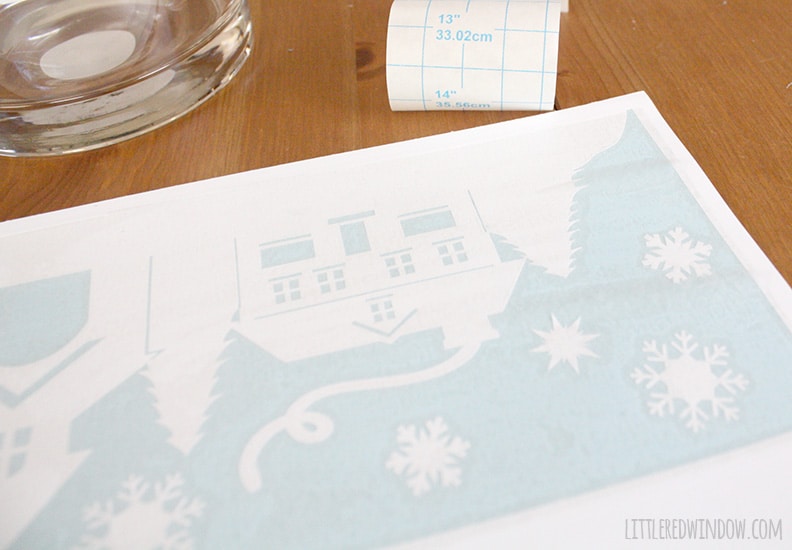
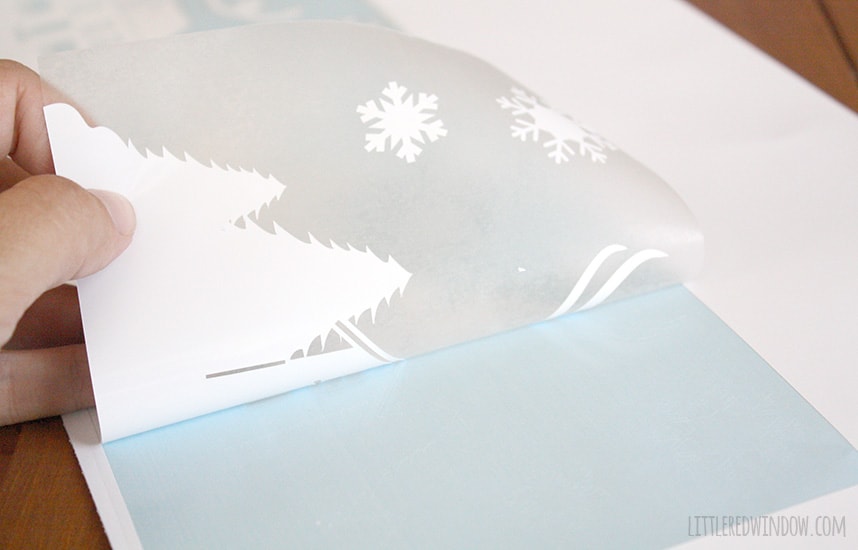
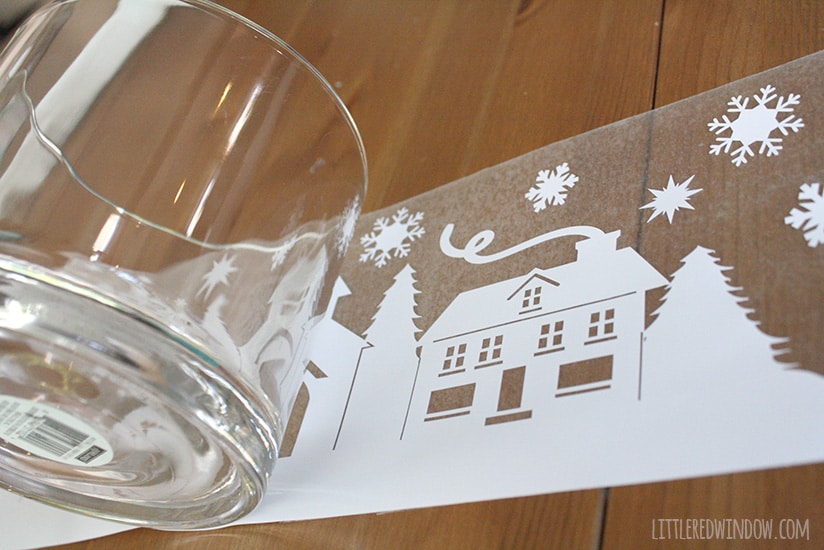
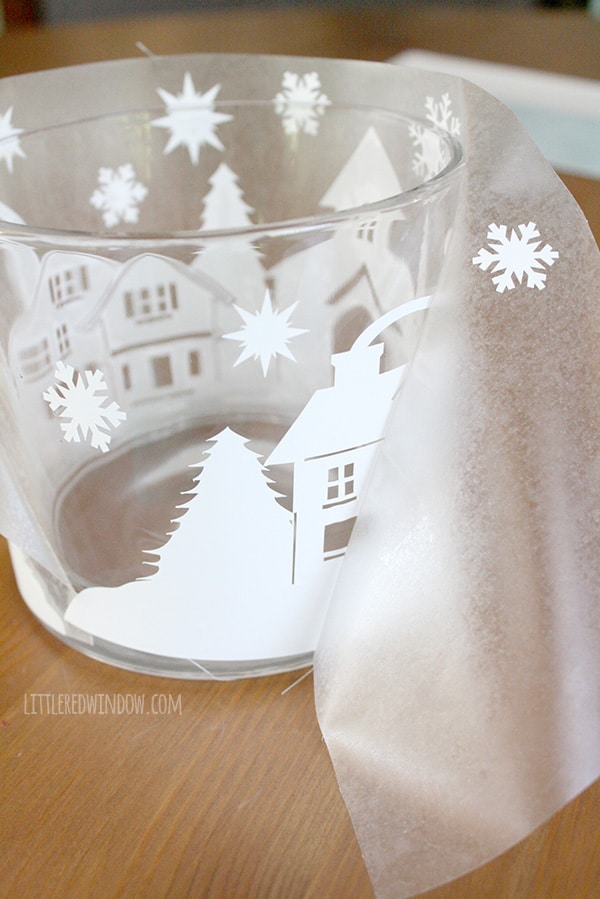
This year for Christmas, I am all about quick and easy projects. And apparently candleholders since I made one last week too, ha! But really, I want things that are easy, fast and turn out cute without a lot of swearing. Bonus points if I can be lazy and leave it up after the holiday and it works for winter. And this one totally fits the bill. Plus it entertained O for a good 15 minutes because he loooooves to watch my Silhouette machine cut. Go figure. Here’s how I made it!
DIY Winter Village Candleholder
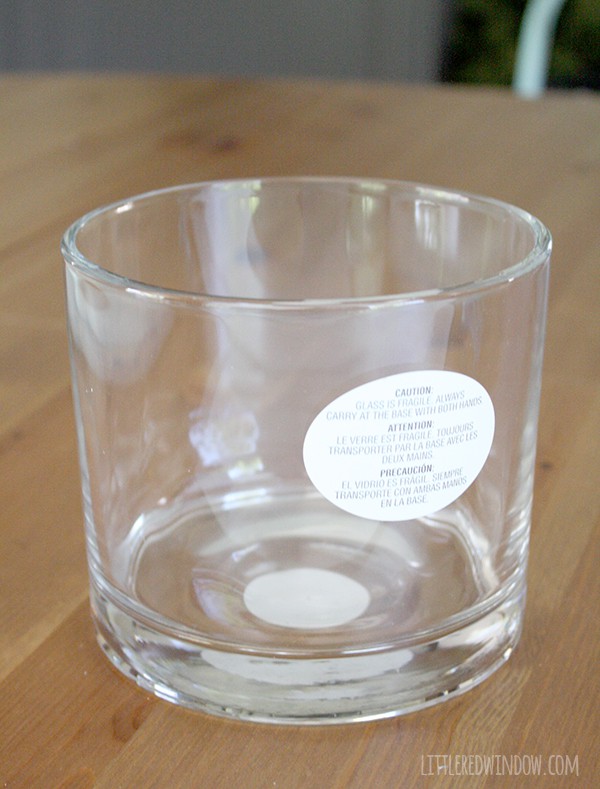
Straight sided glass vase or candleholder (check out the dollar store) it can be square or round as long as the sides are straight up and down, not tapered at all.
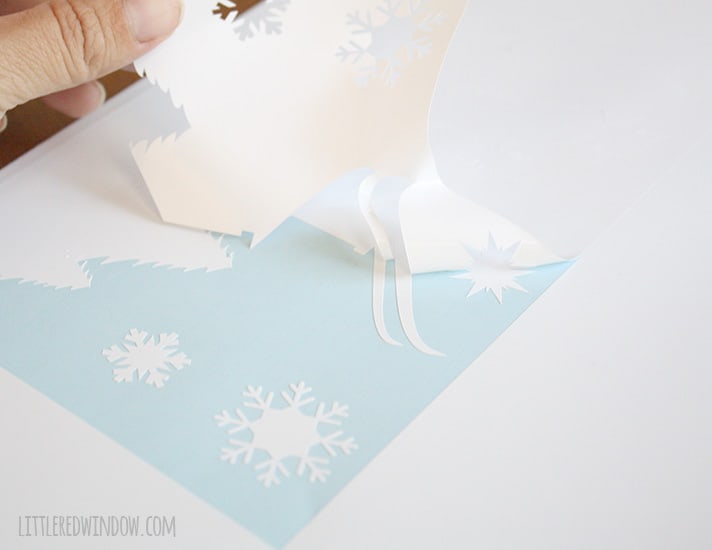
White Adhesive Vinyl(non-permanent)
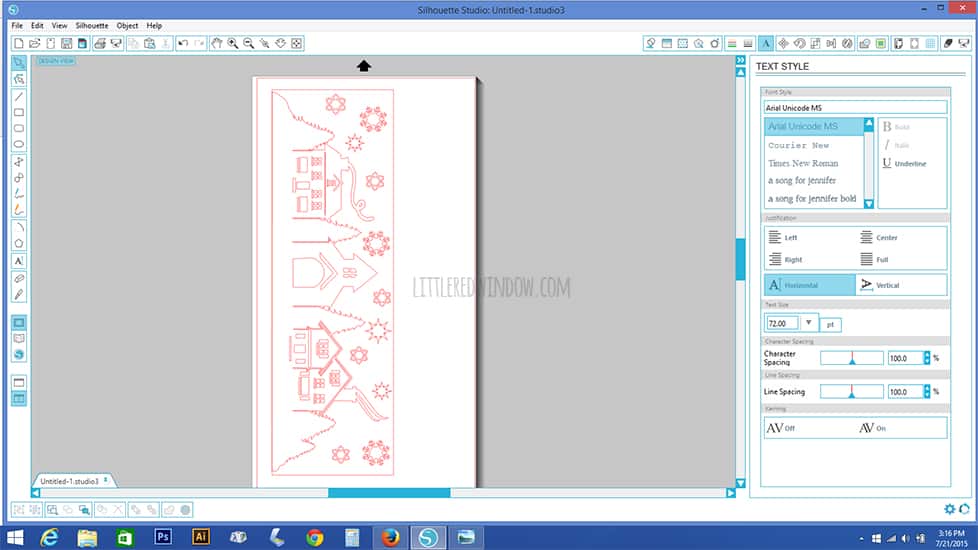
Silhouette Cameo or other similar craft cutting machine.
1. I actually bought a cute little candleholder for this project over the summer when I happened to be at the dollar store. And then, because I was pregnant and clumsy, I promptly came home and dropped it on the tile kitchen floor. Luckily it was still in the bag which made cleanup a piece of cake! Silver lining? Anyway, then I bought another one at the craft store when I had a good coupon. And like I said, it should have straight up and down sides, no tapering. That will make this project much much harder.
If you liked this, you may also like some of my other posts…
- 10 Tips for Organizing Your Craft Supplies On a Budget - April 25, 2024
- Rib Zag Hat Knitting Pattern - April 23, 2024
- Double Stockinette Stitch Knitting Pattern: Easy How To for Beginners - April 18, 2024



thecraftysideofsarcasm says
That is too cute! I’ve had a Silhouette for months but I can’t figure out how to cut vinyl. I get so aggravated, hah. I can cut everything else though.
Cassie May says
I struggle with vinyl sometimes too, I totally know how you feel. One of my favorite blogs for help is http://www.silhouetteschoolblog.com/ she has tons of tutorials!
VMG206 says
Oh Golly, Cassie, this is adorable! I’m pinning to my Cricut Ideas board.
I’m visiting from My Turn For Fun’s Freedom Fridays Blog Hope. I’m your newest follower!
I would love to invite you to join us and share each week at Brag About It link party on VMG206 (Mondays at Midnight).
~ Megin of VMG206
Cassie May says
Thank you!!