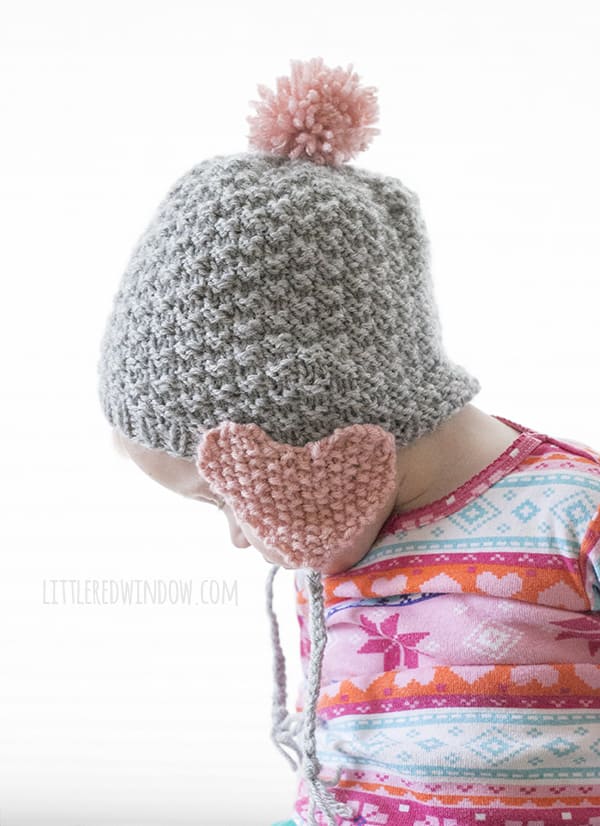
Knit your little one a cute (and warm!) Heart Earflap Hat with this easy knitting pattern.
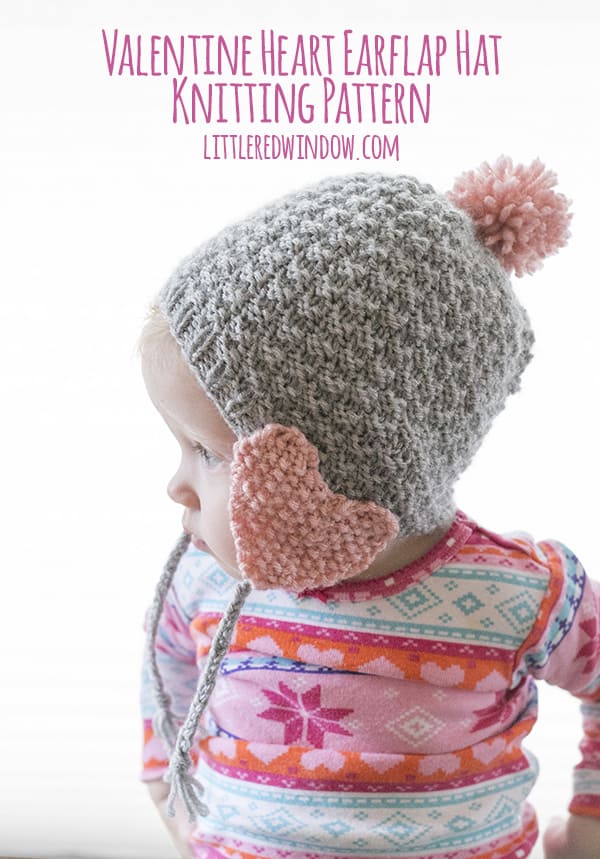
I think I have a problem. I kinda can’t stop with the Valentine’s Day hats. The nice thing about Valentine’s Day is hearts and love work all year round. So your little one can keep wearing it all winter. Of course the day I finished this hat, I checked the weather report and it’s supposed to be in the 50’s this weekend. In January. I’m not sure how I feel about that. But anyway, this heart earflap hat is cute and I always love a hat with earflaps for little ones because they stay on better. Plus it has a pom pom! Pom poms are the best. It’s a fact. Scroll on down for the pattern!

Looking for the pattern? Here’s how it works: This pattern is available for FREE in one size right here on my site (keep scrolling down). Or for just a few dollars, you can choose to purchase an upgraded PDF pattern that is nicely formatted and easy to print. Besides being easy to print, the PDF pattern also contains MORE SIZES with instructions for additional sizing including 0-3 months, 6 months, 12 months and 2T+! Thank you for supporting Little Red Window!


Valentine Heart Earflap Hat Knitting Pattern
(6 mo. size, see PDF for other sizes)
Gauge: 20 st. = 4 inches
Worsted weight yarn in gray and pink
US 7 16″ circular knitting needles
(If you need help, my favorite knitting reference book for everyone from beginners to advanced knitters is THIS ONE!)

Valentine Heart Earflap Hat Knitting Pattern Instructions
Using a long-tail cast on, cast on 64 stitches onto your circular needles with the gray yarn color. Join to knit in the round and k1, p1 in a rib stitch for 5 rounds until the last 2 stitches of the 5th round, then kfb, pfb to add two stitches and make the double seed stitch pattern repeat properly.
Rounds 1 – 2: (k2, p2) repeat to last 2 stitches and then k2
Rounds 3 -4: (p2, k2) repeat to last 2 stitches and then p2
Repeat rounds 1-4 in a double seed stitch until the hat is 4 1/2 inches long.
Start decrease after a round 4.
Decrease (distribute stitches evenly between 3 double pointed needles and knit with the 4th):
Round 1: (k2, p2, k2, p2tog) repeat to last 10 stitches and then k2, p2, k2, p2tog, p2tog
Round 2: (k2, p2, k2, p1) repeat to last 8 stitches and then k2, p2, k2, p2tog
Round 3: (p2, k2, p1, k2tog) repeat to the end of the round
Round 4: (p2, k2, p1, k1) repeat to the end of the round
Round 5: (k2, p2tog, k1, p1) repeat to the end of the round
Round 6: (k2, p1, k1, p1) repeat to the end of the round
Round 7: (p2tog, k1, p1, k1) repeat to the end of the round
Round 8: (k1, p1) repeat to the end of the round
Round 9: (p1, k1, p2tog) repeat to the end of the round
Round 10: (k1, p2tog) repeat to the end of the round
Round 11: k2tog repeat to the end of the round
Cut yarn, pull through loops and close. Weave in ends.
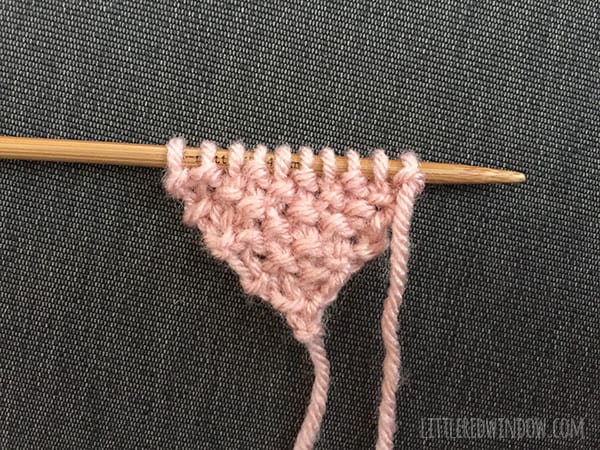
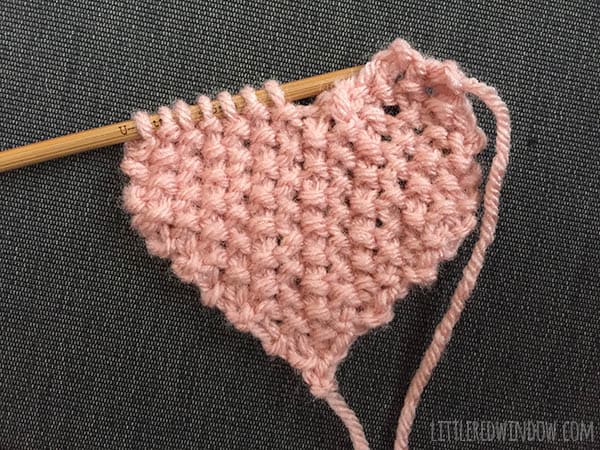
Heart shapes (make 2):
Using 2 double pointed needles as straight needles, cast on 1 stitch with the pink yarn.
Row 1: kfb
Row 2: k1, p1
Row 3: kfb, kfb
Row 4: k1, p1, k1, p1
Row 5: kfb, k1, p1,kfb
Row 6: (p1, k1) repeat to the end of the row
Row 7: kfb, p1, k1, p1, k1, kfb
Row 8: (k1, p1) repeat to the end of the row
Row 9: kfb, k1, p1, k1, p1, k1, p1, kfb
Row 10: (p1, k1) repeat to the end of the row
Row 11: kfb, p1, k1, p1, k1, p1, k1, p1, k1, kfb
Row 12: (k1, p1) repeat to the end of the row
Row 13: kfb, k1, p1, k1, p1, k1, p1, k1, p1, k1, p1, kfb
Row 14: (p1, k1) repeat to the end of the row
Row 15: (k1, p1) repeat to the end of the row
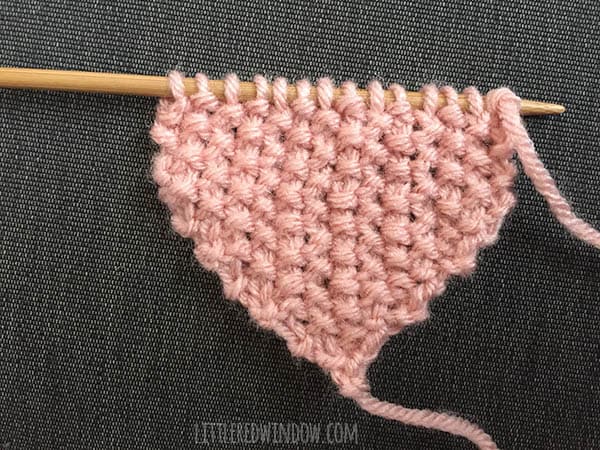
Rows 16-20: repeat rows 14 & 15
To make the tops of the heart, work rows 21A – 23A with only the first 7 stitches on the needle. Move the other 7 stitches to a stitch holder or leave them on a spare needle, you will come back and work them next.
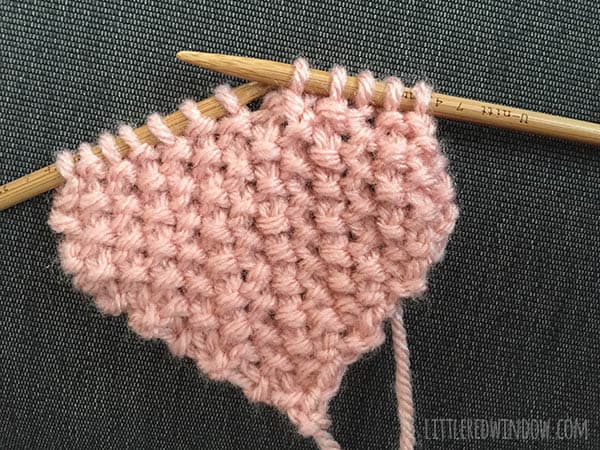
Row 21A: k2tog, k1, p1, k1, ssk
Row 22A: p1, k1, p1, k1, p1
Row 23A: k2tog, p1, ssk
Bind off
Now, working with the other 7 stitches, join in new yarn and:
Row 21B: k2tog, p1, k1, p1, ssk
Row 22B: k1, p1, k1, p1, k1
Row 23B: k2tog, k1, ssk
Bind off
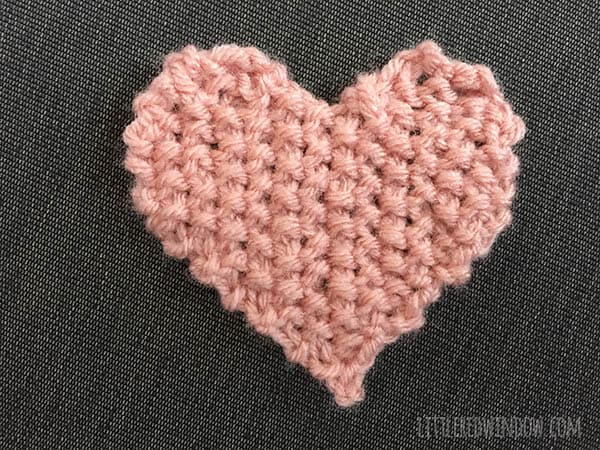
Weave in all ends on the back of the heart
To assemble the hat:
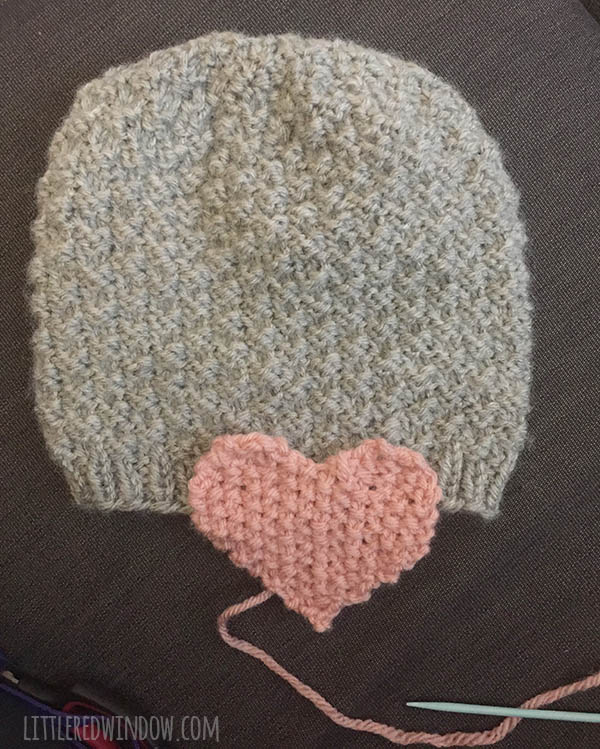
Sew the heart earflaps to either side of the hat with a length of pink yarn.

Then cut 6 pieces of yarn 18 inches long. Thread 3 of the pieces on one yarn needle together and thread them through a couple of stitches on the back of one heart earflap.
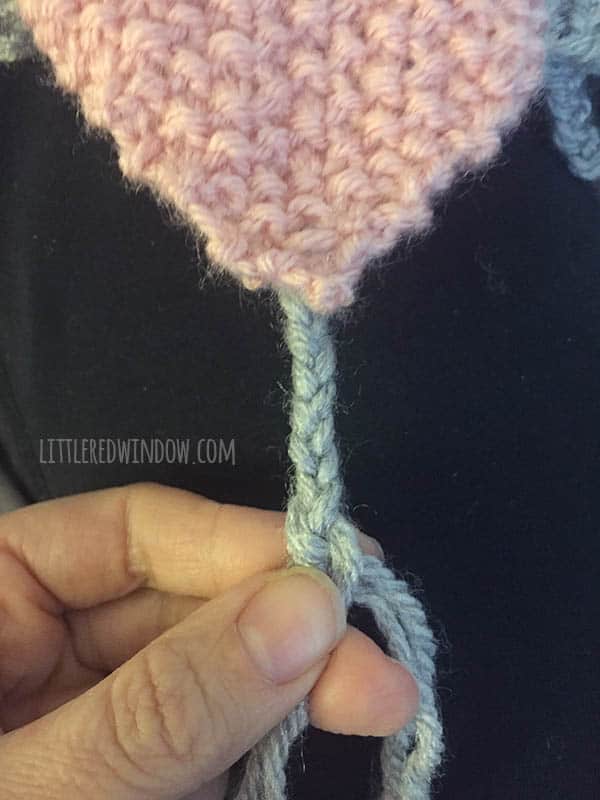
Pull them through halfway so you have 6 even strands dangling from the earflap. Then braid those six strands all together until the braid is about 6 inches long.
Tie the braid in a knot and cut the ends to make a little tassel. Repeat with the other 3 18-inch strands and the other earflap.
To make the Pom Pom:
Wind the pink yarn around the three fingers of one hand at least 100 times. The more times, the denser your pom pom.
Cut another piece of yarn about 18 inches long and tie one end of that very tightly around the center of the wound yarn. Leave the other end of this center tie long to attach the pom pom to the hat.
Using sharp scissors, cut the loops on either side of that center tie to release the pom pom. Trim your pom pom as necessary to make it nicely and evenly round.
Thread the long end of the center tie on your yarn needle and use it to sew the pom pom to the top of the hat. Make sure it is attached securely as this is an item for babies.
If you liked this, you may also like some of my other posts…


- Crayon Scarf Knitting Pattern - July 21, 2026
- Pencil Scarf Knitting Pattern - July 7, 2026
- Tri-Color Linen Stitch Hat Knitting Pattern - June 22, 2026
Amanda Hyde says
Hi! I was JUST curious why you add the two stitches after creating the rim of the hat? It says to make the seed stitch work but with those two the rows begin and end the same so there are 4k or 4p in a row. If you leave them it works out nicely. Is there a reason for them to be there like that?
Cassie May says
Hi! So it’s a long story, but basically, if you don’t add extra stitches, then you get a stretch of 4k or 4p when you switch from row 2 to 3 and from row 4 back to row 1. Which is basically the exact same problem just in another spot. I have another seed stitch hat done without extra stitches and people complained about it that way. So with this pattern I tried another strategy. Seed stitch in the round is a little tricky and personally, neither type of “seam” bothers me, I just put it in the back of the hat, but I was trying to keep people happy. You are certainly welcome to not add the extra two stitches, it shouldn’t affect the fit! Happy knitting! 🙂