Wall decals can be tricky, let’s learn some successful tips for applying wall decals to make sure your home decor project looks fantastic!
I’m about to embark on my fifth wall decal project so it’s safe to say I’m a wall decal fan (though I’m not sponsored by any wall decal companies). I think decals get a bit of a bad rap as being kind of cheesy but we’re not talking about the kind of wall decal with a big calligraphic quote on it (though those can work in some places for sure). I’m talking about wall decals that don’t obviously look like wall decals. And there are some tips for applying wall decals that I’ve learned that I think will help if you choose to start a wall decal project that I though I would share with you today!
Reasons to love and use wall decals
- They’re cheaper than wallpaper
- They’re easier to apply than wallpaper
- They’re removable
- They’re fun and colorful
- There are tons of pattern and design options
Tips for Apply Wall Decals
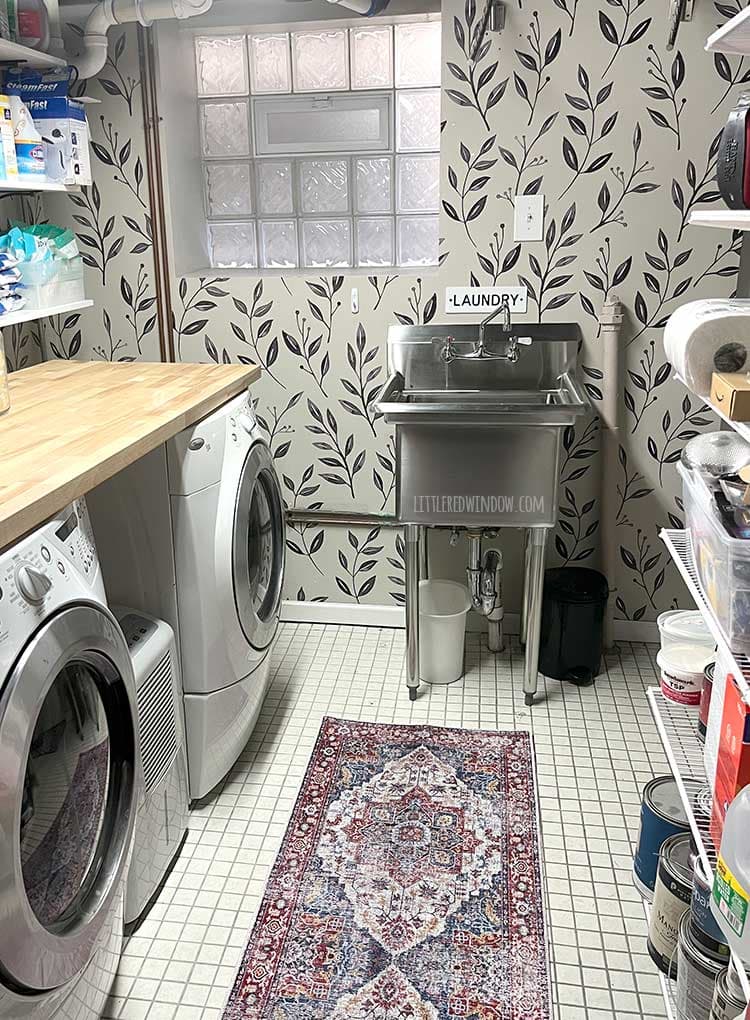
- Clean the wall first – Yes, the instructions usually tell you this and yes, people skip it anyway. In fact, I skipped in my last bathroom project but that was because the wall had been painted recently so I knew it was clean. But that got me too confident when I started my laundry room project and I didn’t clean the walls and it caused me some trouble. Here’s a photo of said laundry room. Luckily after starting that area over the sink, I realized my mistake and cleaned the rest of the walls. This cute leaf pattern went on perfectly after that.
Even though your walls LOOK clean, walls can be dusty. I know! I had no idea either. But dust and lint on the wall can make your decals not stick. Yep, it’s true. It’s kind of like when you stick a sticker on your shirt and it picks up a bunch of lint and then it’s not sticky anymore. Same thing. So clean your walls. In most cases a dry wipe down followed by a wipe down with water is enough. - If you’ve recently painted, WAIT – This one was on the instruction sheet for my most recent project and I thought it was so smart. I think a lot of times people apply decals or wallpaper as part of a room makeover which means the walls are often recently painted. But if you apply decals or removable wall paper to freshly painted walls before the paint is FULLY cured, it may peel right off if you decide to remove the decals. Yep, those removable decals might not be so removable. Most sources recommend waiting at least a month for paint to fully cure. Yes, I know, that’s annoying. But it’s worth it!
- Plan it out – Decide ahead of time what kind of pattern you want to apply your wall decals in, don’t just wing it.
- Random patterns are MUCH easier – That leads me to my next point, random wall decal patterns are SO much easier to apply. I live in a house that’s over 100 years old and nothing is straight or level. Literally nothing. I have done gridded wall decal projects in this house and I curse myself every time. So my personal advice is to choose a random pattern. I think it’s much easier to do, hides any mistakes and goes way faster. Gridded patterns look fantastic, don’t get me wrong, but be advised that they’re harder.
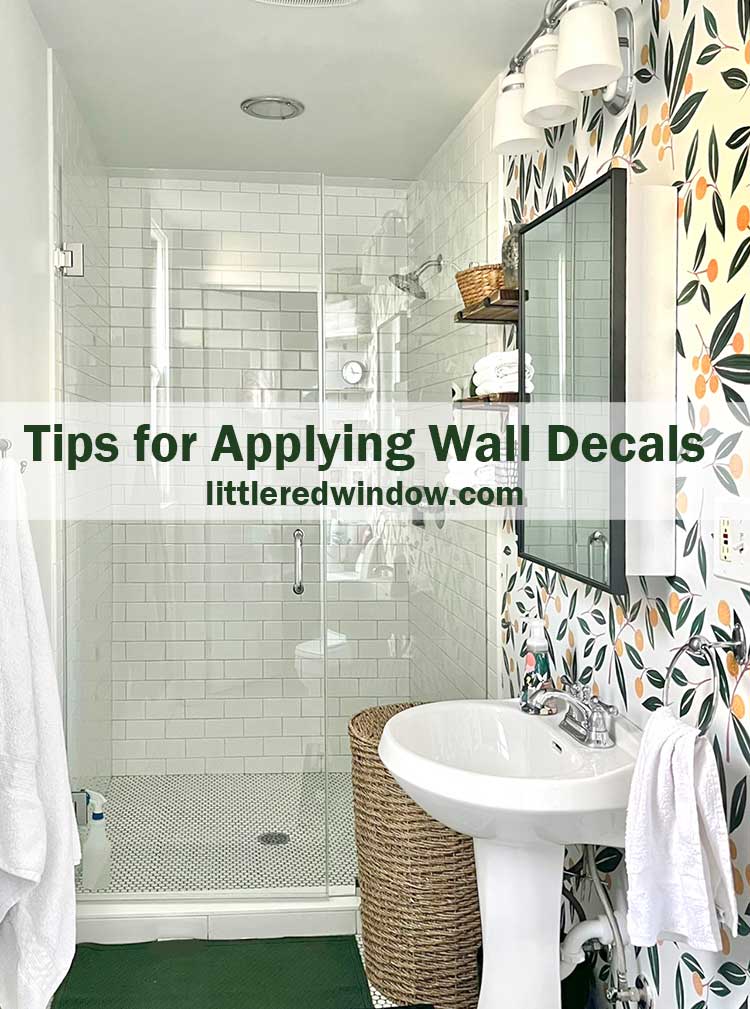
However, if you really want do a gridded wall decal pattern, my friend Bre has some fantastic instructions for doing that with the least possible amount of headache! Doesn’t hers look so great? Just like wallpaper! - Go dense – This one is probably a matter of personal opinion, but I think the most successful wall decal projects are those that don’t really look like wall decals and look more like wallpaper. Take, for example, the tangerine pattern in my bathroom. It’s densely patterned and random and honestly, even up close it looks like wallpaper. I saw this same pattern with the shapes more sparsely placed and it screamed decal. So go dense for best results.
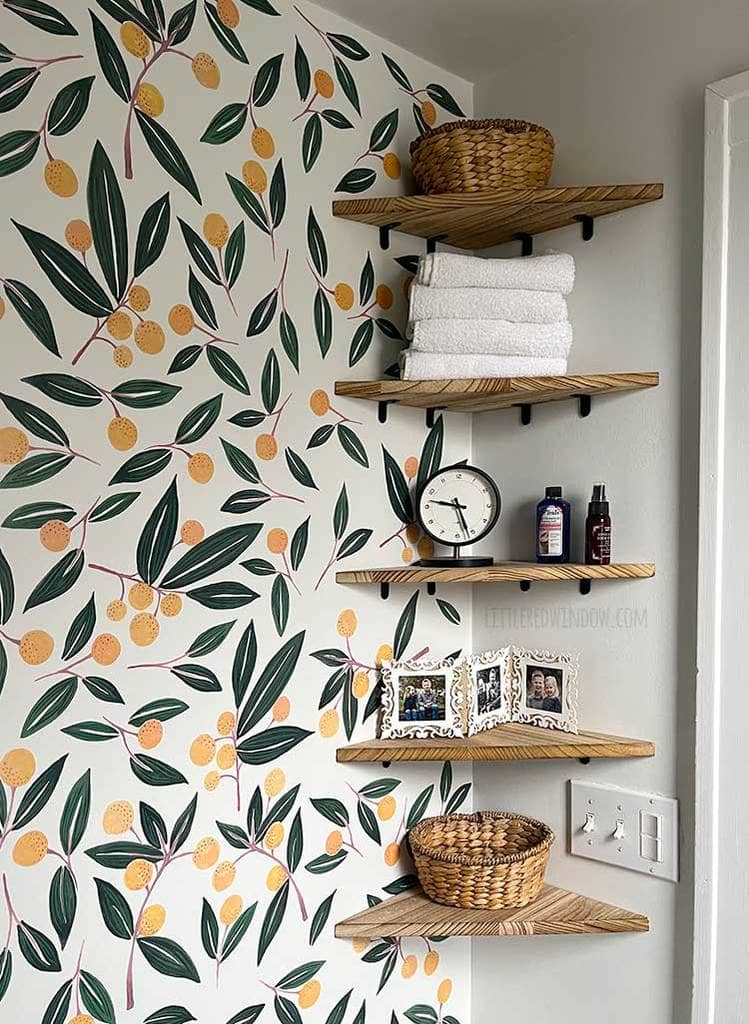
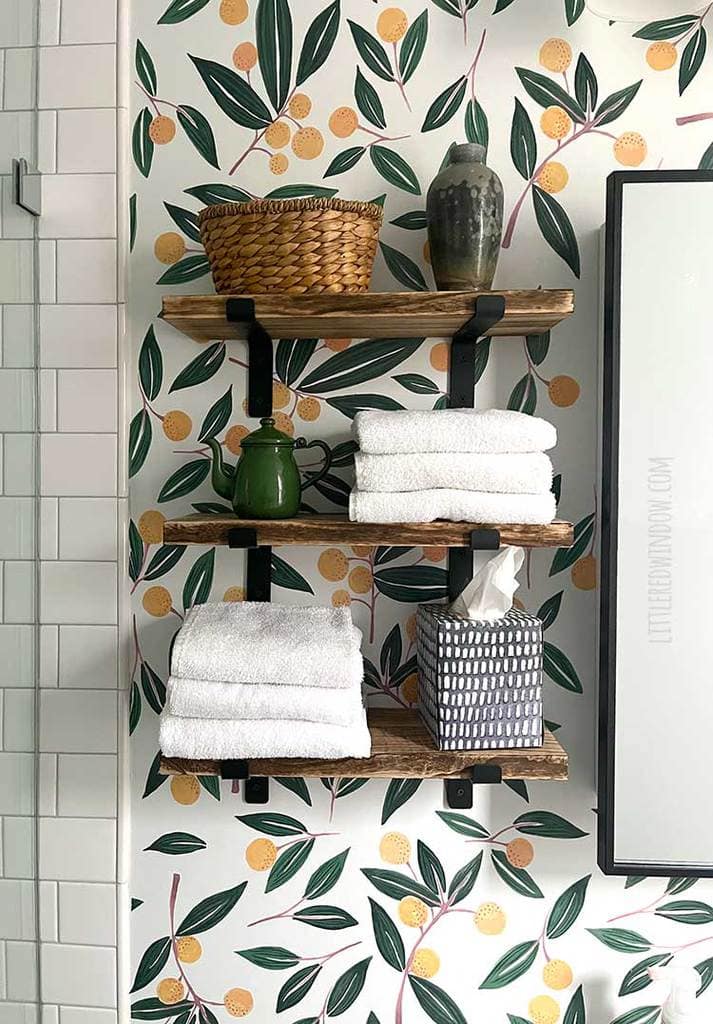
You might now be asking yourself, well, if I want my wall decals to look like wallpaper, why don’t I just use wallpaper? Friend, decals are a thousand times easier. No pattern matching, no glue or paste, you don’t even need a second set of hands to help! Plus, if you take a look at my bathroom wall, even though I put this up before I installed the shelves and medicine cabinet, I still had to navigate around light fixtures and water connections. Wallpaper would have been really difficult (or cost a lot more to have a professional install). - Apply partial decals at edges and behind shelves, light switches etc. – This tip will make your wall decals look much more professional. See how it looks like my decals go behind the shelves rather than if I had avoided cutting any decals? That’s another way to make the decal pattern look more like one cohesive unit like wallpaper. This tip applies to gridded wall decal patterns too!
- When it’s time to apply the decals, cut them apart and scotch tape them to the wall to test placement. This tip is self-explanatory. You can scotch tape decals up before peeling off the backing to test where you want them to go. With most decals you can see through the transfer tape on the front enough to get an idea of what the decal placement will look like.
- Work that squeegee – Seriously, following the decals’ instructions, after you apply it to the wall but BEFORE you peel off the transfer tape on the front, rub all over and in all directions firmly with your squeegee or wallpaper tool or even a credit card. Pay special attention to edges and small details.
- Peel slowly – Yep, slowly. Sort of like painter’s tape, peel slowly and hold the peeled tape flat against the wall downward, don’t pull it off the wall towards your body, that’s more likely to pull the decal off too.
- Smooth it again – After you peel off the transfer tape, smooth the decal down again paying special attention to edges and details. You want to make sure it’s really on there with no bubbles or peeling edges for dust to get behind.
And that’s it, those are my best tips for applying wall decals. Hopefully your next wall decal project is a success!
If you liked this, you may also like some of my other posts…


- Double Stockinette Stitch Knitting Pattern: Easy How To for Beginners - April 18, 2024
- Fiery Fades Hats Knitting Pattern - April 16, 2024
- Flower Pillow Knitting Pattern - April 11, 2024


Leave a Reply