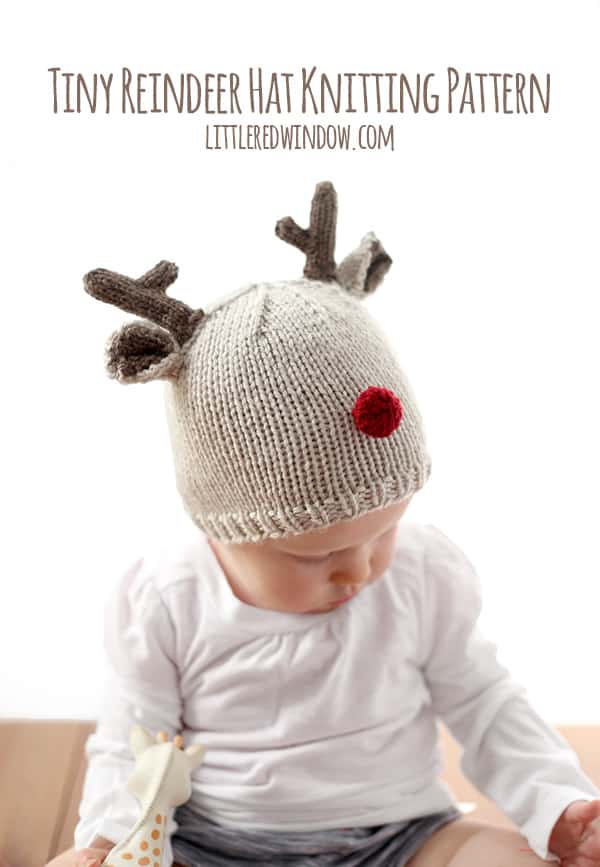
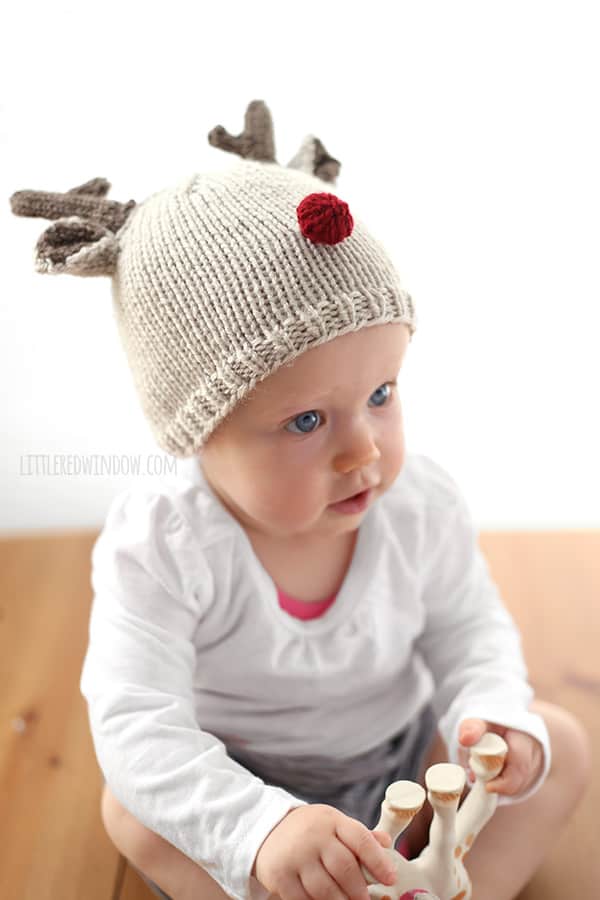
Knit this adorable reindeer hat complete with a red nose, in time for Christmas!
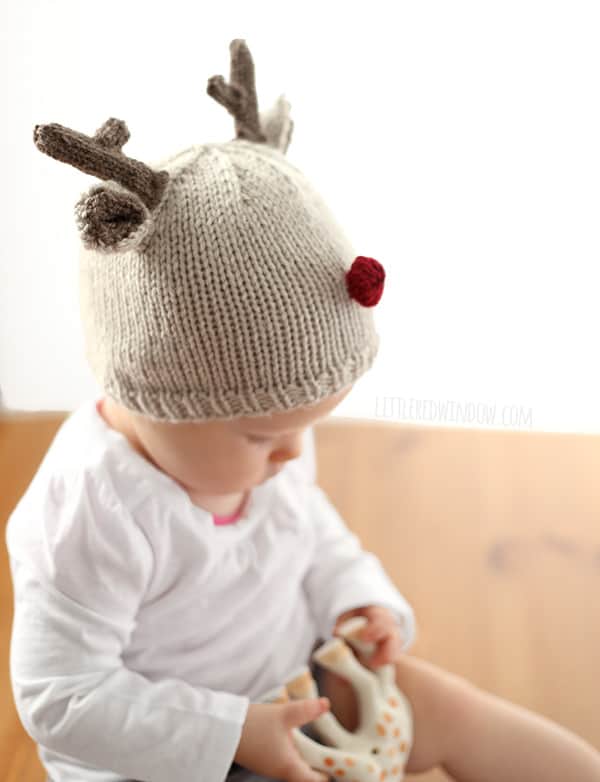
Yay! It’s almost Christmas! (Ok, well, for knitters anyway, we have to work ahead, right?) I thought Baby V would look so cute in a little reindeer hat so I whipped one up for you to make for the holiday season complete with antlers and a cute red nose. Let’s call her Rhonda the Reindeer. This year she’s still so little she’ll be completely oblivious to the excitement of Christmas but I think O will make up for it. Would you let this cute little reindeer land on your roof on Christmas Eve? As usual, the free reindeer hat pattern is at the bottom of this page, keep scrolling to find it!
Looking for the pattern? Here’s how it works: This pattern is available for FREE in one size right here on my site (keep scrolling down). Or for just a few dollars, you can choose to purchase an upgraded PDF pattern that is nicely formatted and easy to print. Besides being easy to print, the PDF pattern also contains MORE SIZES with instructions for additional sizing including 0-3 months, 6 months, 12 months and 2T+! Thank you for supporting Little Red Window!

Tiny Reindeer Hat Knitting Pattern
(6 mo. size, see PDF for other sizes)
Gauge: 20 st. = 4 inches
Worsted weight yarn in tan (linen), medium brown (taupe), and red
US 7 16″ circular knitting needles
(If you need help, my favorite knitting reference book for everyone from beginners to advanced knitters is THIS ONE!)
Tiny Reindeer Hat Knitting Pattern Instructions
Using long-tail cast on, cast on 64 stitches onto your circular needles with the tan yarn color. Join to knit in the round and k1, p1 in a rib stitch for 5 rounds.
Knit all rows until the hat is about 4 1/2 inches long.
Decrease (divide the stitches between 3 double pointed needles and knit with the 4th):
Round 1: (k6, k2tog) repeat to the end of the round
Round 2: Knit all stitches
Round 3: (k5, k2tog) repeat to the end of the round
Round 4: Knit all stitches
Round 5: (k4, k2tog) repeat to the end of the round
Round 6: Knit all stitches to the end of the round.
Round 7: (k3, k2tog) repeat to the end of the round
Round 8: Knit all stitches to the end of the round
Round 9: (k2, k2tog) repeat to the end of the round
Rounds 10: Knit all stitches
Round 11: (k1, k2tog) repeat to the end of the round
Rounds 12: Knit all stitches
Round 13: k2tog repeat to the end of the round
Cut yarn, pull through loops and close. Weave in ends.
Outer ear (make 2):
Using double pointed needles as straight needles, cast on 10 stitches with the tan yarn, leaving a long tail to stitch the ears to the hat.
Rows 1-6: knit odd rows, purl even rows
Row 7: k2tog, k6, ssk
Row 8: purl all stitches
Row 9: k2tog, k4, ssk
Bind off and weave in that end.
Inner ear (make 2):
Using double pointed needles as straight needles, cast on 8 stitches with the brown yarn, leaving a long tail to stitch the inner ear to the outer ear
Rows 1-6: knit odd rows, purl even rows
Row 7: k2tog, k4, ssk
Bind off and weave in that end.
Antler part A (make 2):
Cast on 8 stitches with the brown yarn and distribute among double pointed needles, leave a long cast-on tail to stitch the antler to the hat. Join to knit in the round.
Knit 16 rounds
Round 17: K2tog 4 times
Cut yarn pull through loops to close, weave in that end.
Antler part B (make 2):
Cast on 6 stitches with the brown yarn and distribute among double pointed needles, leave a long cast-on tail to stitch antler part B to antler part A. Join to knit in the round.
Knit 4 rounds
Cut yarn and pull through loops to close, weave in that end.
Nose:
Cast on 6 stitches with the red yarn and distribute among double pointed needles, leave a long cast-on tail to stitch the nose to the hat. Join to knit in the round.
Round 1: kfb all stitches (12 stitches )
Round 2: (kfb, k1) repeat (18 stitches )
Round 3: knit all stitches
Round 4: k2tog, repeat to the end of the round (9 stitches )
Round 5: k2tog 4 times, k1 (5 stitches)
Cut yarn and pull through loops to close, weave in that end.
To assemble the hat:
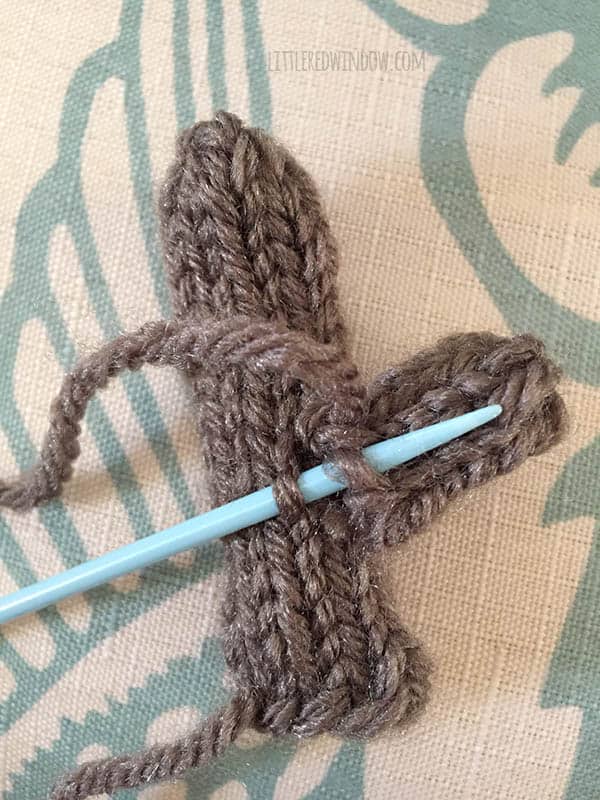
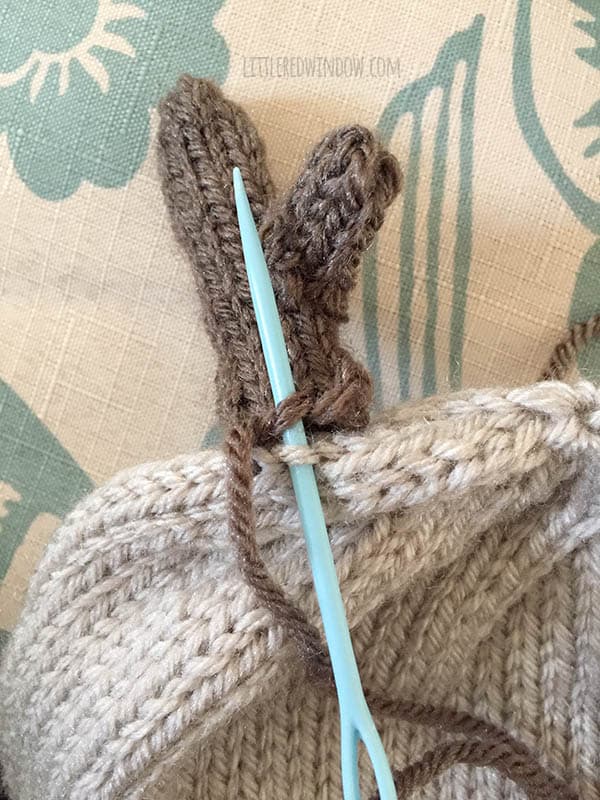
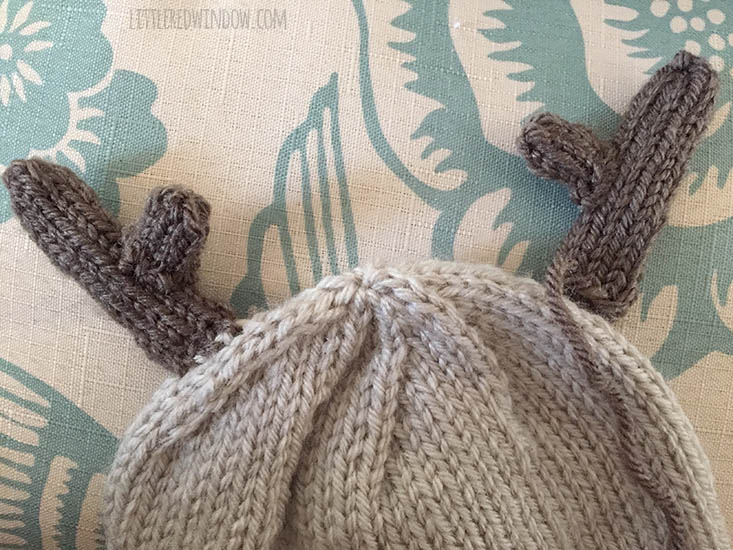
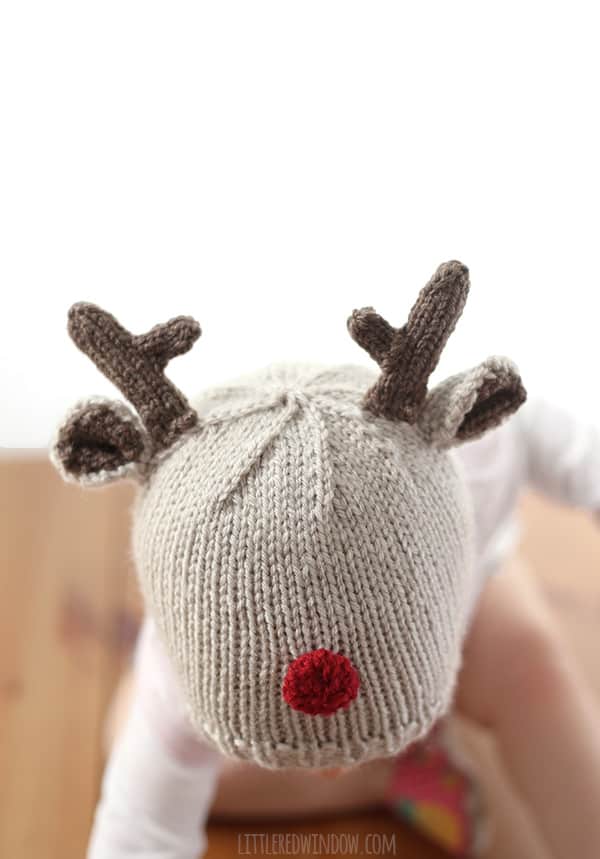
First use the long cast-on tail from each antler part B to stitch it to an antler part A.Then use the long cast-on tail from each antler part A to stitch the assembled antlers to the top of the hat. To assemble the ears, lay one tan outer ear wrong (purl) side up and put one brown inner earl wrong (purl) side down on top. Use the long cast-on tail from the brown inner ear to stitch them together. Make sure your stitches only catch the purl loops on the outer ear so they don’t show through to the other side.
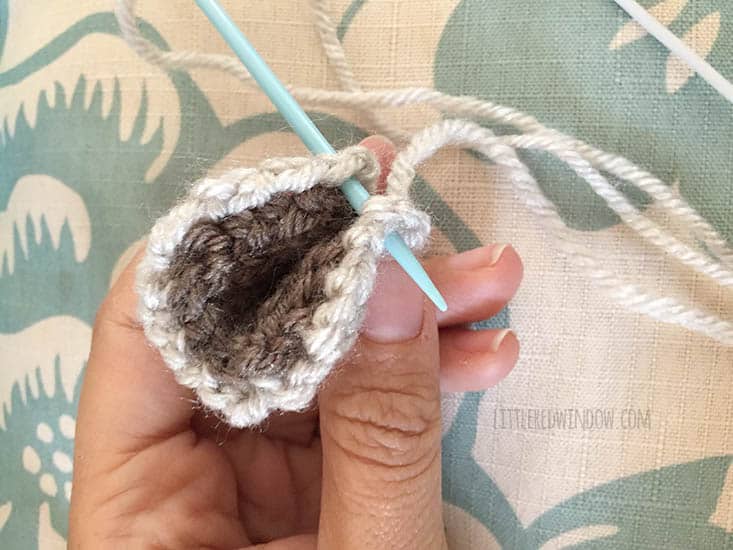
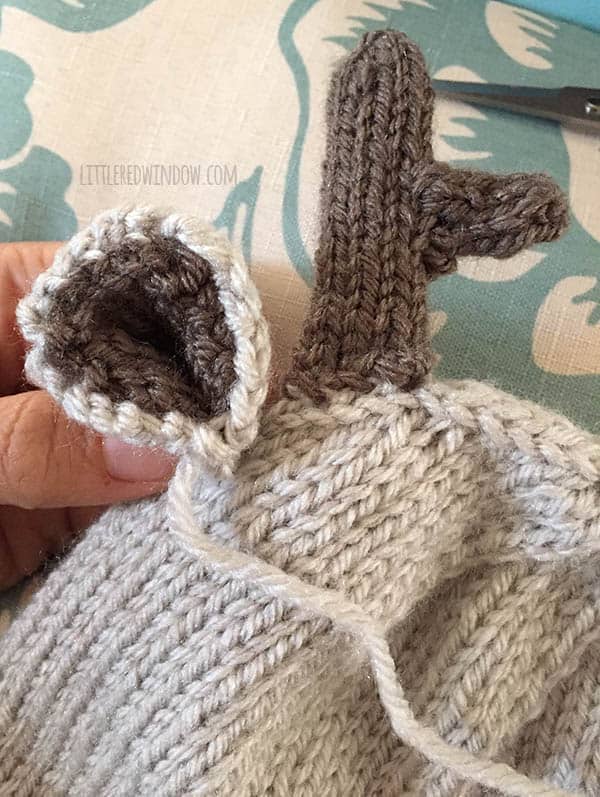
Then, pinch each assembled ear at the base and use the tan outer ear cast-on tail to make one stitch to help the ear hold its shape. Then stitch the ears securely to the hat next to the antlers. Finally, use the long cast-on tail from the nose to stitch it securely to the front of the hat. Make sure it’s attached well since this is an item for babies!
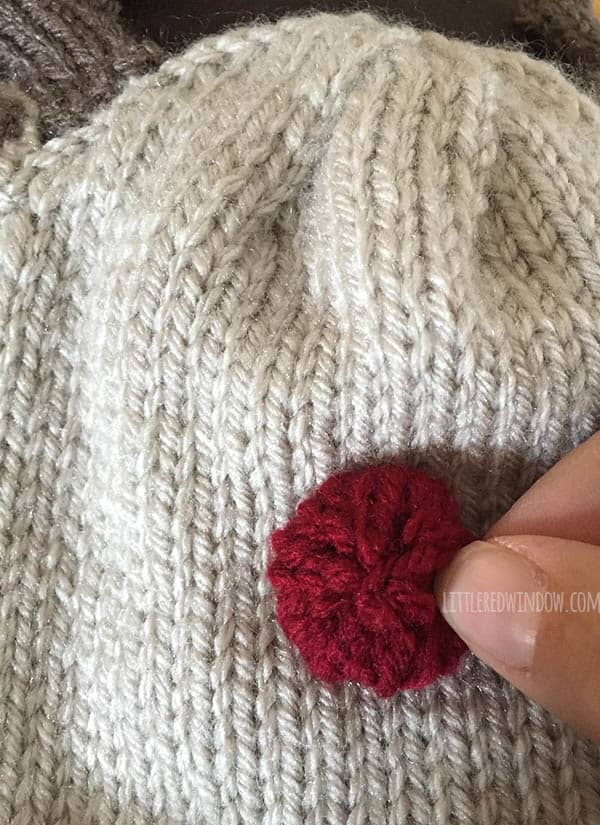
And that’s it! Enjoy your reindeer hat!
The PDF printable also contains instructions for sizes 0-3, 12 months and 2T+!
If you liked this, you may also like some of my other posts…
- Fiery Fades Hats Knitting Pattern - April 16, 2024
- Flower Pillow Knitting Pattern - April 11, 2024
- Compare the Top 5 Best Types of Paintbrushes for Craft Projects - April 11, 2024






Nina Checker says
Love the reindeer hat – it’s going to be my first venture into the knitting world!!
Sarah says
instead of using double pointed needles towards the top, could you do the magic loop method instead?
Cassie May says
Absolutely, yes!
ashleroo says
What an absolutely darling hat! I can’t wait to knit this up for my friend’s baby shower. It would be fun to switch up the hat toppers, while still using the same pattern. I’d like to try it with just the ears & no antlers for a different look. Or try knitting it in fun colour or sparkly yarn for a festive twist!
Cassie May says
Those are great ideas! Hope your friend likes it! xoxo! Happy knitting!