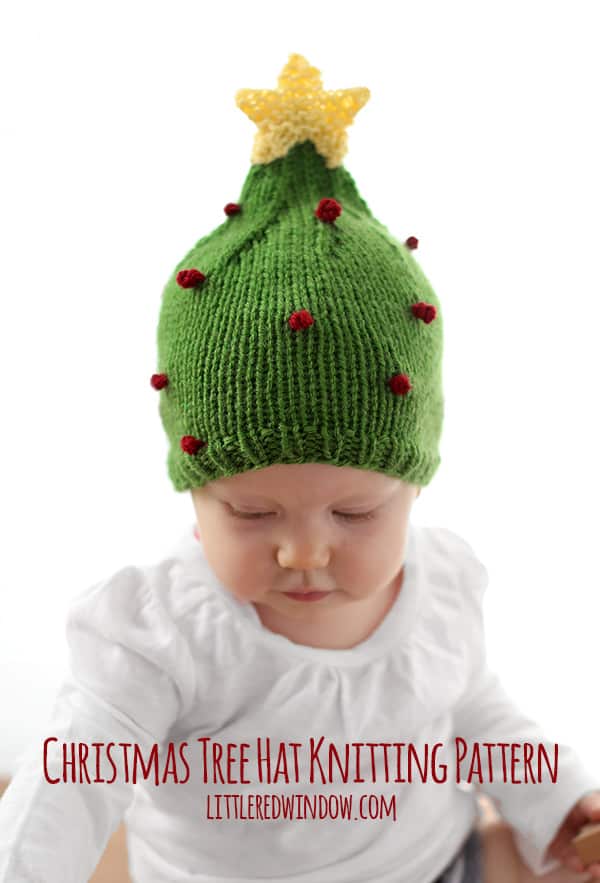
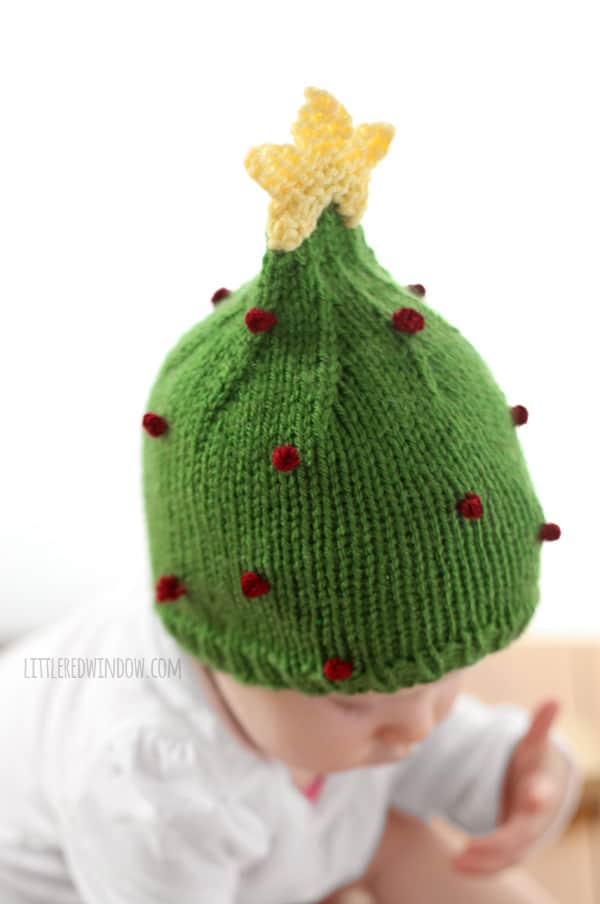
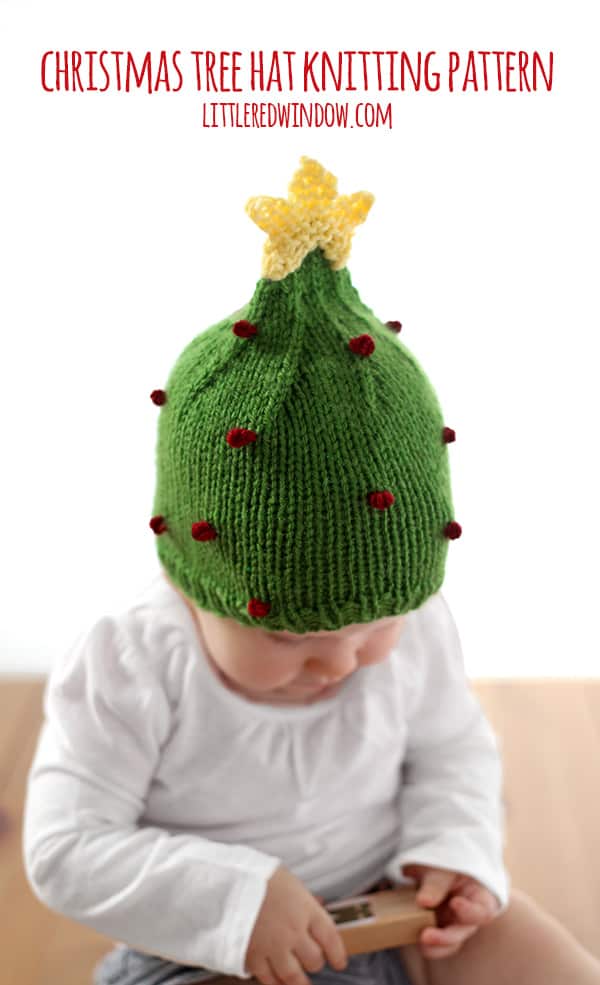
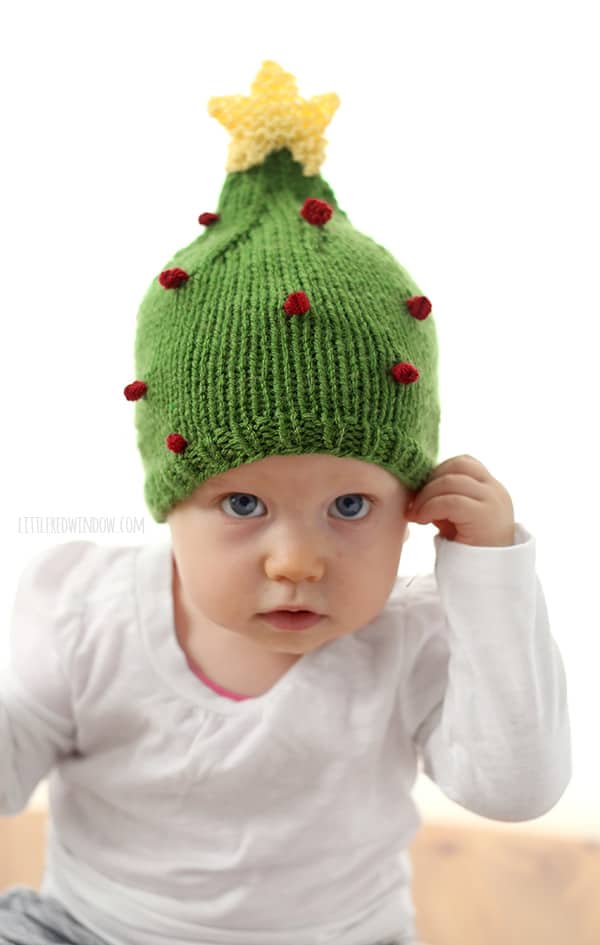
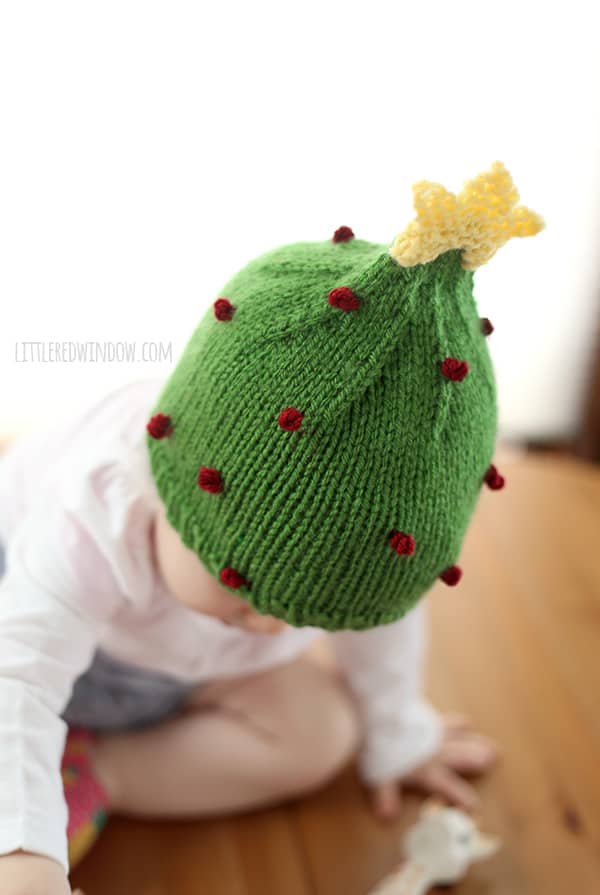
Knit a cute Christmas Tree Hat with this free holiday knitting pattern!
My dad is a total Christmas carol scrooge. So we had a rule in our house growing up that my mom and I couldn’t play any Christmas carols until December 1st. Let me tell you, it was a hard wait some years! But guess what? It’s December 1st so we can bring on the Christmas (if you celebrate)! And I think pretty much my favorite part of Christmas is the tree. It just smells so good! We had a fake one until we moved into this house and then there was a Christmas tree lot two doors down so we pretty much had to get one. And it makes me so happy! So I thought this year, a Christmas tree hat was in order for Baby V! It has a star on top and little ornaments, how cute is that?! I’m not going to lie, the star was challenging to figure out, but I think it turned out cute (it’s a little fiddly but totally doable!) Scroll all the way down for the free pattern, Merry Christmas!
Looking for the pattern? Here’s how it works: This pattern is available for FREE in one size right here on my site (keep scrolling down). Or for just a few dollars, you can choose to purchase an upgraded PDF pattern that is nicely formatted and easy to print. Besides being easy to print, the PDF pattern also contains MORE SIZES with instructions for additional sizing including 0-3 months, 6 months, 12 months and 2T+! Thank you for supporting Little Red Window!

Christmas Tree Hat Knitting Pattern
(6 mo. size, see PDF for other sizes)
Gauge: 20 st. = 4 inches
Worsted weight yarn in green, yellow and red
US 7 16″ circular knitting needles
(If you need help, my favorite knitting reference book for everyone from beginners to advanced knitters is THIS ONE!)
Christmas Tree Hat Knitting Pattern Instructions
Using long-tail cast on, cast on 64 stitches onto your circular needles with the tan yarn color. Join to knit in the round and k1, p1 in a rib stitch for 5 rounds.
Knit all rows until the hat is about 4 1/2 inches long.
Decrease:
Round 1: (k6, k2tog) and repeat to the end of the round.
Round 2: Knit all stitches
Round 3: (k5, k2tog) and repeat to the end of the round.
Round 4: Knit all stitches
Round 5: Knit directly onto 3 of the double pointed needles:
- Needle 1: (k4, k2tog) repeat two times.
- Needle 2: (k4, k2tog) repeat two times.
- Needle 3: (k4, k2tog) repeat one time.
Rounds 6 -7: Use the fourth double pointed needle to knit all stitches to the end of the round.
Round 8: (k3, k2tog) and repeat to the end of the round.
Rounds 9-10: Knit all stitches to the end of the round.
Round 11: (k2, k2tog) and repeat to the end of the round.
Rounds 12-14: Knit all stitches to the end of the round
Round 15: (k1, k2tog) and repeat to the end of the round.
Rounds 16-19: Knit all stitches to the end of the round
Round 20: k2tog and repeat to the end of the round.
Rounds 21-23: Knit all stitches to the end of the round
Cut yarn, pull through loops and close. Weave in ends.
Star:
Using double pointed needles as straight needles, cast on 1 stitch with yellow yarn.
Row 1: kfb (2 st.)
Row 2: knit all stitches
Row 3: kfb, kfb (4 st.)
Row 4: knit all stitches
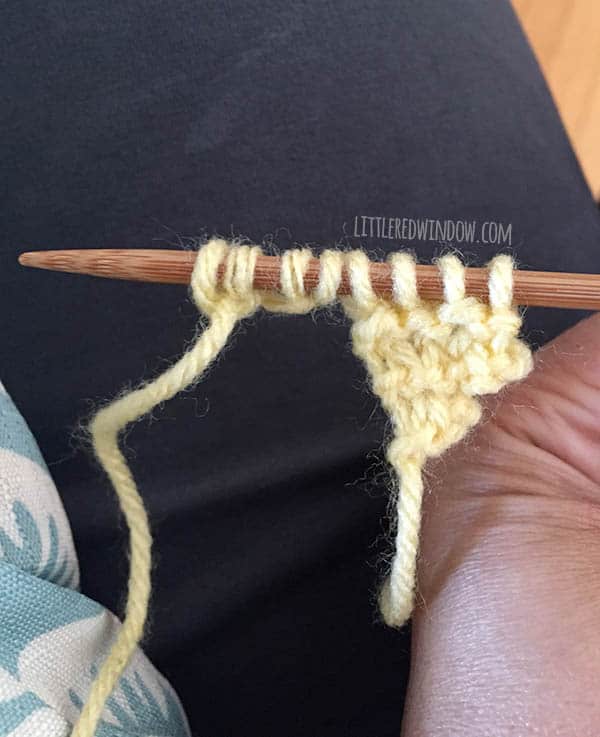
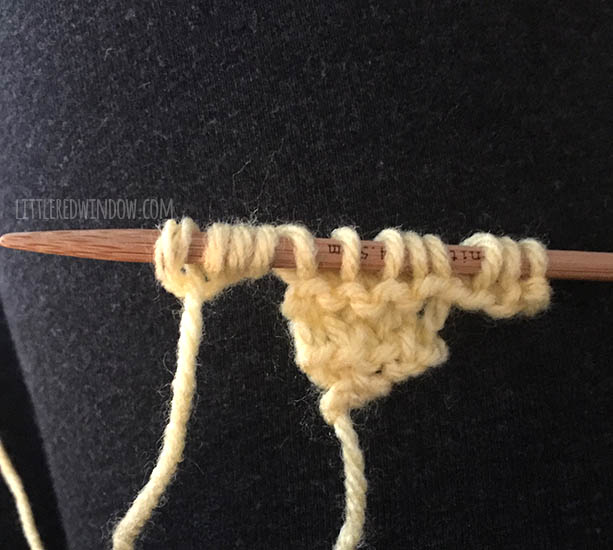
Row 5: k4, cast on 4 additional stitches using backwards loop method Row 6: K8, cast on 4 additional stitches using backwards loop method
Row 7: k10, k2tog (11 st.)
Row 8: K9, k2tog (10 st.)
Row 9: K8, k2tog (9 st.)
Row 10: K7, k2tog (8 st.)
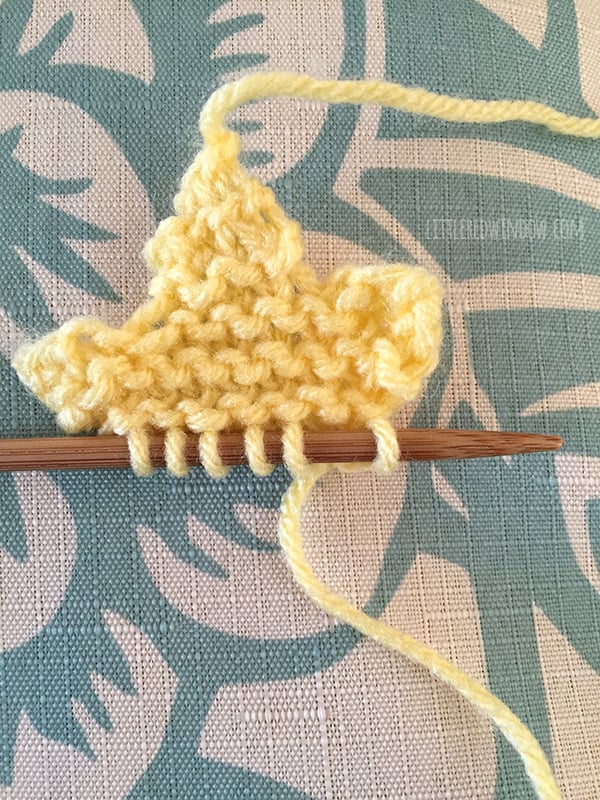
Row 11: K2tog, k4, k2tog (6 st.)
Row 12:knit all stitches
Row 13: Kfb, k4, kfb (8 st.)
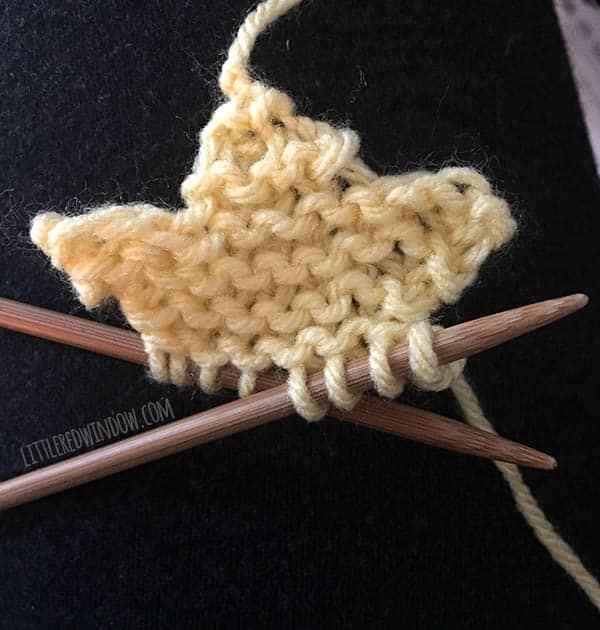
Split stitches onto two needles (or one needle and a stitch holder), work with only first 4 stitches first to make first star bottom leg.
Star bottom legs:
Row 1: Knit all stitches
Row 2: K2, k2tog
Row 3: K2tog, k1
Row 4: K2tog
Cut yarn and pull through loop to close. Weave in that end.
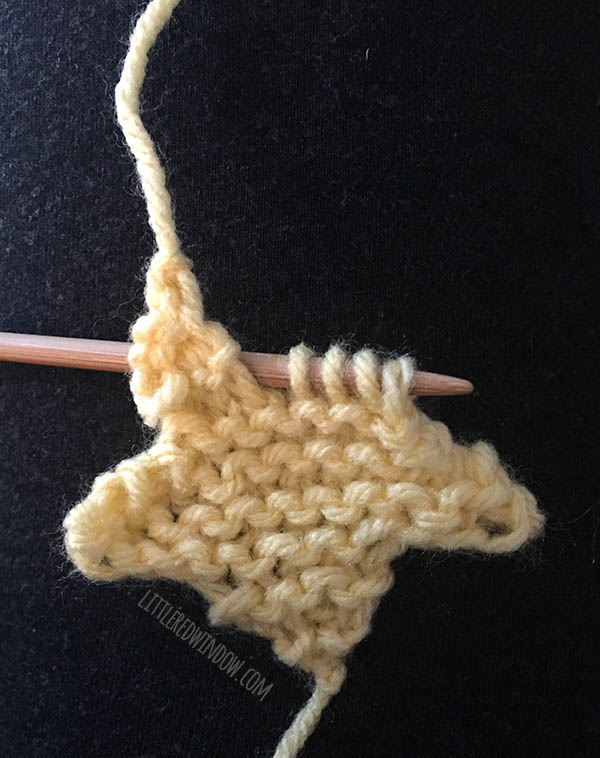
Hold star so finished star bottom leg is up and on the left, join in new yarn and repeat rows 1-4 above with other bottom leg (the other 4 stitches on your extra needle or stitch holder).Use a length of yellow yarn to stitch the star to the top of the hat, it will look the most star-like if you gently shape it and pull apart the bottom legs just a little bit it as you stitch it on. If you used a natural fiber yarn, you may also want to block it first!
To make the ornaments:
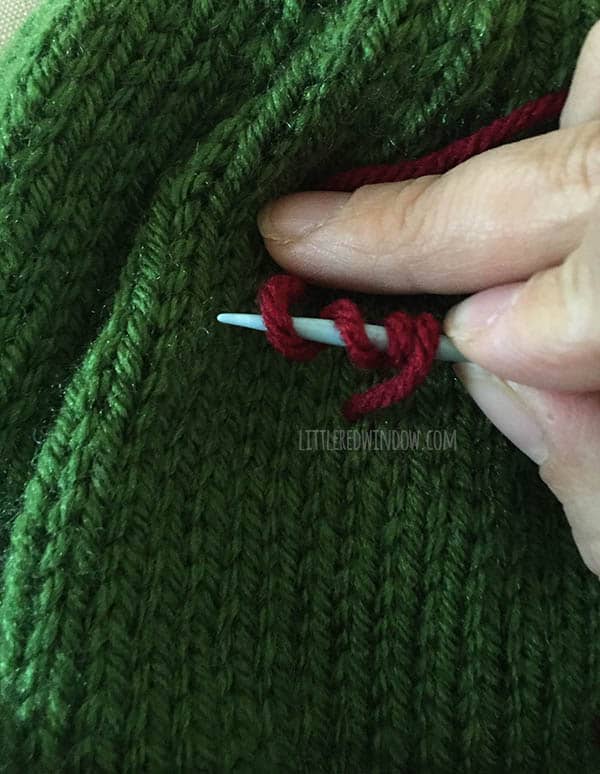
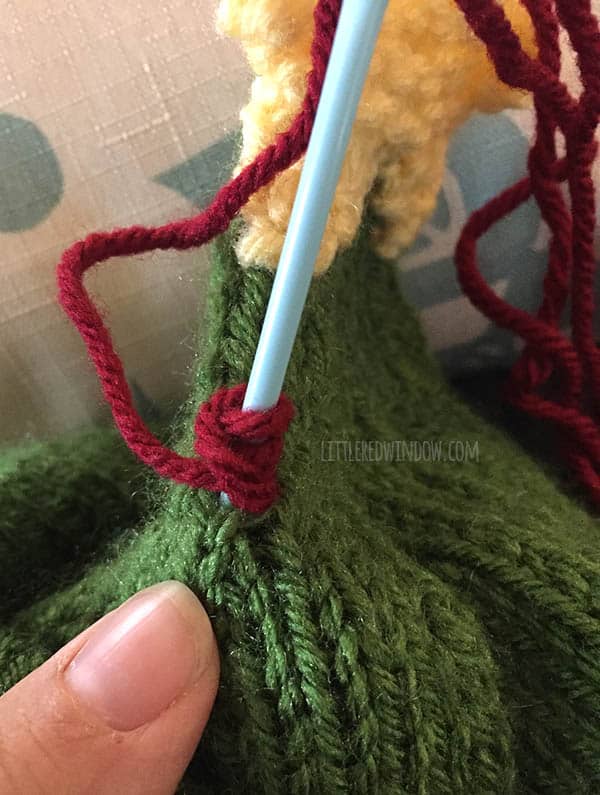
I made my ornaments using french knots, a common embroidery stitch. You could also use tiny pom poms! To make a french knot, thread your yarn needle, make a knot to secure the yarn inside the hat and bring the needle from the inside of the hat to the outside. Wind the yarn around the needle four times and bring it back down just next to where it came up. Pull it through slowly to make a nice neat knot. Secure and weave in ends on the inside of the hat. Repeat as many times (and use as many colors) as you want to decorate your Christmas Tree hat!
After you’ve hung all your ornaments, your Christmas Tree hat is finished! The PDF printable also contains instructions for sizes 0-3, 12 months and 2T+!
If you liked this, you may also like some of my other posts…
- 10 Tips for Organizing Your Craft Supplies On a Budget - April 25, 2024
- Rib Zag Hat Knitting Pattern - April 23, 2024
- Double Stockinette Stitch Knitting Pattern: Easy How To for Beginners - April 18, 2024






Brenda says
When making the star,row 3 has 4 sts
Row 4 says: K2tog,k2tog(:so I should now have Only 2 sets left,BUT,
ROW 5:says: k2tog,k1– that needs 3 sts???
Please explain,Brenda
Cassie May says
Hi!
I not sure but I think you are asking about the instructions for the stars’ legs? Row 2 actually says: K2, K2tog not k2tog twice, then you will have the three stitches needed for the next row. Hope that helps!
Mona says
Love the pattern!
Could I knit this with straight needles?
Thank you.
Mona.
Cassie May says
Hi! I’m sorry, this particular pattern is written to be knit in the round!