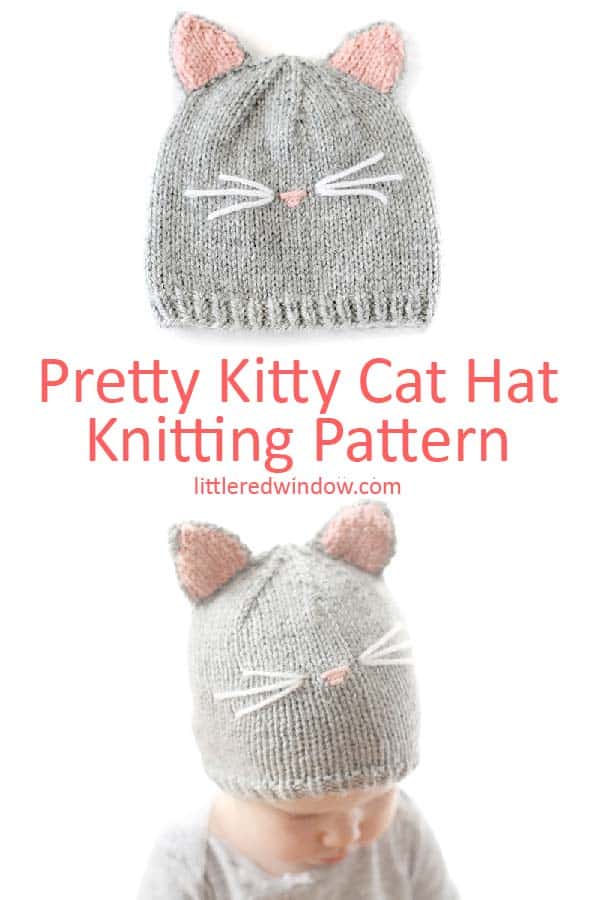
Knit an adorable Pretty Kitty Cat Hat for your little one with this cute and easy knitting pattern! This cute little kitty hat is one of my all time most popular patterns and it’s so easy to knit!
Updated January, 2024
This pattern has been updated to include additional child and adult sizes. For more information on the changes, what’s included and many other questions, click here.
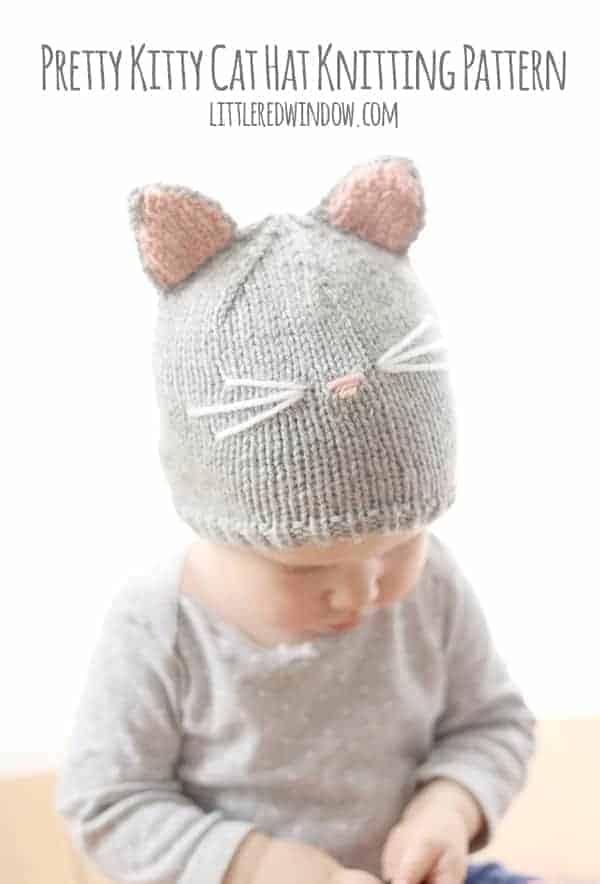

My kitty cat hat knitting pattern is here! Did you know that when O was a baby we had two cute little cats that lived with us? They had to move in with friends when he was about 1 and we discovered he was allergic to them. But they were such sweet cats.
We adopted them at 6 weeks old from an amazing no-kill shelter in Chicago, they had been found in an alley alone and were brother and sister. I still miss them. I do not, however, miss the fur everywhere!
Anyway, they were adorable little gray kitties named Hiro and Yuko and because they were brother and sister they looked really similar, as kittens we could only tell them apart by their noses. Hiro had a little black nose and Yuko had a little pink nose.
So when I decided to design Baby V a kitty cat hat knitting pattern, it definitely had to be gray with a little pink nose. But you could make your cat hat whatever colors you want! Scroll on down to get this cute knitting pattern!
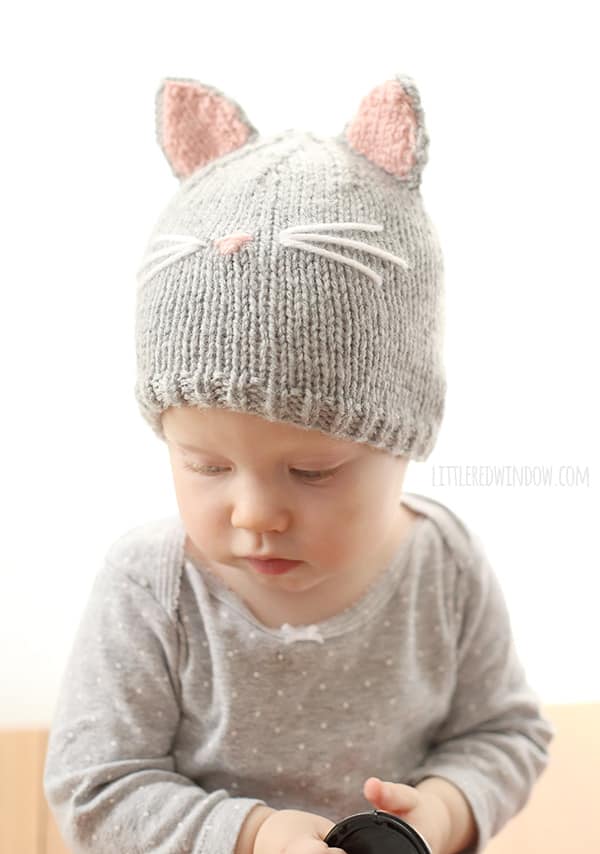
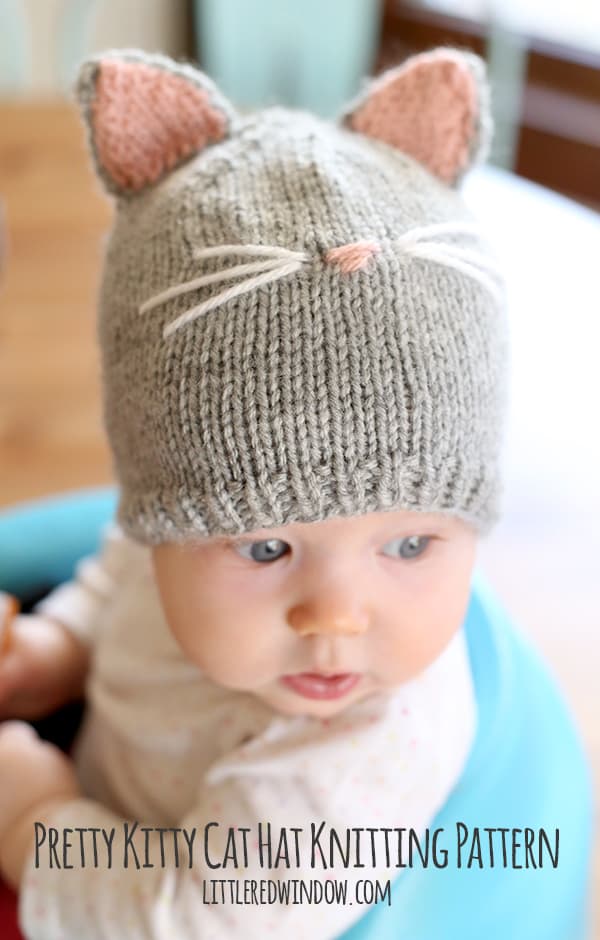
Pretty Kitty Cat Hat Knitting Pattern
Sizes included: 0-3 months, (6 months, 1-2 years, 3-6 years, Child Large/Adult Small, Adult Large) Read our sizing guidelines post for more information.
Gauge: 19 stitches = 4 inches
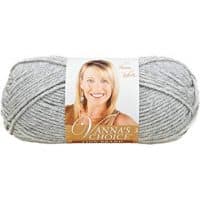
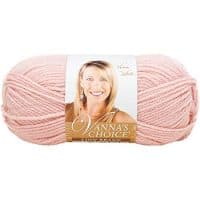
- Worsted weight yarn in gray, white and pink
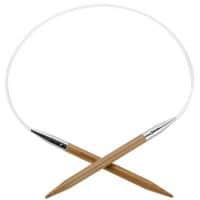
- US 7 (4.5mm) 16″ circular knitting needles
- US 7 (4.5mm) double pointed knitting needle
- Yarn needle
(If you need help, my favorite knitting reference book for everyone from beginners to advanced knitters is THIS ONE!)
Looking for the pattern? Here’s how it works: This pattern is available for FREE in one size right here on my site (keep scrolling down). Or for just a few dollars, you can choose to purchase an upgraded PDF pattern that is nicely formatted and easy to print. Besides being easy to print, the PDF pattern also contains MORE SIZES with instructions for additional sizing including 0-3 months, 6 months, 1-2 years, 3-6 years, Child Large/Adult Small and Adult Large! Thank you for supporting Little Red Window!
Pretty Kitty Cat Hat Knitting Pattern Instructions (12 month size)
Using long-tail cast on, cast on 72 stitches onto your circular needles with the gray yarn color. Join to knit in the round and knit 1 stitch, purl 1 stitch in a rib stitch for 5 rounds.
Knit all rows until the hat is about 5 inches long.
Decrease (divide the stitches between 3 double pointed needles and knit with the 4th):
Round 1: (k6, k2tog) repeat to the end of the round
Round 2: Knit all stitches
Round 3: (k5, k2tog) repeat to the end of the round
Round 4: Knit all stitches
Round 5: (k4, k2tog) repeat to the end of the round
Round 6: Knit all stitches to the end of the round.
Round 7: (k3, k2tog) repeat to the end of the round
Round 8: Knit all stitches to the end of the round
Round 9: (k2, k2tog) repeat to the end of the round
Rounds 10: Knit all stitches
Round 11: (k1, k2tog) repeat to the end of the round
Rounds 12: Knit all stitches
Round 13: k2tog repeat to the end of the round
Cut yarn, pull through loops and close. Weave in ends.
To knit the outer ears (make 2):
Using double pointed needles as straight needles, cast on 10 stitches with gray yarn, leaving a long tail to stitch the ears to the hat.
Rows 1-4: knit all odd rows, purl all even rows
Row 5: k2tog, k6, ssk
Row 6: purl all stitches
Row 7: k2tog, k4, ssk
Row 8: purl all stitches
Row 9: k2tog, k2, ssk
Row 10: purl all stitches
Row 11: k2tog, ssk
Row 12: p2tog
Cut yarn, pull through loop and weave in that end.
To knit the inner ears (make 2):
Using double pointed needles as straight needles, cast on 8 stitches with pink yarn, leaving a long tail to stitch the inner ear to the outer ear.
Row 1-3: purl all odd rows, knit all even rows
Row 4: k2tog, k4, ssk
Row 5: purl all stitches
Row 6: k2tog, k2, ssk,
Row 7: purl all stitches
Row 8: k2tog, ssk
Row 9: p2tog
Cut yarn, pull through loop and weave in that end.
To assemble the cat hat:
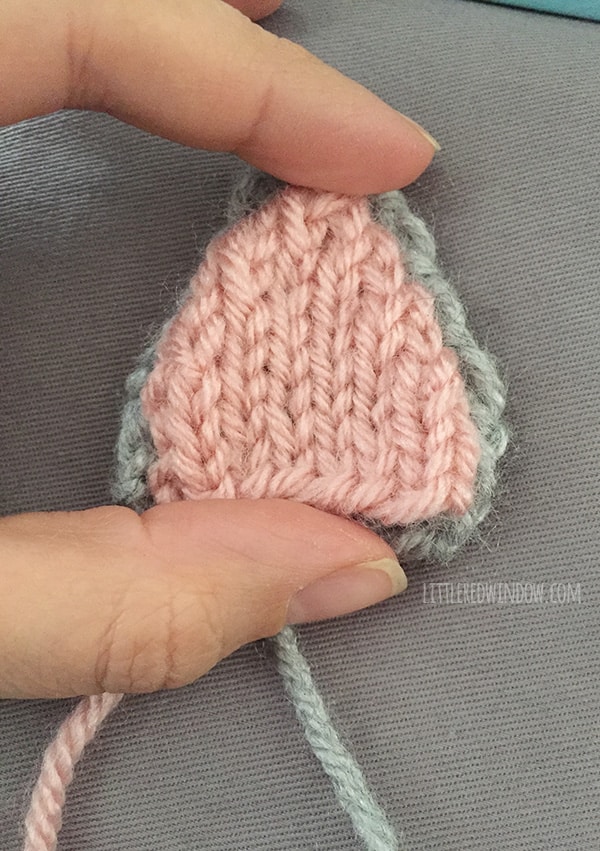
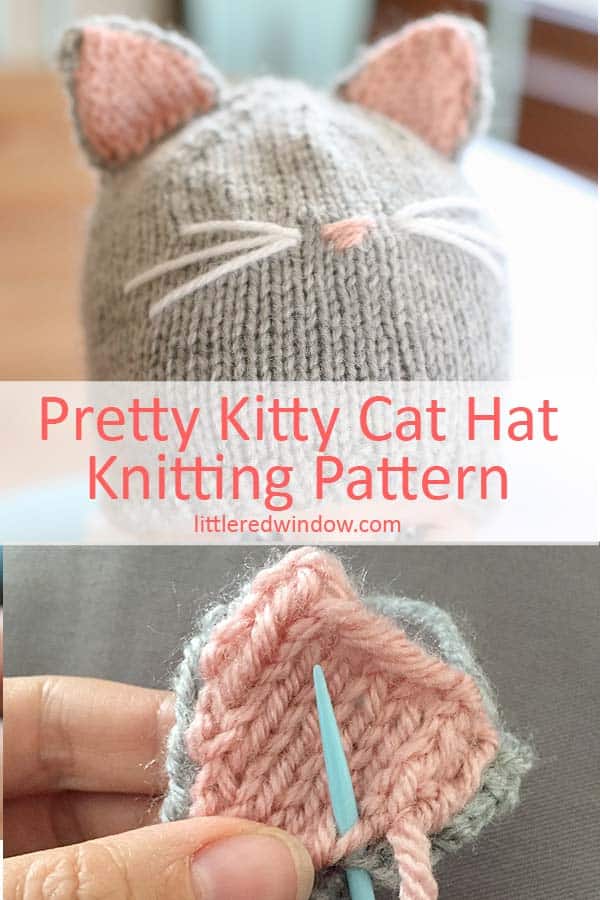
First use the long tail on one pink inner ear to whipstitch it wrong (purl) sides together to one gray outer ear. Make sure your stitches don’t show through to the other side of the outer ear. Knot the yarn and weave in the end. Repeat with the other ear parts.
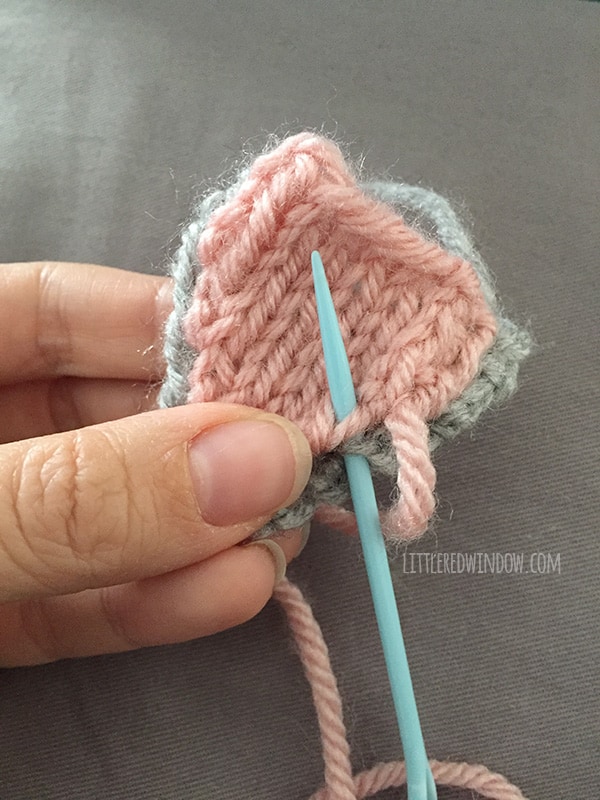
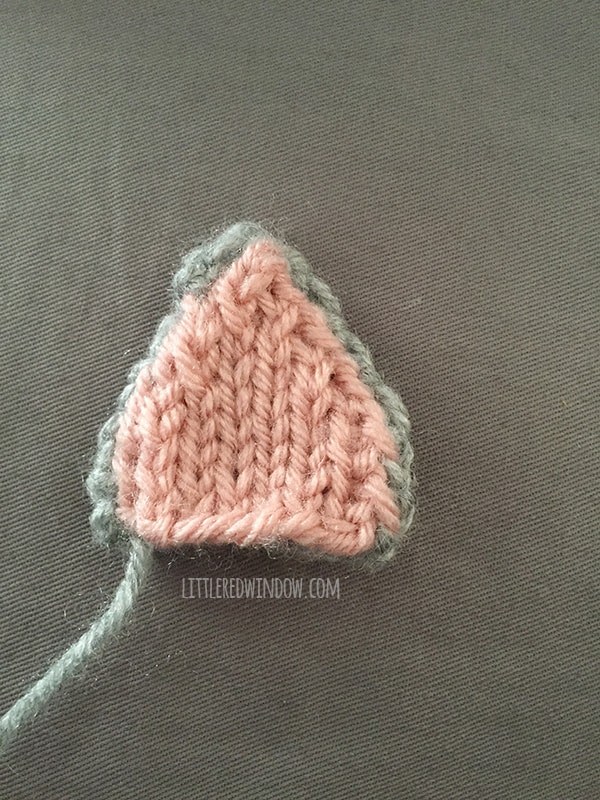
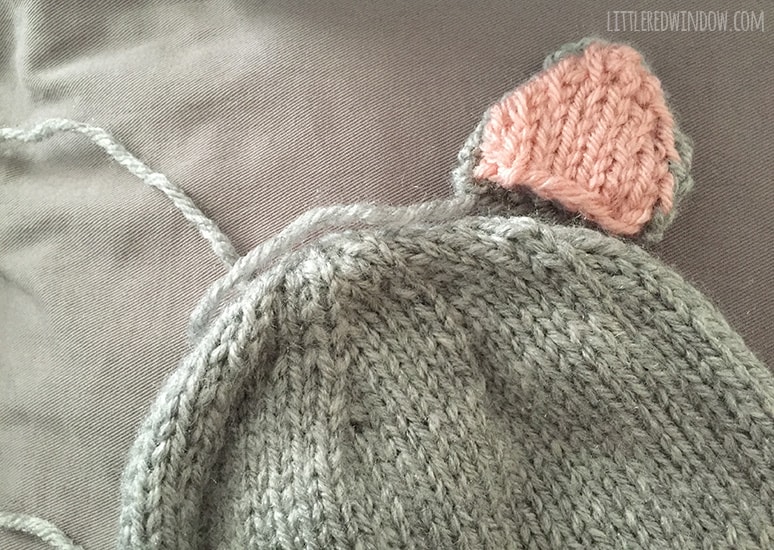
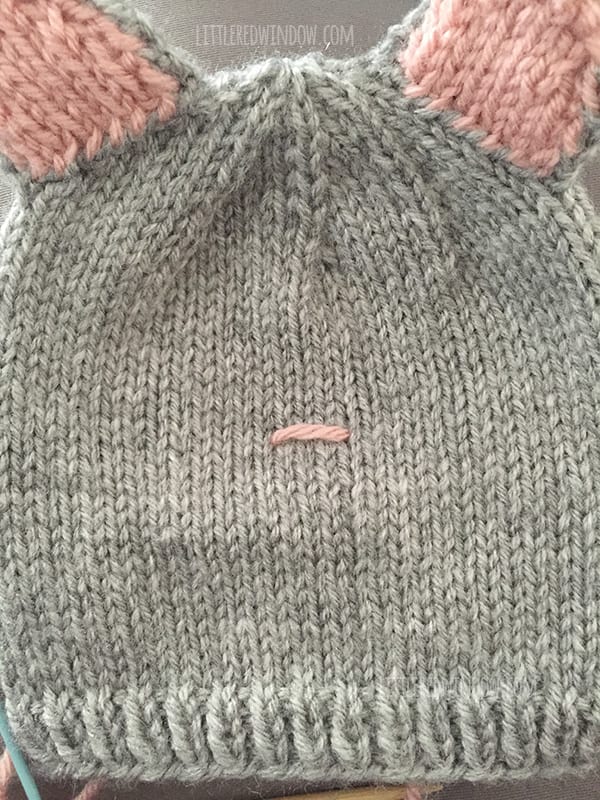
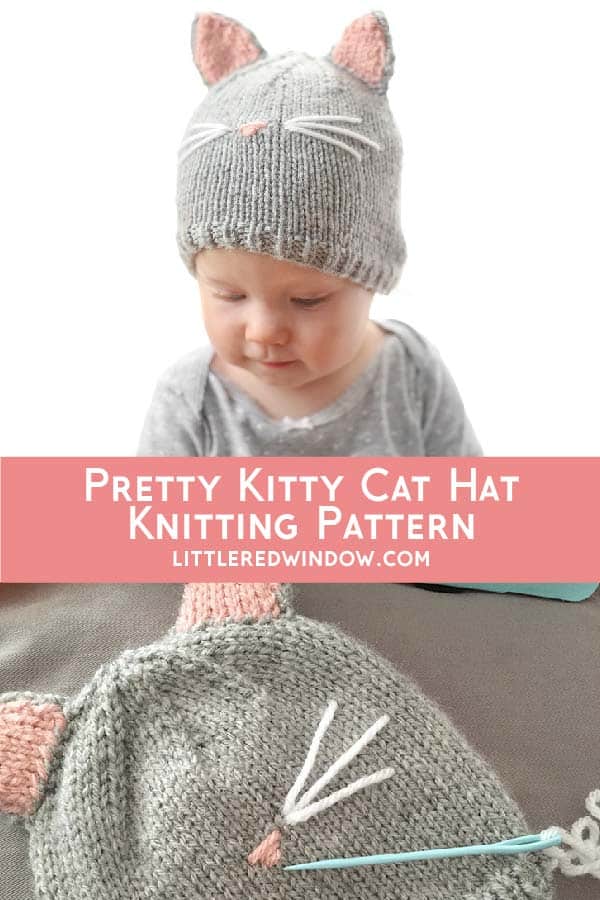
Then use the long gray cast on tail to attach the ear securely to the top of the hat on either side. Make sure to attach it well, babies pull on things! To stitch the nose, use your yarn needle and length of pink yarn to make three simple stitches in decreasing length to make the nose shape. Knot and weave in ends inside the hat.
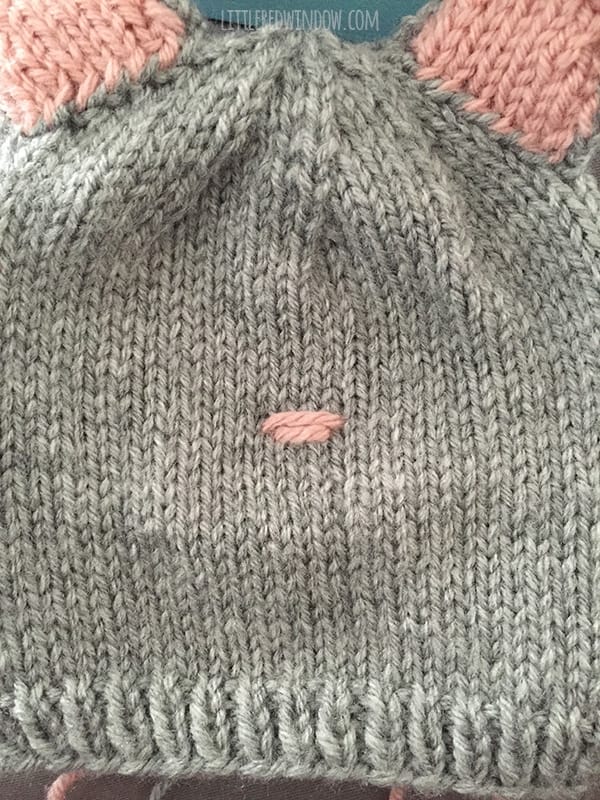
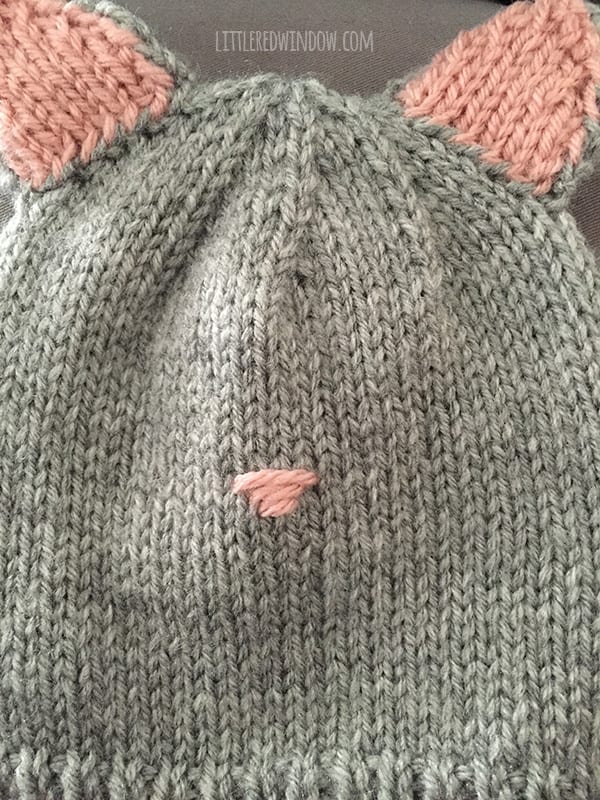
Use a yarn needle and a length of white yarn to stitch the whiskers on your kitty hat. Just make sure that you stitch them fairly loosely because when you put the hat on the baby it will stretch. If the whisker stitches are too tight they will pull and look terrible. Knot and weave in ends on the inside of the hat.
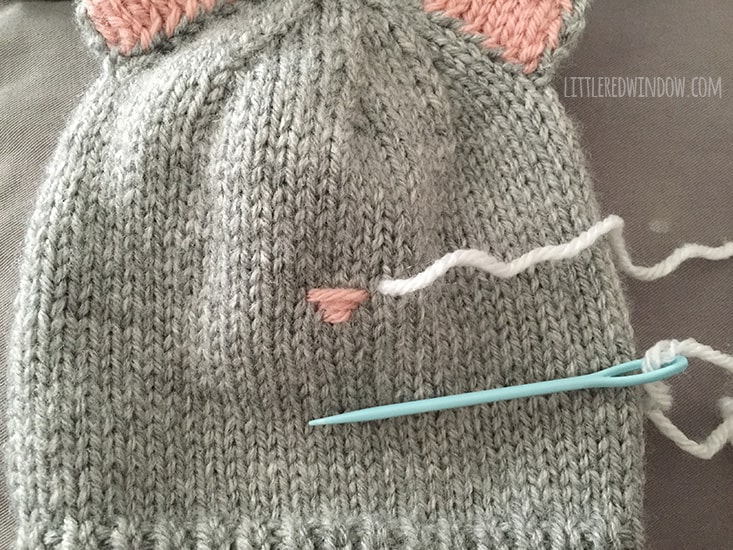
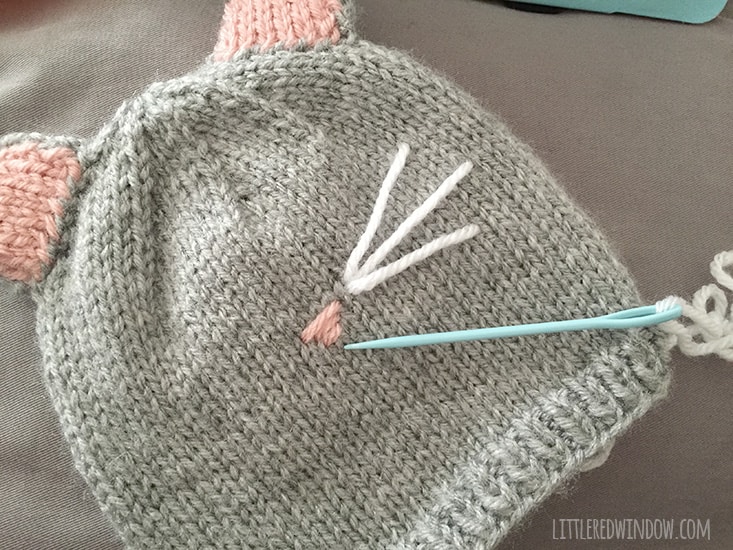
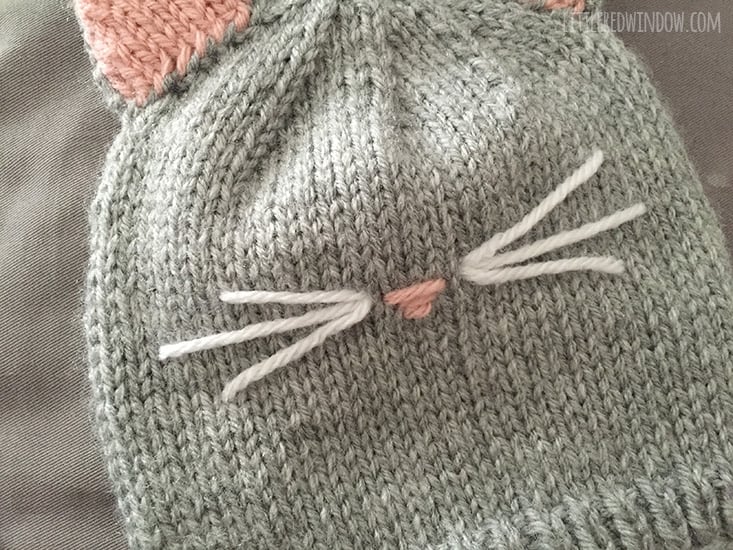
Now doesn’t your little kitty cat hat look purrrr-fect? (I couldn’t skip a pun opportunity could I?) Enjoy my cat hat knitting pattern!
The PDF printable cat hat knitting pattern also contains instructions for sizes 0-3, 12 months and 2T+!
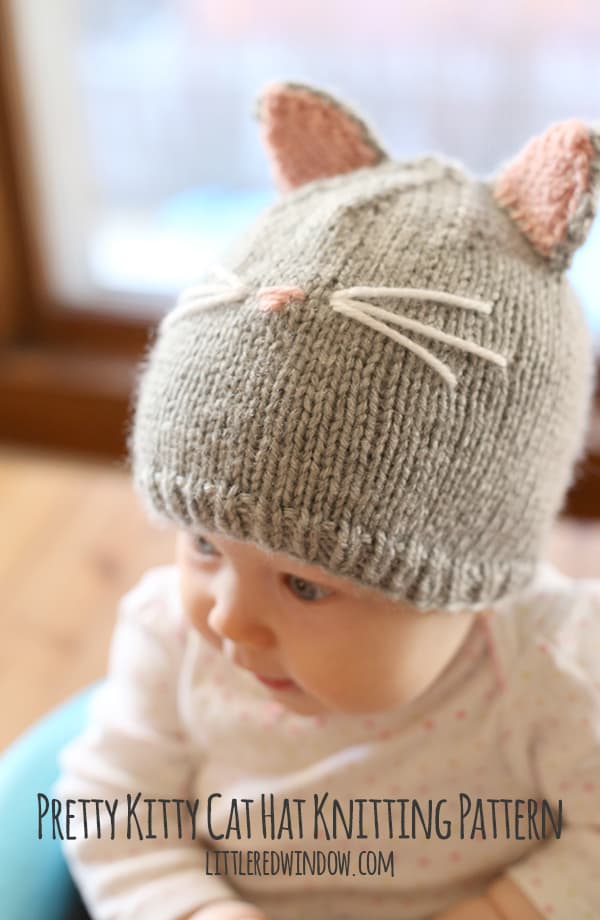
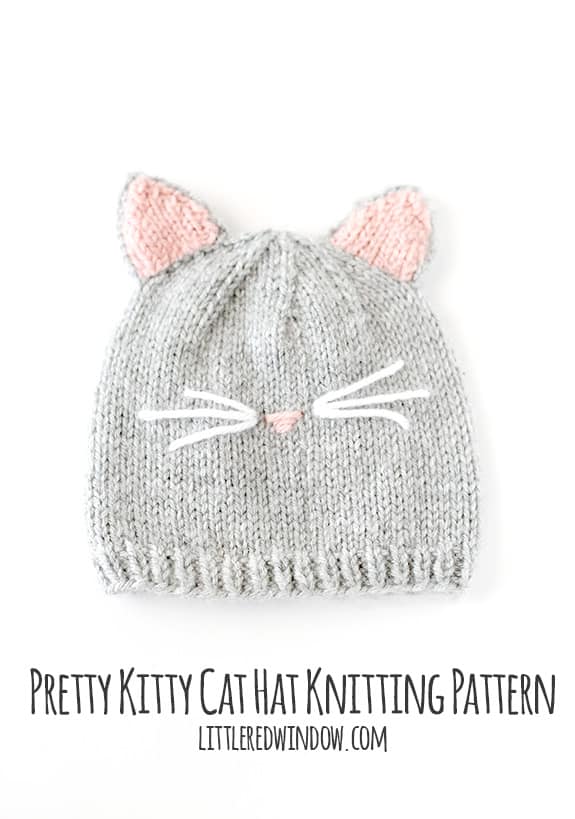
Knit a cute and easy Pretty Kitty Cat Hat with this adorable knitting pattern. It's available in four sized with step by step instructions! As an Amazon Associate and member of other affiliate programs, I earn from qualifying purchases.Pretty Kitty Cat Hat Knitting Pattern

Materials
Instructions
Recommended Products
If you liked this, you may also like some of my other posts…
- Double Stockinette Stitch Knitting Pattern: Easy How To for Beginners - April 18, 2024
- Fiery Fades Hats Knitting Pattern - April 16, 2024
- Flower Pillow Knitting Pattern - April 11, 2024






Carrie says
How do you get the ears to stick up? Mine want to flop down🤷♂️
Jacki says
Just about finished assembling the hat! So easy! On to the whiskers now – do i have to sew the whiskers down at either end? Wondering if I don’t how they will stay in place?
Cassie May says
Hi Jacki! I usually knot and then weave in the ends because I really want it secure. But if you skip the knot and weave in a long enough length, like at least 6 inches of yarn, which is technically the “correct” way to do it, the friction should keep it in place just like any other woven in end. Hope that helps!
Natalie says
Is it possible to convert this pattern using 8ply yarn for Australians? 🙂
Cassie May says
Hi,
I’m sure you could, you’d just have to try some different needle sizes until you got the right gauge, 20 st = 4 in.
Good luck!
Kristen Rettig says
Absolutely darling hat and model!
Andrea says
Hi..darling pattern…I also do not knit with dpn’s…could a very small circular work? I think they even make six to twelve now. Thank you so much for sharing!
Cassie May says
Hi!
I have never tried that, but if you have a long circular, you can definitely do magic loop method! Happy knitting!
Cassie
Cassie May says
No, you will eventually need dpn’s as you will have too few stitches to work on circulars.
Esra says
Thanks a lot for that great pattern!:) One question though, is it also possible to make it without double pointed needles?
Thank you again!
Esra:)
Cassie May says
Hi!
If you use the magic loop method, you won’t need double pointed needles, but if you’re asking if it can be knit flat and not in the round, no, the instructions I’ve written are for knitting in the round. Hope that helps! 🙂
Linnéa says
Soooo in Love with this cat-hat! I can’t wait to try this for my soon-to-be-born nibling! ??
One question though: The instructions say first to rib knit for 5 rows, then for the rest “Knit all rows until the hat is about 4 1/2 inches long.” In the picture those 4 1/2 inches look very purled to me … How do I create the effects that make the first five rounds and the following 4 1/2 inches look so different. Shouldn’t the latter part be purled somehow?
Thank you SO much for providing this amazing pattern for free!
Best regards from snowy Sweden!
Cassie May says
hello! No, because you’re knitting in the round, you knit all the stitches to get stockinette stitch (the latter part that you’re talking about). If you were knitting something flat, you’re right, you would knit one row and purl one row, but in the round it’s all knit stitches! Have fun and thanks for visiting! 🙂
Roberta says
Buona sera volevo capire come devo fare per leggere le vostre spiegazioni in italiano….grazie mille
Cassie May says
I’m sorry, I don’t speak Italian. Maybe you could try Google Translate? Good luck!
Mi dispiace, non parlo italiano. Forse si potrebbe provare Google Translate? In bocca al lupo!
Rosie Morgan says
I just found the cutie pink/grey cat baby hat; Love your ideas. I have knitted since I was 4, and it is my de-stresser. I will enjoy getting your ideas through e-mail; don’t do the other social media things.
Thanks so much, Rosie Morgan,
Nixburg, Alabama
Cassie May says
Oh, good, I’m so glad you like them! And thank you for signing up for my newsletter! I have a bunch of new patterns coming out in the next few months so stay tuned! xoxo!
Marie says
Visiting from the sits girls link up…This is a very cute hat! I love that you’ve used two tone ears. And the photos are great for the face stitching, it makes things really clear. I’m adding this to my to do list! http://www.itsmariemade.blogspot.com