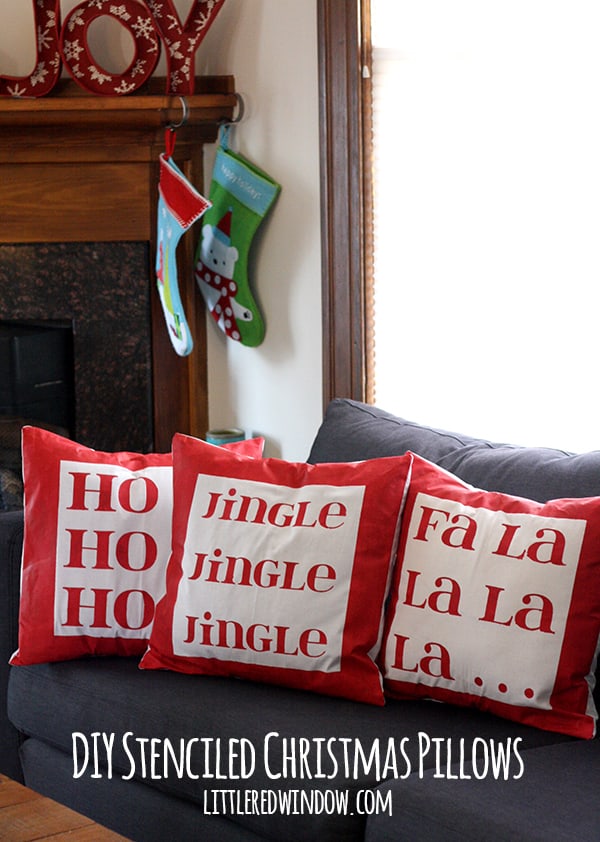
Can I make some Christmas Pillow Cover knockoffs only out of things I already have at home? Spoiler alert…I can!
So the other day, my friend Rachel posted a picture on facebook of her living room decorated for Christmas. She had some really cute Christmas pillows on her couch so I commented that I loved them. And she replied, “They’re from Target! *winky face” meaning, “you should go buy some!” To which I replied, in typical Cassie fashion, “Why would I buy them when I could make them myself for free?” (Which is totally something I think to myself all the time in stores but usually keep to myself. You know what I mean if you’re a crafty person too. Luckily Rachel’s known me for a gazillion years so she knows what I’m like.) Anyway, then she said, “Wait, what about buying all the materials?” Which is when I laughed and said, “You clearly have not seen my craft stash closet lately…. Is this a $0 challenge?” And she said “yes!” and then I said:
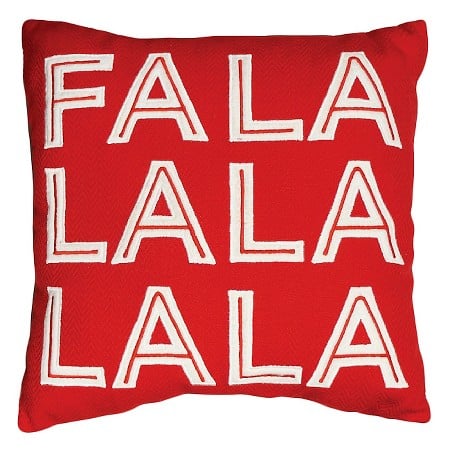
So here’s the pillow in question:
Stenciled Christmas Pillow Covers
Ok, so let me start by saying, if you’re not trying to do this for $0, you could totally go ahead and just buy fabric paint instead of the craft paint + textile medium I used.
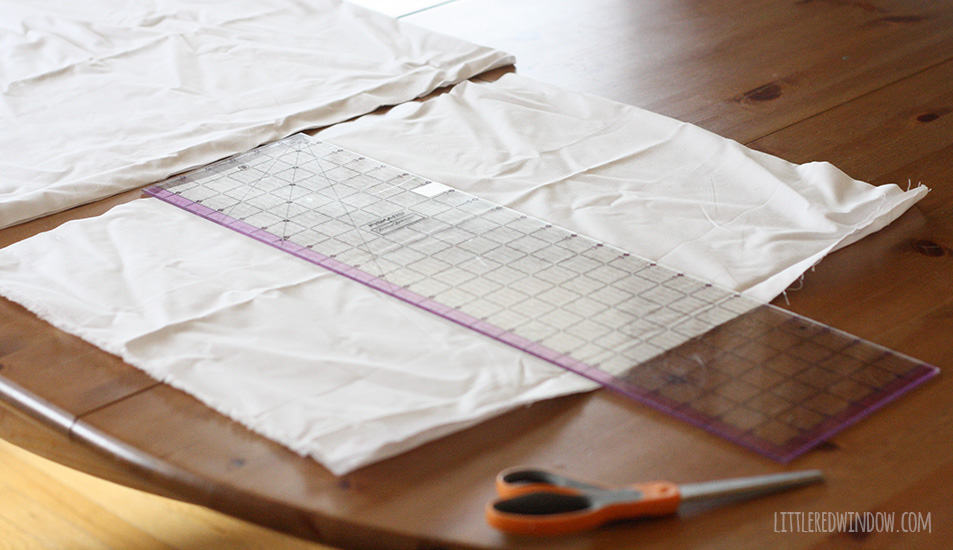
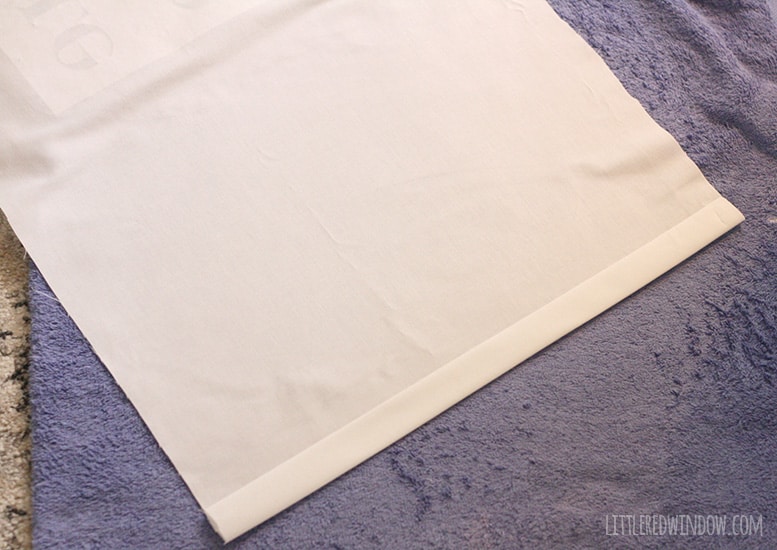
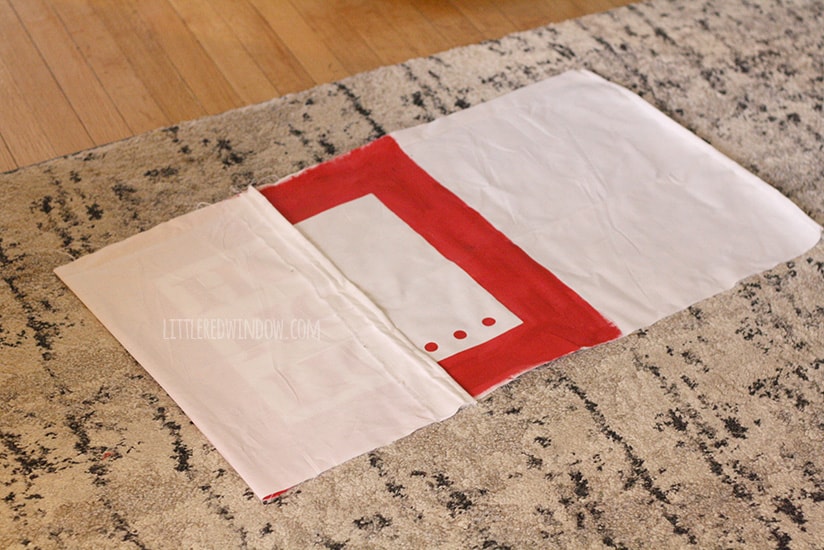
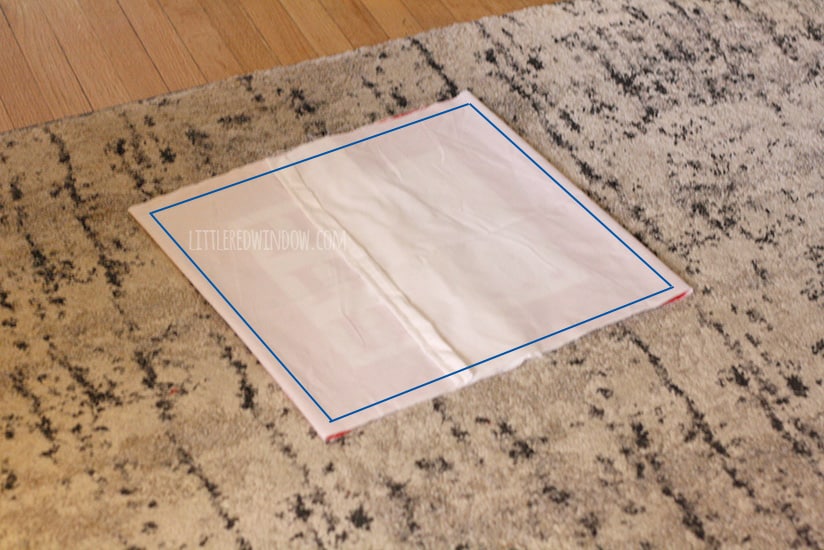
1. Measure your pillows. I planned to just cover the existing pillows on my living room couch which were 18″ square. This was another hidden benefit of this project being a $0 challenge. The cute Target pillows were actual pillows. Which is nice and all except that then you have to store entire pillows for 11 months out of the year. I don’t have that kind of space. So, my pillows were 18″ and I cut 18″ strips from my 46″ wide fabric (I don’t know why it was 46″ wide when 45″ is the standard. Weird.) so I had three rectangles of fabric that were 18″ x 46″. You need that 46″ (or 45″) width to wrap around the pillows to make envelope back closures. I cut the fabric while it was folded so I also took that opportunity to measure and mark 9″ from either side of the center fold. That showed me where the FRONT of the pillow would be and was important for placing my stencil later.
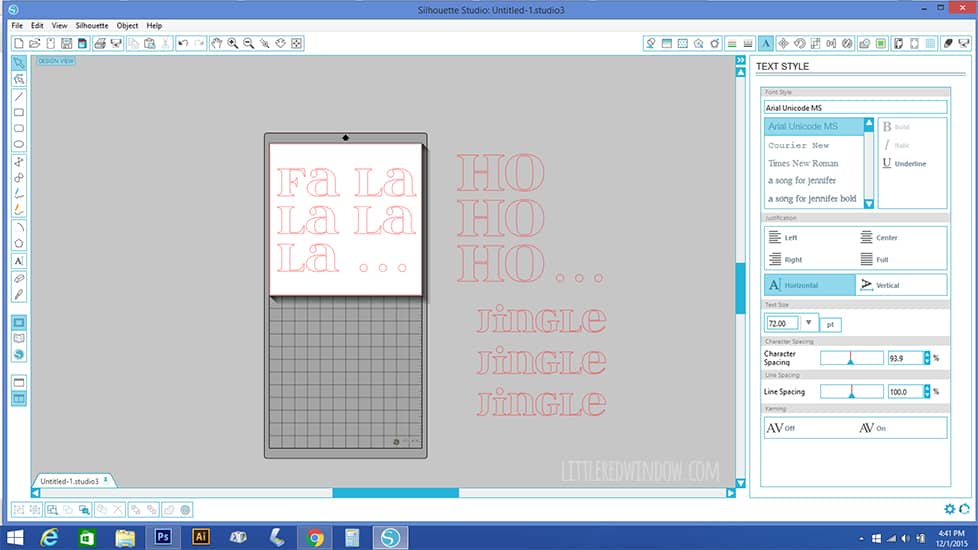
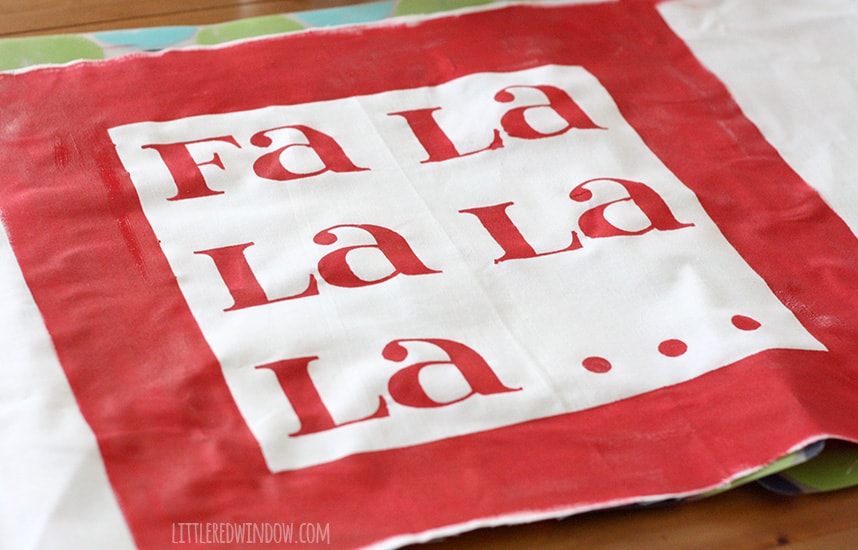
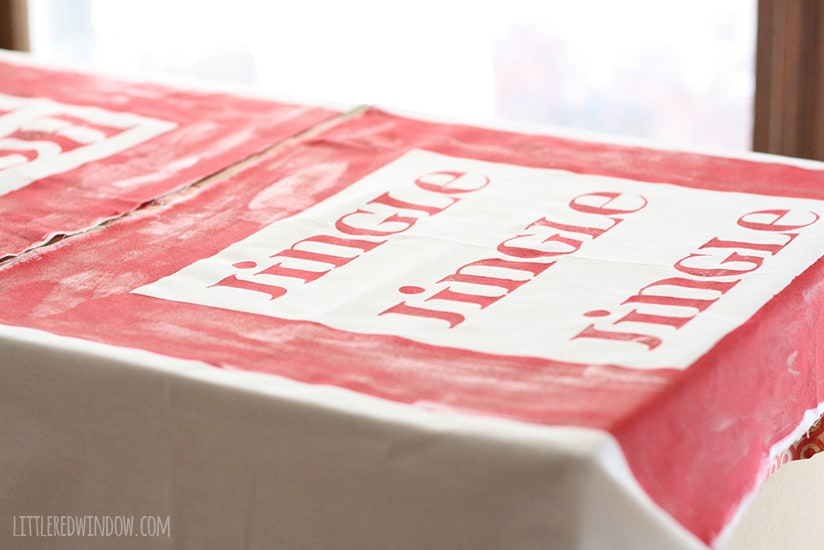
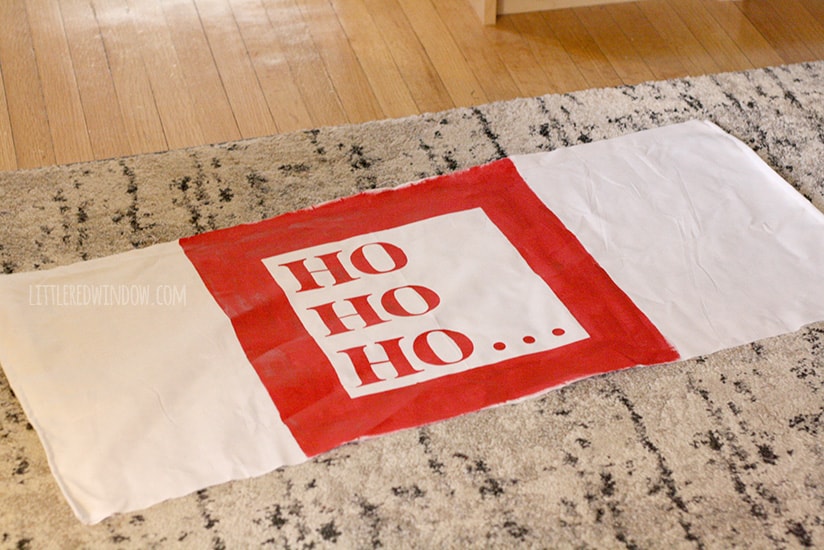
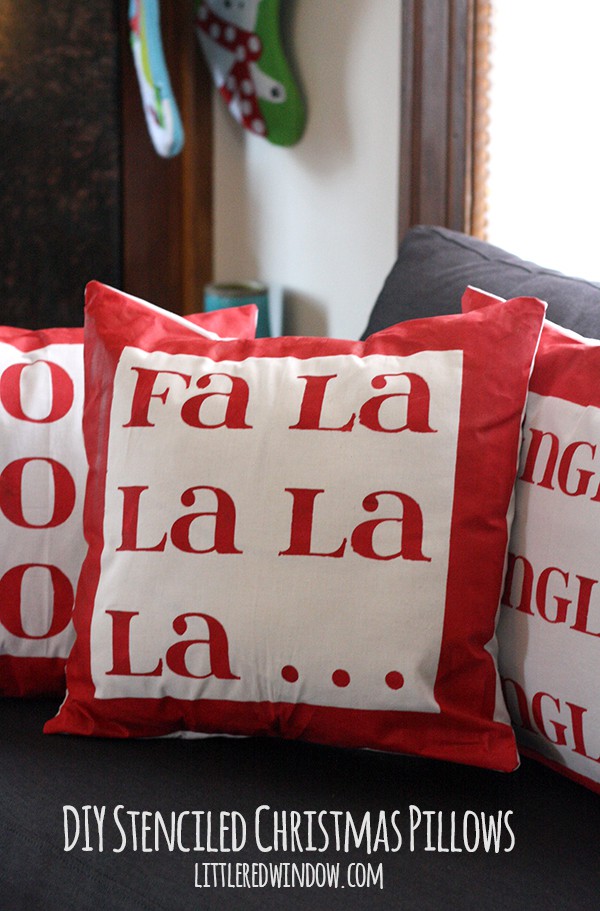
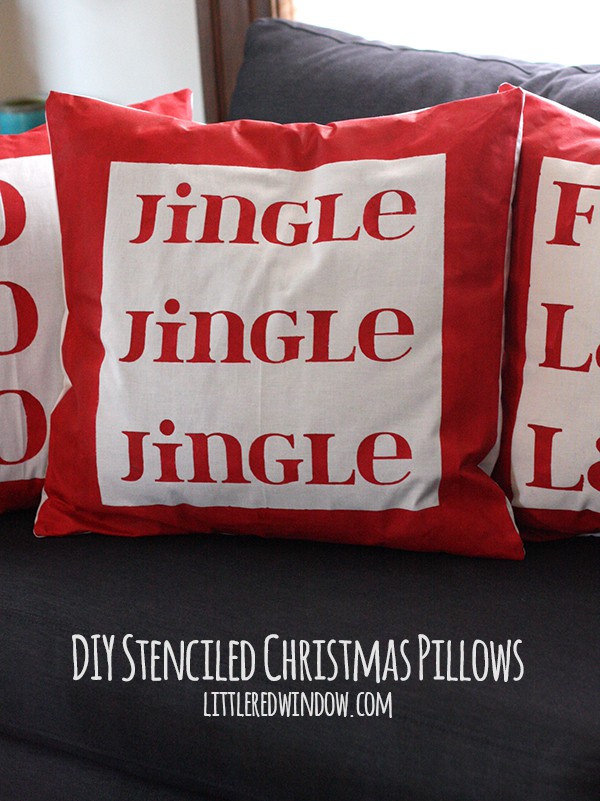
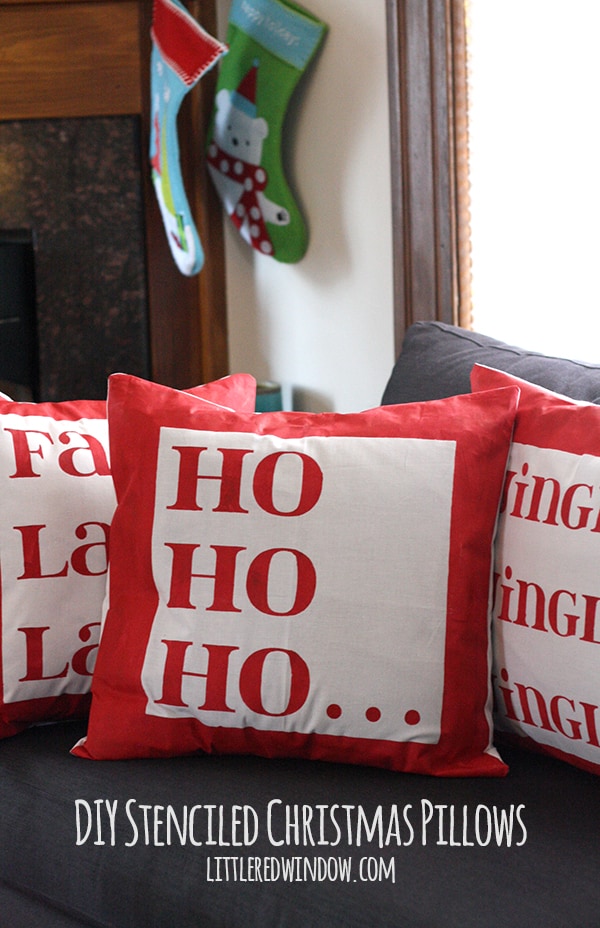
I picked out my font and laid out my pillow fronts in the Silhouette software. And this is where my pillows became more “inspired by” than copies. Which is better anyway. And besides, I take issue with the number of “La”s on the original Target pillow. You know how the song goes, “Fa la la la la *PAUSE* la la la la”? Now take a minute and scroll back up and look at the original pillow. I’ll wait………There’s an extra “La”! Sing the song to yourself and you’ll see what I mean. Aa agreed. I knew that extra “La” would drive me crazy, so I went with “Fa La La La La…” instead. I also picked a different font because I like this one better. (And now I can apologize for getting the song stuck in your head. Sorry.) Rachel had two of the same pillows on her couch but I thought some other sayings would be cute too so I laid out a “Ho ho ho…” one and one that said, “Jingle Jingle Jingle”.
3. I cut three sheets of freezer paper to 12″ x 12″ which is the max size of my Silhouette cutting mat. I used a blade depth of 2, and thickness of 2 and a speed of 1 because I cut pretty much everything on a speed of 1. I also laid my freezer paper shiny side DOWN on the cutting mat. There are varying opinions in bloggy world of which was is better. Just know if you cut shiny side UP, then you need to flip your text so it’s a mirror image.
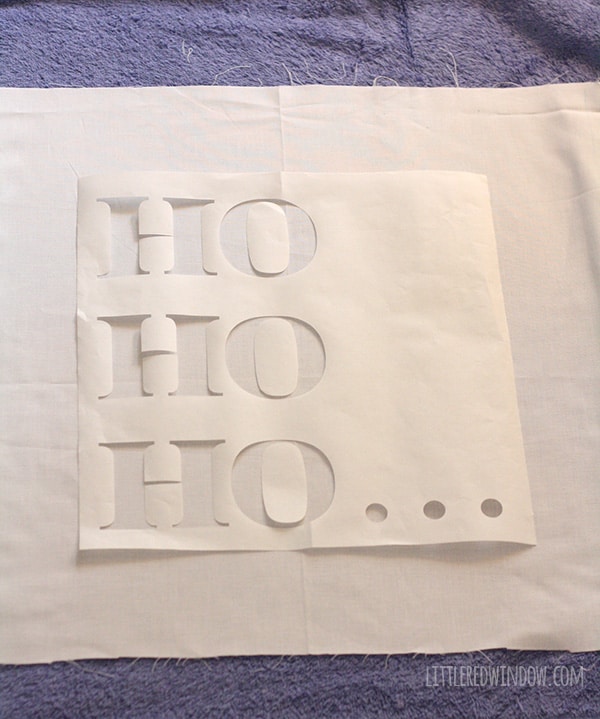
4. When all my cutting was done, I laid the stencils out on my fabric, using that center fold and the marks I made to make sure it was centered on what would become the front of the pillow. Press with a dry iron. Don’t forget the centers of o’s and a’s etc.
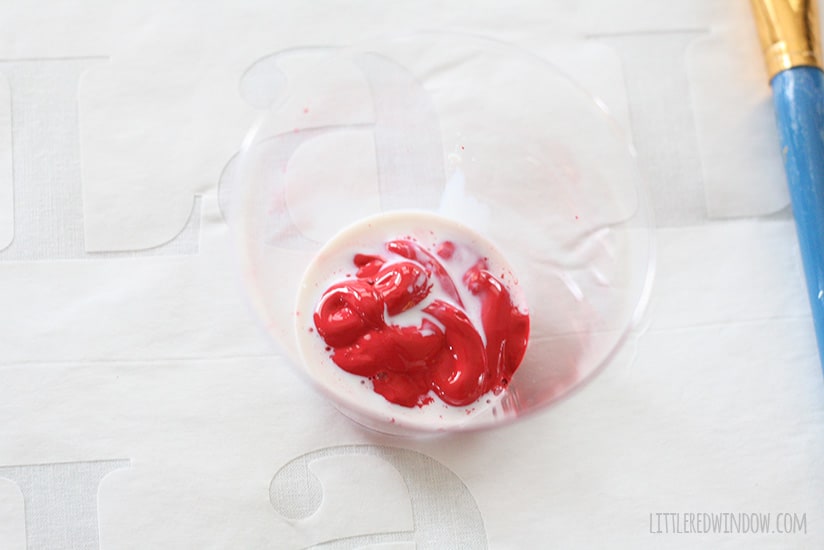
6. Following the directions on your textile medium, mix your paint. Mine called for 1/3 textile medium, 2/3 paint. Stir it up really well.
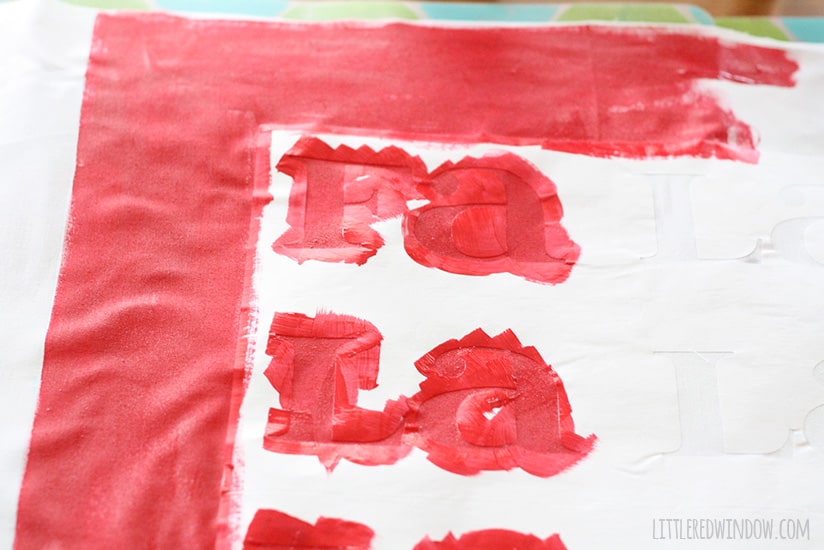
7. Paint your stencil. I prefer to use a dabbing motion as that minimizes any paint getting up under the edges of the stencil. Also, be sure you do this on top of something, as paint definitely bleeds through the fabric. An extra sheet of freezer paper or wax paper would work great.
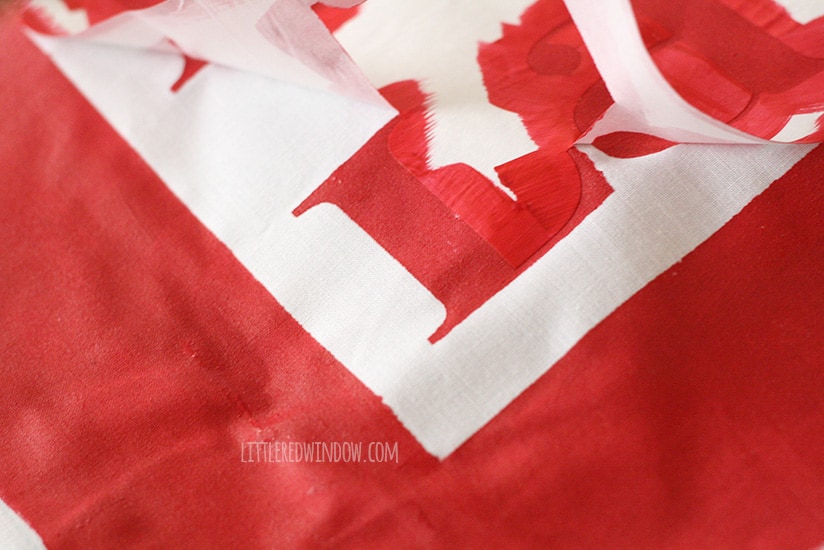
8. Carefully peel off your stencils while the paint is still wet. Try not to move the fabric.
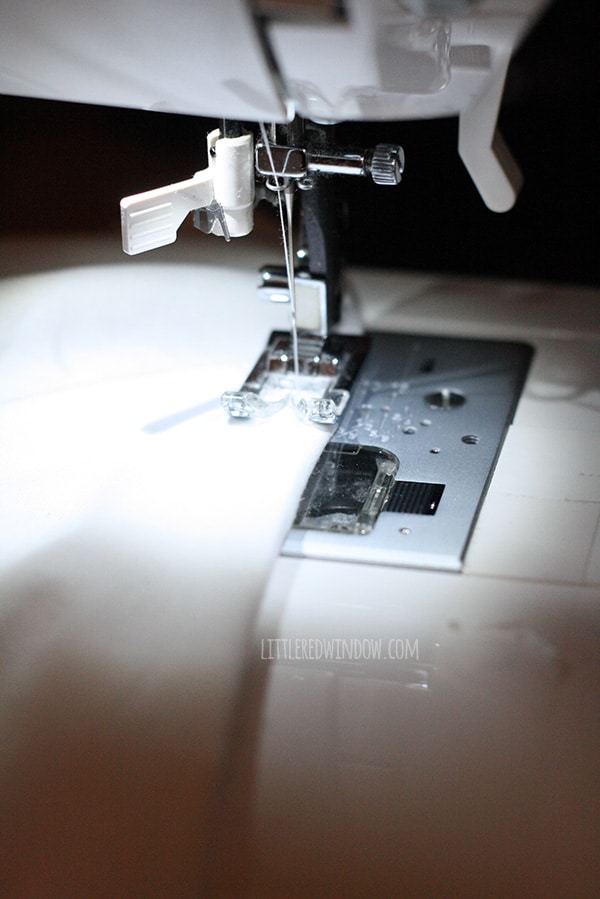
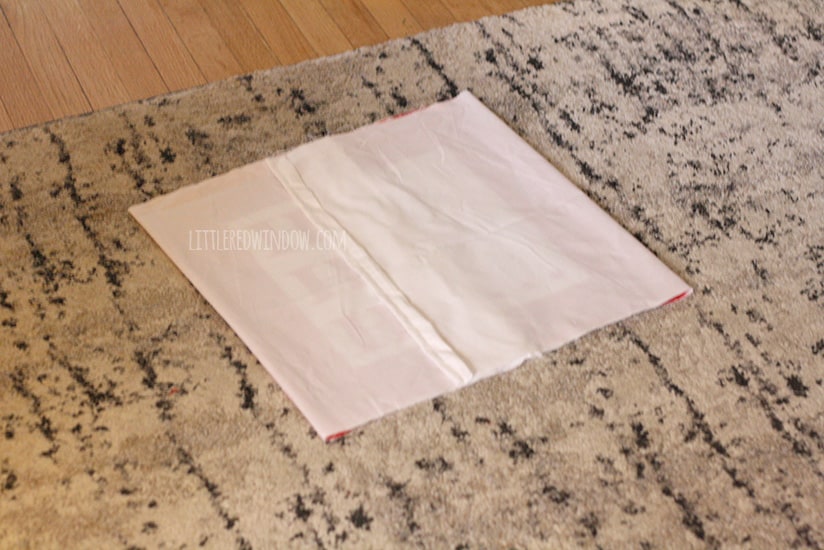
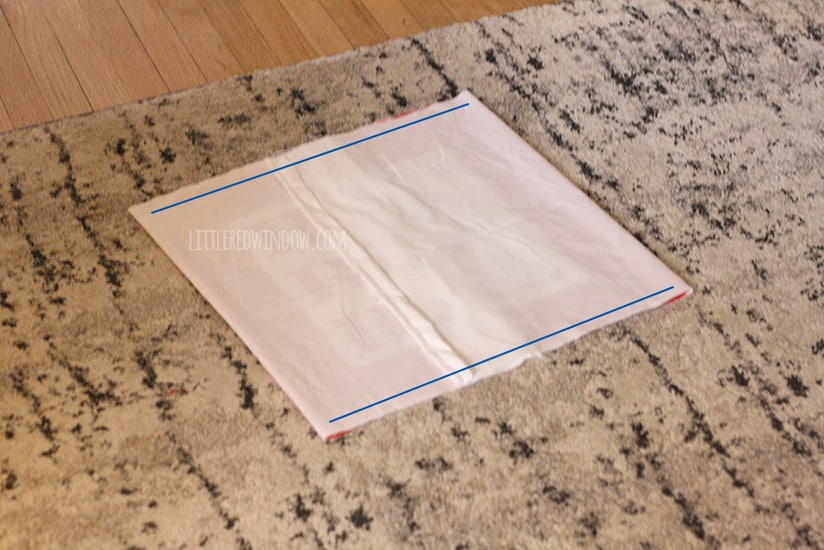
10. First, remember the short ends that you folded in and ironed to create nice hems? Go ahead and sew those hems on all three pillows (so six hemmed edges).
I’m seriously so happy with how these turned out. They make the living room so festive and you really can’t beat $0! Oh and if you’re wondering, the painted surfaces are reasonably soft, that’s what the textile medium does. I mean you wouldn’t want to sleep on them all night or anything but it’s not stiff and hard like you might expect. So I call this a $0 challenge win! Now tell me, what should my next $0 challenge project be?
If you liked this, you may also like some of my other posts…
- 10 Tips for Organizing Your Craft Supplies On a Budget - April 25, 2024
- Rib Zag Hat Knitting Pattern - April 23, 2024
- Double Stockinette Stitch Knitting Pattern: Easy How To for Beginners - April 18, 2024





Leave a Reply