A couple of weeks ago, after getting sick for the umpteenth time this horrible winter, my parents sent me flowers. They were pretty and I enjoyed them despite the fact that, because I had a sinus infection I literally could not smell a thing for an entire week. So I never got to smell the flowers. But Aa assured me they smelled great. They were still pretty to look at! Anyway, as you probably know, if you’ve gotten or sent flowers before, they came with a vase. Florist vases are usually nothing fancy. They’re usually plain glass in a simple shape. Not expensive, not fancy and not offensive. They are totally utilitarian.
It’s not that I get sent flowers a lot but after 15 years of living on my own (omg, I’m old!) and some big life events like having a baby and a death in the family, We’d acquired quite a few. I sent a handful off to goodwill but I kept the rest around because I think a collection of glass looks pretty on a shelf. It’s nice to have simple shapes mixed in with fancier pieces and it’s nice to have something to give away if I take flowers to a friend or a dinner party. But I got a little tired of looking at the same old thing. I can rarely leave anything be for too long in our house. So I tried a quick little spruce and now these simple (and free!) florist vases are some of my favorite things on my shelves!
Poured Paint Florist Vase
1 clean and dry clear glass vase
Good quality acrylic craft paint (Martha Stewart and Ceramcoat brands are my favorites)
Note: Once you paint these vases you cannot fill them with water. Acrylic craft paint is water based and if submerged will bubble and peel off. Not to mention, it would probably kill your flowers. So these painted vases are intended for display only. If you really want to use them for flowers, either go with dried blooms or put a smaller cup filled with water inside the vase. (The upside is, if you get tired of them, you can fill them with water and let them sit for a day or two and you’ll probably be able to get the paint off (I can’t promise though so don’t try this with a precious vase!))
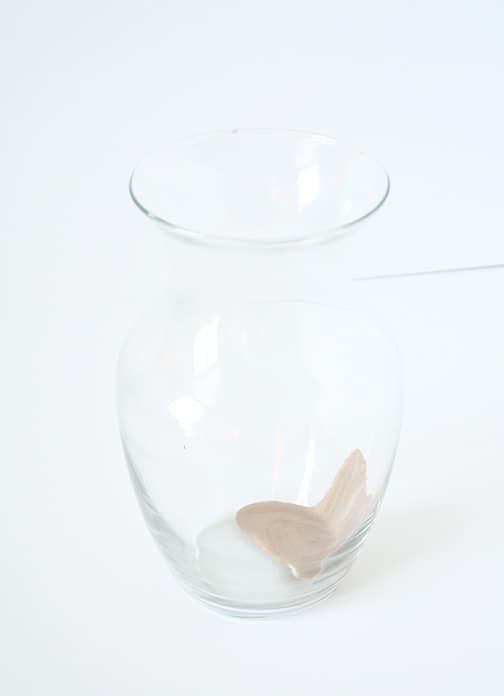
1. Make sure your vase is very clean and very dry. Then pour a medium sized puddle of paint into the bottom of the vase.
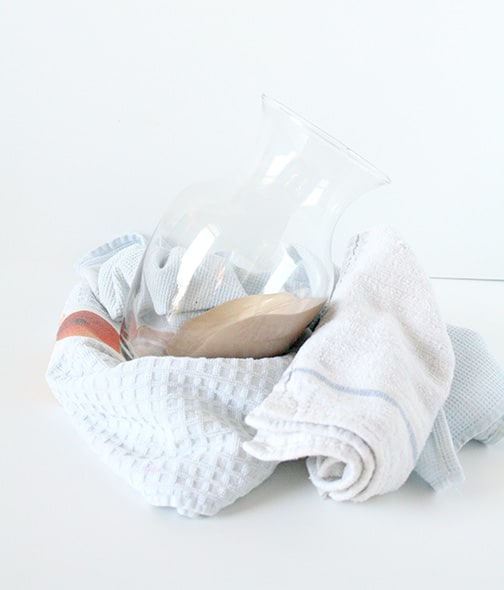
2. Slowly rotate and tip your vase until the paint has covered the area you want to cover. (I do not recommend speeding this along with a brush, you won’t get the same thick coverage and you will probably see brush strokes.) When you’re happy with the painted area, arrange some towels to make a little nest for the vase that will allow the paint to dry without it spreading anywhere you don’t want it.
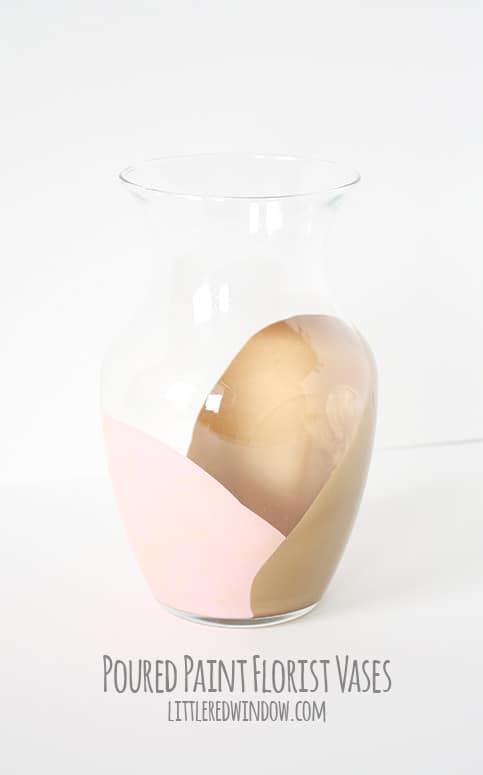
3. Allow the vase to dry for at least 24 hours. The paint will be pretty thick and if you stand it up too soon, it might slip or crack. If it still feels kind of rubbery after 24 hours, give it another day. Then, if you’re using another color, repeat step 2. I think it’s best to avoid putting the second color too much over the top of the first color because the moisture from the new wet paint can cause the original paint to crack (ask me how I know…)
And here’s the finished product!
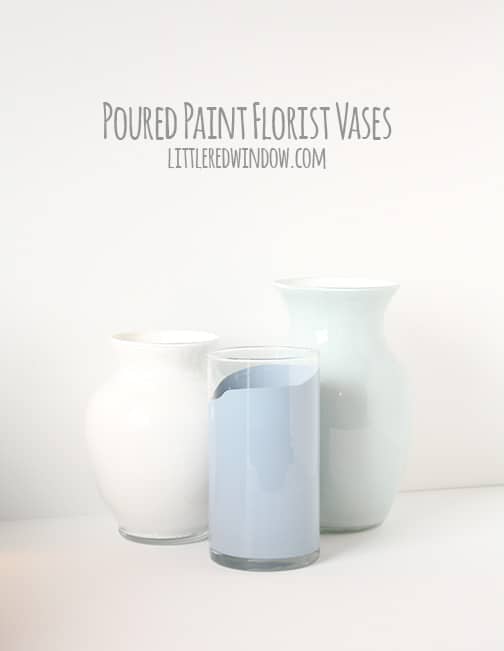
This is such a quick and easy project that I actually made a few more too, and now I have a much more lively shelf of glassware in my living room!
If you liked this, you may also like some of my other posts…
- 10 Tips for Organizing Your Craft Supplies On a Budget - April 25, 2024
- Rib Zag Hat Knitting Pattern - April 23, 2024
- Double Stockinette Stitch Knitting Pattern: Easy How To for Beginners - April 18, 2024




Kathy says
Wow, I love how that turned out – I hope you’re all well now! Beautifully done! I appreciate you sharing with Home and Garden Thursday,
Kathy
carolynshomework says
Thank you so much for sharing your beautiful project on The Inspiration Board at homework. You were featured in the spotlight!
Have a wonderful weekend.
carolyn ~ homework
Cassandra May says
Oh awesome! Thanks Carolyn!!!
Chelsea says
Really very pretty! I love the colors.
Heather Smith {Woods of Bell Trees} says
Oh this is super cute! I love the color combo!
Megan Walker says
How lovely! Thanks for sharing : )
Kady Herron says
Very Cool!
Jenna Brussee (@aSavoryFeast) says
Beautiful! I need to make this. Thanks for sharing with Hump Day Happenings. Hope to see you next week!
Amanda Masters says
Oh I love this, fab choice in colours
Cassandra May says
Thank you Amanda!
ejddiy says
These are beautiful!
We would love for you to come link up Mondays 8:00am EST at Your Designs This Time.
http://www.elizabethjoandesigns.com.
Emily @ elizabethjoandesigns.com