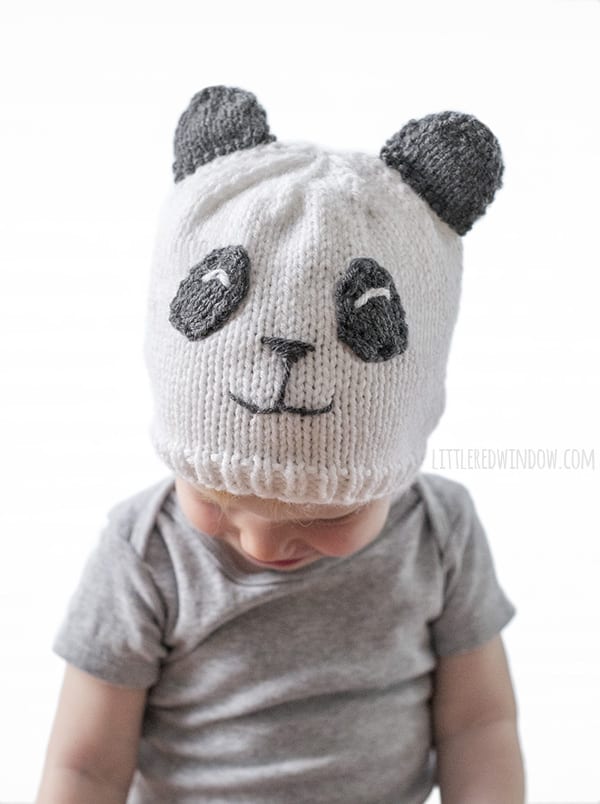
Knit up this sweet panda hat for your baby with this adorable knitting pattern!
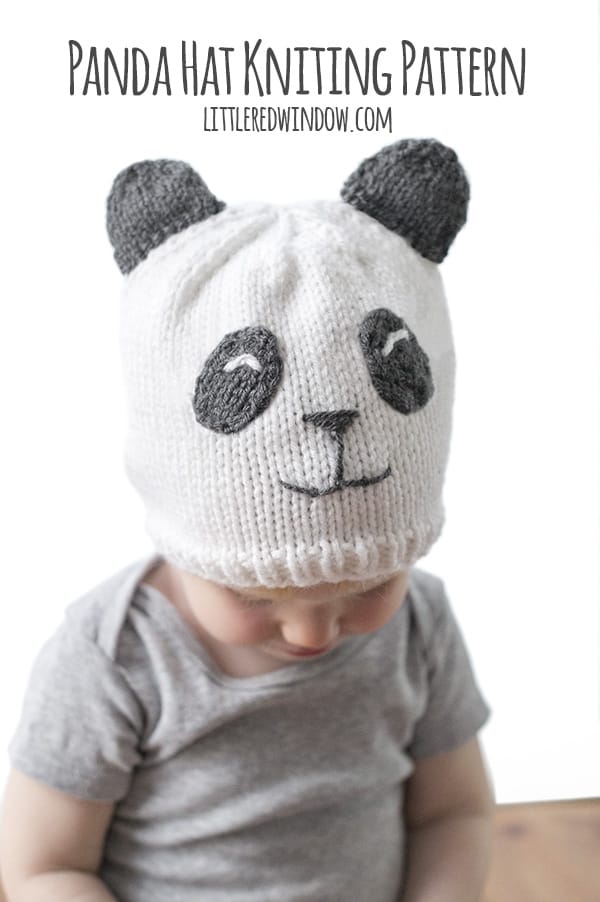
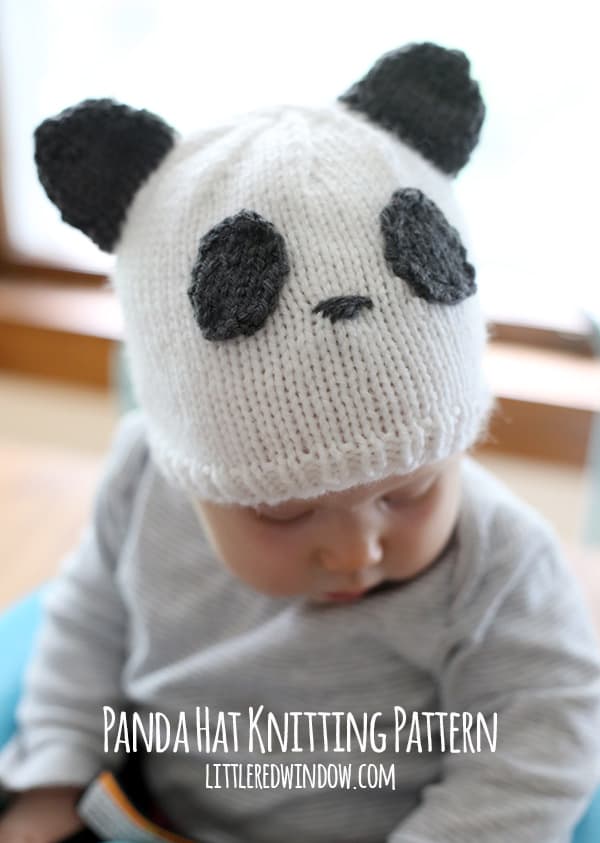
Note: this post was updated with new photos and updated instructions in May 2017.
When I was little, pandas were my absolute favorite animal. I just thought they were so cute and interesting. And I have this very strong memory of going with my mom to the local paint store and her letting me pick out a new wallpaper border for my bedroom. And of course I picked one with cute little tumbling circus pandas. I can totally picture it even now, even though we moved out of that house before I was 10. (And now I’ve just spent 30 minutes down the google rabbit hole searching “vintage panda wallpaper border” to see if I could find a picture of it. No luck.) Anyway, given that, it’s a surprise I haven’t made a panda hat before now, isn’t it?! Well, here you go, an adorable cuddly baby panda for you! Scroll on down for the FREE pattern, happy knitting!
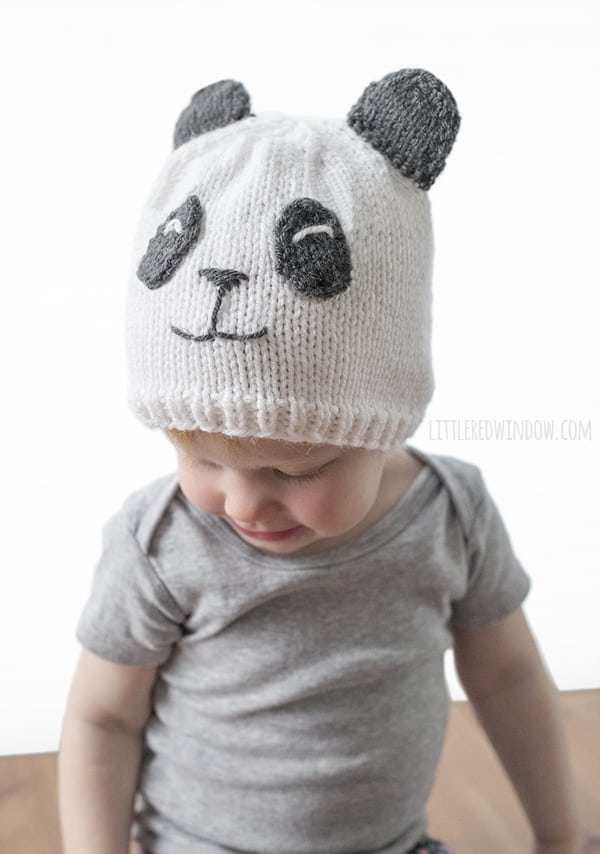
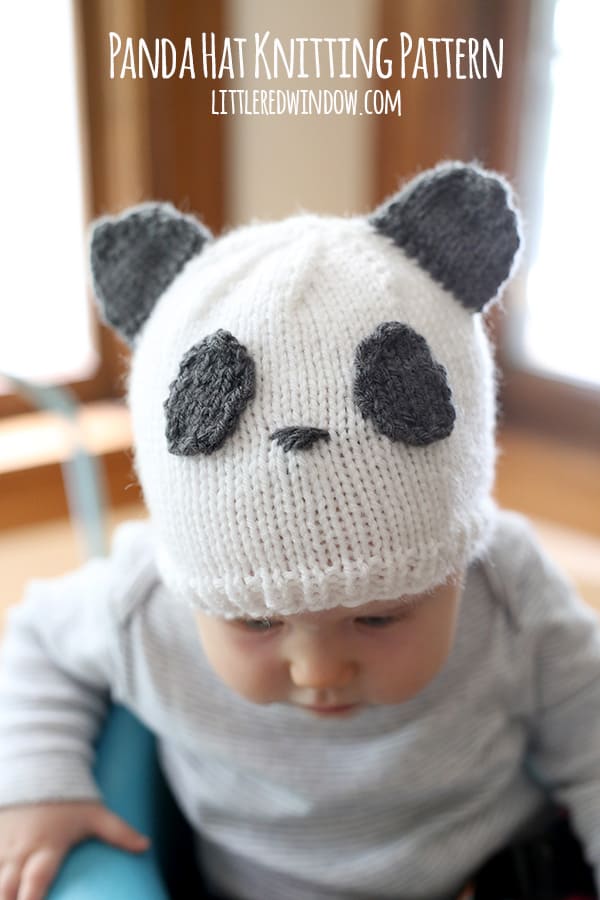
Looking for the pattern? Here’s how it works: This pattern is available for FREE in one size right here on my site (keep scrolling down). Or for just a few dollars, you can choose to purchase an upgraded PDF pattern that is nicely formatted and easy to print. Besides being easy to print, the PDF pattern also contains MORE SIZES with instructions for additional sizing including 0-3 months, 6 months, 12 months and 2T+! Thank you for supporting Little Red Window!
Sweet Panda Hat Knitting Pattern
(12 month size, see PDF for additional sizes)
Gauge: 20 st. = 4 inches
Worsted weight yarn in white and black
US 7 16″ circular knitting needles
(If you need help, my favorite knitting reference book for everyone from beginners to advanced knitters is THIS ONE!)
Sweet Panda Hat Knitting Pattern Instructions
Using long-tail cast on, cast on 72 stitches onto your circular needles with the white yarn color. Join to knit in the round and knit 1 stitch, purl 1 stitch in a rib stitch for 5 rounds.
Knit all rows until the hat is about 5 inches long.
Decrease (divide the stitches between 3 double pointed needles and knit with the 4th):
Round 1: (k6, k2tog) repeat to the end of the round
Round 2: Knit all stitches
Round 3: (k5, k2tog) repeat to the end of the round
Round 4: Knit all stitches
Round 5: (k4, k2tog) repeat to the end of the round
Round 6: Knit all stitches to the end of the round.
Round 7: (k3, k2tog) repeat to the end of the round
Round 8: Knit all stitches to the end of the round
Round 9: (k2, k2tog) repeat to the end of the round
Rounds 10: Knit all stitches
Round 11: (k1, k2tog) repeat to the end of the round
Rounds 12: Knit all stitches
Round 13: k2tog repeat to the end of the round
Cut yarn, pull through loops and close. Weave in ends.
To make the Ears (make 4)
Using double pointed needles as straight needles, cast on 10 stitches with black yarn, leaving a long tail to stitch the ears to the hat.
Rows 1-6: Knit odd rows and purl even rows
Row 7: k2tog, k6, ssk
Row 8: purl all stitches
Row 9: k2tog, k2tog, ssk, ssk
Row 1:0 P2tog, p2tog
Row 11: bind off and weave in this end.
To assemble the ears
Hold two ears right (knit) sides together and use one of the long cast-on tails to whipstitch around the outside edges neatly to attach them together, leave the bottom edge open, then turn them right side out Then use the other long cast-on tail to whipstitch the finished ears to the hat. Repeat with the other two ear pieces to make the second ear.
To make the Eyes (make 2)
Using double pointed needles as straight needles, cast on 4 stitches with black yarn, leaving a long tail to stitch the eye to the hat.
Row 1: kfb, k2, kfb
Rows 2- 8: purl even rows, knit odd rows
Row 9: k2tog, k2, k2tog
Row 10: purl all stitches
Row 11: k2tog k2tog, pass first stitch over second to bind off, weave in that end.
Use the long cast-on tail to whipstitch each eye to the front of the hat. Then, using a length of white yarn, make two short horizontal stitches for the eyes. Allow the eye stitches to curve downward in a U shape and secure that shape with one tiny stitch in the center. Make sure those stitches are fairly loose so they don’t pull when the hat stretches.
To make the Nose:
To stitch the nose, use your yarn needle and length of black yarn to make three simple stitches in decreasing length to make the nose shape. Knot and weave in ends inside the hat. (see pictures of this here) Then stitch one vertical and two loose horizontal ‘u’ shapes below the nose to make the mouth . Knot and weave in ends inside the hat.
The PDF printable also contains instructions for sizes 0-3, 6 months, 12 months and 2T+!
I think Baby V likes it!


If you liked this, you may also like some of my other posts…
- 10 Tips for Organizing Your Craft Supplies On a Budget - April 25, 2024
- Rib Zag Hat Knitting Pattern - April 23, 2024
- Double Stockinette Stitch Knitting Pattern: Easy How To for Beginners - April 18, 2024




Leave a Reply