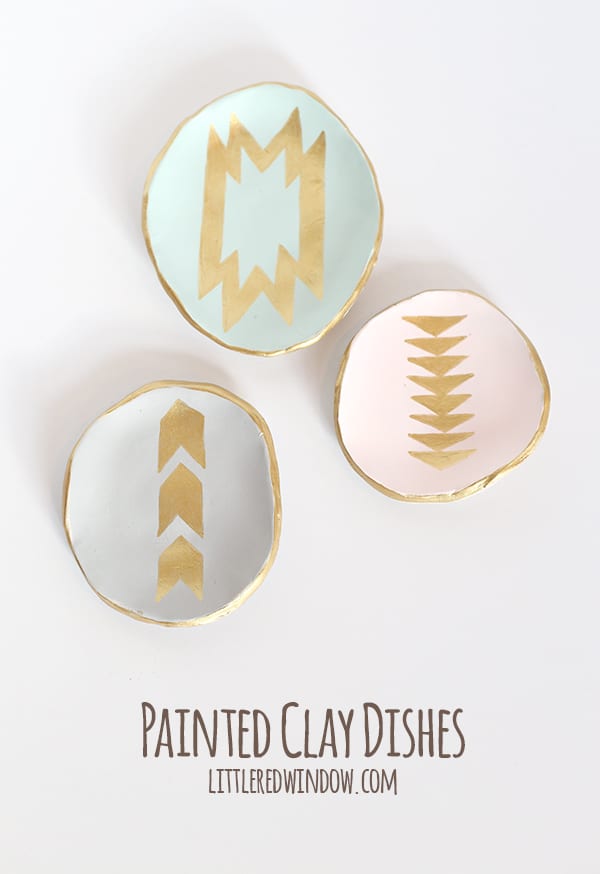
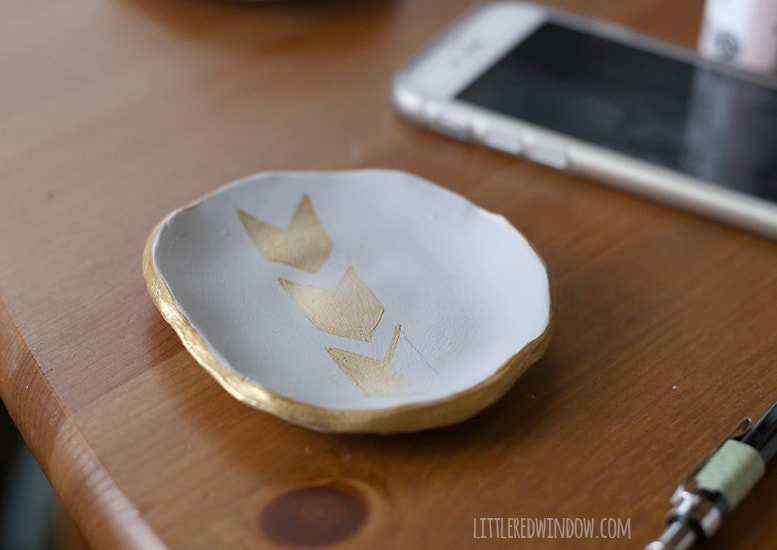
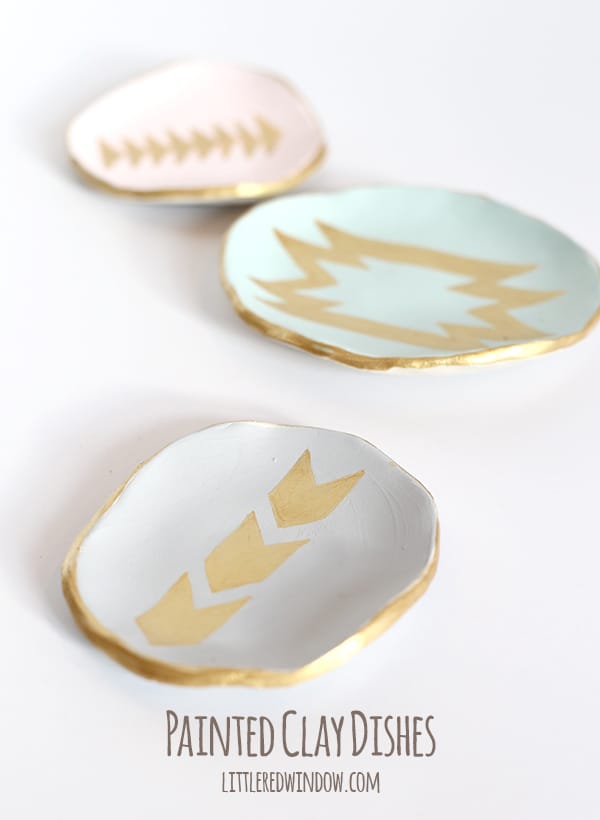
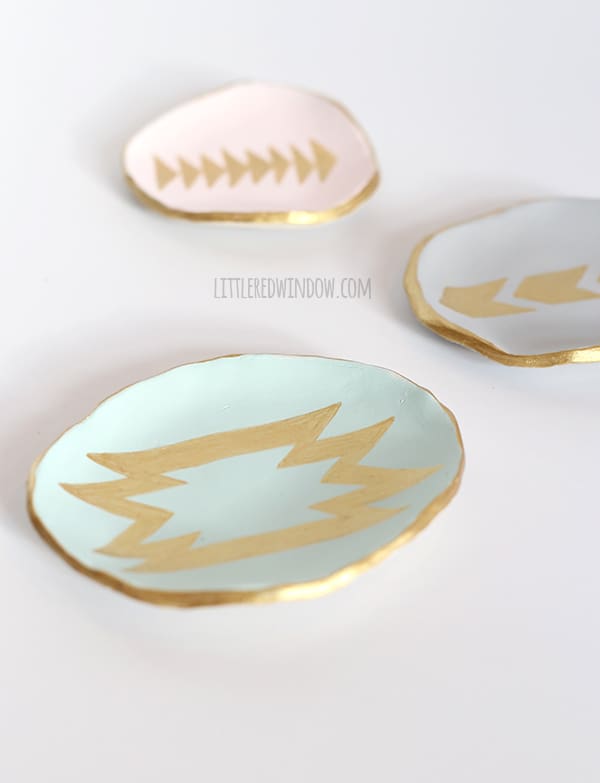
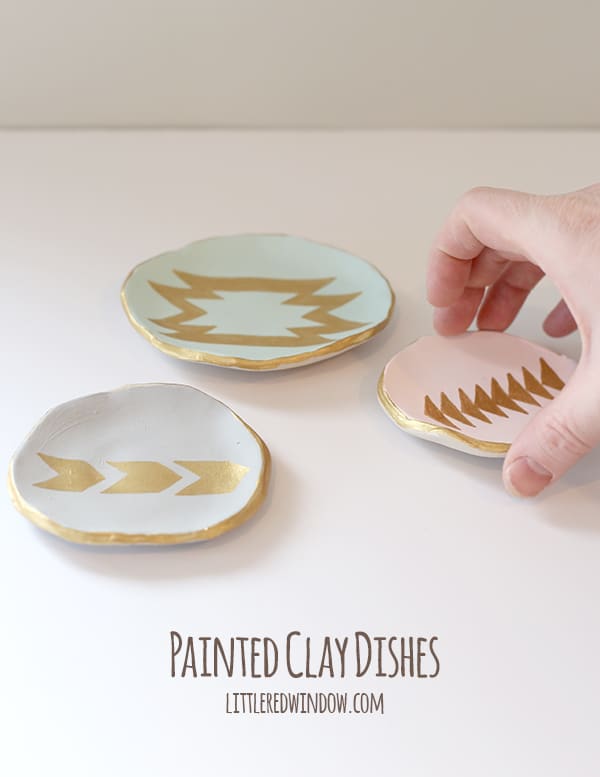
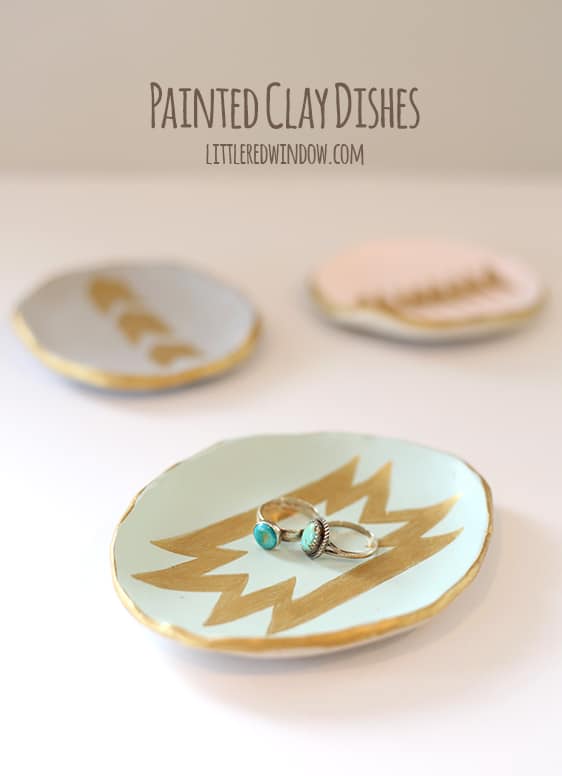
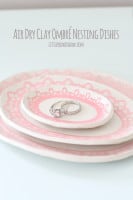
Make these gorgeous painted clay ring dishes yourself!
So did I tell you guys I got a new camera? Like a real big girl camera? Well, I did and I am soooo excited about it. Of all the artistic fields, I wouldn’t say photography was ever something I wanted to pursue in any meaningful sense. In fact, when I first started Little Red Window, taking pictures was the part I dreaded. Granted we lived in a dark cave of a condo at the time so I was starting at a disadvantage to begin with only I didn’t know enough to really realize it. And then we moved to this house and my photos immediately improved. Not just my blog photos but pics of O also. Because suddenly we had this magical thing called LIGHT! Ahhh… So anyway, I’ve been working on it and while I do have better light, my old camera wasn’t super great in low light. Like on a cloudy day or in my office which isn’t particularly sunny. And it just wasn’t so good at white balance and a few other things. And that’s just because it was an entry level camera. So I decided, if I’m going to take this job seriously, it’s time to invest in some real equipment. And I never thought I would be so excited about a camera (see aforementioned photography dread) but this new one is just so dreamy. It makes a satisfying hefty chunk sound when you take a picture, and it just feels tougher and more substantial. Like it knows what it’s doing on its own. So I fell in love and now I’m obsessed with taking pictures. I know I still have lots of room for improvement but that brings me to this next project which is the first real project entirely photographed with this new camera. So pardon the nine million pics. The camera is amazing, but this project turned out so cool too, that it was a match made in heaven!
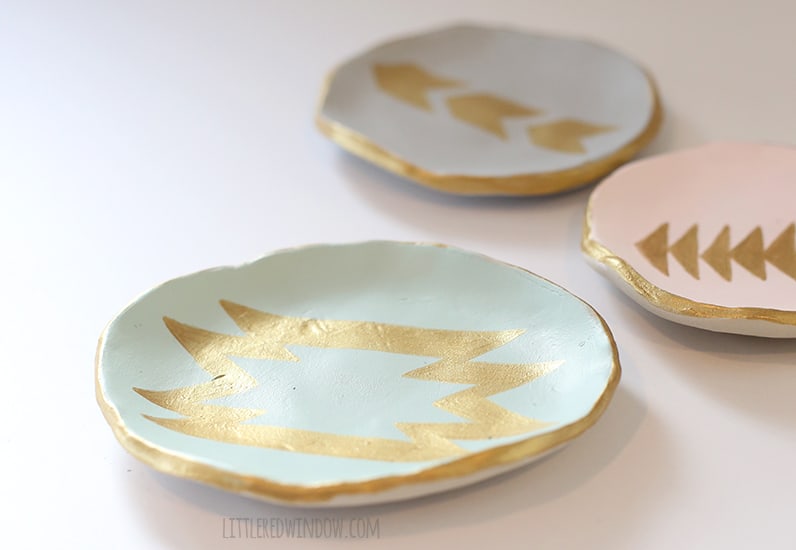
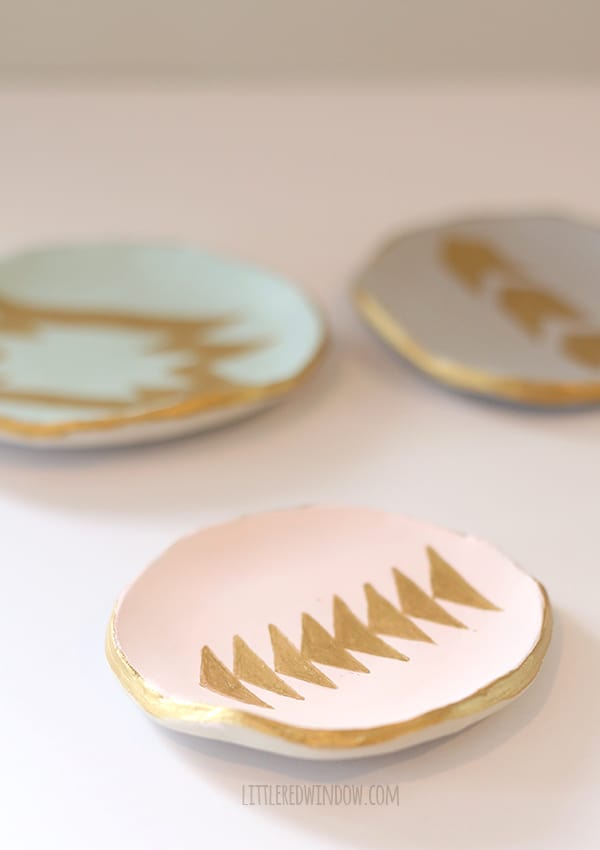
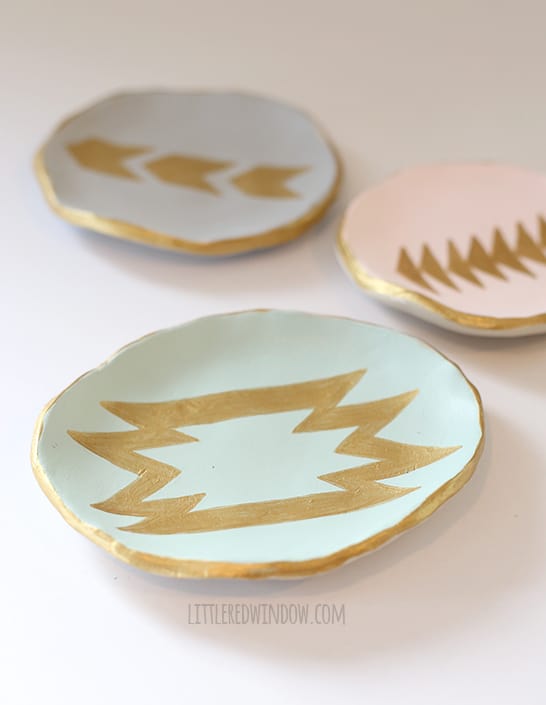
But enough about the camera, Cass, you say. Ok, sorry, these ring dishes. Right. I’ve been on an air dry clay kick every since I found this brand that is a dream to work with. While wet and dry it honestly feels a lot like real clay but without the required firing. I would love to do more real ceramics but the cost and time required are just above my means at the moment. So I’ve loved experimenting with this. And while I was working on this year’s family Christmas ornaments I had some clay leftover. Not enough to make anything huge but enough for three little dishes. Which I shaped (intentionally leaving rather rough) let dry, and then kind of forgot about. Until last week when I had my paints out and decided to see what would happen if I painted them. Spoiler alert…it’s good, very, very good. So here’s how I made them.
Painted Clay Ring Dishes
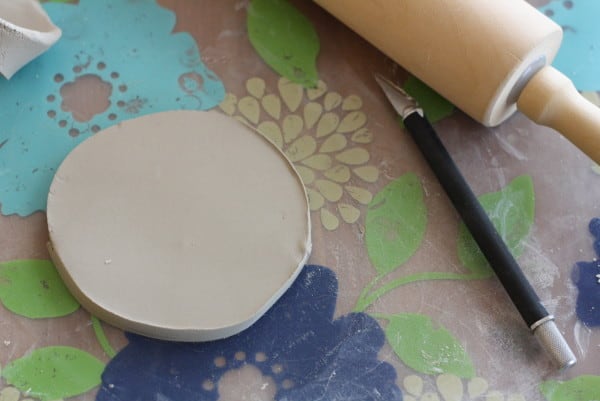
1. First roll your clay out with a rolling pin on a nice flat surface to about 1/4 thick. I use a flexible plastic placemat which protects my table and makes cleanup easy but is still nice and smooth.
3. Using a damp finger smooth the edges. Then gently use your hands to pull up the edges to form a dish shape. If the clay seems too wet to hold, wait 15 mins or a half hour and then come back and try again when it’s very slightly drier.
5. If there are any rough parts that really bother you when your dishes are dry, you can sand them very gently with fine grain sand paper or a nail file. Just be careful so you don’t bend and break the dish.
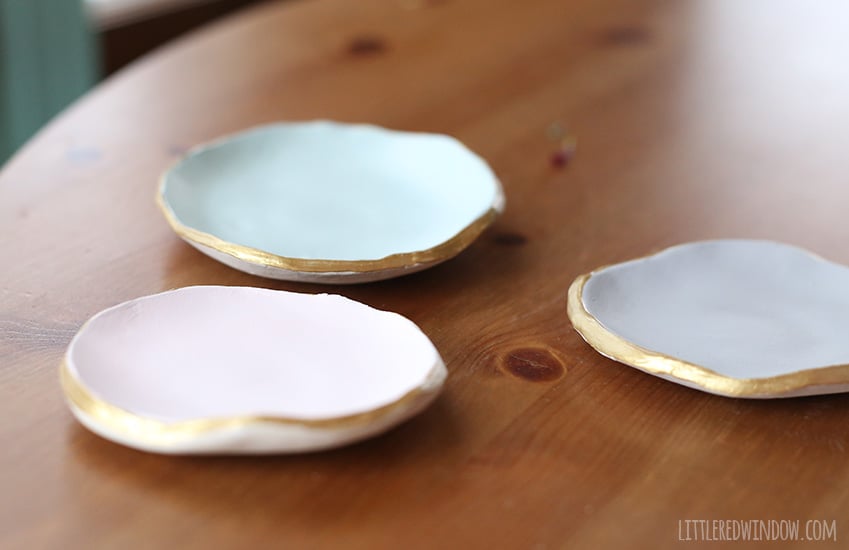
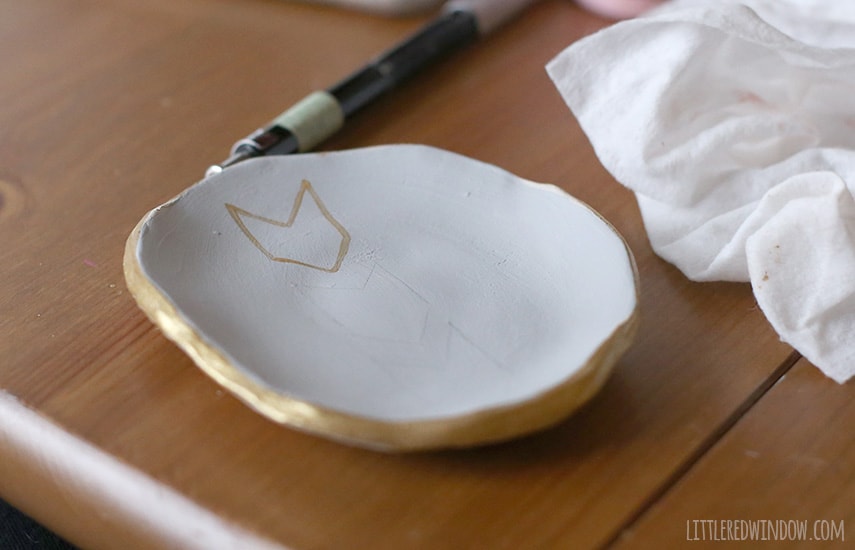
6. Paint your dishes a base color. I chose a blush pink, robin’s egg blue and light gray. When that was dry, I painted around the edges of the dishes with two coats of gold paint.
And that’s it! Enjoy your pretty dishes!
- 10 Tips for Organizing Your Craft Supplies On a Budget - April 25, 2024
- Rib Zag Hat Knitting Pattern - April 23, 2024
- Double Stockinette Stitch Knitting Pattern: Easy How To for Beginners - April 18, 2024




Mandi says
Super cute! Would painting the base coat before it’s completely dry be a disaster? Or could it be painted as its drying?
Cassie May says
No! Wait until it’s completely dry!!
Susan says
Do you know the exact color names of the Martha Stewart paint you used? I love all of them!
Linda says
I just love your site! I especially love the monogrammed trinket dish!!! Thanks!
Cassie May says
awww, thank you, that’s so nice!
Jennie says
These turned out beautifully! I need to pull out the air dry clay again. 🙂 I originally bought it to make ring bowls like these and got distracted making everything else! 🙂
Cassie May says
Ohhh, boy do I know that feeling, lol! Thanks so much! xoxo!