Make your own monogrammed DIY key holder and never misplace your keys again !
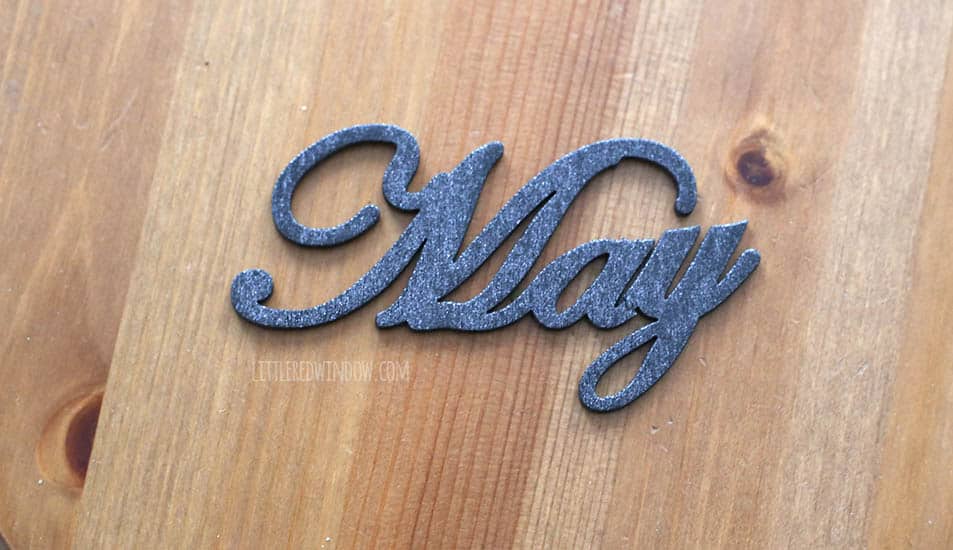
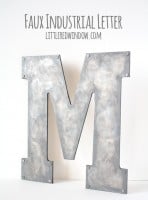
Anyway, I grabbed this great galvanized metal letter at the craft store and got to work on my DIY key holder! (I should preface this by saying, in this case, it was incredibly convenient that our last name is also a month of the year because they had these cute laser cut wood month names at the store. So for most of you, you can either leave that part off or perhaps make your own by cutting your last name out of some thin cardboard or chipboard? Or you could choose another premade word like, “love”, “family” or “joy”! ) Here’s how I did it…
Monogrammed DIY Key Holder
Laser cut name or word (these would be cute!)
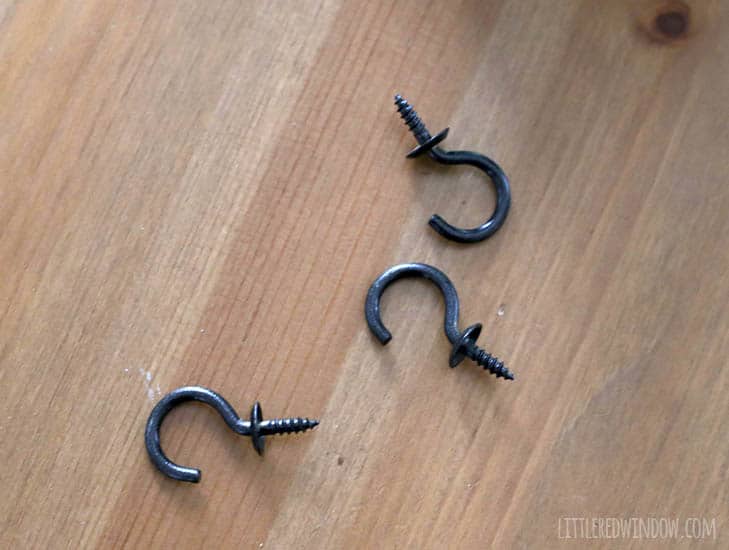
Cup hooks (mine were gold and I spray painted them black)
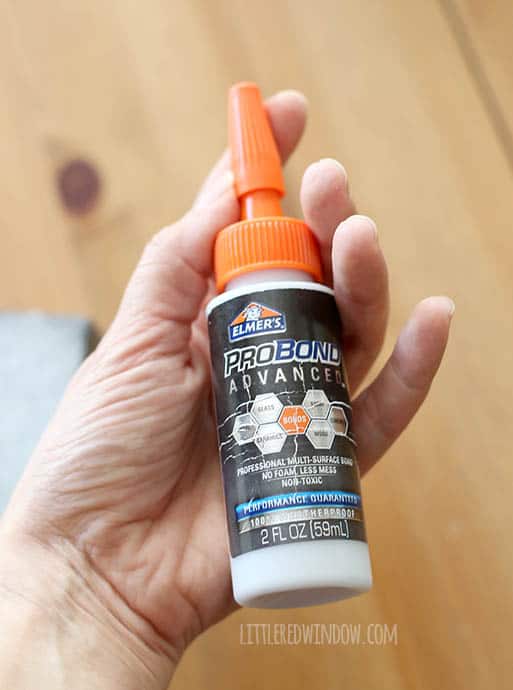
Multi-surface glue (here’s my favorite)
- Spray paint your laser cut name or word and your cup hooks (if necessary) outside.

 2. While the paint is drying, make holes in the bottom surface of your metal monogram letter. The holes should be a bit smaller than the diameter of the cup hook’s screw end. While you could drill them, I actually just used a nail and hammered it through, this isn’t very thick metal. It took a little muscle but it worked.

 5. When it has dried as long as the glue recommends, go ahead and hang up your new DIY key holder! Mine already had some nice little holes in the back for hanging!
 2. While the paint is drying, make holes in the bottom surface of your metal monogram letter. The holes should be a bit smaller than the diameter of the cup hook’s screw end. While you could drill them, I actually just used a nail and hammered it through, this isn’t very thick metal. It took a little muscle but it worked.
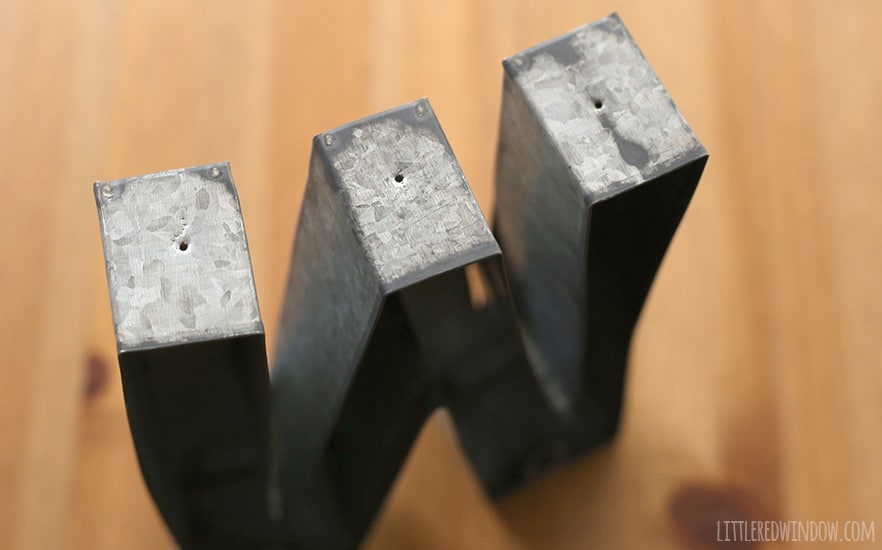
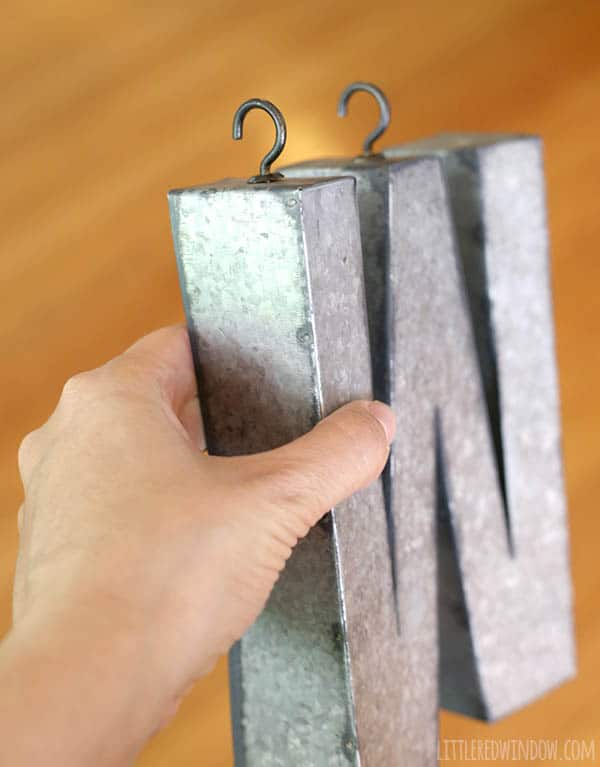
 5. When it has dried as long as the glue recommends, go ahead and hang up your new DIY key holder! Mine already had some nice little holes in the back for hanging!
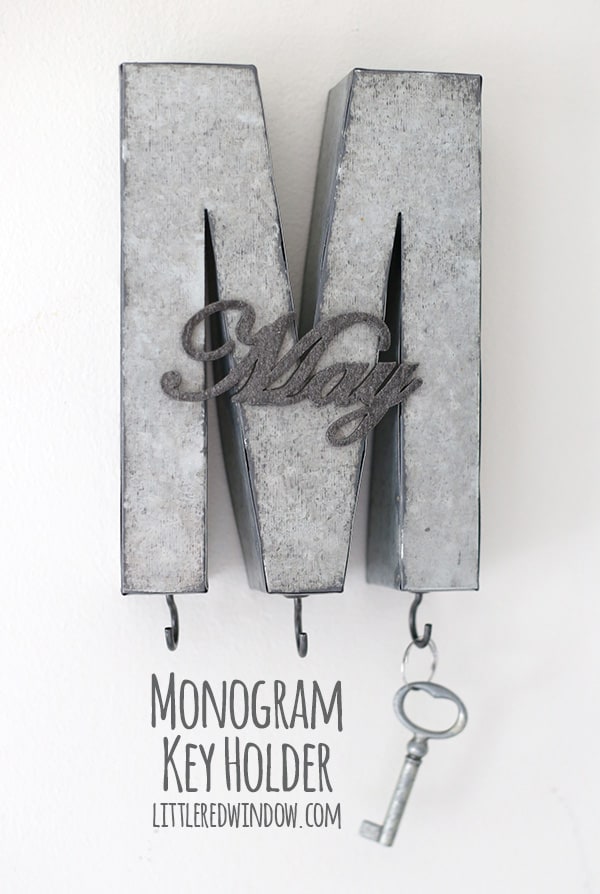
If you liked this, you may also like some of my other posts…


- Tri-Color Linen Stitch Hat Knitting Pattern - June 22, 2026
- Yummy Ice Cream Cone Hat Knitting Pattern - June 16, 2026
- Tied Stocking Cap Knitting Pattern - May 19, 2026
Chelly says
Ohhh. Emmm. Geee! This is soooo adorable. {What a great idea for a wedding present this would make.} Thanks for the fun idea.