Learn how to knit front back (kfb), otherwise known as a single increase, with this knitting photo and video tutorial!
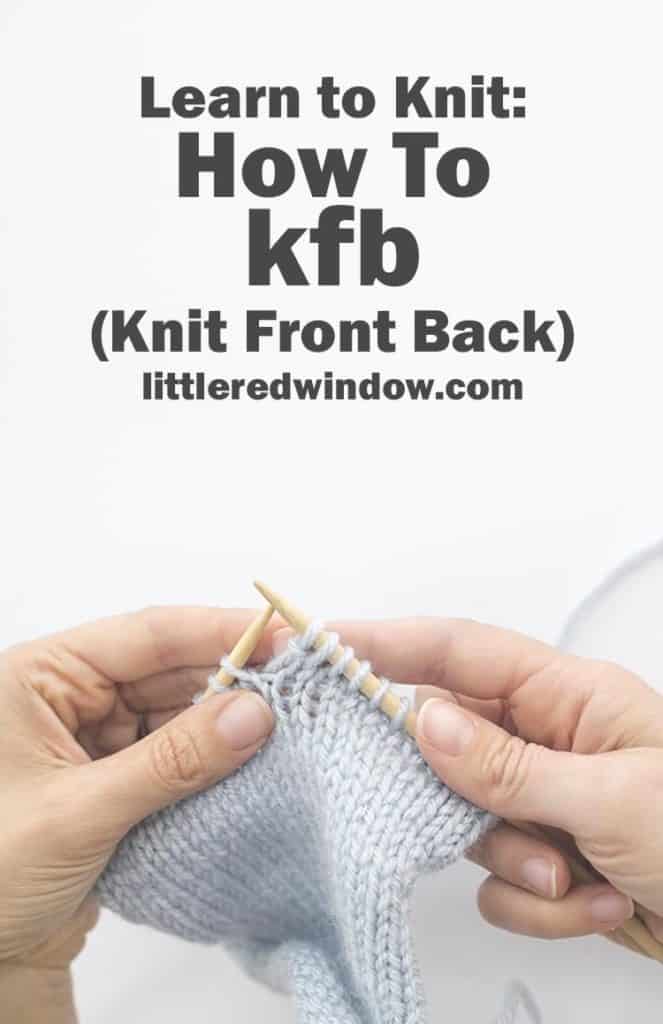
I think kfb is my favorite knitting increase. It’s a little bit magical because it creates two stitches out of one. I personally think it’s the easiest to do and the name is basically self explanatory.
Kfb looks particularly nice along the edge of project because the stitch creates two stitches, first a regular knit stitch and the second one that looks like a purl. So it can add some nice texture.
But you should be thoughtful about where you use kfb, because that extra “purl” stitch might not be what you want in the middle of a field of stockinette stitch, for example.
In that case, make one (m1) either left or right, might be a better option so that you don’t interrupt the stockinette pattern!
But for most situations, kfb is a great option and today I’m going to show you how to do it with both step by step photos and a video!
Here we go!
How to Knit Front Back (kfb)
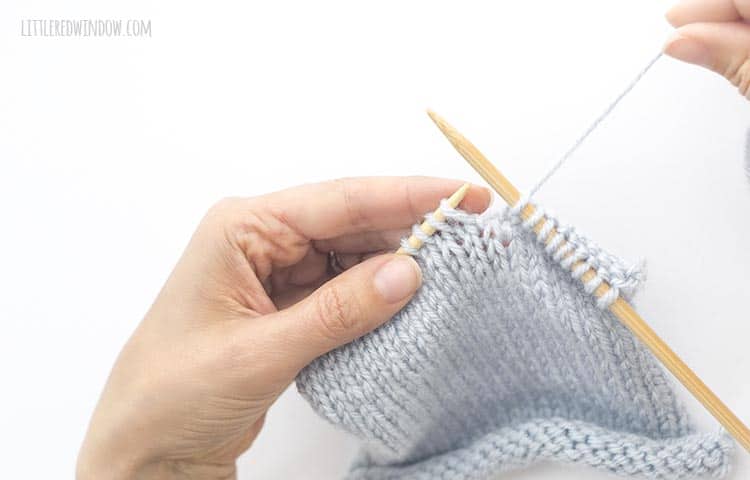
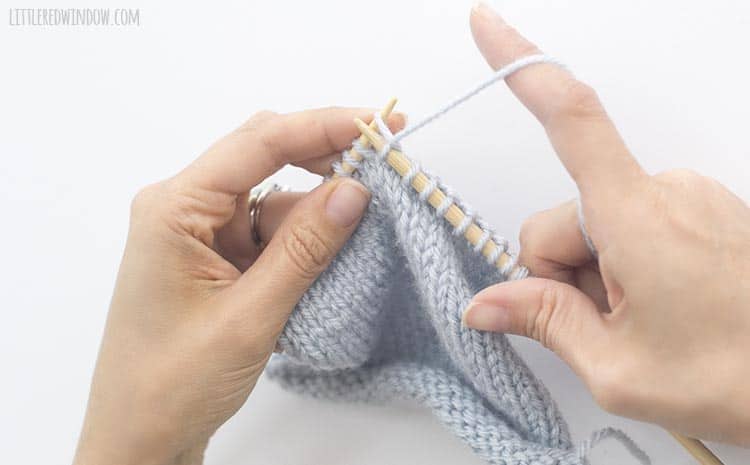
- To do a kfb stitch, start with the yarn behind your work
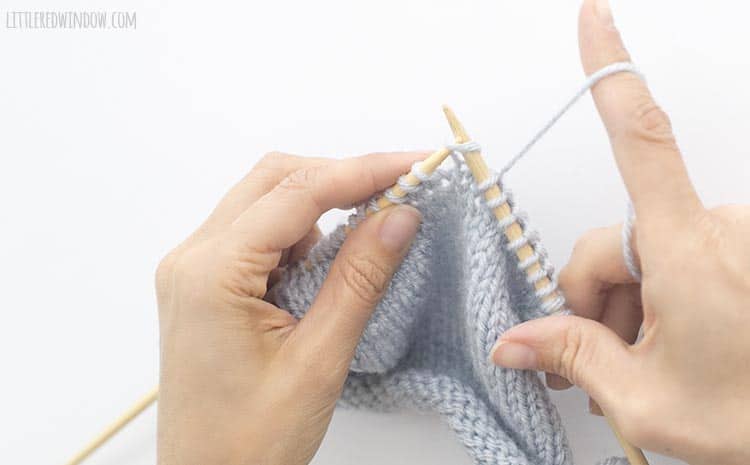
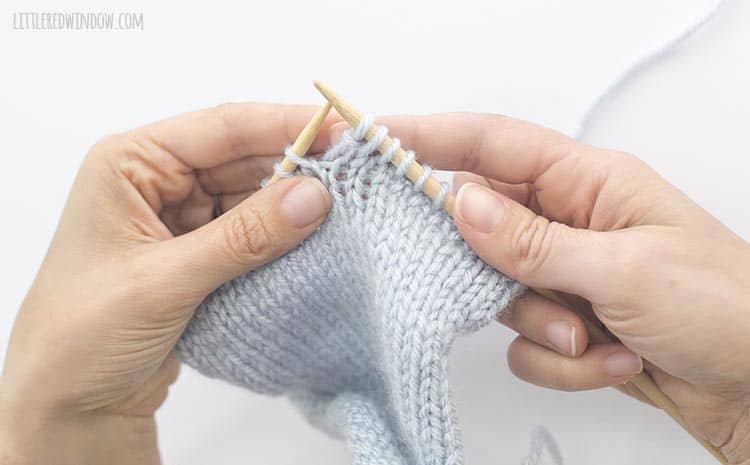
- Insert the right knitting needle through the front of first stitch on the left needle from left to right
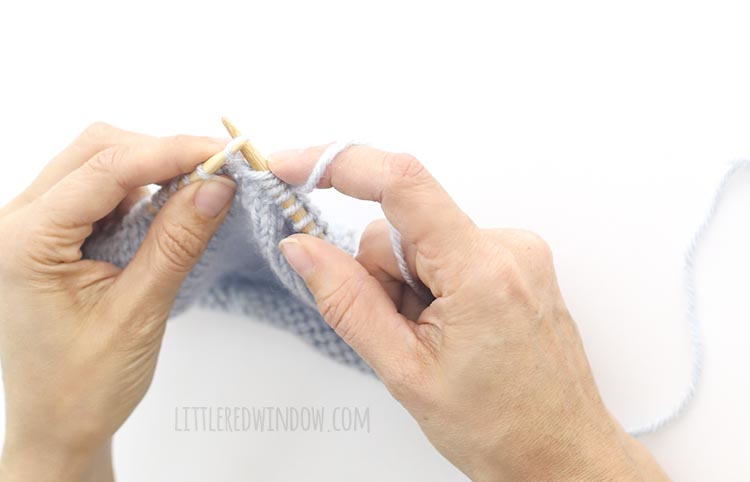
- Wrap yarn around the right needle and pull the yarn through to knit one stitch but DO NOT drop the original stitch from the left needle
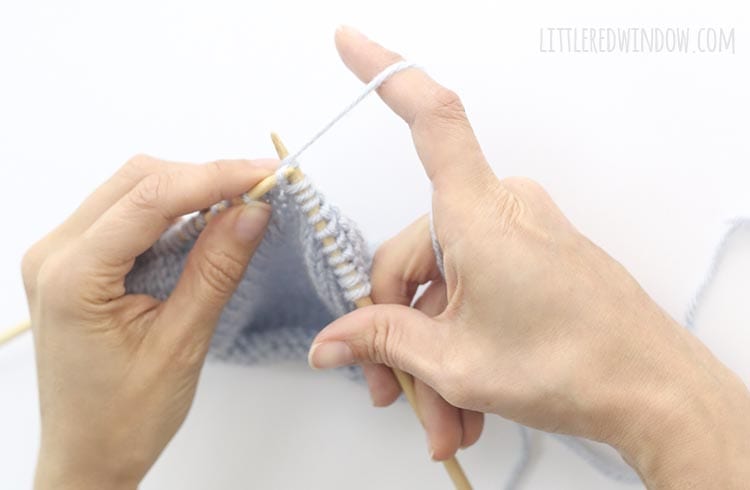
- Now bring the right needle behind and insert it through the BACK of the stitch on the left needle from left to right
- Wrap the yarn around the tip of the right needle and pull the yarn through.
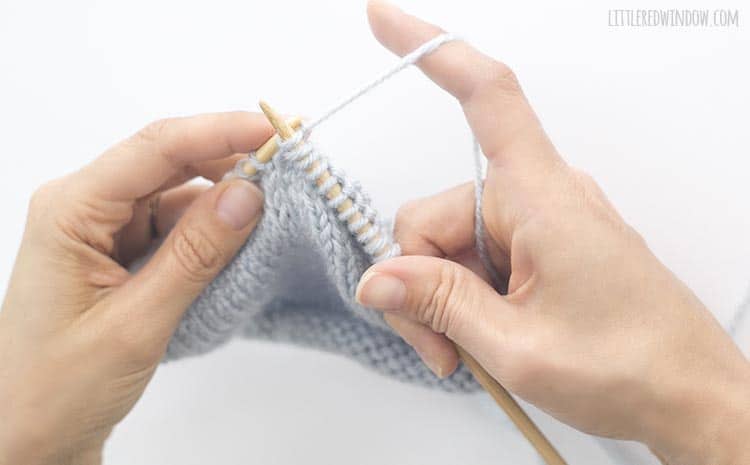
- Now you can drop the original stitch from the left knitting needle
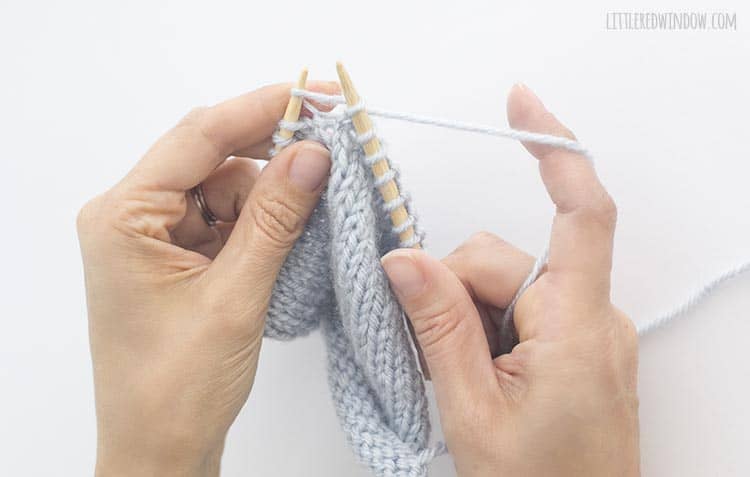
- A kfb increase adds one extra stitch to your project and looks like a knit and purl stitch next to each other
Watch the video to see how to kfb in action!
How To kfb (Knit Front Back)
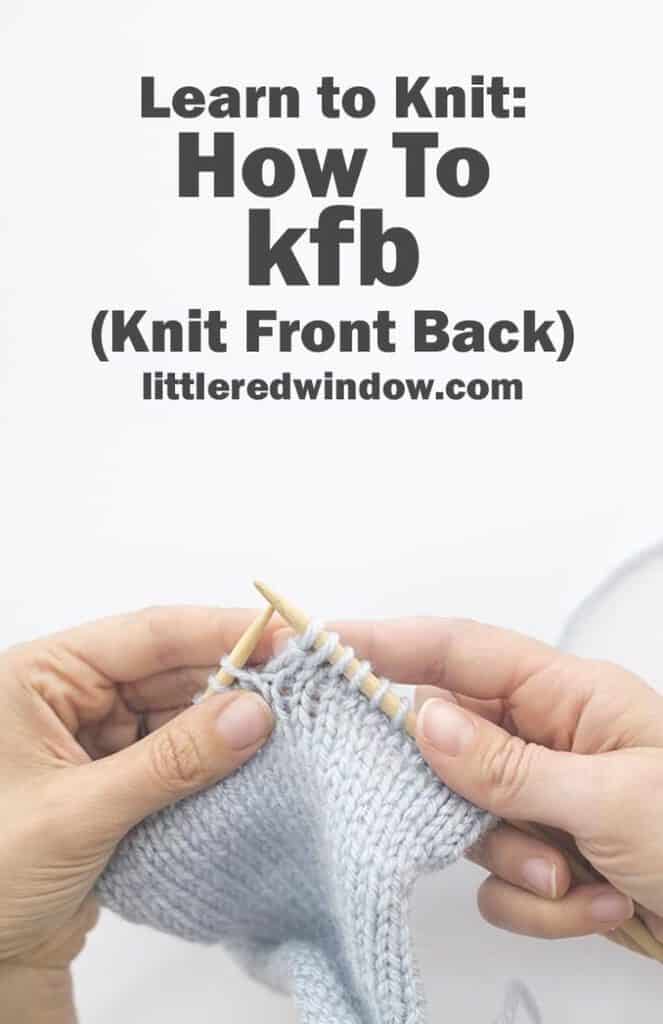
Learn how to increase by one with the easy kfb (knit front back) stitch.
Materials
Tools
Instructions
- To do a kfb stitch, start with the yarn behind your work
- Insert the right knitting needle through the front of first stitch on the left needle from left to right
- Wrap yarn around the right needle and pull the yarn through to knit one stitch but DO NOT drop the original stitch from the left needle
- Now bring the right needle behind and insert it through the BACK of the stitch on the left needle from left to right
- Wrap the yarn around the tip of the right needle and pull the yarn through.
- Now you can drop the original stitch from the left knitting needle
- A kfb increase adds one extra stitch and looks like a knit and purl stitch next to each other
Notes
Watch the video to see a kfb increase in action!
Recommended Products
As an Amazon Associate and member of other affiliate programs, I earn from qualifying purchases.
This pattern is used in many of my patterns including:
Happy Knitting!
- Flower Pillow Knitting Pattern - April 11, 2024
- Compare the Top 5 Best Types of Paintbrushes for Craft Projects - April 11, 2024
- What Awesome Kids’ Craft Supplies Should You Borrow from Your Kids ASAP? - April 4, 2024






Corinne says
Wow, after following multiple other instructions thinking I was getting it wrong I eventually arrived here. Thank you for helpfully mentioning the second stitch looks like a purl stitch, you rescued me from any more frustration. As a brand new knitter I had no idea what a completed bfk looked like.
Cassie May says
you bet, that’s my goal, make it as simple as possible! Thanks for stopping by!