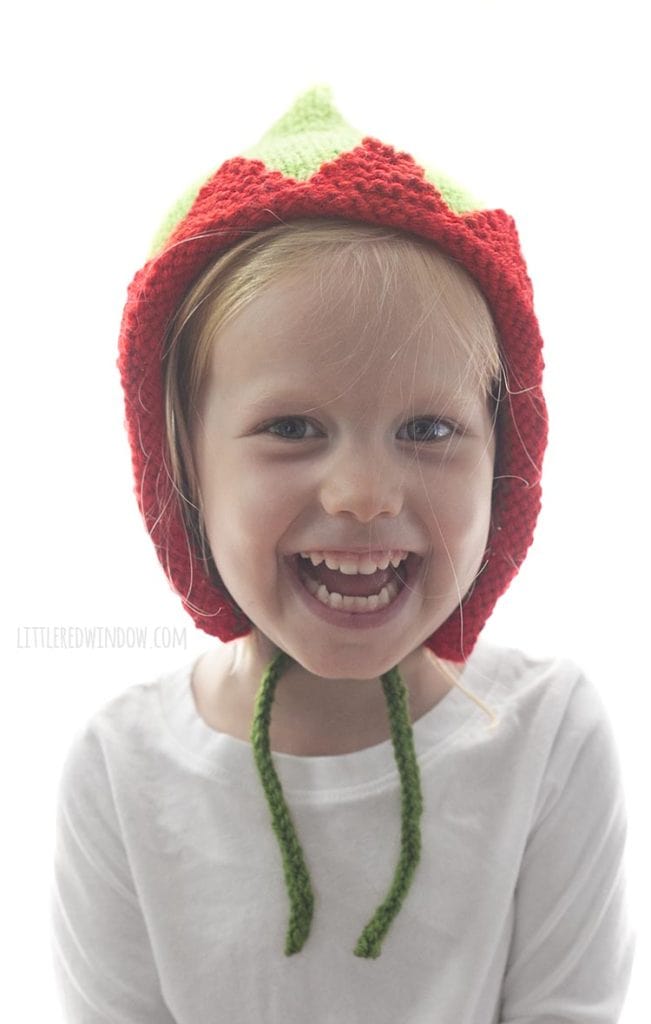
Knit up this adorable Elf Pixie Bonnet with cute pointed top and functional chin ties for your little Christmas helper this year!
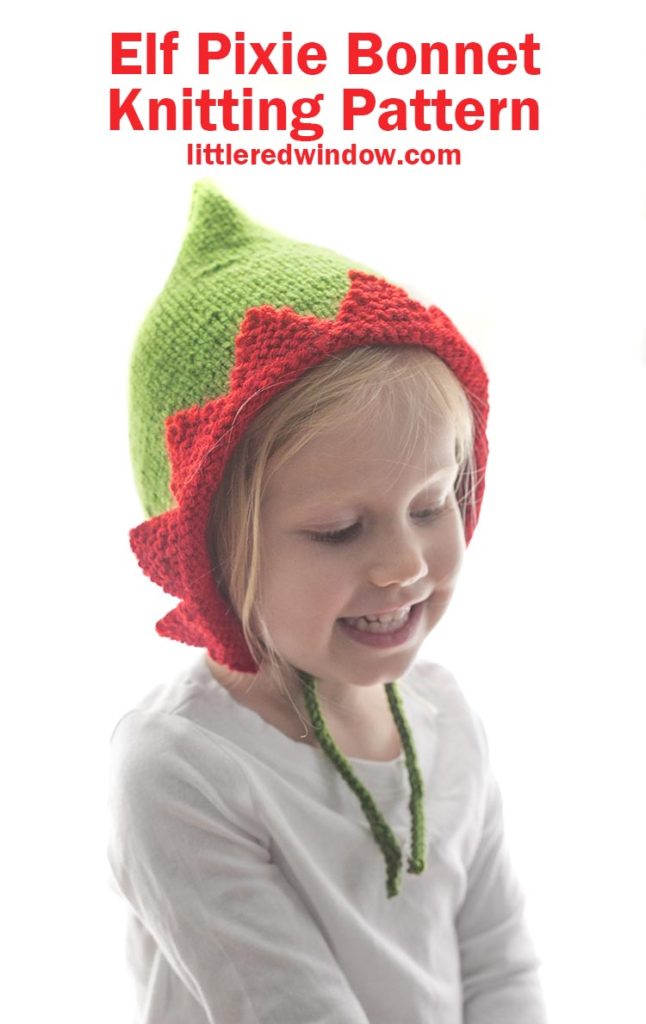
Last year I knit you the CUTEST Christmas Elf Hat and this year, I thought I’d reimagine it as an Elf Pixie Bonnet. You guys, that was a great decision.
I mean, how cute it that adorable pixie bonnet pointed top?!
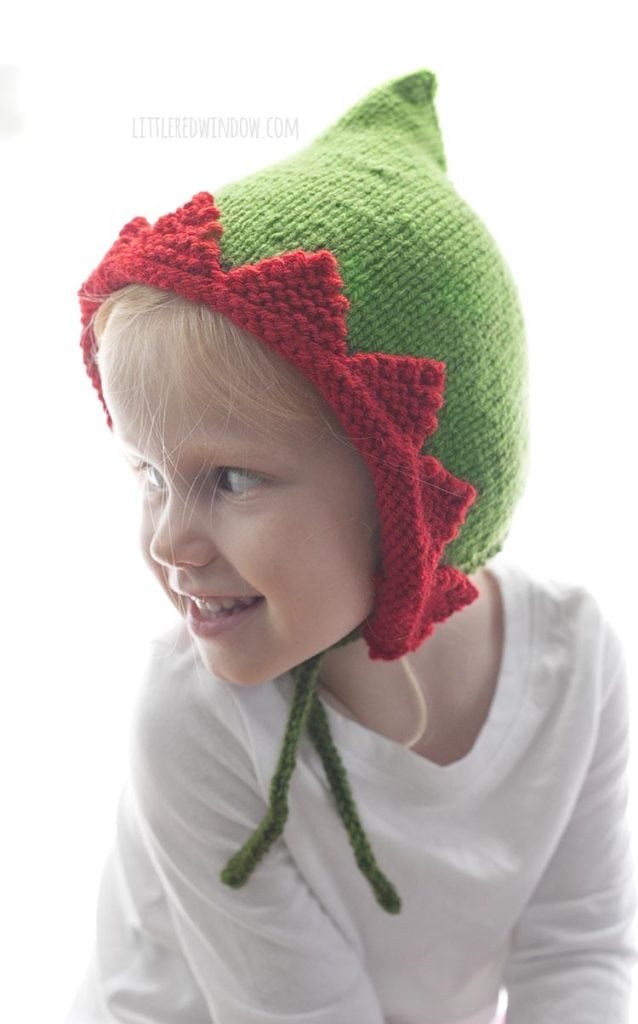
This is also a GREAT pattern if you prefer to knit flat. It’s entirely knit flat, no knitting in the round. I swear!

Its finished off in the back with a nice, neat 3 needle bind off which is super easy to do (and don’t worry, I show you how with step by step photos). I promise I won’t spring any weird new techniques on you without explaining them!
Which reminds me, I have tons of how to knit videos for you, if you’re still learning or need a refresher. But I should definitely add a 3 needle bind off video, that’s a good one to learn!
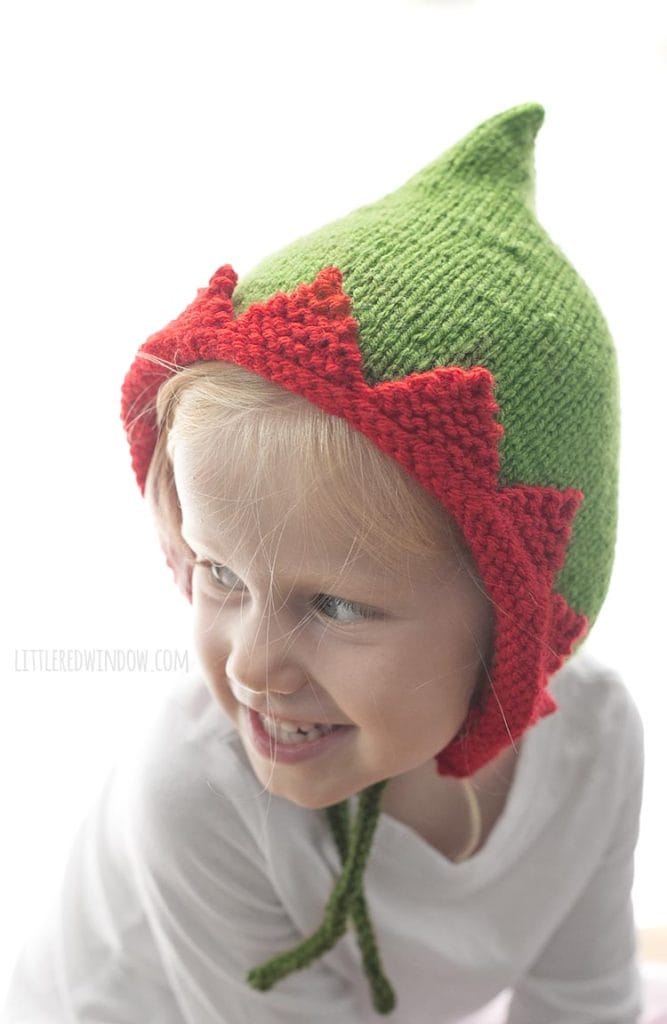
Baby V is at the absolutely perfect age for Christmas, she’s all in for the hype, but old enough to understand and appreciate what’s going on. And old enough to be able to wait her turn and not grab her brother’s toys. I think you know what I mean.
So it did make me happy when I put this on her and she immediately exclaimed, “Elf!”
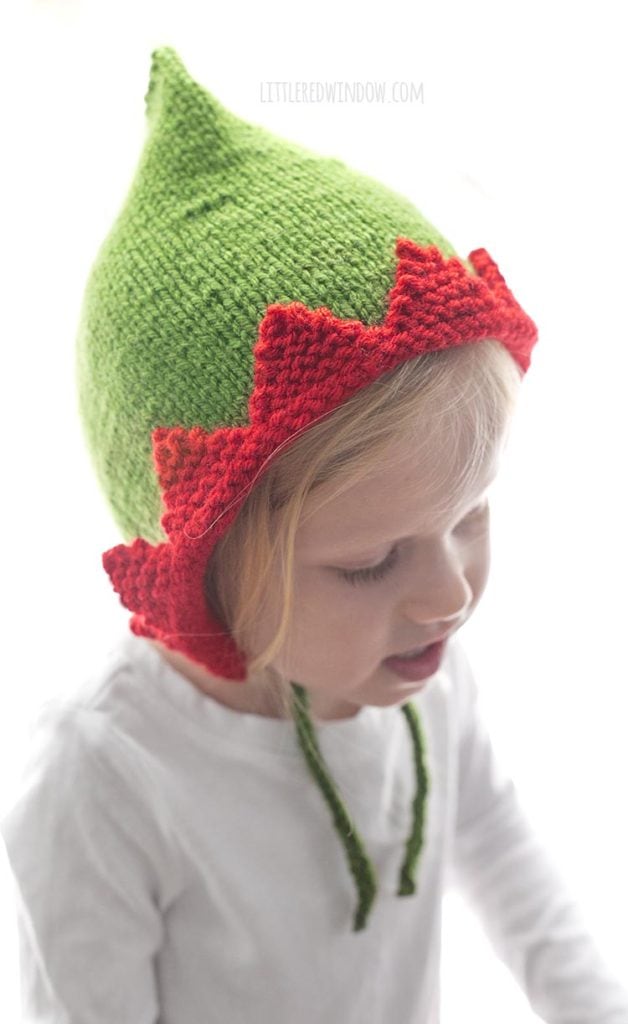
If you want to knit an Elf Pixie Bonnet, be sure to add your project over on Ravelry so I can see what you made!
Elf Pixie Bonnet Knitting Pattern
(includes Sizes 0-3 months, 6 months, 12 months, 2T+)
Gauge: 20 stitches = 4 inches
(If you need help, my favorite knitting reference book for everyone from beginners to advanced knitters is THIS ONE!)
Looking for the pattern? Here’s how it works: This pattern is available for FREE in one size right here on my site (keep scrolling down). Or for just a few dollars, you can choose to purchase an upgraded PDF pattern that is nicely formatted and easy to print. Besides being easy to print, the PDF pattern also contains MORE SIZES with instructions for additional sizing including 0-3 months, 6 months, 12 months and 2T+! Thank you for supporting Little Red Window!
Elf Pixie Bonnet Instructions
Size 12 months (see pdf versions for additional sizing!)
Using long-tail cast on and circular needles as straight needles, cast on 72 stitches onto your circular needles with the red yarn. This bonnet is knit flat.
Rows 1-3: knit all odd (RS) rows and purl all even (WS) rows (stockinette)
Switch to green yarn and continue knitting in stockinette stitch with a garter stitch edging as follows:
Row 4 (WS): k6, purl 60, k6
Row 5 (RS): knit all stitches
Repeat rows 4 & 5 until the hat is about 8 inches long. After a wrong side row, finish with a 3 needle bind off:
Lay your knitting out right side up as shown. Pull the excess circular knitting needle cable out between stitches in the exact middle of the bonnet, dividing the stitches into two sets of equal number of stitches as shown.
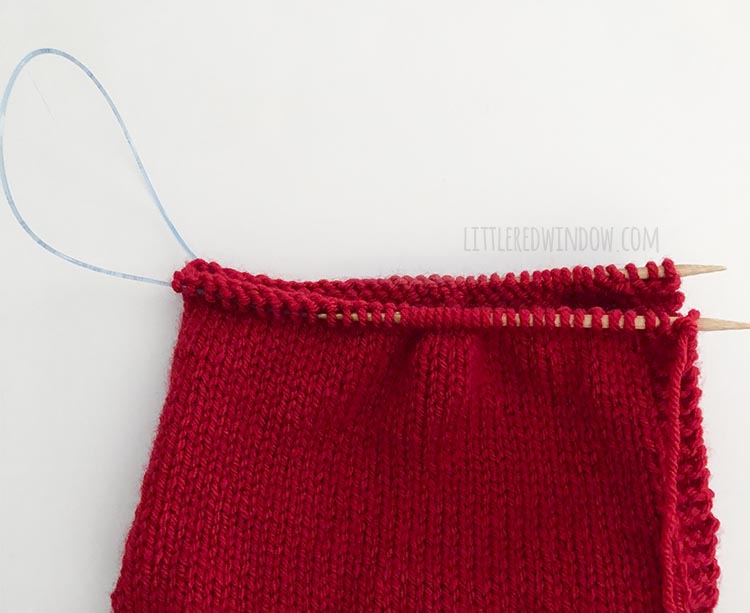
Step 1: Line the two needles up, one in front of the other. Insert the third needle (one of your DPNs) through the first stitch on BOTH needles and knit them together.
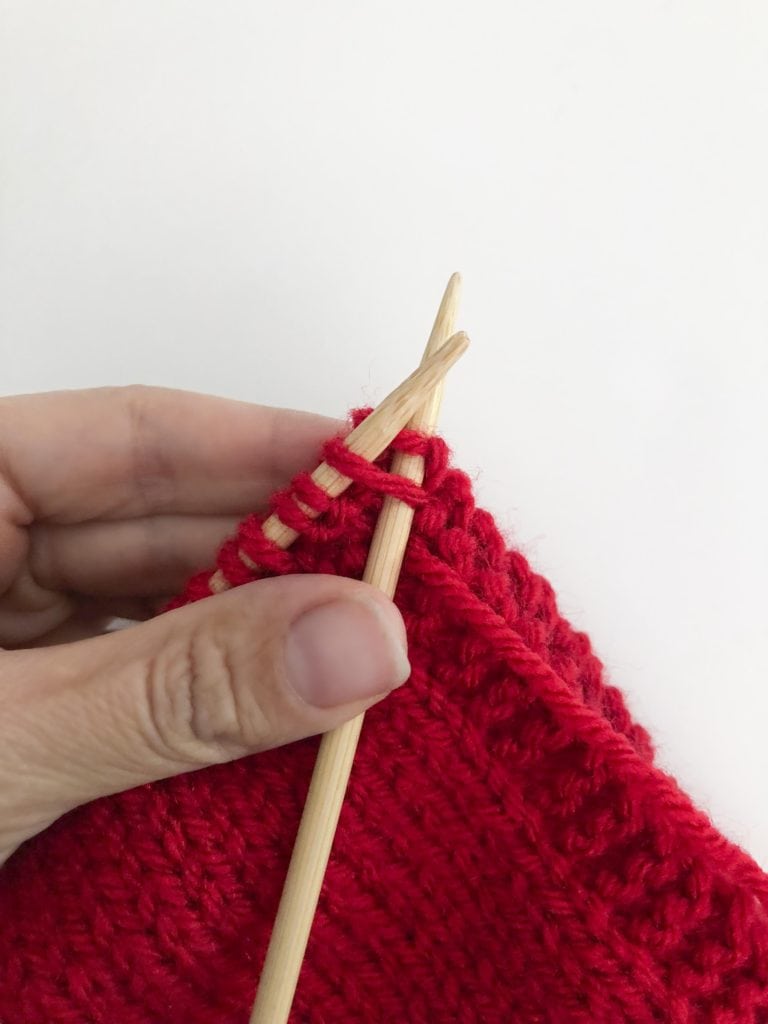
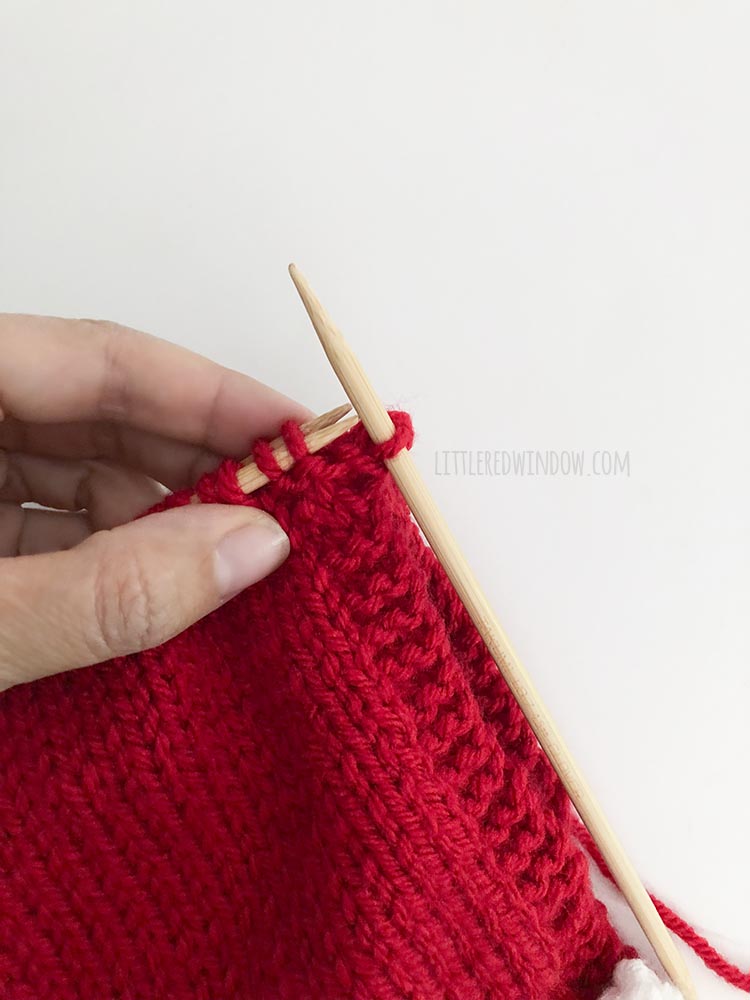
Step 2: Repeat a second time, knitting two more stitches together so you have two stitches on your third needle.
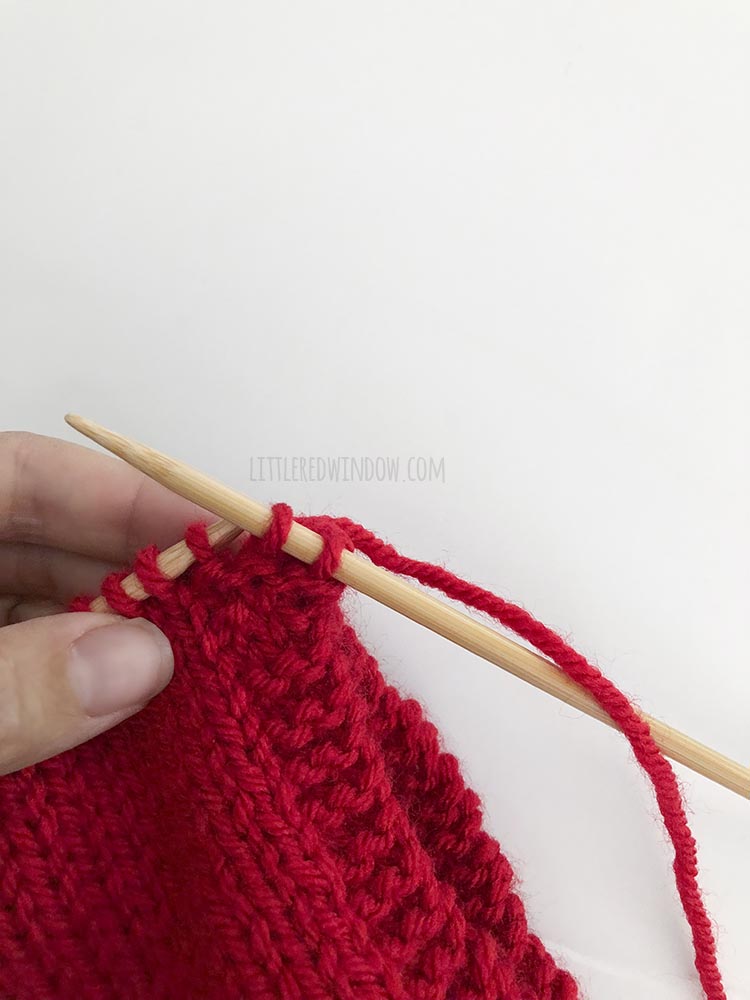
Step 3: Then lift the first stitch on the third needle up, over the second, and off, to cast off one stitch. You have one stitch left on the third needle.
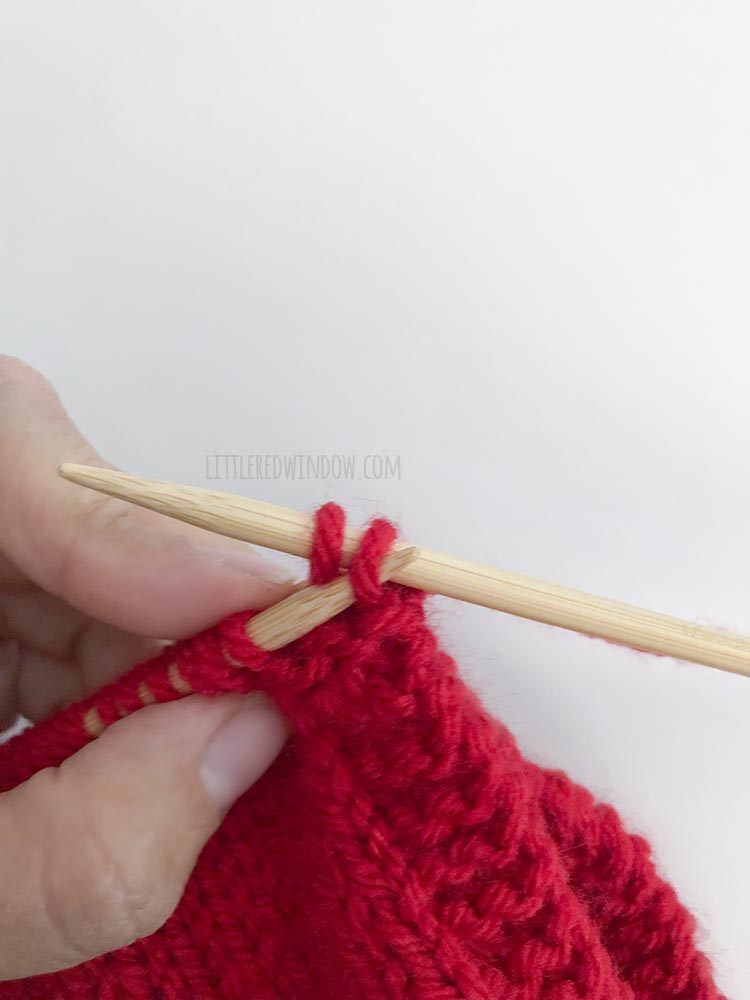
Repeat steps 2 & 3 until you have cast off all of the stitches on both circular needles and have just one stitch remaining on the third needle.
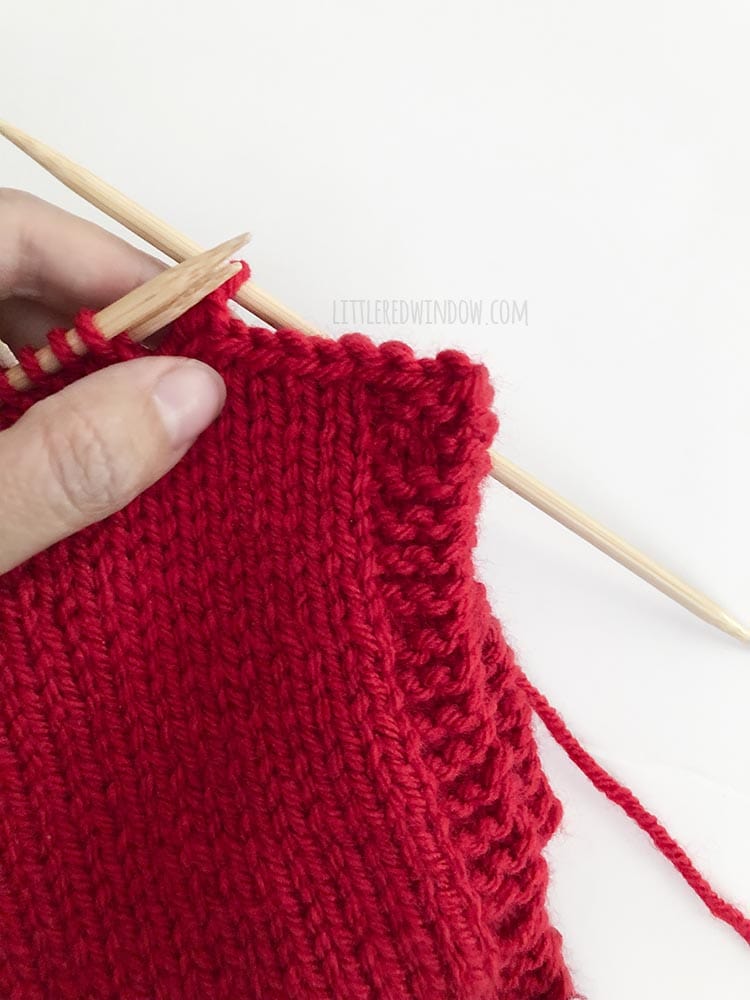
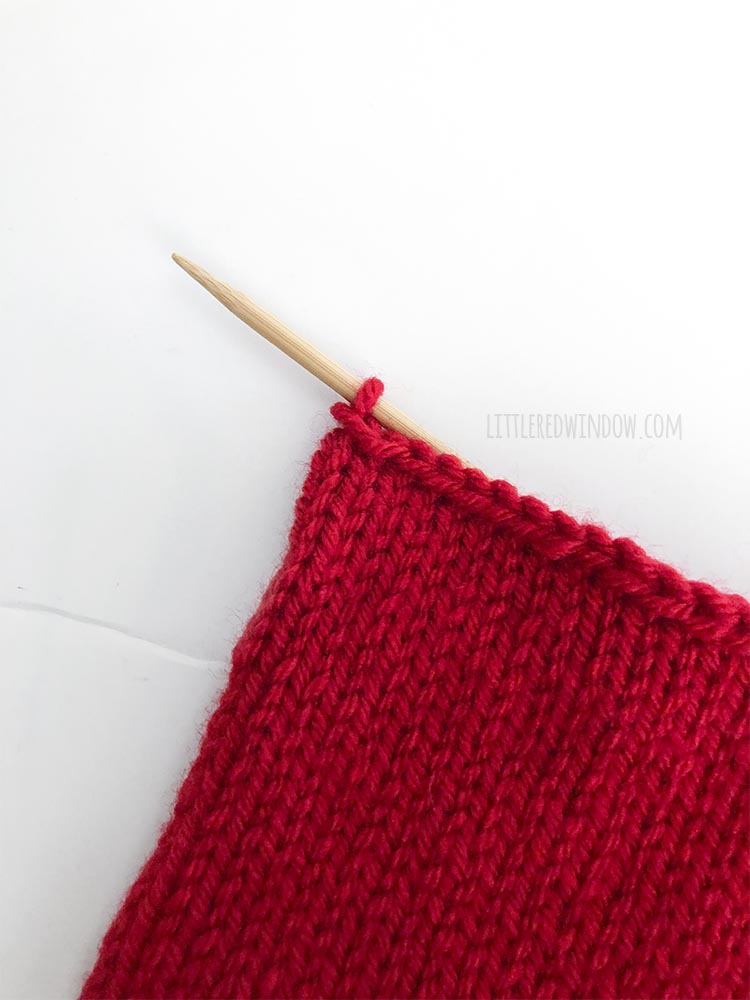
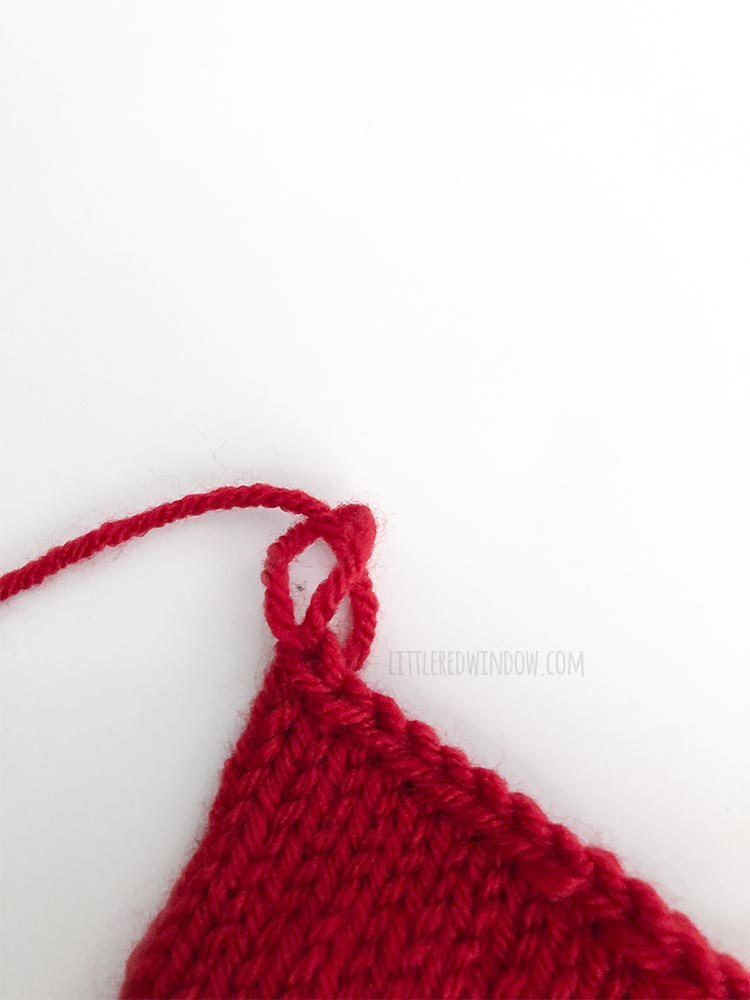
Cut the yarn and pull through that last stitch to close. Weave in the ends on the inside of the bonnet.
To knit the brim:
Holding the bonnet with the cast on edge facing up, (uncurl or block the stockinette edge if it is curling up) pick up 72 stitches with red yarn along the cast on edge with your circular needles.
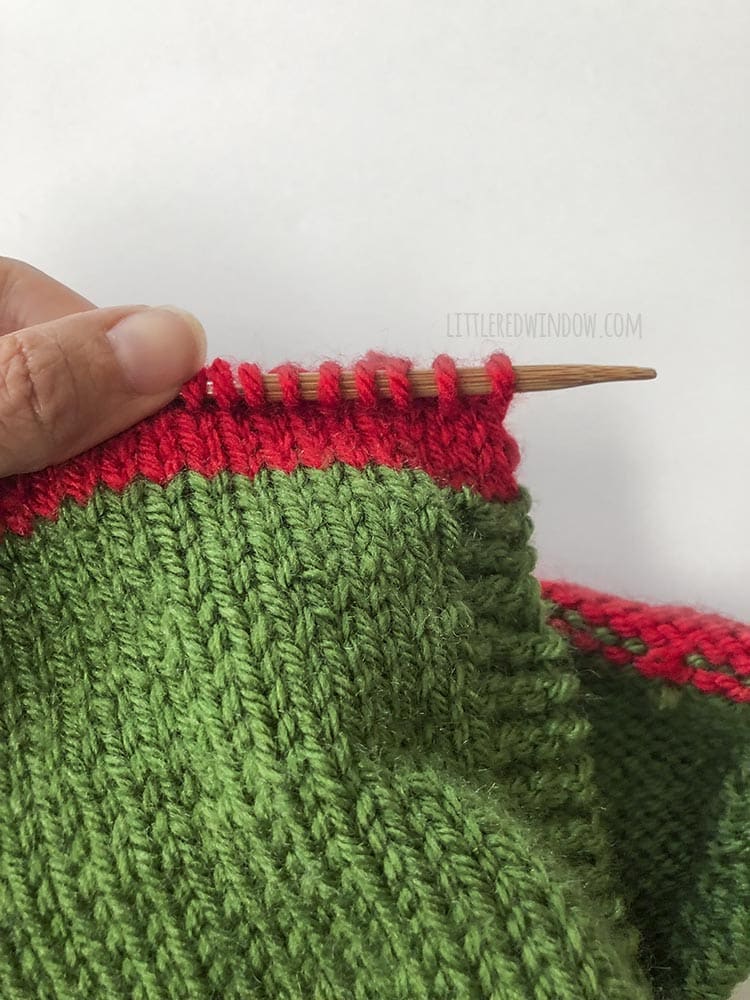
Rows 1-2: knit all stitches
Next, to make the pointed peaks, work with only 8 stitches at a time.
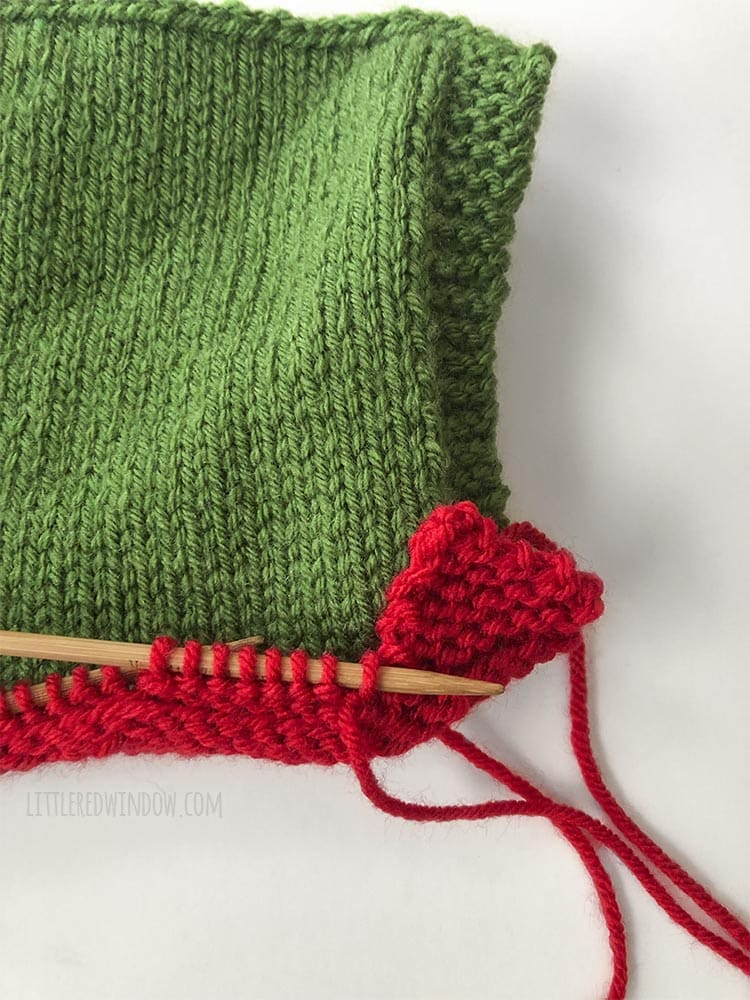
The following rows are still knit flat, turning the work after each row. It helps to put the 8 live stitches on double pointed or straight needles.
Rows 1-2: k8
Row 3: ssk, k4, k2tog
Row 4: k6
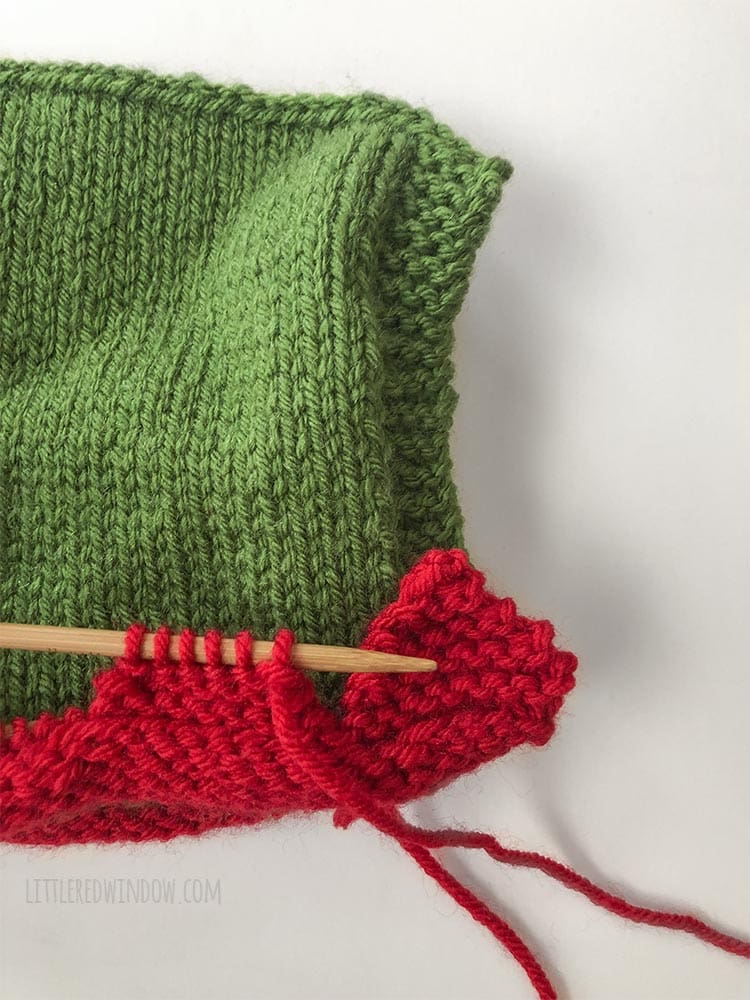
Row 5: ssk, k2, k2tog
Row 6: k4
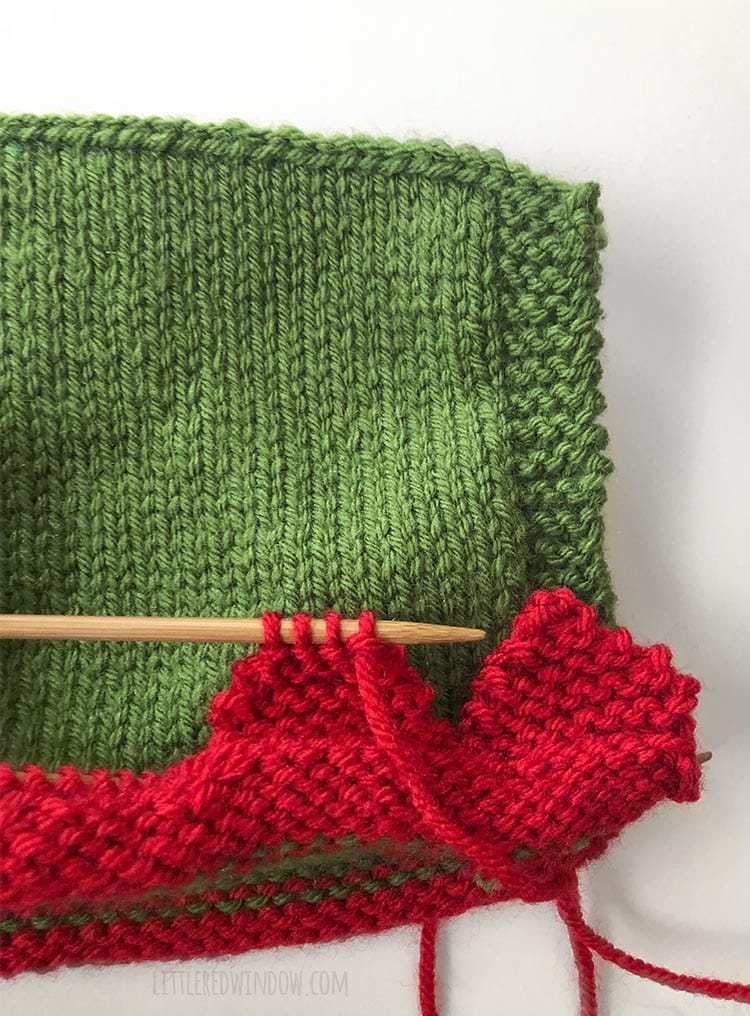
Row 7: ssk,k2tog
Row 8: k2tog
Cut yarn and pull through last stitch. Weave in ends.
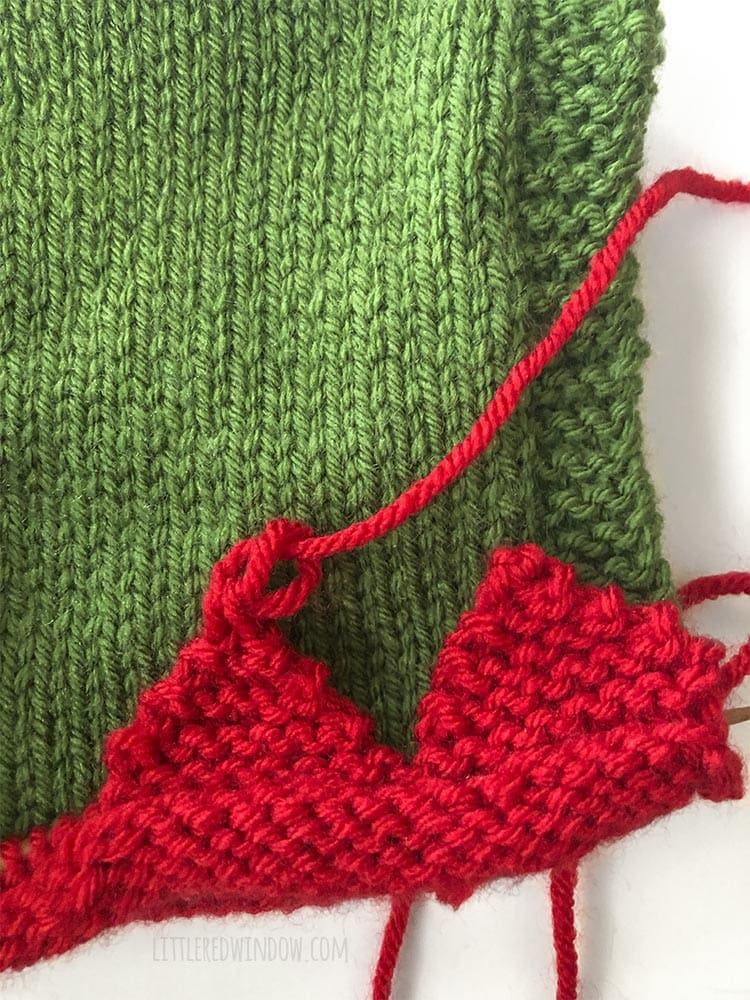
Repeat these steps with the next 8 stitches on your circular needle until you reach the end of the row. Fold the brim up and then thread a length of red yarn on your yarn needle and with small, loose stitches, tack the brim in place (optional).
To add ties:
Using double pointed needles, pick up 2 stitches with green yarn on one corner just before the switch from green to red yarn as shown
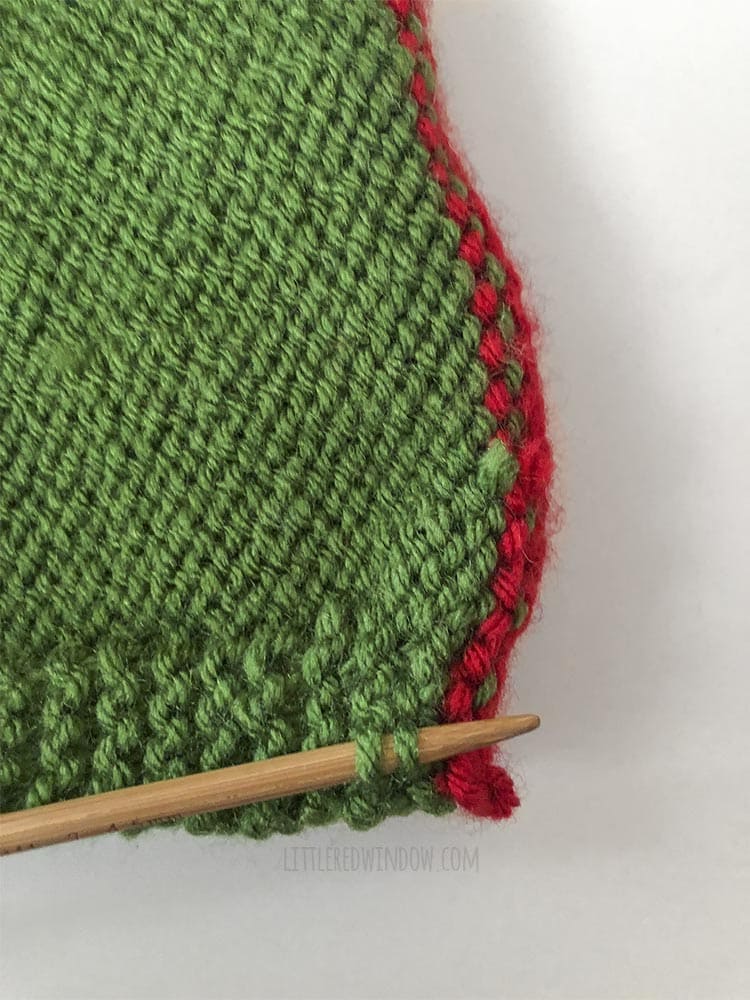
Then, knit an i-cord using those 2 stitches until the tie is 9 inches long.
Cut yarn, pull through stitches at the end of the i-cord to close, and weave in the ends. Repeat with the other tie. Be sure to block your bonnet before wearing.
Please use common sense, don’t tie the chin straps too tightly and never leave baby unattended while wearing your bonnet.
Happy Knitting!
If you liked this, you may also like some of my other posts…
- Double Stockinette Stitch Knitting Pattern: Easy How To for Beginners - April 18, 2024
- Fiery Fades Hats Knitting Pattern - April 16, 2024
- Flower Pillow Knitting Pattern - April 11, 2024


Leave a Reply