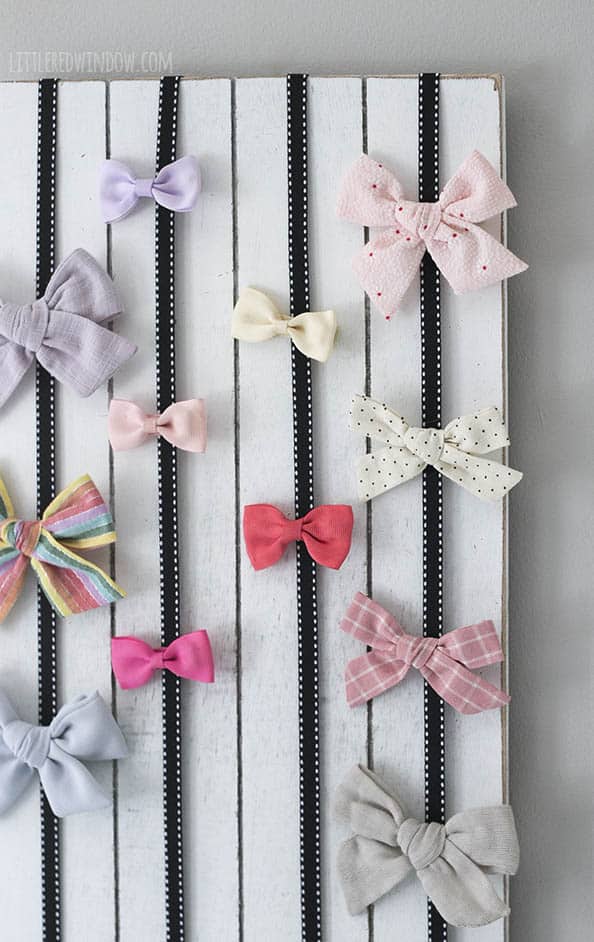
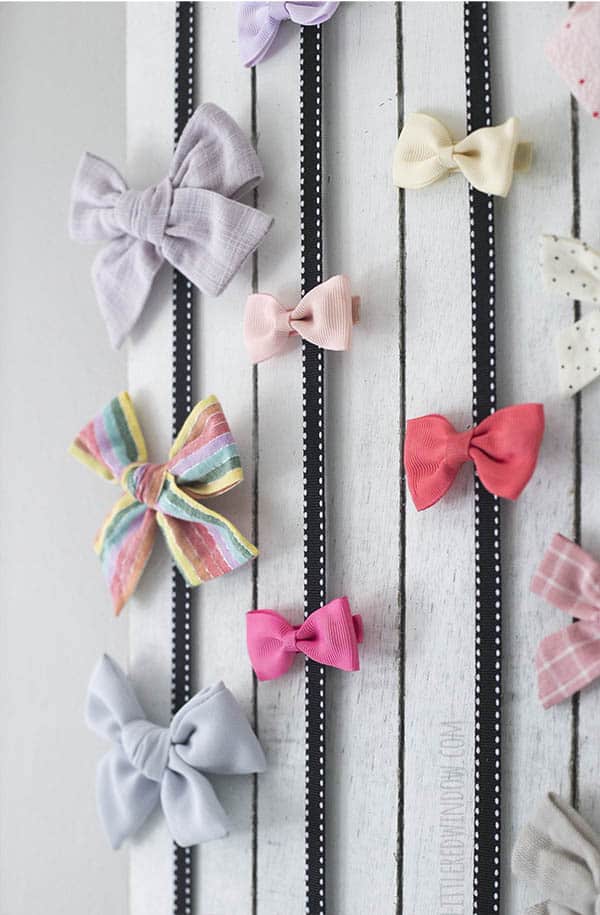
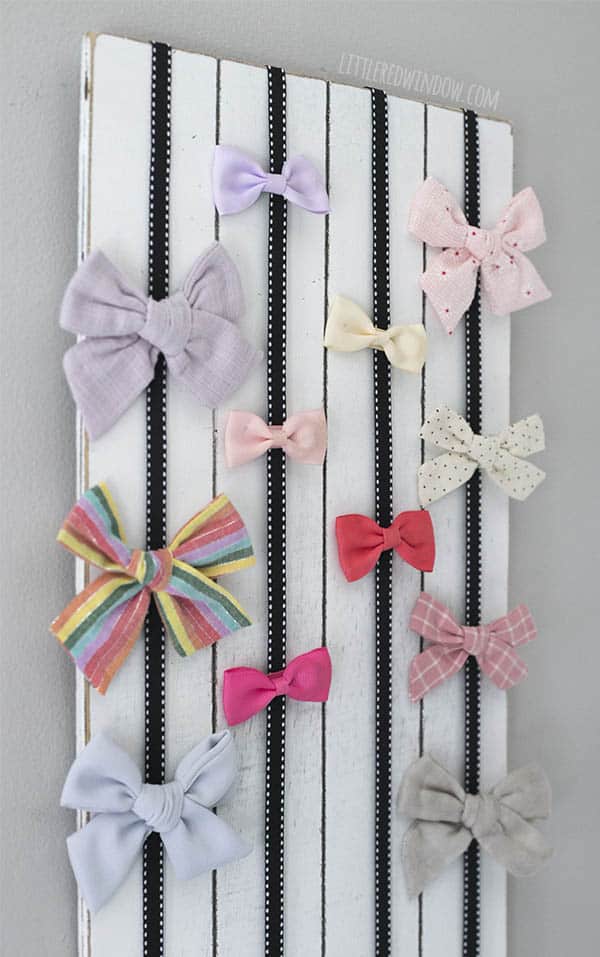
Make an adorable and easy DIY Bow Holder to hold hair bows and barrettes out of just a few simple supplies!
You guys, I do NOT know why it took me so long to make a DIY Bow Holder. I mean honestly, I should have my craft blogger license revoked!
It might surprise you to know, if you’ve been here for a while, that Baby V does not, in fact, wear hats all of the time. I know! Shocking!
In fact, both of my babies were bald for a long time and so we’ve spent a really long time growing her hair out which means that it’s not really long enough to stay behind her ears and it’s always always in her face. So, most days, when there’s not a hat, she likes a bow or barrette to keep it back so she can play.
The end result is that we have quite a collection of hair bows which were honestly, just crammed in a drawer and clipped to the edge of a basket in her room. It was a total mess.
And then last week, I looked at that total mess on top of her dresser and was like, duh, DIY bow holder. I even had all the supplies in my recently cleaned out office closet.
So I grabbed a few things and had a brand new, adorable DIY Bow Holder in about five minutes. Honestly, it took me longer to arrange the bows on it than it did to make the thing.
Here’s how I did it…
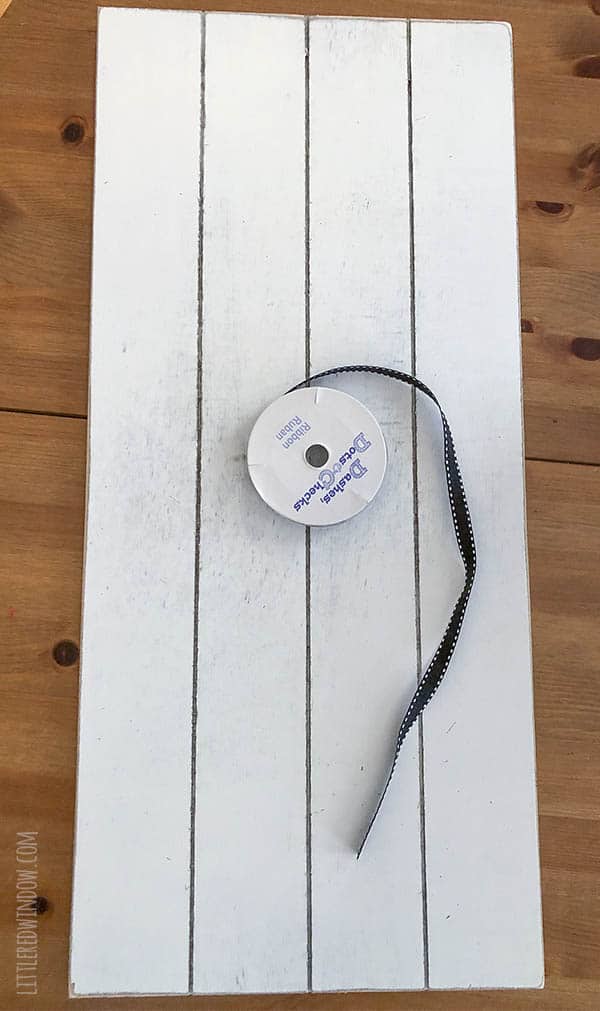
DIY Bow Holder Supply List
DIY Bow Holder Instructions
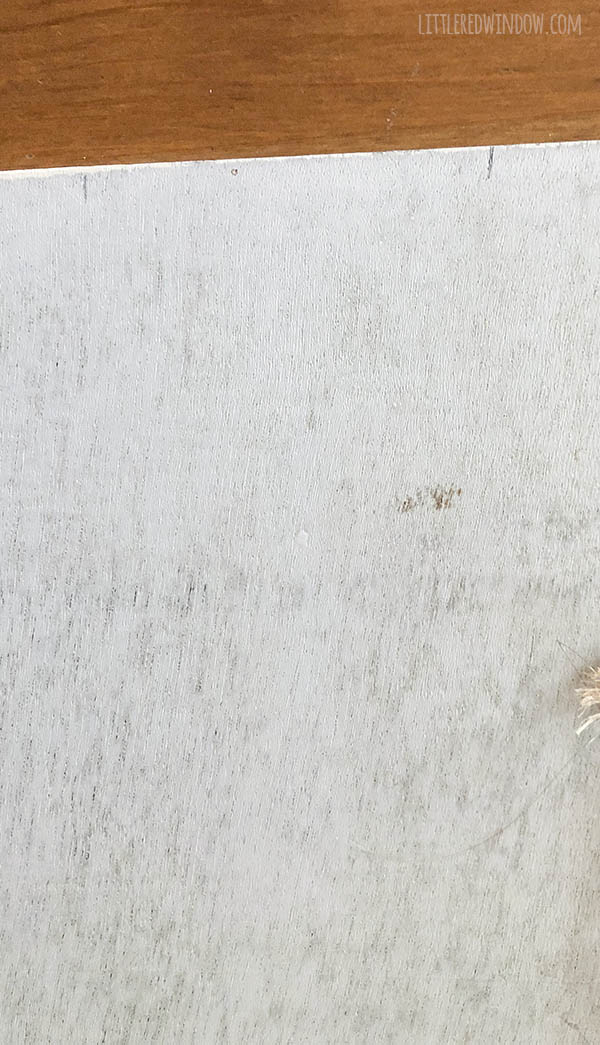
- If your blank sign isn’t white yet, and you want it to be, paint it white and let it dry. Mine was already farmhouse distressed so I was all set to go!
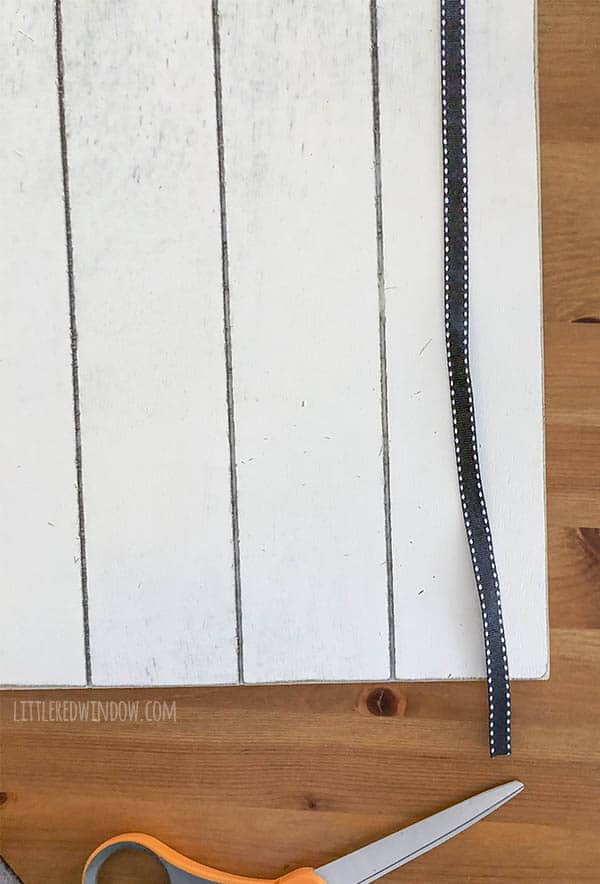
- Measure the height of the blank sign and cut lengths of ribbon about 2 inches longer.
- Measure across the edge of the back of the sign at the top and bottom, where the ribbon will go. I marked mine with one ribbon centered on each plank. Don’t eyeball this, you’ll be able to tell!
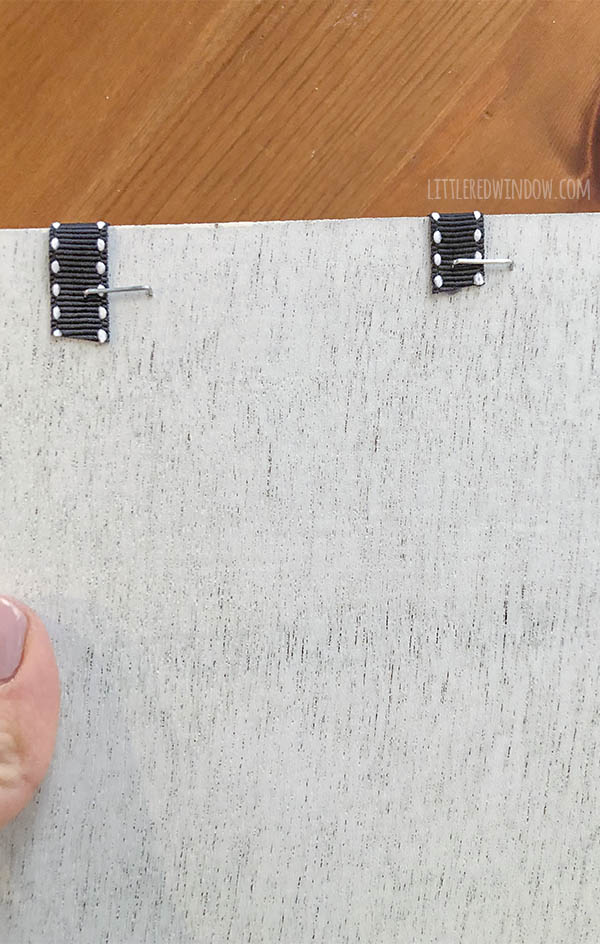
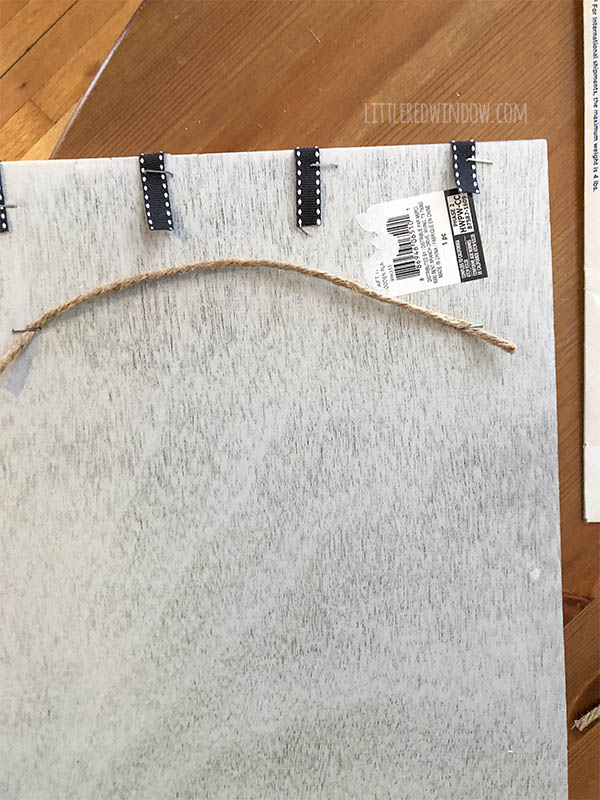
- Flip the sign over and staple one end of the ribbon to the top back at your mark. Then turn the sign back over, stretch the ribbon across the sign, wrap it around the other edge and staple that end to the back also.
- If you have any staples that didn’t quite go in all the way, make sure to gently hammer them down so your DIY Bow Holder doesn’t scratch your wall.
- When you’ve attached all of your ribbons, you can either staple on another length of ribbon or twine to the back for hanging. Or you can also attach some picture hanging hardware to the back.
- Clip your hair bows to the ribbon on the front side!
If you liked this, you may also like some of my other posts…
- Rib Zag Hat Knitting Pattern - April 23, 2024
- Double Stockinette Stitch Knitting Pattern: Easy How To for Beginners - April 18, 2024
- Fiery Fades Hats Knitting Pattern - April 16, 2024



Leave a Reply