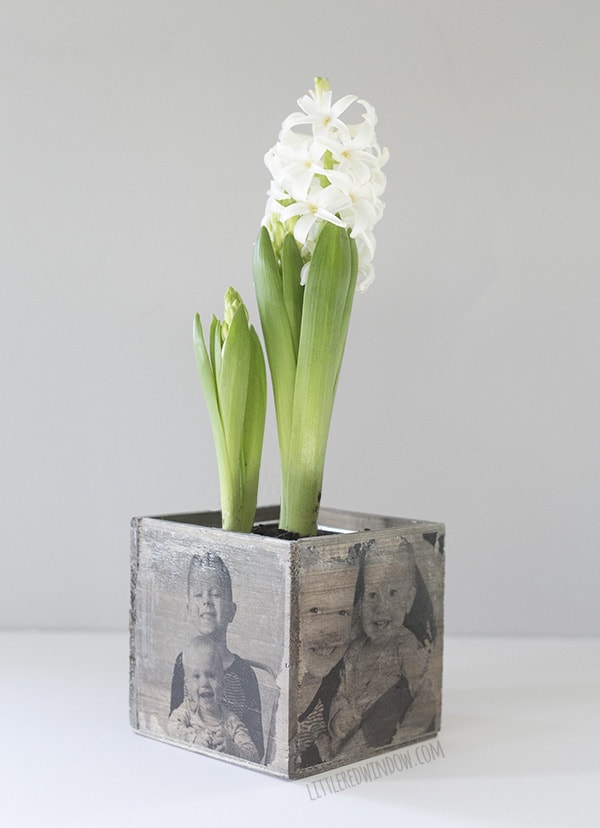
Use a fun photo transfer method from paper to wood to make this gorgeous DIY Photo Planter, perfect for Mother’s Day or any other gift!
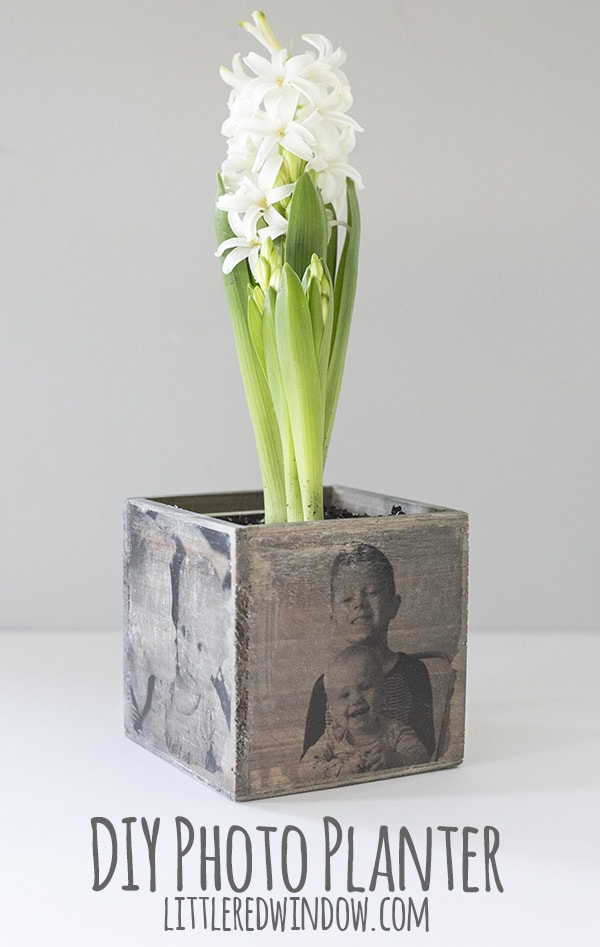
So after I made my totally fun DIY luggage tags, I got the idea for this project, a DIY photo planter for Mother’s Day.
If your mom is anything like mine, besides being wonderful, she’s also the kind of mom who, when you ask what you can get her for Mother’s Day says, “Oh, I don’t need anything.” And she actually means it, so sometimes, if we’re able to be together, we’ll go do something instead.
But other years, I still want to send her something. You know, because she’s my mom! And I love her! So a few years ago, instead of just regular flowers, I thought this photo planter would be a fun twist. I’m so excited because it turned out exactly how I imagined in my head.
I was going for a kind of farmhouse rustic, distressed look, but if that’s not your thing, don’t worry, I have a suggestion later on, just keep reading the tutorial. Here’s how I did it…
DIY Photo Planter Supply List
Wood cube planter with zinc liner
Photos printed in black and white on a LASER printer
DIY Photo Planter Instructions
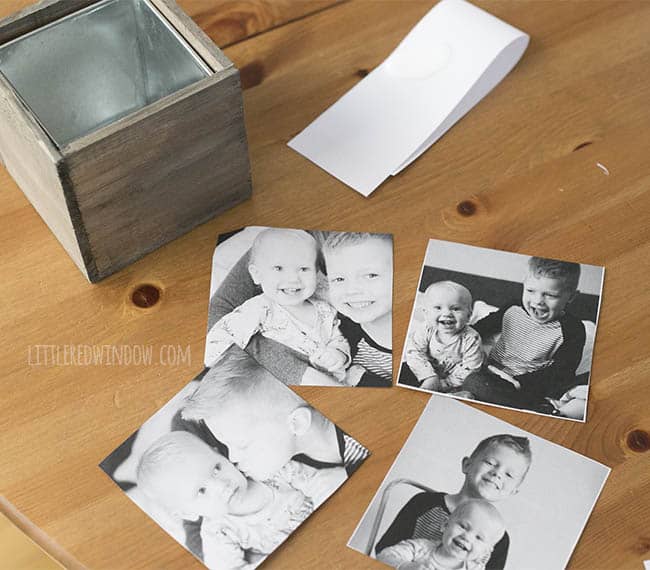
1 . Measure your planter and size and print your photos. Mine was 4″ square so I sized my photo about 3 3/4″ square. The most important thing for this project is to make sure that you print your photos on a laser printer not an inkjet. A laser printer is the kind that uses toner, not ink cartridges. This project won’t work with inkjet prints because they are water soluble. The photos of mine that were darker like the ones on the right below, versus very light like the ones on the left below, transferred better.
(our gorgeous pics are courtesy of Cadence & Eli, if you live in Minneapolis/St. Paul, hire them, they’re awesome)
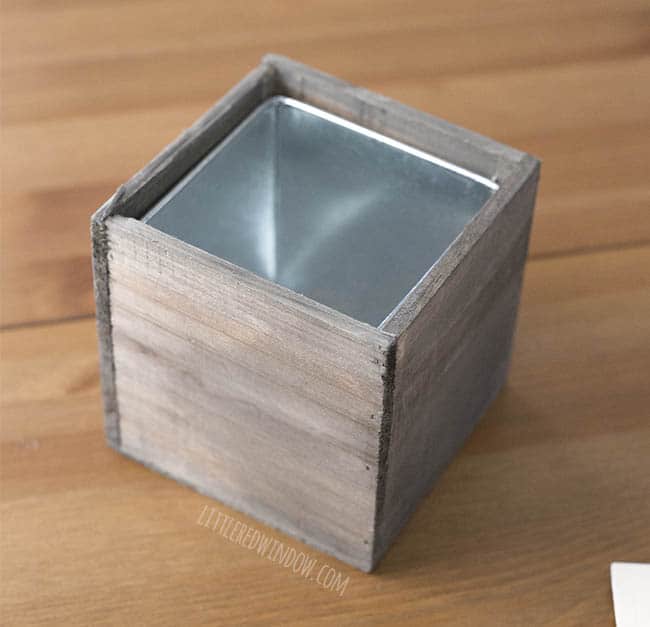
Note: if you purchase the planter that I linked to here, just note that while I was really happy with the quality, the color is grayer than the photo on amazon. Here’s a better shot of mine. I actually like this color better so I was fine with it.2. Cut your photos out.
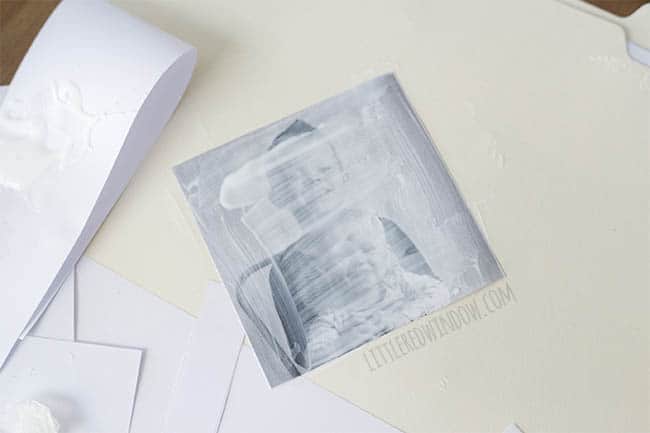
3. Apply a thick coat of mod podge to the front of the photos. Really, you want a thick coat.
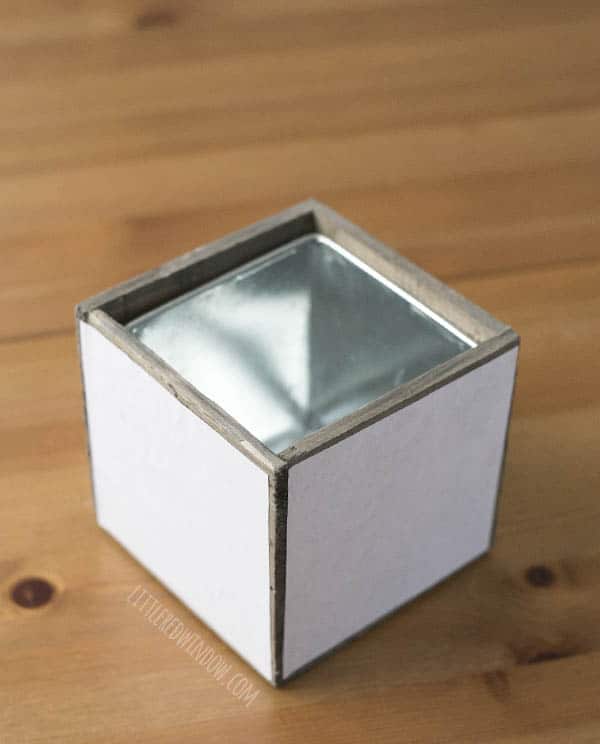
4. Stick the mod podged photo, photo side down, onto one side of the planter and smooth out any bubbles. Repeat with the other three sides.
5. Let your planter dry overnight. At least 8 hours.
6. The next day, starting with one side, wet that side. You don’t want to submerge the planter or anything but you should soak through the paper (sort of like you would with a temporary tattoo. The photo below is immediately after I got mine wet. After a minute you should start to see the image showing through the whole thing.
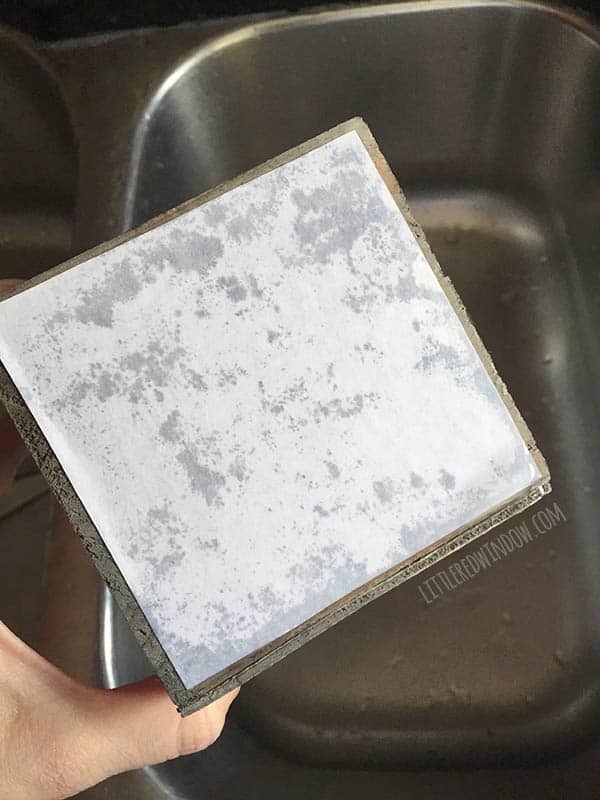
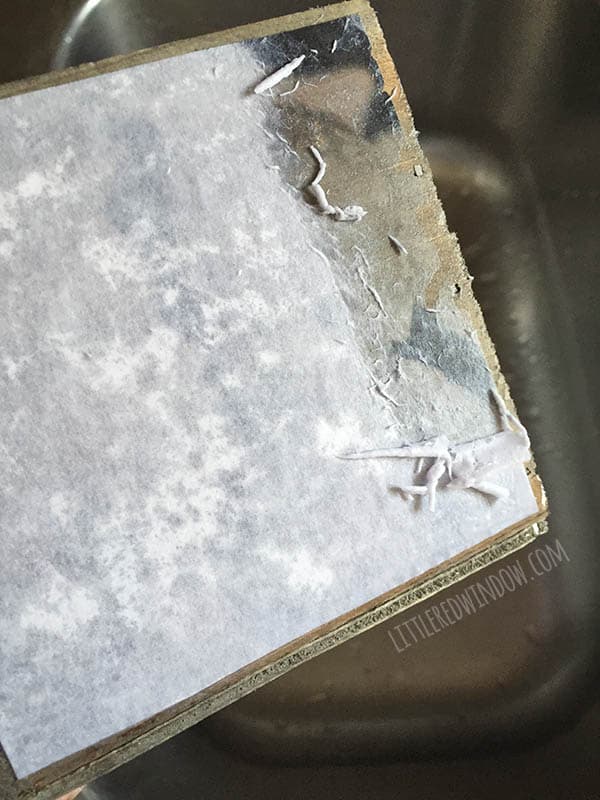
7. Start gently rubbing away the paper with your fingertip. If you rub too hard, you might take of bits of the image, so be careful. Let dry and repeat until all the white fuzzy paper bits are gone. It took me about 3 cycles of wet, rub, dry to get my images to look nice and clear.
8. Then coat each image with another coat of matte mod podge to protect it.
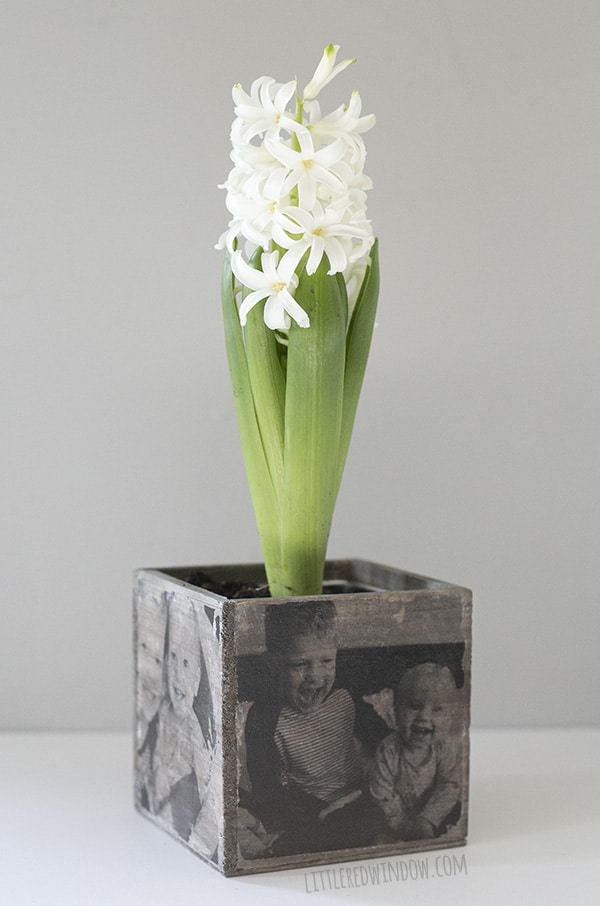
9. Finally, plant your plant in the planter. I got this delicious smelling little hyacinth at Trader Joe’s!
As I said, when you use matte mod podge for photo transfers, you will see the background material, in this case, wood grain, through the image. If you’d prefer an opaque image transfer, use transfer medium. In that case, the white parts will actually stay white and you won’t see the wood through the photo.
If you liked this, you may also like some of my other posts…
- 10 Tips for Organizing Your Craft Supplies On a Budget - April 25, 2024
- Rib Zag Hat Knitting Pattern - April 23, 2024
- Double Stockinette Stitch Knitting Pattern: Easy How To for Beginners - April 18, 2024


martha garcia says
Hi
Do I use the same matte mod podge for sealer? and when I remove the residue from the picture once it dries do pull it off or roll it off carefully with my finger.
Brook says
I loved this project! I followed the directions and it came out great. I did realize that I missed a few bubbles, so I have a few spots that came off, but it just adds to that rustic look, so it’s no big deal. Advice for others is to make sure all bubbles are smoothed out and be GENTLE and patient when rubbing the paper off! I did 5 boxes, so I got a little impatient and took a few spots off too hard. Thanks for sharing this project, I would have never thought to do this, but it’s a perfect gift for Mother’s Day tomorrow!
Cassie May says
Awesome, this is so great to hear!!
Berta Johnson says
About to try it for our Sunday school class for Mother’s Day and wanted to know after I Put the Modge podge on front of picture do I put that side on the planter, as in picture side facing planter? Thanks in advance for answering question. I am excited to see how they come out.
Cassie May says
Yes, picture side facing planter! And make SURE it’s the right kind of printer as specified in the post otherwise it won’t work! 😊
Netra says
Loving this idea … trying it now when placing the pictures on the box do I place the photo side onto the box? Or the back side of the photo? Hope you understand what I’m trying to say lol
Briana says
Thank you for this tutorial! Great Mothers Day gifts for my Mom and Mom in law. I couldn’t find wood planter boxes so I used concrete ones and it worked GREAT! I loved rubbing off the paper it was like magic.
Krystal says
Hello! Making this for Mother’s Day! Such a cute idea. How long did you let it dry? Before you wet it again. Thank you!
Cassie May says
I think overnight is probably a good idea!
Tiffany says
My photos transferred a little dark. Is there something I can do to make them a little lighter?
Cassie May says
hm, I can’t really think of anything you can do after the fact to make them lighter. If you’re going to try again, you can lighten the photo before you print it in some photo editing software like photoshop or Canva or something. I have found though, that it’s the dark stuff (because that’s where the ink is) that transfers) so if your photo is TOO light, it will be difficult to see anything. Hope that helps!
Hailey says
Being that it is sealed with mod podge, do you think it’d be okay to put it outside?
Cassie May says
I would not put it outside, personally. Maybe in a totally covered porch area or something like that would be ok. But I don’t think Mod Podge is considered fully waterproof, just more like water resistant to very small amounts. 🙂
Hailey says
I am wondering if i should reverse my images. Like you know how a temp. tattoo looks reversed when it’s on paper and then when transferred it comes out right. Should i do that to the photos?
Cassie May says
If it has words or something noticeable, then yes!
Tanya says
So any regular printing paper would be fine for this project?
Cassie May says
yes, any regular paper. You wouldn’t want to use photo paper or anything and cardstock would be harder to get off. The key point is that it must be a laser printer NOT inkjet! 🙂
Emily mullins says
Does this mean you cannot use photos printed from a photoshop (Walgreens) or are those okay?
Cassie May says
No, that wouldn’t work. It needs to be laser printed on regular paper. 🙂
Jamie says
Are your able to seal the planter box to avoid daging the transferred pictures or is that what the second layer of modge podge does? Thanks!
Cassie May says
That’s what the second layer of mod podge does! 🙂
Jaden says
Did you sand your planters before placing the photos on? Thanks.
Cassie May says
A very light sand is a good idea you want a really smooth surface, don’t sand hard enough to remove any stain 🙂
Roxanna says
Thank you for this awesome idea! I’m currently working on this for a father’s day gift but I guess I was a bit impatient with rubbing off the paper and some bits of people’s faces came off :/ do you think I could repeat the first steps on top of what I stuck on there already ? Thanks!
Cassie May says
I have never tried that, I think it might be tricky to get it to line up, but if you give it a whirl, let me know how it goes! 🙂
Sammi H says
Could I use glossy modge podge?
Cassie May says
I haven’t tried it, but it probably would? I’d do a small test first. Glossy mod podge is never my favorite though because you can always see the brush marks in it.
McLean says
Hey! I would like to know where you got your photos printed and what paper was used? I tried this with a regular photo from walgreens and it did not work. Any help is super appreciated!
Cassie May says
Yes, as explained in the tutorial, they have to be printed on regular paper from a laser printer. So like office depot, kinkos etc.