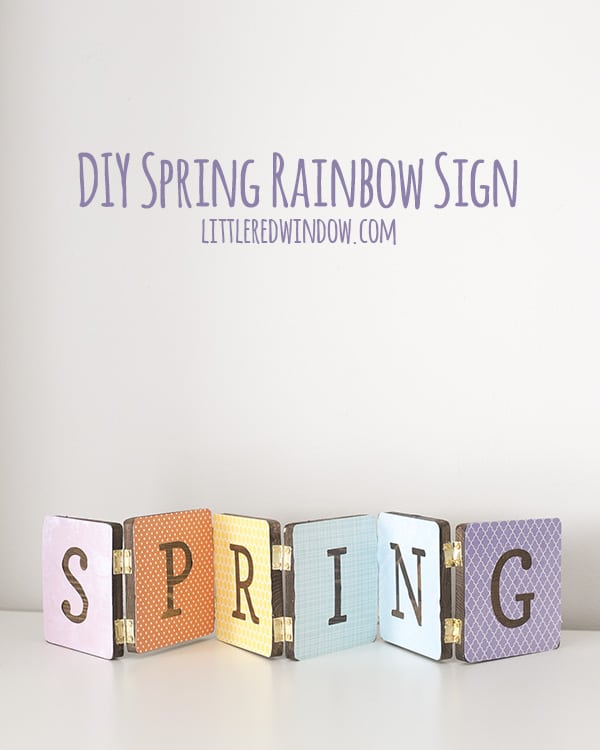
Make a cheerful hinged wooden Spring Rainbow Wood Sign to celebrate the changing seasons!
Well, you guys, let’s file this project in the that-took-longer-than-I-thought-it-would category. But that was mostly because, I bought the tiny little hinges for this Spring Rainbow Sign but they didn’t come with any screws. No big deal, we happen to live absurdly close to a hardware store. So I sent Aa over and he grabbed some. But they only had regular slotted head screws, no phillips heads. And seriously, slotted head screws are just a pain. I think they doubled the length of time this took. So definitely do make this adorably fun Spring Rainbow Sign project, but get better screws. Please. Aside from that, here’s how you can make your own Spring Rainbow Sign.
DIY Spring Rainbow Sign
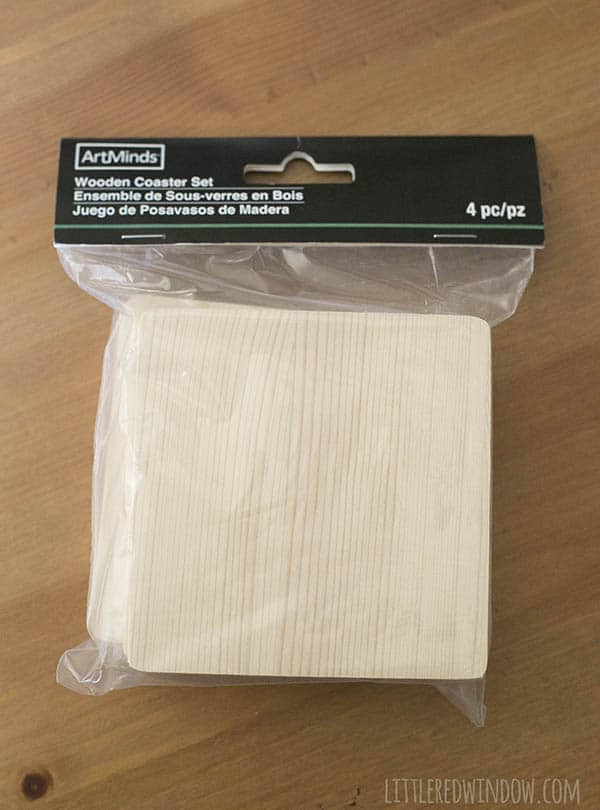
6 – 4″ x “4” x 1/2″ square wood coasters
Drill and screwdriver
Scrapbook paper in rainbow colors
Silhouette cutting machine or similar (optional)
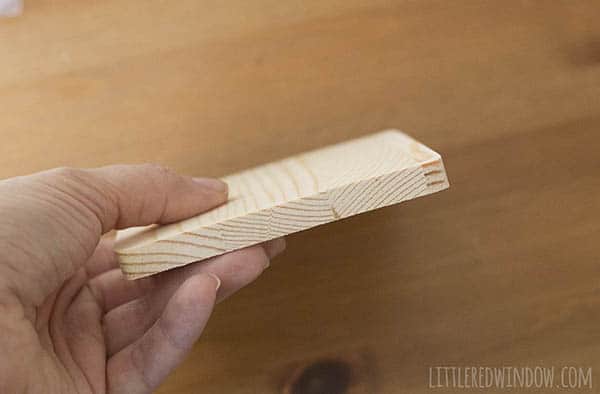
Note: I picked up these coasters at Michaels, they’re half an inch thick and seem to be about 4″ x 4″. You need them to be that thick to attach the hinges so if you can’t find something like that, you could cut some wood yourself.
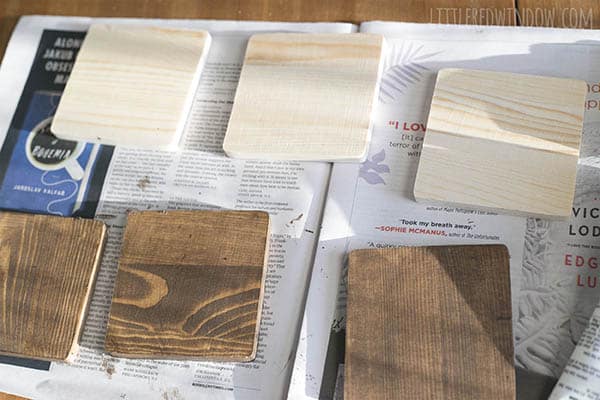
1 . The first thing I did was give my coasters a light sanding and then apply a coat of this awesome water based stain in the walnut color . It’s the best for projects you have to do inside because it isn’t stinky at all and it’s really easy to cleanup. One coat and a wipe with paper towels was plenty for me.
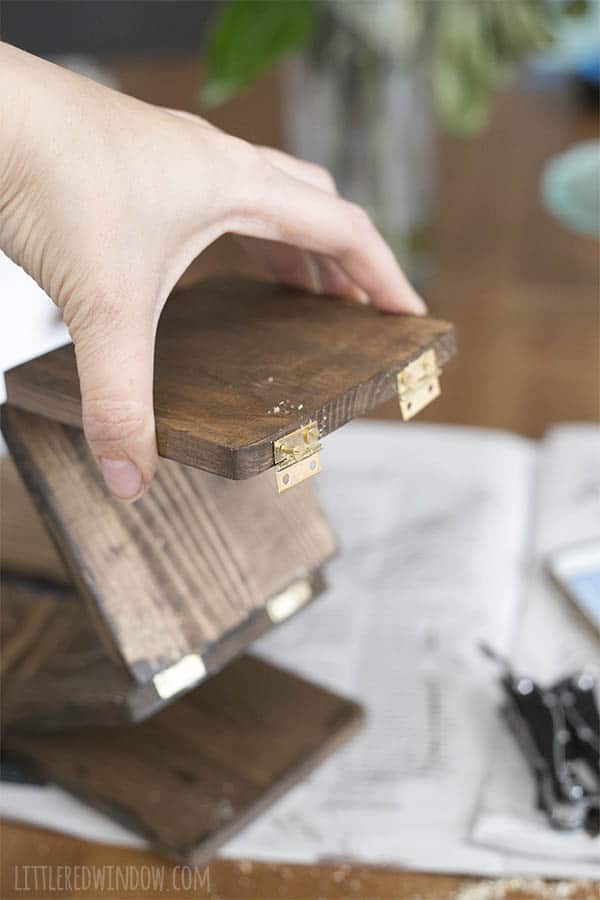
2. When the stain was dry, I installed the hinges. First I measured and marked where the hinges would go and drilled small pilot holes for the screws. Then I screwed them in. You have to alternate the direction of the hinges between each set of coasters so that the sign will fold like an accordion.
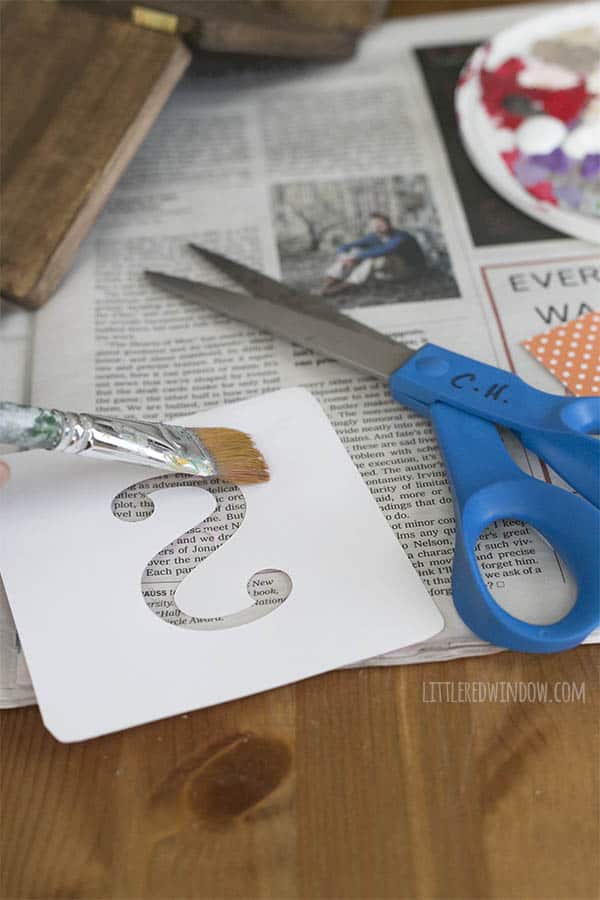
3. (You could do this step before you add the hinges, up to you.) I measure the coasters and then drew a square the same size in my Silhouette Studio software with a letter in the middle. I cut that first letter out of pink paper and then proceeded on with the rest of the letters and colors.
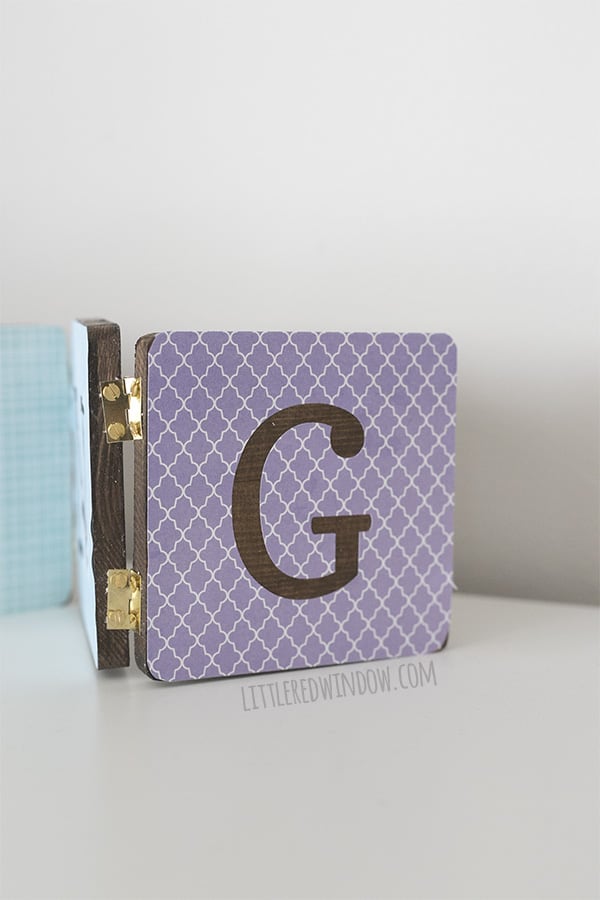
4. Once all the letters were cut out, I applied them to the wood coasters with matte mod podge. When that’s dry you can add another coat on top to protect them if you want.
And that’s it, enjoy your cute Spring Rainbow Art! It even folds up nicely when you’re ready to store it away for next year!
If you liked this, you may also like some of my other posts…
- 10 Tips for Organizing Your Craft Supplies On a Budget - April 25, 2024
- Rib Zag Hat Knitting Pattern - April 23, 2024
- Double Stockinette Stitch Knitting Pattern: Easy How To for Beginners - April 18, 2024



Leave a Reply