Make your own record clock from an old LP!

A couple weekends ago, we completely rearranged/re-did our basement playroom (aka “the man cave”) This room still has a long way to go since we ripped out the carpet before we moved in but then didn’t have time to do anything besides paint the concrete. We have area rugs and the room is otherwise finished with drywall and trim and everything, but it still needs some work. But until we tackle the floor (ugh)it’s definitely looking sooo much better. When we first moved in, we pretty much dumped any furniture that we didn’t know what to do with down there plus most of O’s toys and it was just a mess. So this weekend, we floated the couch in the middle and basically turned it into two rooms. One half play area, one half stereo, tv & family room area. We put the tv up on the wall, got some new shelving and AA took the time to keep the cords organized when he re-hooked up his stereo and record player and speakers. And then, once we finally got everything in place, I took a big pile of frames I had sitting around and hung them up. Granted they still have the IKEA labels inside, but at least they’re up, right? Something about having frames on the wall instantly made it look so much more like an actual room.
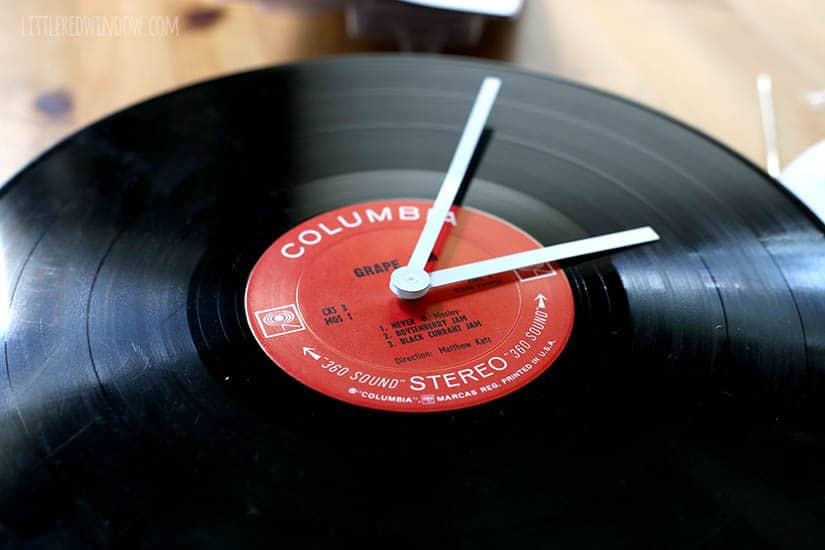
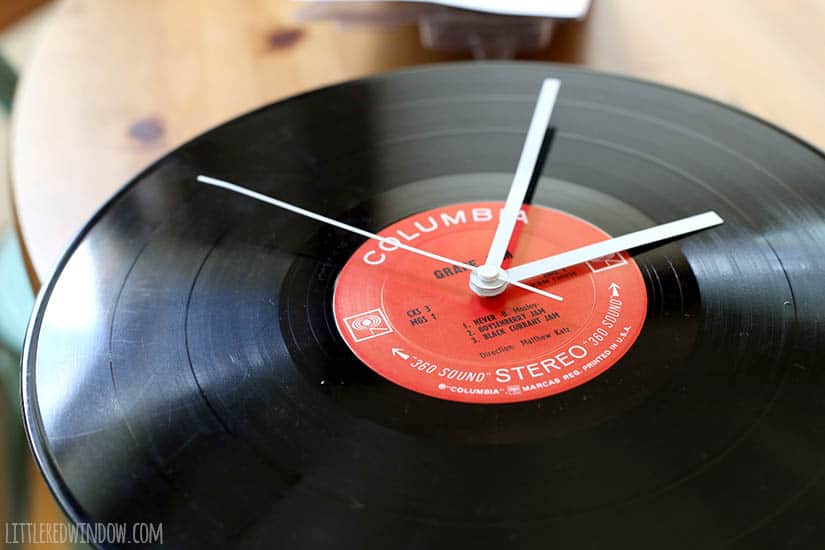
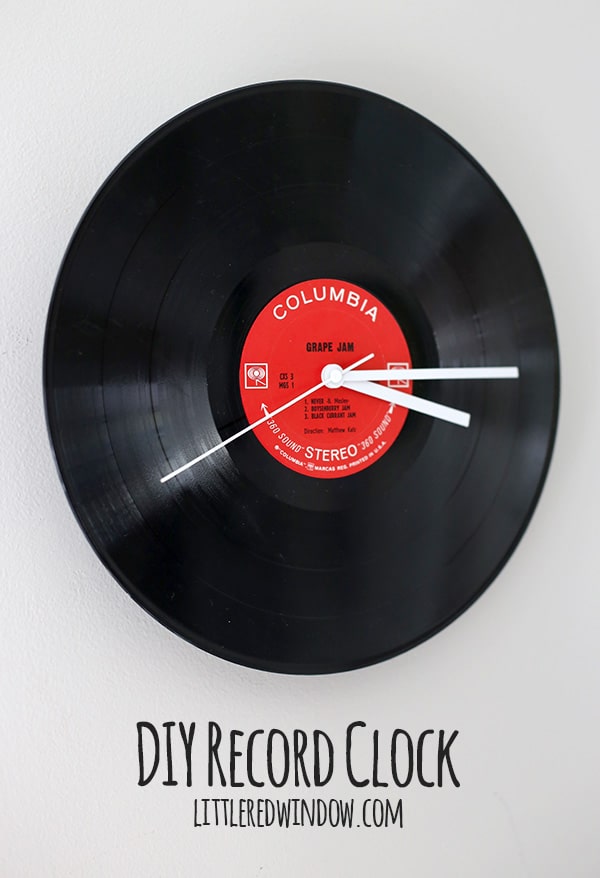
Anyway, the one thing we were missing down there was a clock. So I asked AA for an older record he wasn’t going to listen to and put together this super quick Record Clock. It seriously took about 5 minutes and it’s so cute! Here’s how I did it!
DIY Record Clock
Old LP record
Clock kit (this is the one I purchased, read the tutorial for my opinion on it…)
Sawtooth picture hanger (optional)
Scrap of cardboard
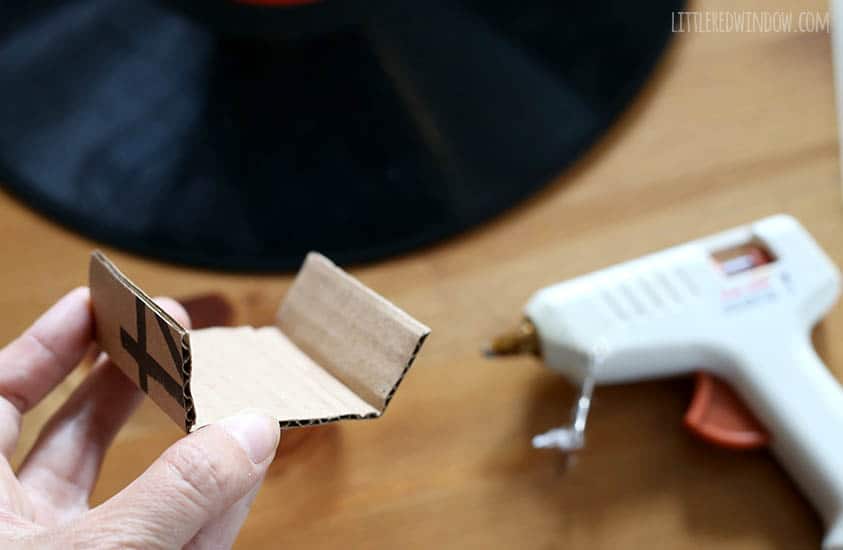
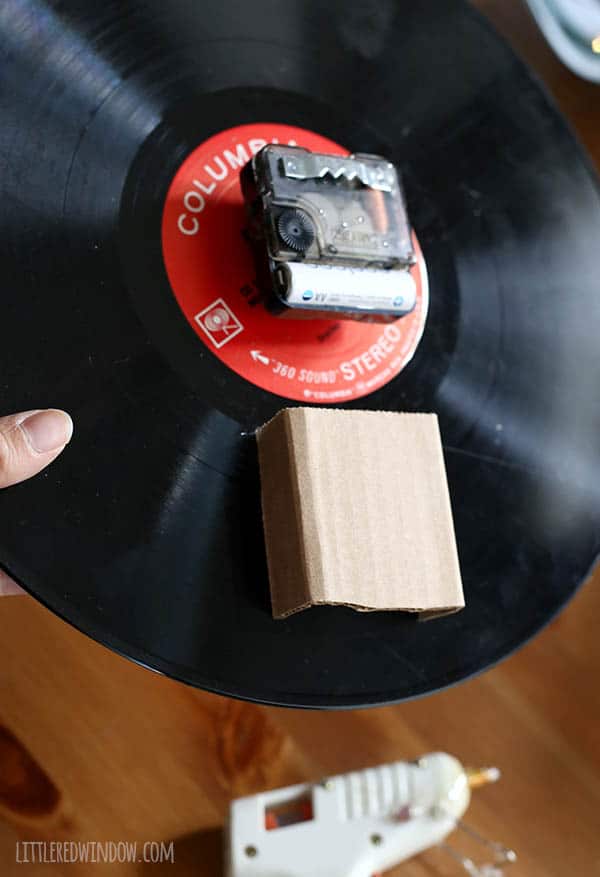
1. My clock kit not have a hanger on the back (some do) so I simply hot glued a sawtooth picture hanger to the back of it.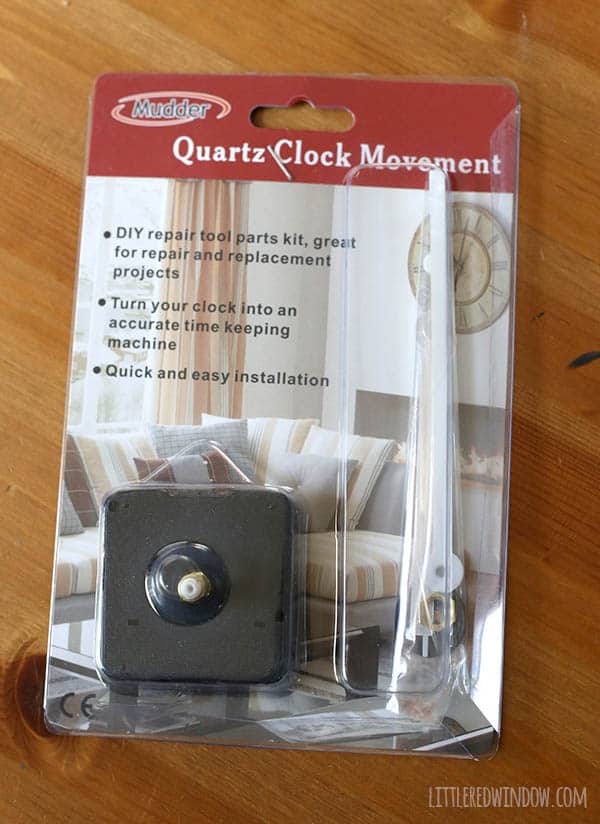
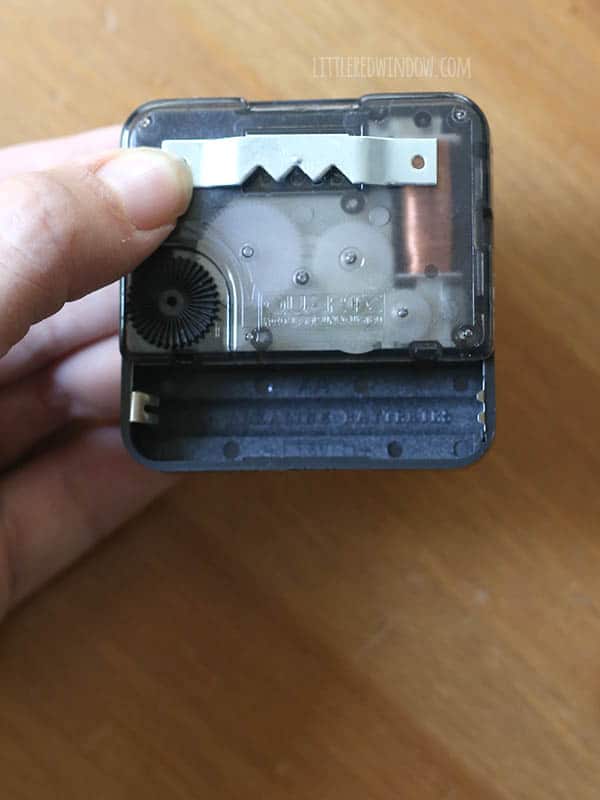
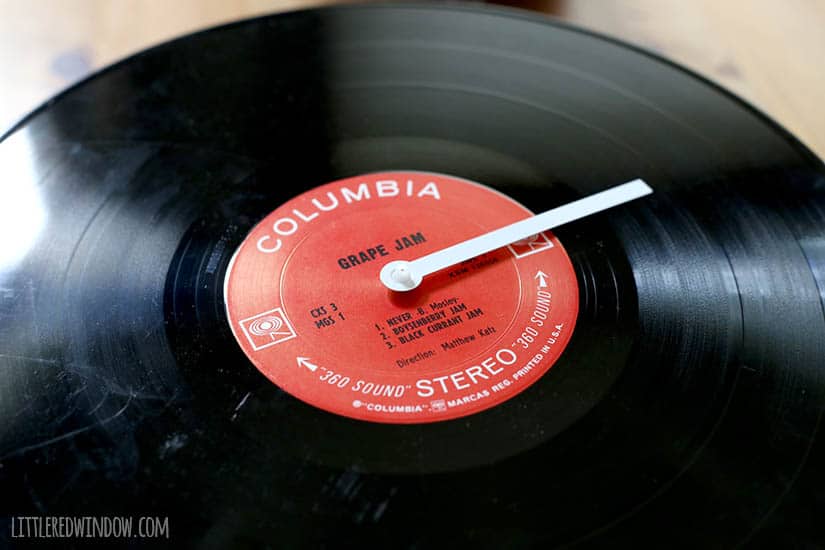
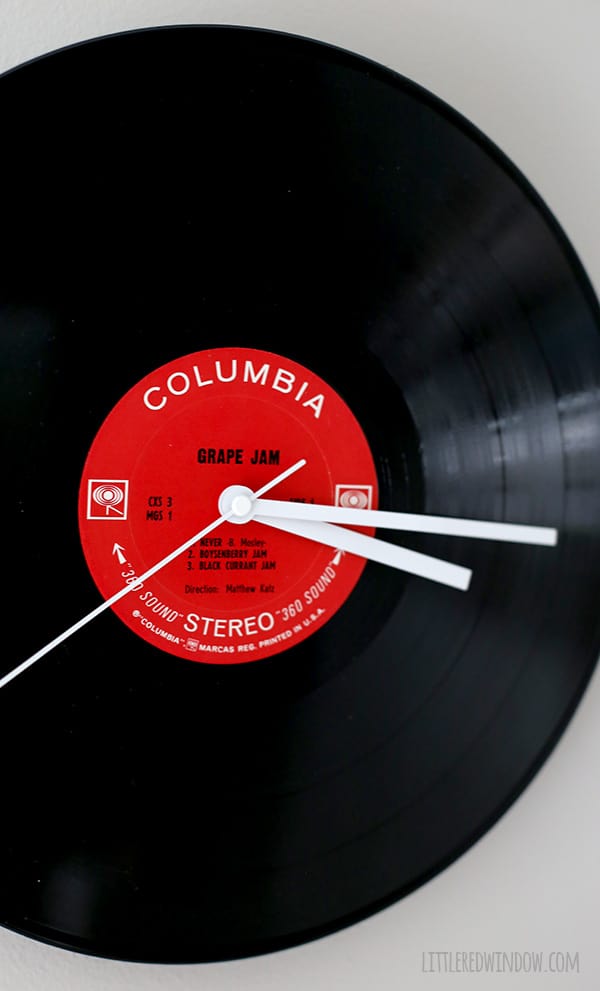
Note: Ok, so the clock kit I purchased just so happened to fit through the hole in the middle of my vintage LP record. But not all the way. I was able to stick part of the threaded part of the clock kit through the center of the record just enough to attach the hands but I did not use the washers and nut that came with it. It was wedged in there really tight. This clock kit also has a pretty long shaft so had it fit all the way through the record, the hands wouldn’t have been in the right place anyway. So I’m not totally comfortable saying this clock kit will for sure fit any record. And if your clock kit doesn’t fit, you could use a drill or a file to make the center hole of the record a little bigger. So proceed with caution.
2. Put the clock kit through the center of the record. Mine wedged in tightly and didn’t require the washers or nut that came with the kit. 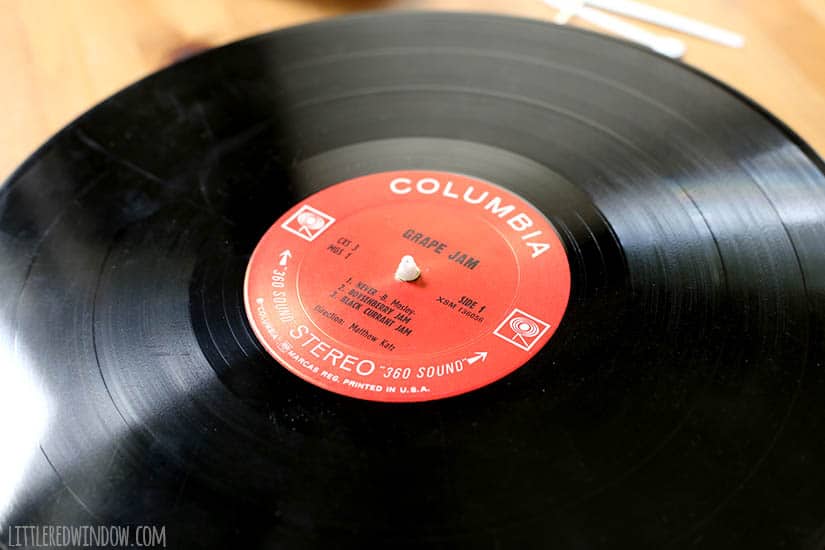
If you liked this, you may also like some of my other posts…


- Pencil Scarf Knitting Pattern - July 7, 2026
- Tri-Color Linen Stitch Hat Knitting Pattern - June 22, 2026
- Yummy Ice Cream Cone Hat Knitting Pattern - June 16, 2026
June says
Great idea ! I’m going to try this on my picture albums !