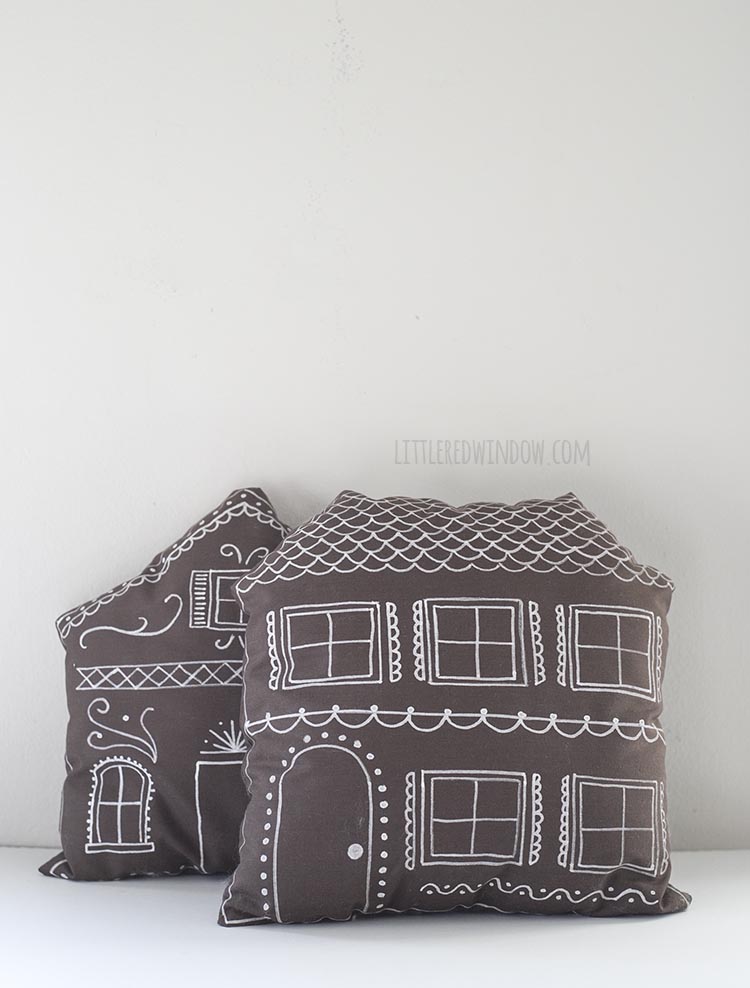
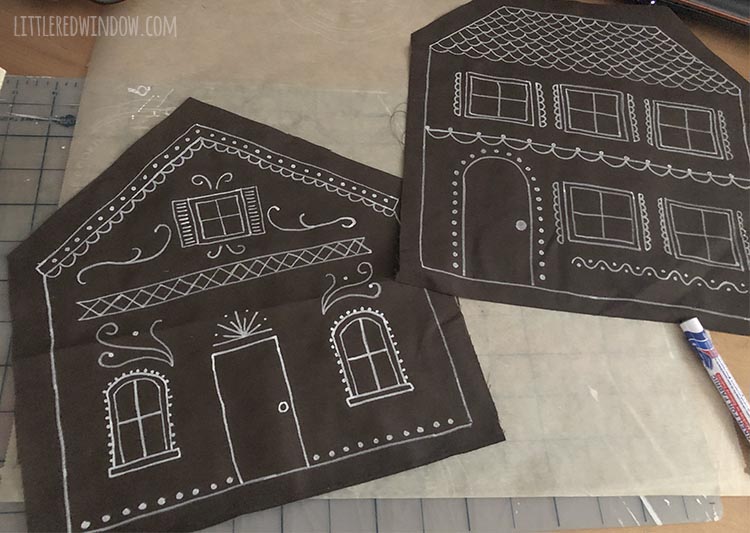
Make these cute DIY gingerbread house pillows complete with “frosting” decoration for Christmas with just a few supplies!
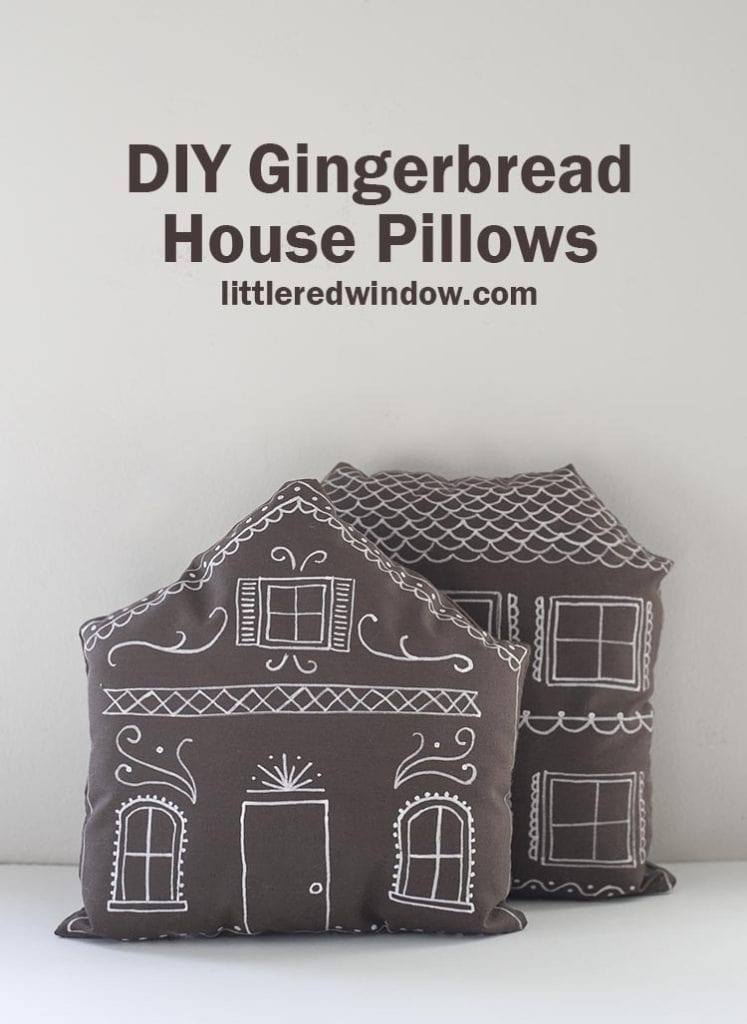
So, did anyone else decorate their house for the holidays early this year? I made these cute gingerbread house pillows before Thanksgiving. I feel like, since everything else is so weird, why not do Christmas early?
Normally I am 100% on the no Christmas until December train, but I gave up this year. I think we all need a little extra joy and magic, you know what I mean.
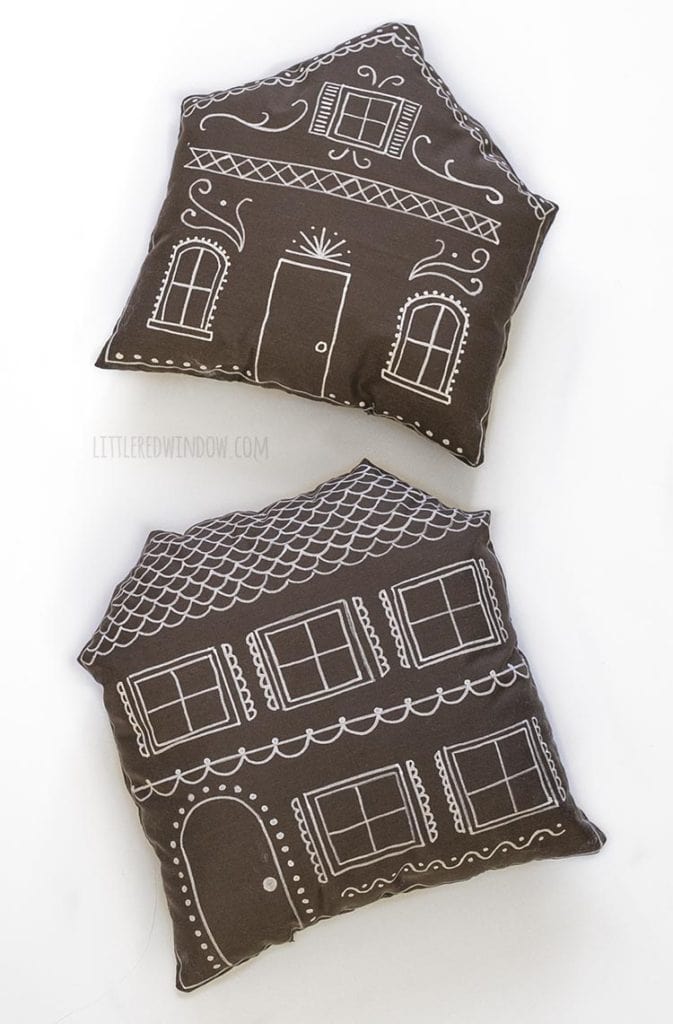
Anyway, these cute pillows can be made with a sewing machine but I actually sewed them by hand because my sewing machine is too noisy to get out while my kids are remote learning, and it really didn’t take very much time. I also enjoy sewing with a needle and thread, to be honest, I find it relaxing. But if you hate it, then do it your own way!
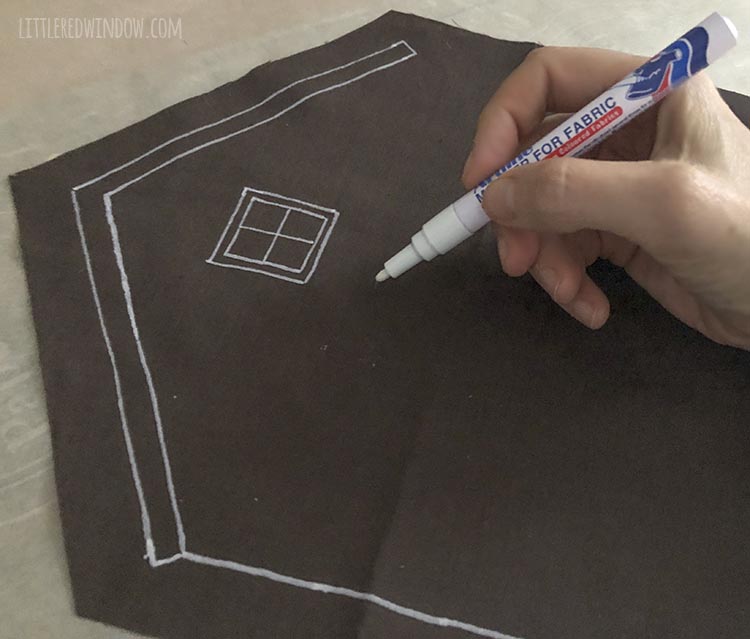
I also accidentally discovered some AWESOME fabric markers. I had really really low expectations when I ordered these. You know how it is ordering craft supplies sight unseen off the internet. I expected them to be watery or run out of ink, turns out they were opaque and amazing and they didn’t even have a strong smell. Total win. I’m assuming they will work best on dark colored fabric.
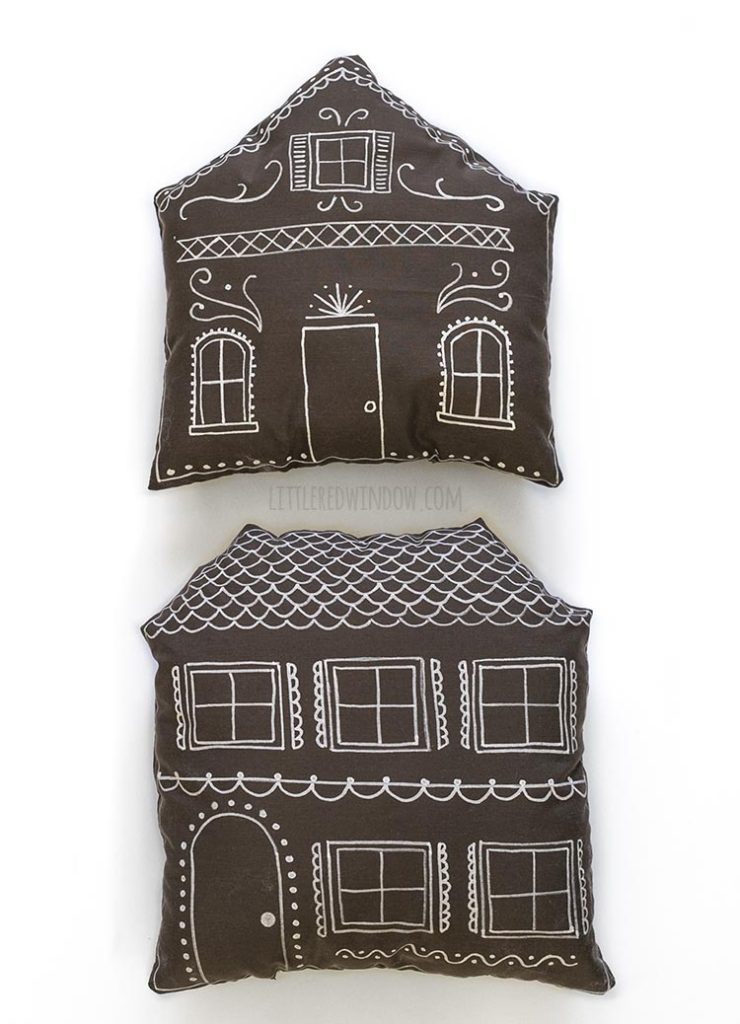
Tips & Tricks for making DIY Gingerbread House Pillows
- Put scrap paper or parchment paper under your fabric when you draw the “frosting”decorations in case it bleeds through.
- Draw left to right (or vice versa if you’re a lefty) to make sure you don’t smear your lines.
- Use a disappearing ink pen, chalk, or some other reversible way of marking to mark the center and any other divisions on the house shapes that will help you keep your designs even.
- If you’re not sure what kinds of decorations to add, google “gingerbread houses” and look at some real ones as inspiration!
Gingerbread House Pillow Supply List
- Gingerbread brown colored cotton fabric
- White fabric paint pen
- Sewing pins
- Sewing machine or needle and thread
- Fiberfill stuffing
Gingerbread House Pillow Instructions
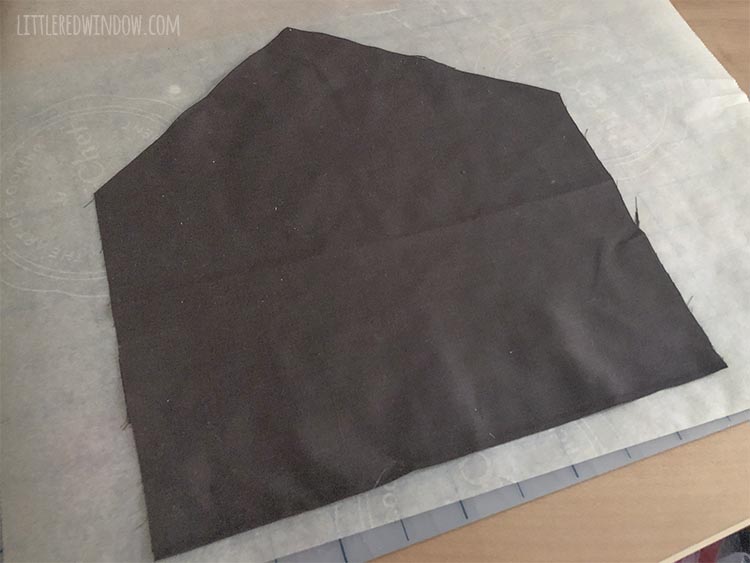
- Lay your fabric out and cut two identical pieces in the shape of a house. You need one for the front and one for the back of the pillow. I made two gingerbread house pillows in two different shapes so I cute a matching front and back for each. My pillows are approximately 12 inches square, but size is completely customizable.
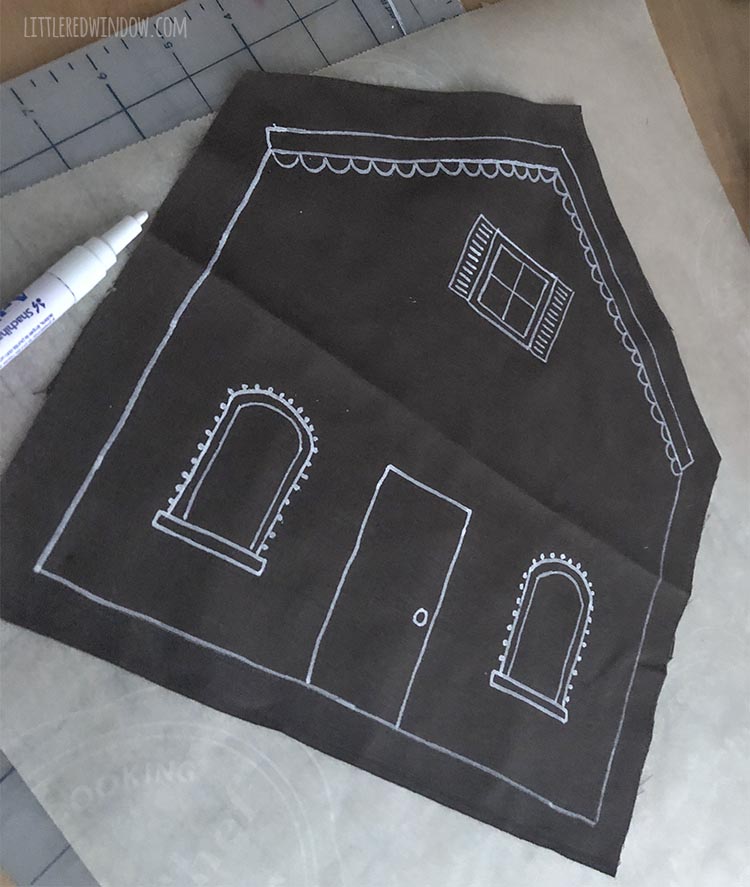
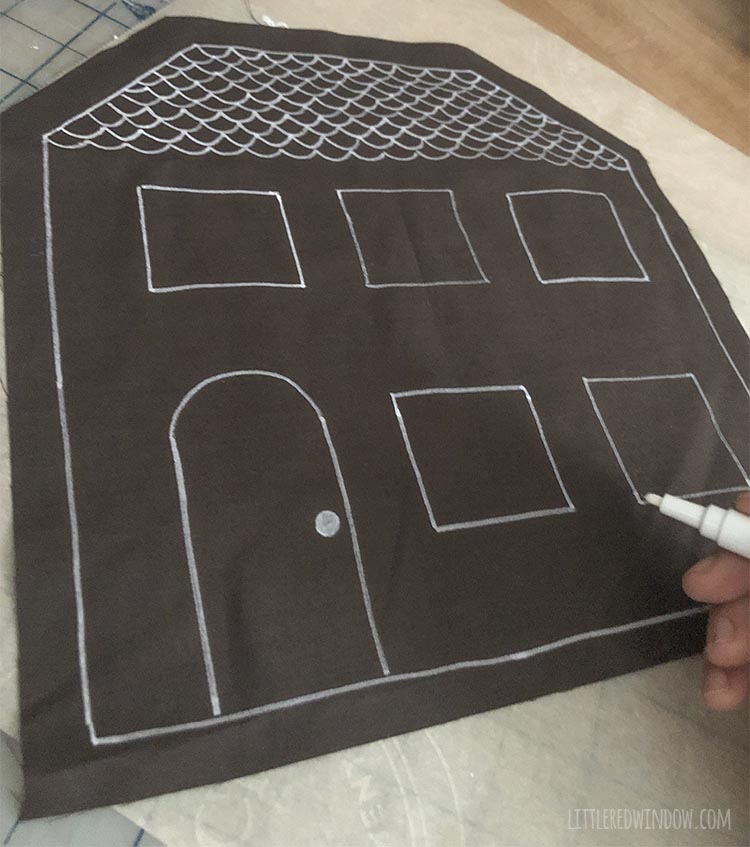
- After you iron your fabric, lay one front piece out on a piece of scrap paper, wax paper, parchment paper or something else to catch any ink that might bleed through the fabric.
- If you want to, you might choose to make some impermanent marks to show where the center lines or other divisions are to help you draw doors and windows evenly. I did my houses completely freehand (I know, it’s totally crazy and risky. I used to be an architect, ok?)
- Be sure to remember that your designs need to stay at least 3/4 inch to an inch away from the edge so they don’t get lost in the seam allowance.
- Add lots of fun “frosting” embellishments to your gingerbread house fronts in addition to the doors and windows. Pretend it’s actual frosting and have fun!
- When the decorations are completely dry, place one house front and one house back with wrong sides together and pin. Sew around the edges with about a half inch (or less) seam. You can use a sewing machine or sew by hand with a needle and thread. Leave a 5 inch opening in the center of the bottom edge so you can turn your house right side out and stuff it.
- Clip the corner and turn your house right side out.
- Stuff your gingerbread house pillows with fiberfill stuffing. I like my pillow stuffing pretty squishy and flat otherwise it was hard to see some of the decorations around the edge of my house.
- Use a needle and matching thread to sew up the opening along the bottom edge to finish your pillow.
If you liked this, you may also like some of my other posts…
- Rib Zag Hat Knitting Pattern - April 23, 2024
- Double Stockinette Stitch Knitting Pattern: Easy How To for Beginners - April 18, 2024
- Fiery Fades Hats Knitting Pattern - April 16, 2024


Leave a Reply