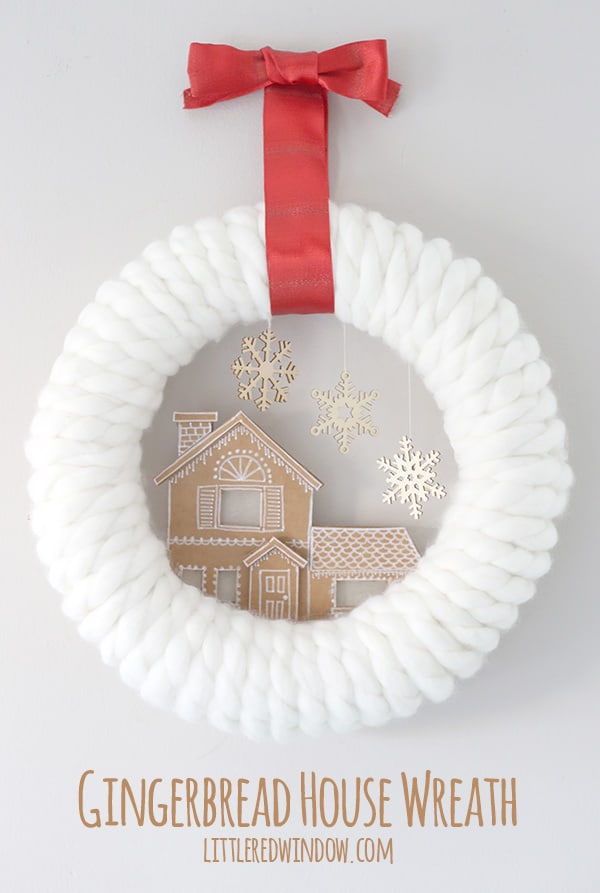
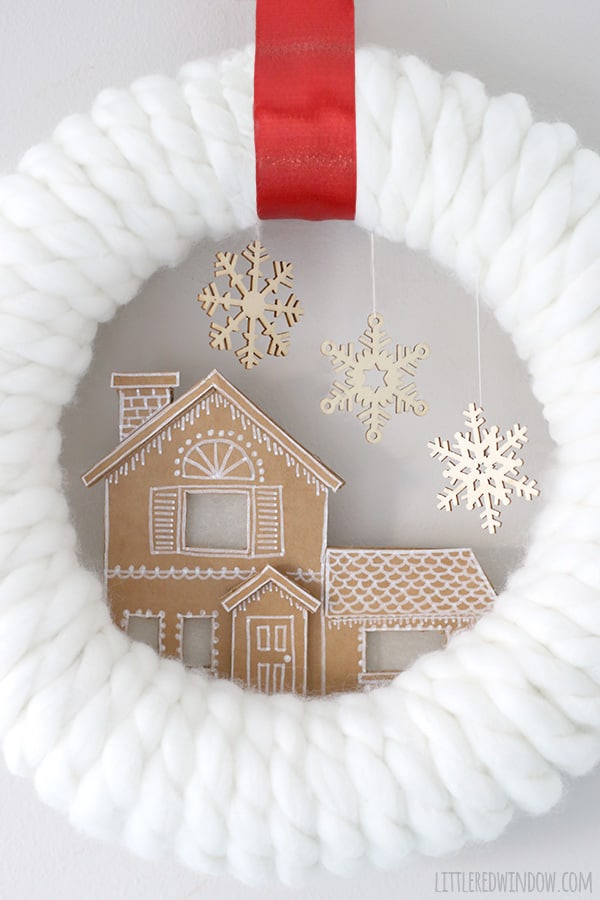
Make this adorable Gingerbread House Wreath using recycled cardboard!
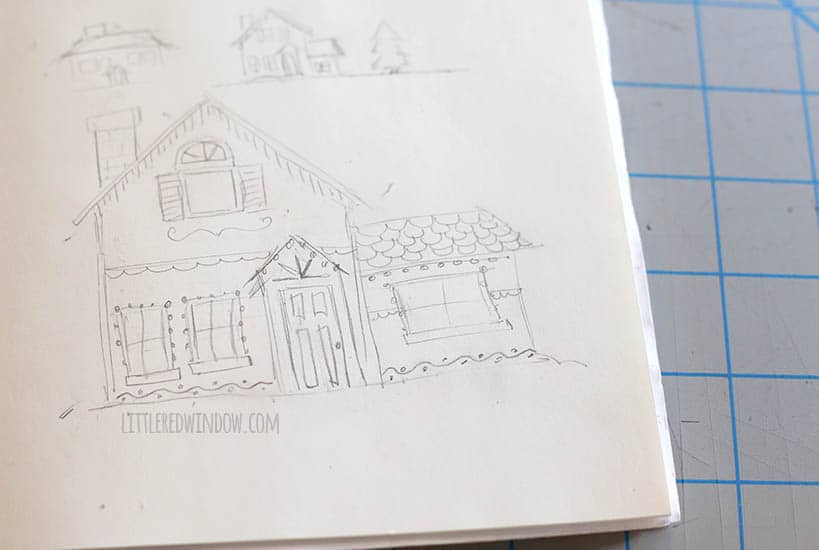
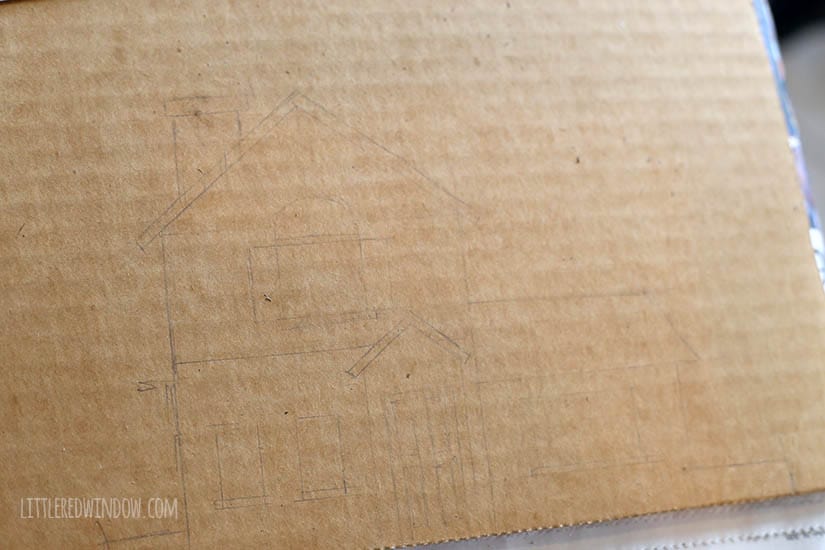
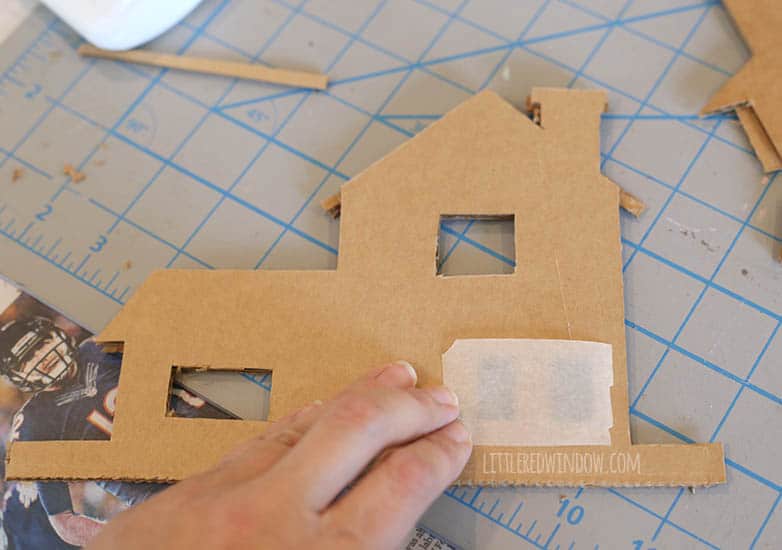
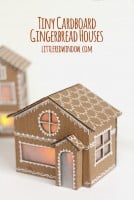
If you’ve been a reader for a while, you might recognize the base of this gingerbread house wreath as one I made last year. I loved it the way it was but then last weekend, when I was working on this adorable cardboard gingerbread house, I knew they just had to go together! What’s cuter than a little gingerbread house sitting in fluffy white snow? Answer? Not much! So I’m going to show you how to make the entire thing. It’s a lot of photos, but really, it’s not that complicated, I promise. And when you’re finished, you’ll have a cute little gingerbread house wreath that won’t go bad or get moldy! Here’s how I did it.
Cardboard Gingerbread House Wreath
Piece of cardboard
Parchment paper, vellum or tracing paper
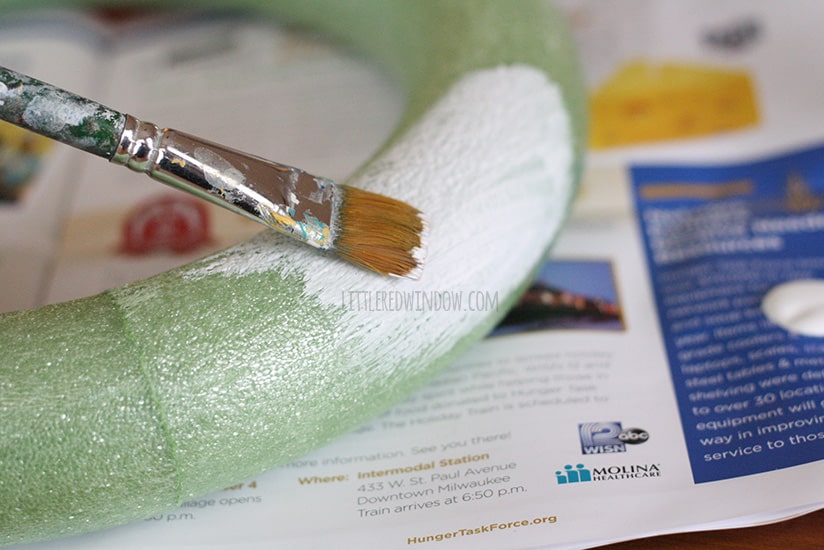
1. The wreath form I used was green so the first thing I did was paint it with a coat of white paint so no green would show between the yarn.
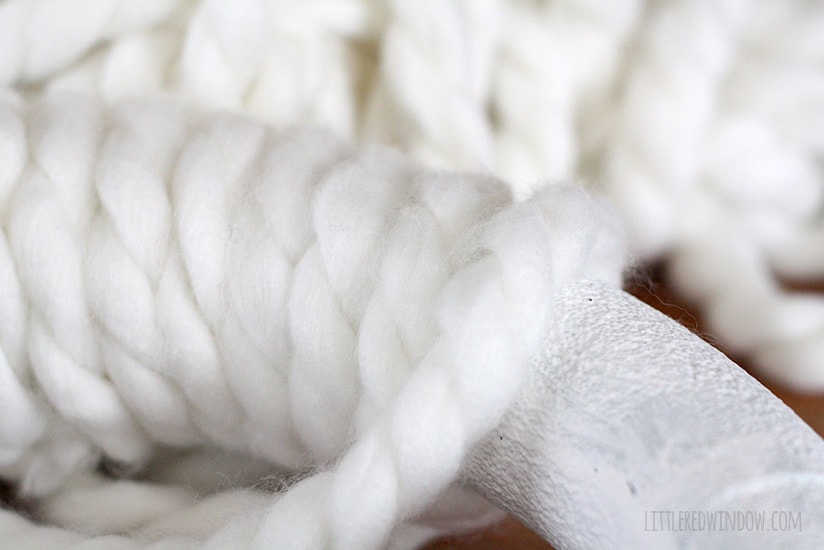
2. When that was dry, I simply wound the super chunky yarn around the wreath form until it was covered. I secured it in the back with hot glue. Every time I wrap something in yarn or string or twine I swear that I will NEVER ever do it again because it takes a million hours longer than I think it will. However, I’m going to amend that statement to say I will never wrap with anything but super chunky yarn because it was quick and easy!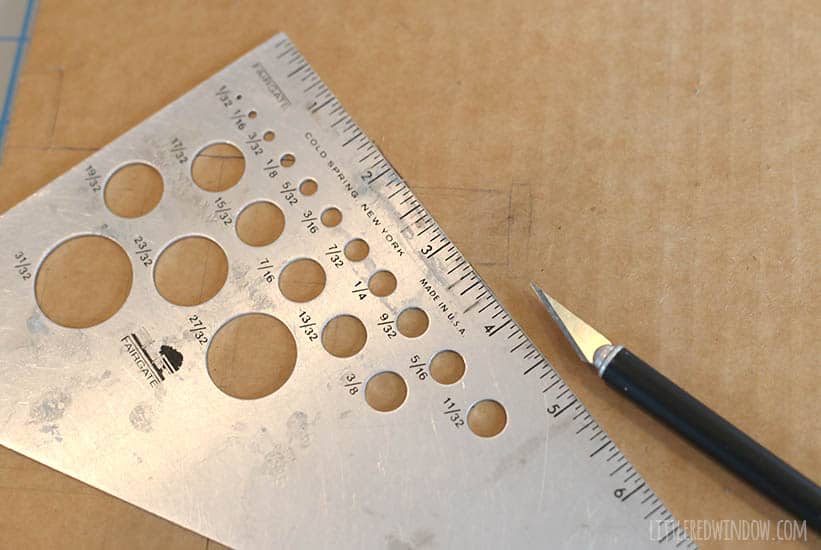
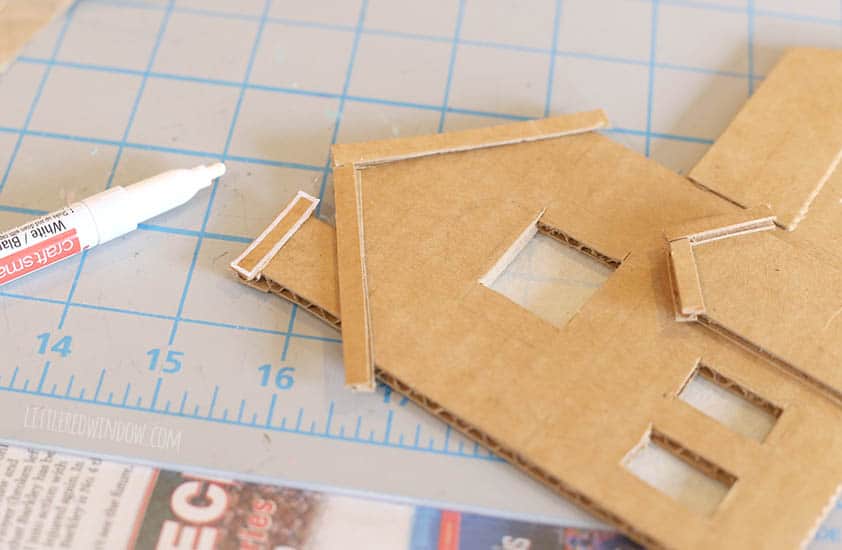
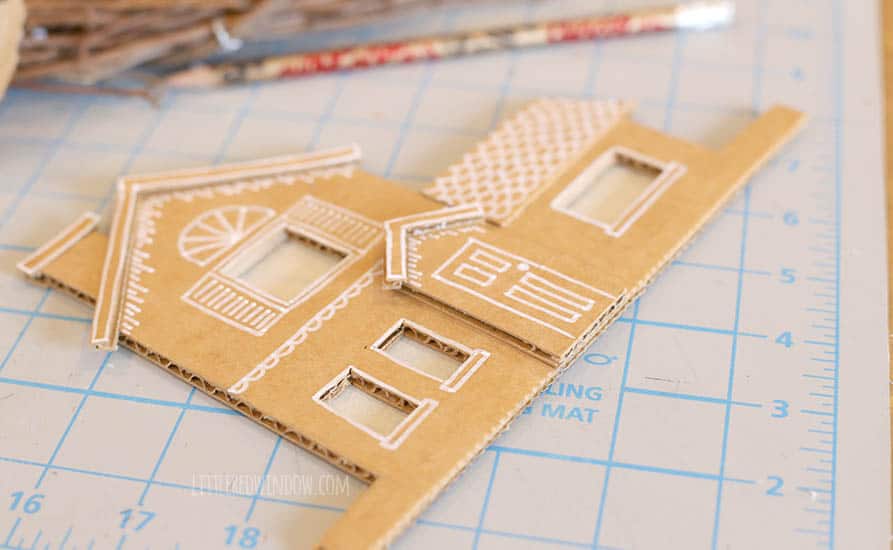
9. Then I took some thread and hung my little wooden snowflakes from the top. You could glue the thread but I actually just threaded the end on a needle, and put a little stitch through the chunky yarn to hold them each one in place. Finally, with the red ribbon, I tied a bow and then glued that to a loop of ribbon and used that to hang the wreath. (Secret tip: that’s much easier that trying to tie a bow using the loop of ribbon itself) And that’s it! An adorable snowy gingerbread house wreath!
If you liked this, you may also like some of my other posts…
- 10 Tips for Organizing Your Craft Supplies On a Budget - April 25, 2024
- Rib Zag Hat Knitting Pattern - April 23, 2024
- Double Stockinette Stitch Knitting Pattern: Easy How To for Beginners - April 18, 2024


Paula says
What an adorable idea! After seeing this, I want to make one for my home.
I just discovered your blog and am so glad that I did. Have a Merry Christmas!
Cassie May says
aww, thank you! And thanks for stopping by, it’s nice to meet you!!
Christine says
Love it! It can be made in a few hours,too!
Ashley ~ 3 Little Greenwoods says
Cassie! I adore this wreath! Wonderful idea to make your own gingerbread house from cardboard!