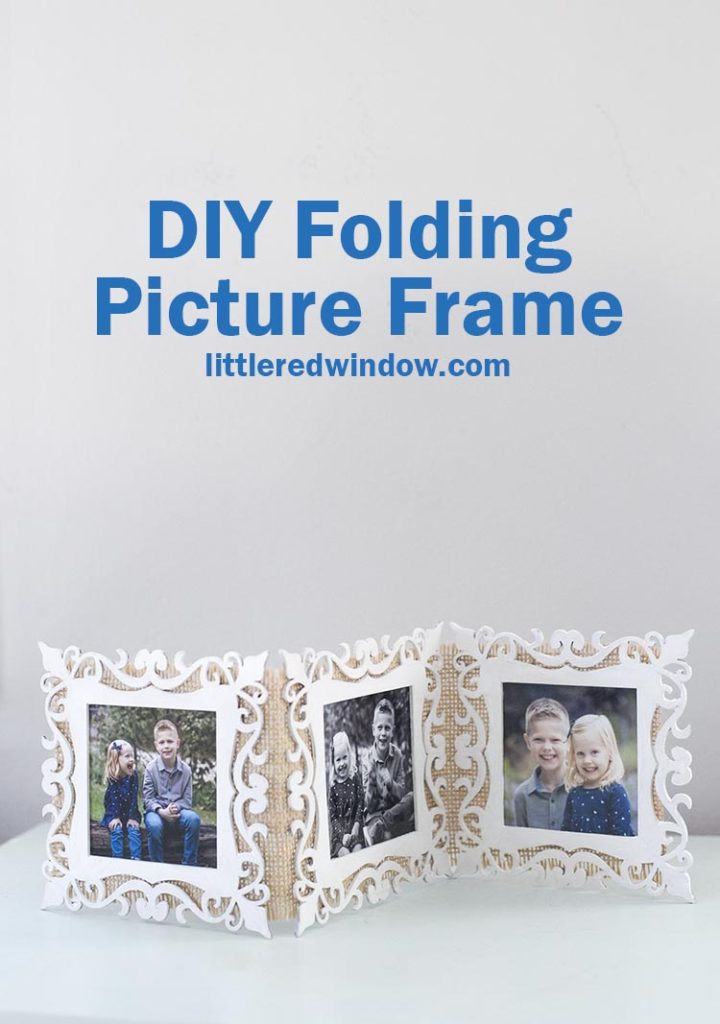
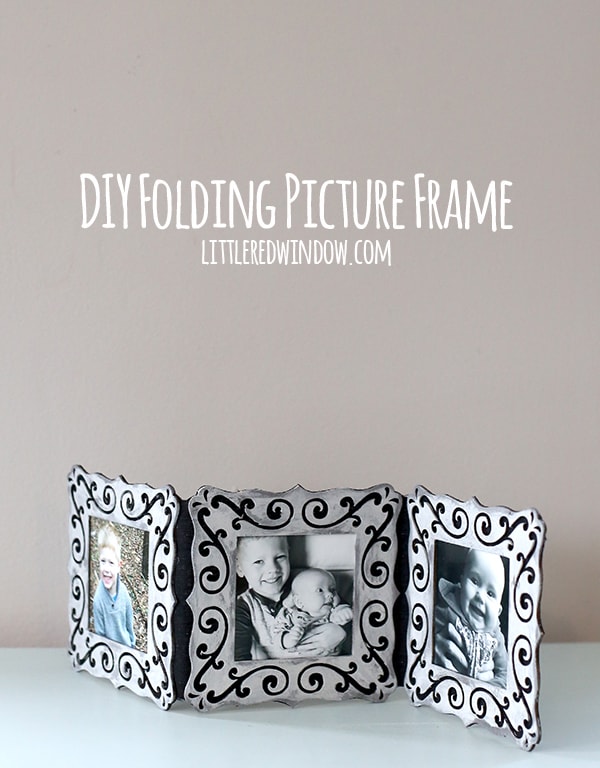
Make a distressed folding picture frame to display your favorite snapshots, this DIY project is quick and easy and makes a great gift!
Do you have a favorite area of the craft store? Mine is definitely, by far, the unfinished wood section. Especially since they added all the adorable laser cut items.
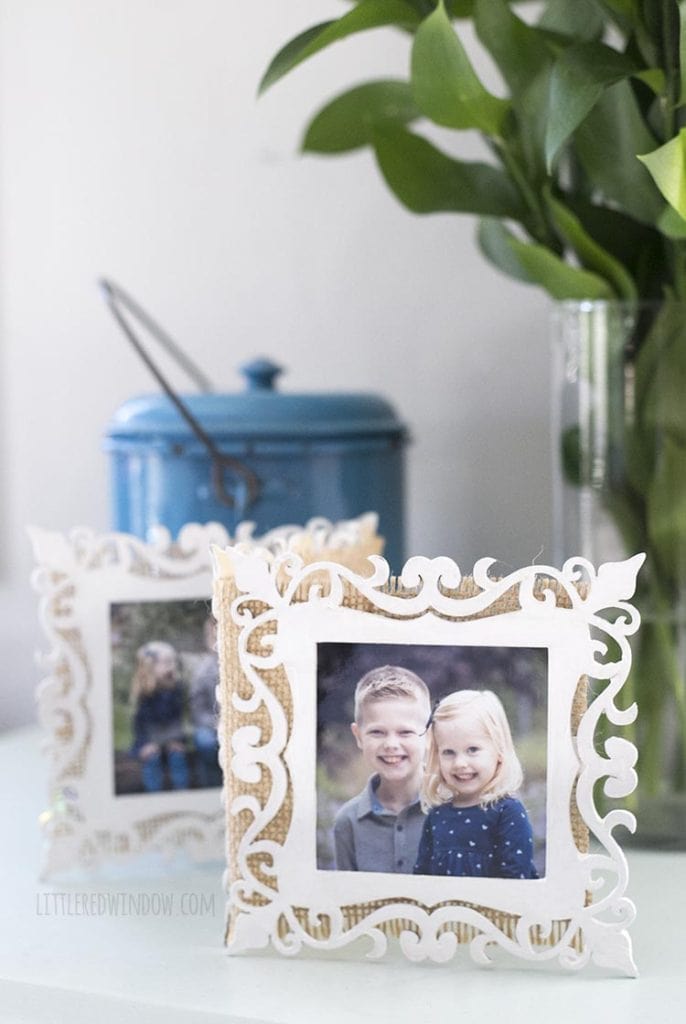
I tend to stand in that aisle and get a little dazzled by all the choices, especially the fancy laser cut picture frames. But then I never buy them because I’m not really sure what to do with them. I mean, besides stick a picture behind them. But then what? Do you stick it to the wall? Glue it to some other surface? I didn’t know!
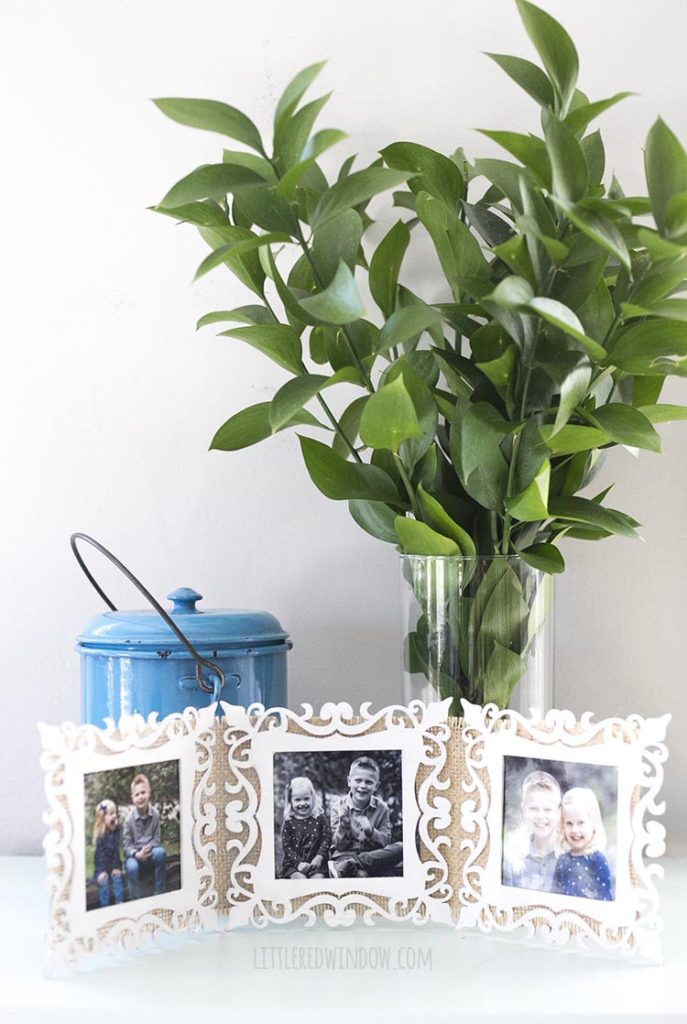
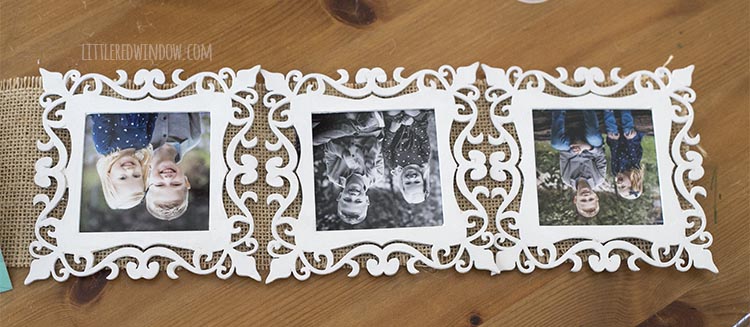
And then I had a brainstorm to combine three of these adorable frames and make my own folding picture frame! And you guys, it worked out so much better than I even hoped.
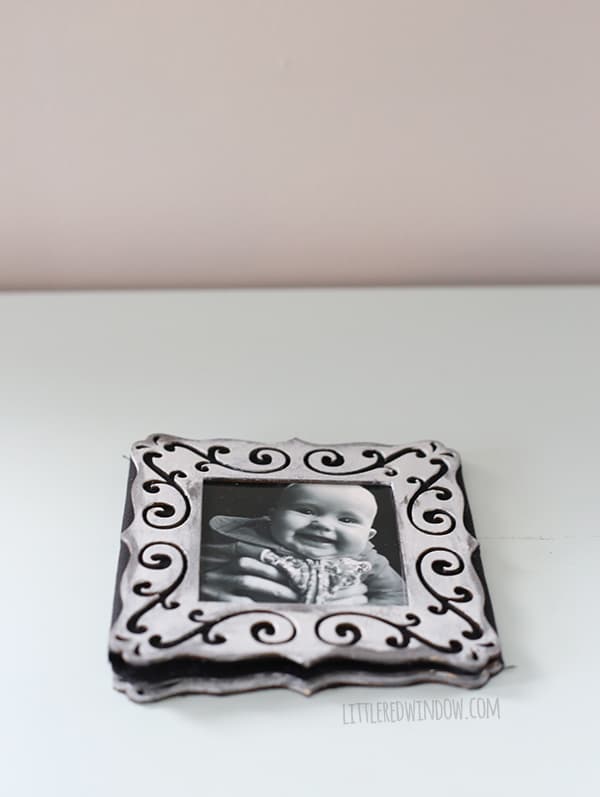
Sometimes I get these crazy ideas and the execution leaves something to be desired. Or I end up having to do it over more than once to get it to work. But this was easy, simple and the end result is sooo cute!
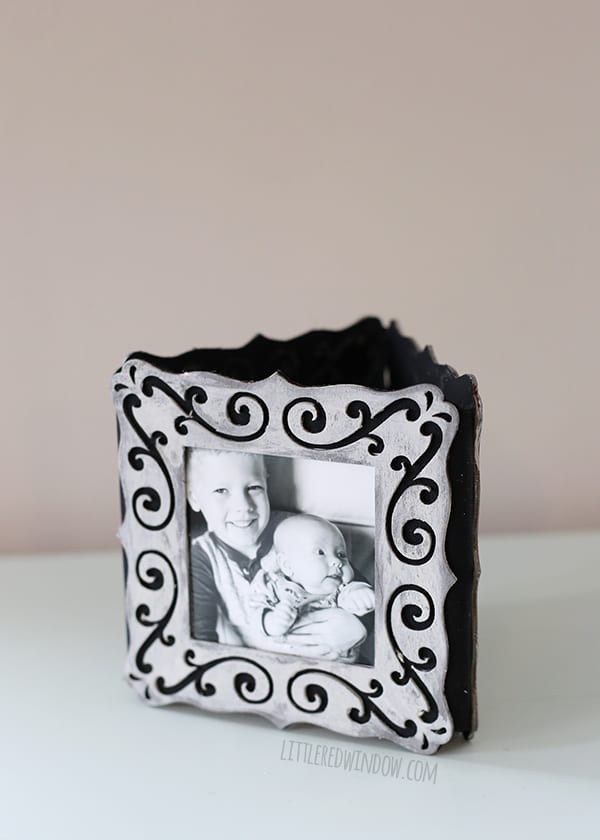
Wouldn’t these make amazing gifts? You could give one to aunts and uncles or grandparents! I might have to do a few assembly line for next Christmas! Anyway, here’s how I made it!
DIY Folding Picture Frame
Supply List
- 3 rectangular laser cut wood frames
- Fat quarter of solid color fabric, home decor weight is best (I used a light weight canvas) or burlap
- Acrylic craft paint in white (for non-distressed frame)
- Acrylic craft paint in charcoal (for distressed frame)
- Chalk paint in light gray (for distressed frame
- Petroleum jelly (for distressed frame)
- Craft glue
- craft knife
Instructions for making a non-distressed folding picture frame
- Lay out your wood frames and paint them a solid color. I chose white.
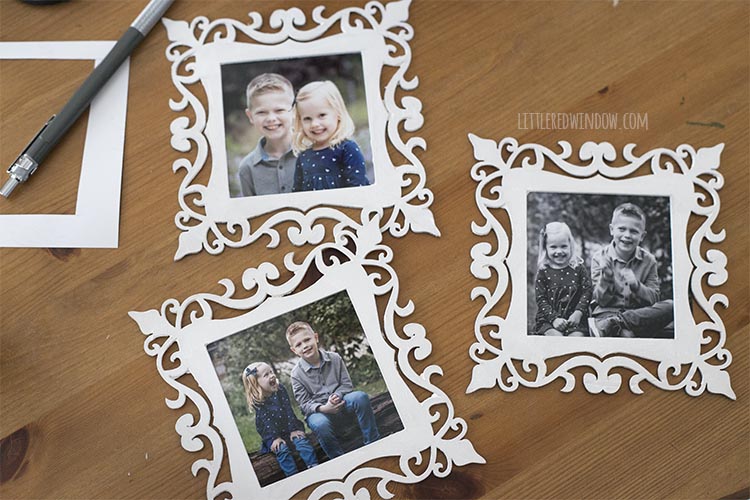
- When the paint is dry use a frame to mark and cut your photos to size.
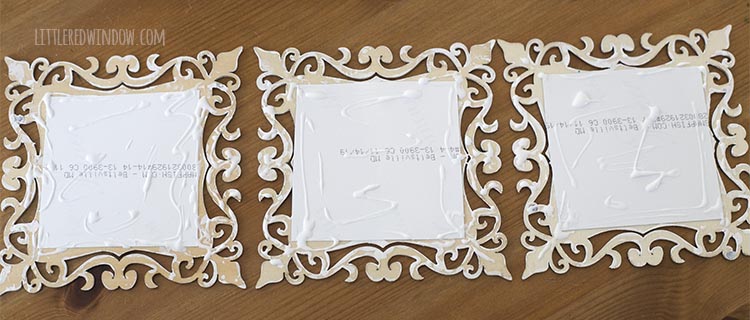
- Glue the photos to the back of each wood frame.
- Lay out all three frames in a line with about 1/8 inch of space in between and measure & cut how much fabric or burlap you will need.
- Flip the frames over keeping them lined up and put glue on the back sides
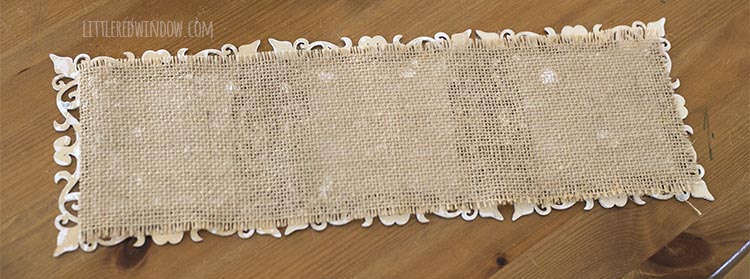
- Glue your fabric/burlap across the back of all three frames
Instructions for making a distressed folding picture frame
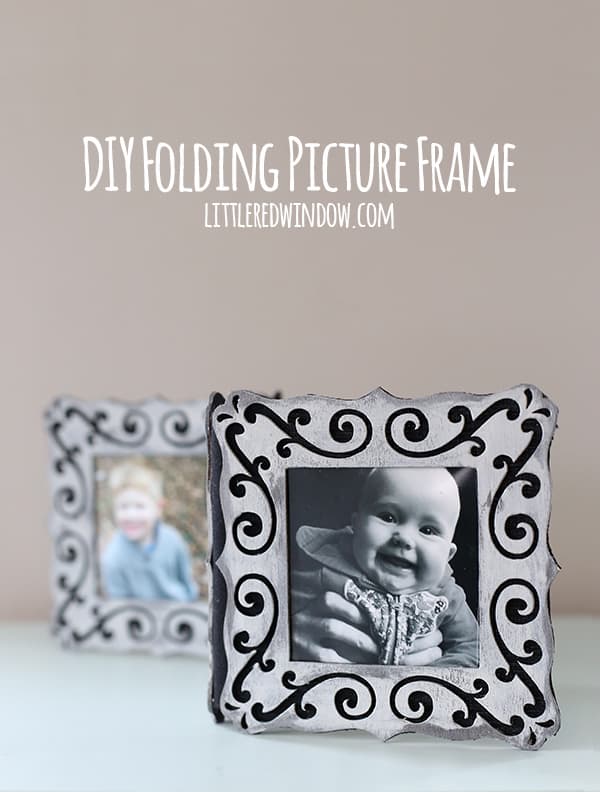
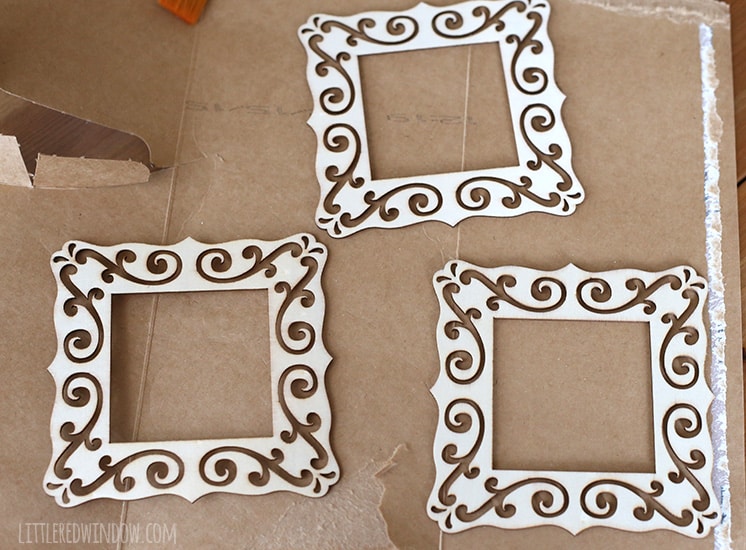
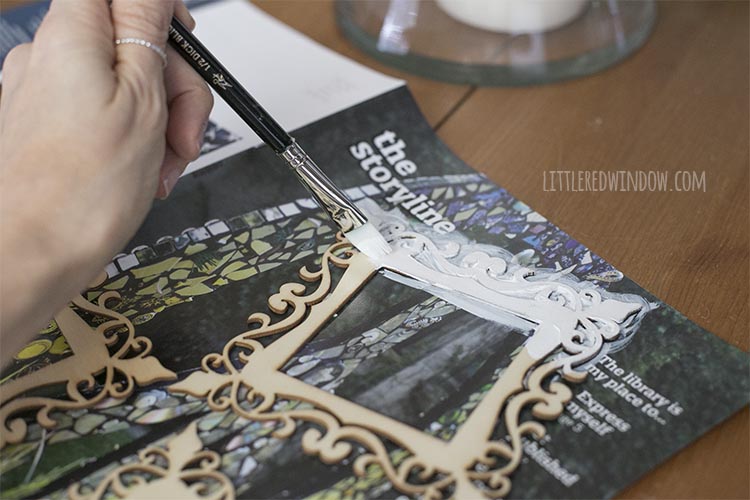
1. First I laid out my frames and gave them a coat of charcoal acrylic paint. Mine was a little bit metallic but it doesn’t have to be.
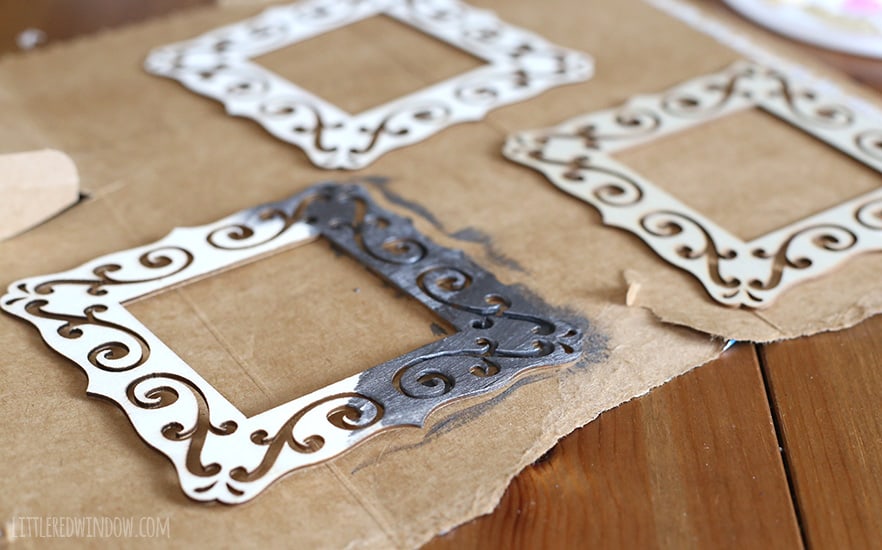
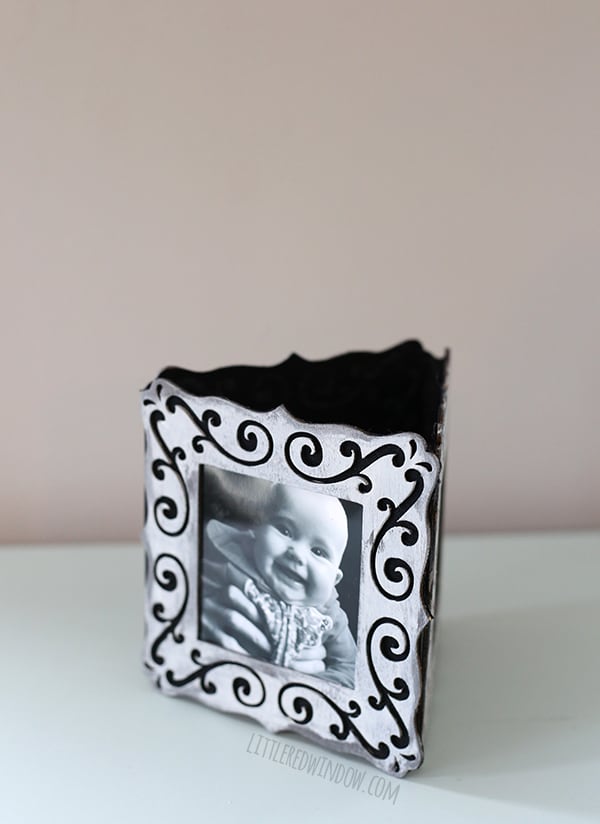
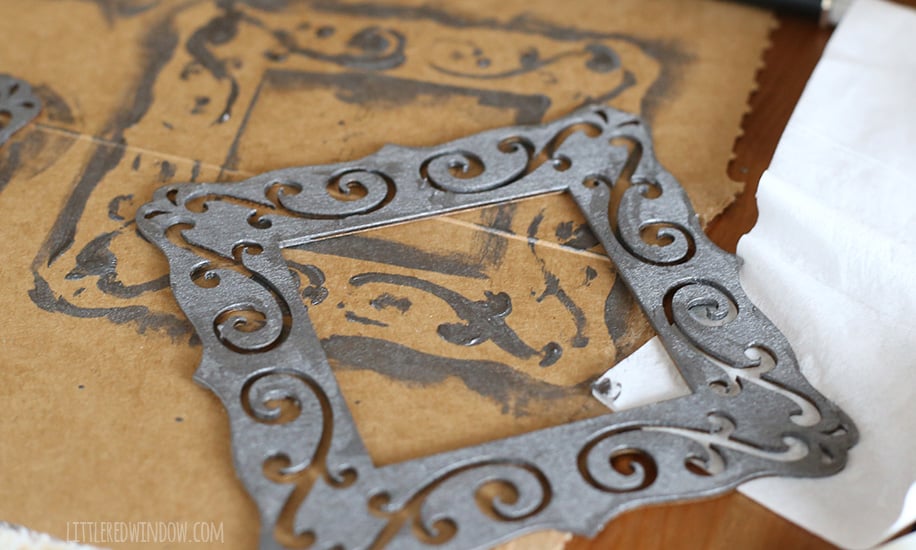
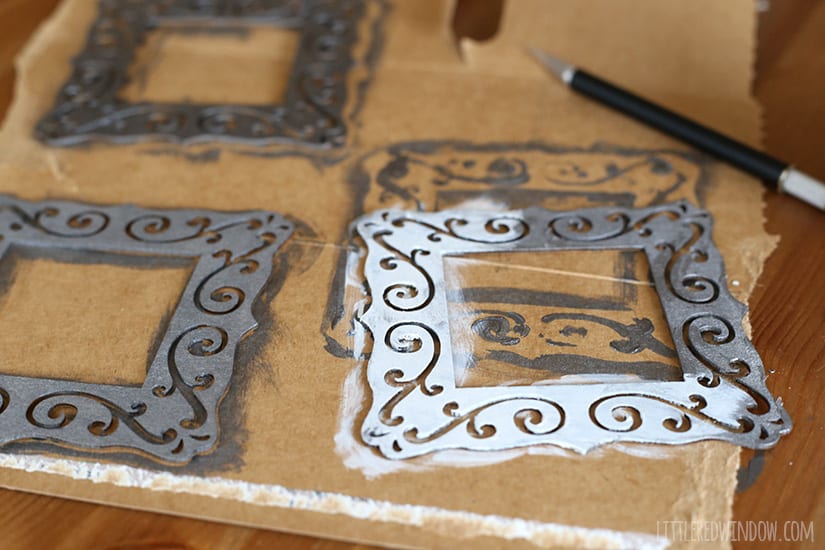
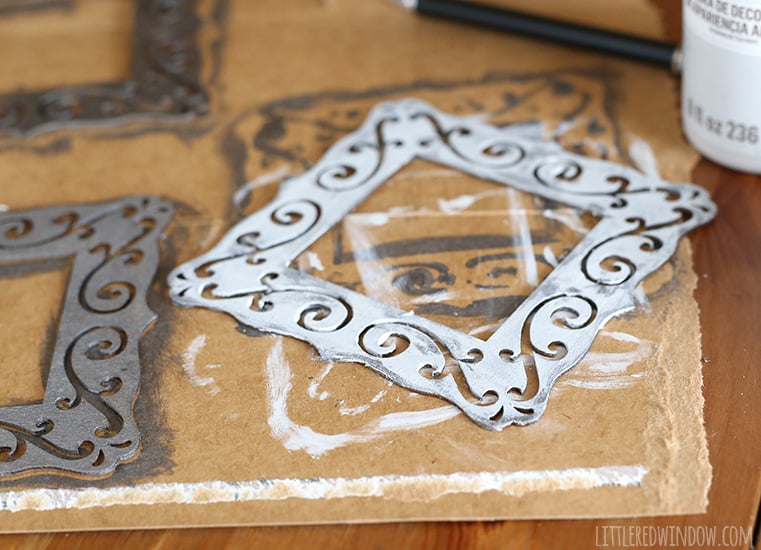
2. I had seen some pins on pinterest about getting a distressed finish with petroleum jelly and wanted to try it. Go ahead, google it. I know, it sounds super weird. I didn’t follow anyone’s tutorial just wiped some vaseline along the edges and corners with a tissue and then painted right on top with my light colored chalk paint.
Then I wiped off the excess white paint while itstill a little damp. The paint doesn’t stick to the parts with vaseline on them and that’s what creates the distressing. That seemed to work for me!
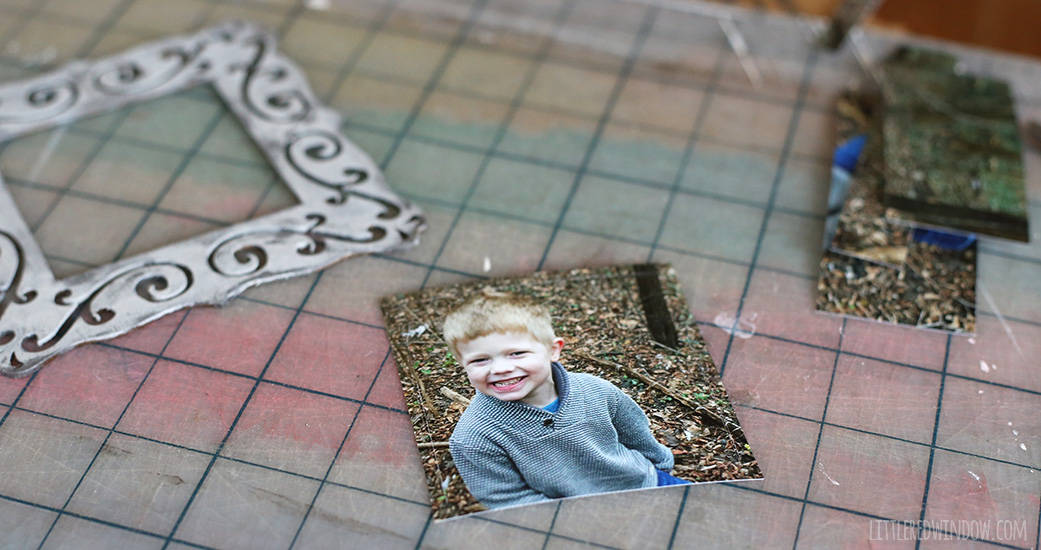
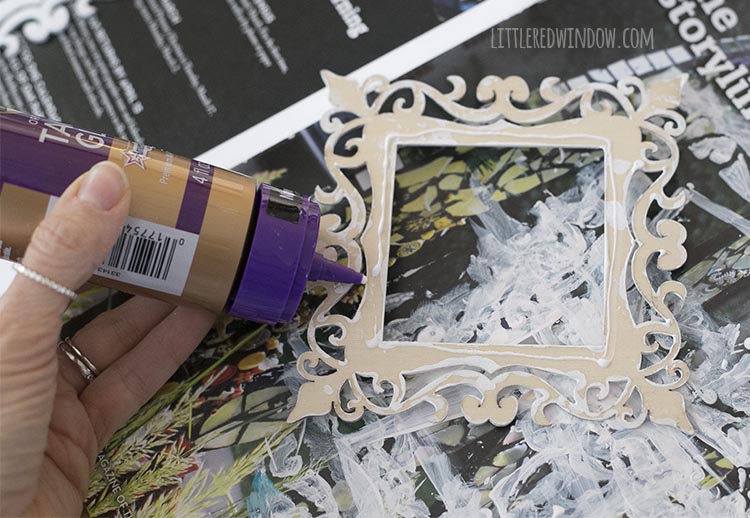
3. Next I chose my pictures and cut them to fit in the frames. I glued them to the back with a few dots of craft glue.
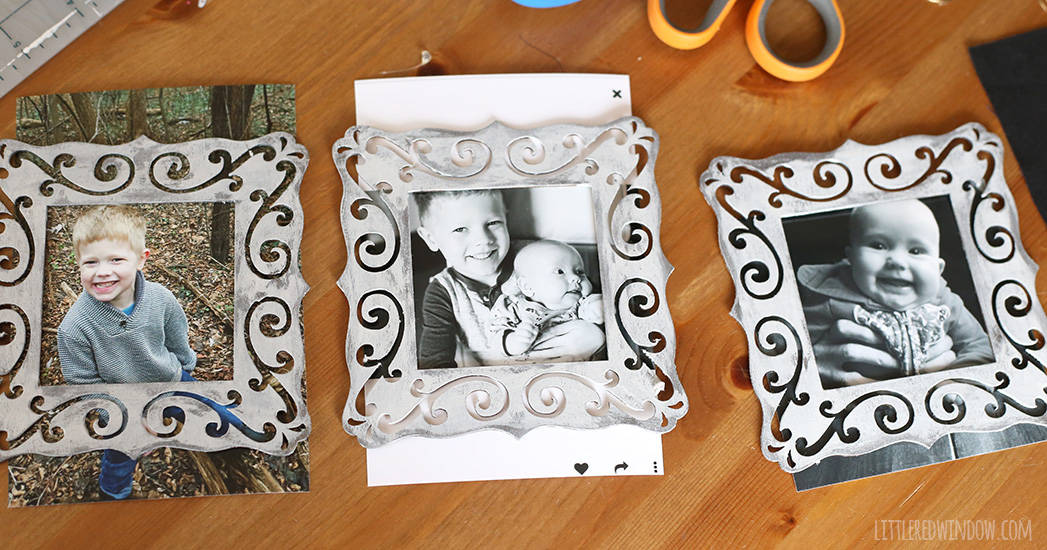
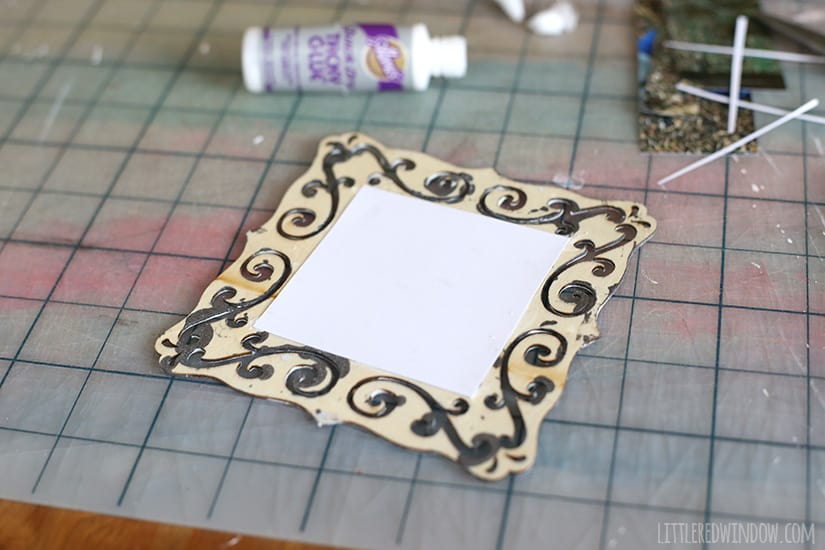
4. For the next step, you need your fabric to have at least one straight even edge. Then you’ll line your frames up along that at the bottom so that they will sit evenly. Spread glue on the back of the frames and carefully press them down onto the fabric. Leave about 1/4″ between each frame to allow for folding.
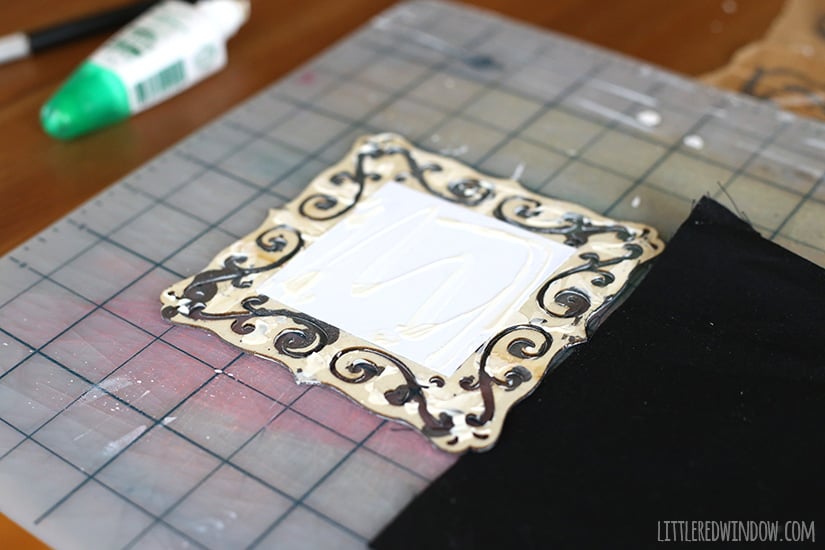
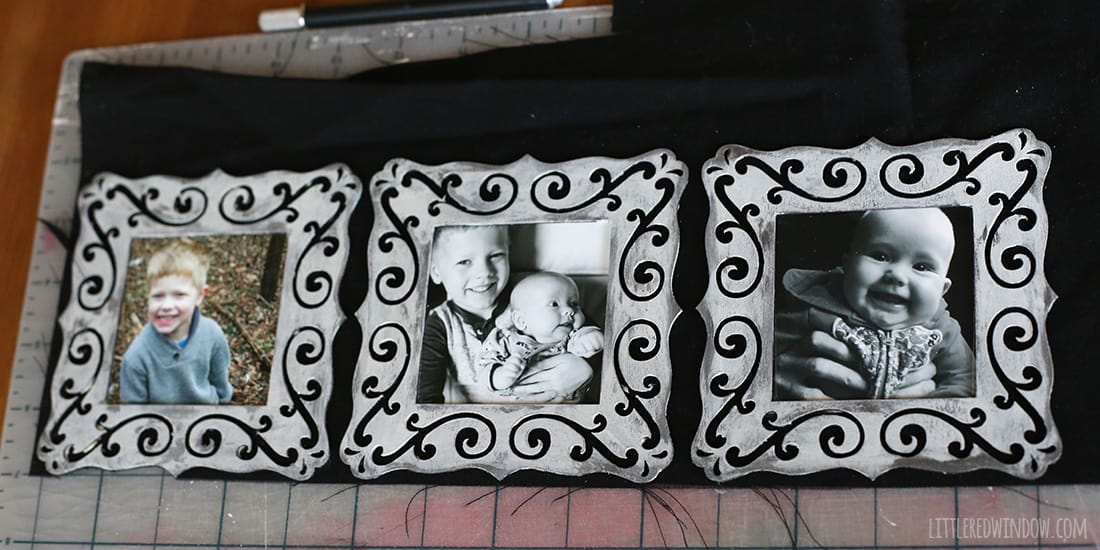
5. Let the glue dry completely. Then use your knife and a brand new sharp blade and use the edges of the frames as guides to cut away the extra fabric. Make sure to leave the fabric between the frames, of course.
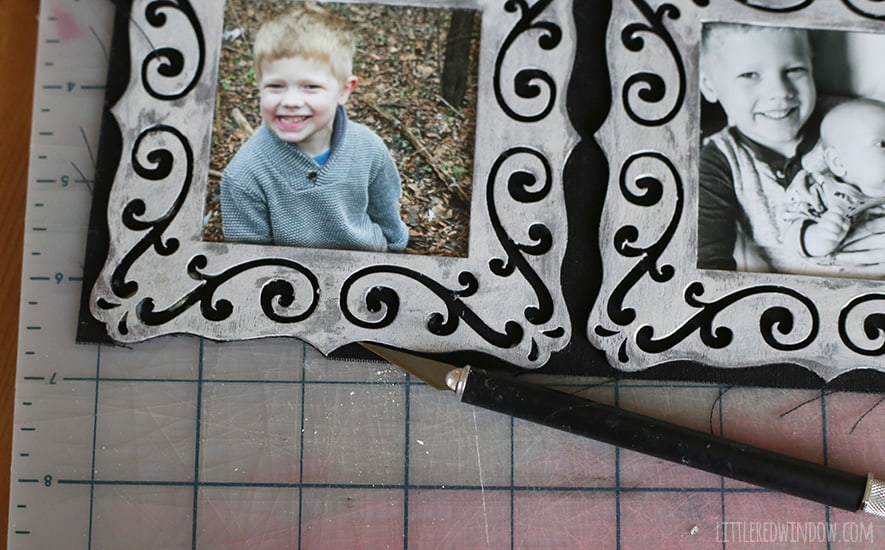
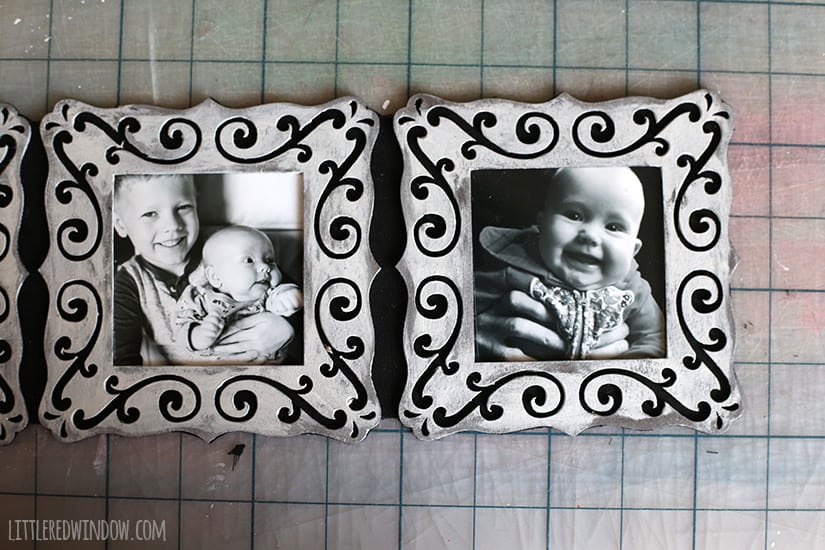
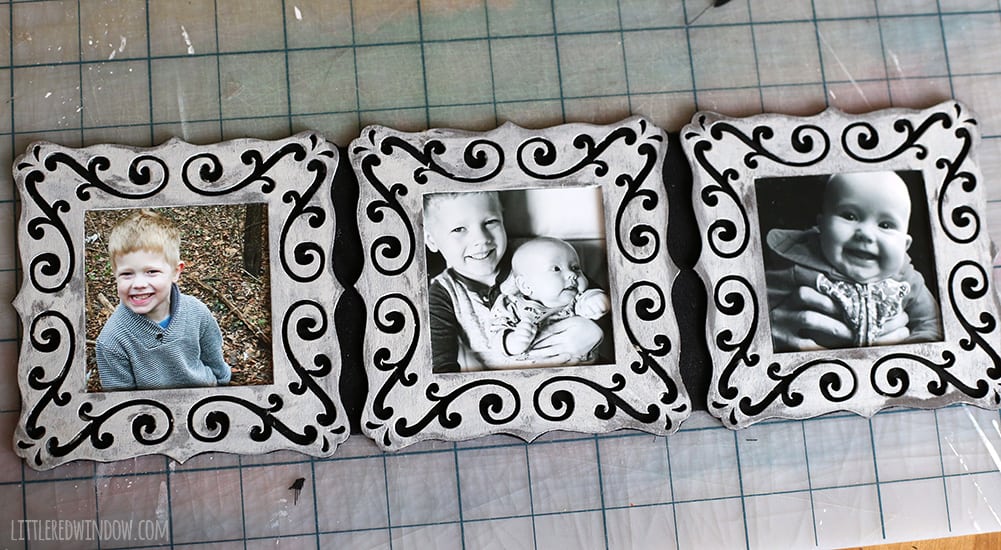
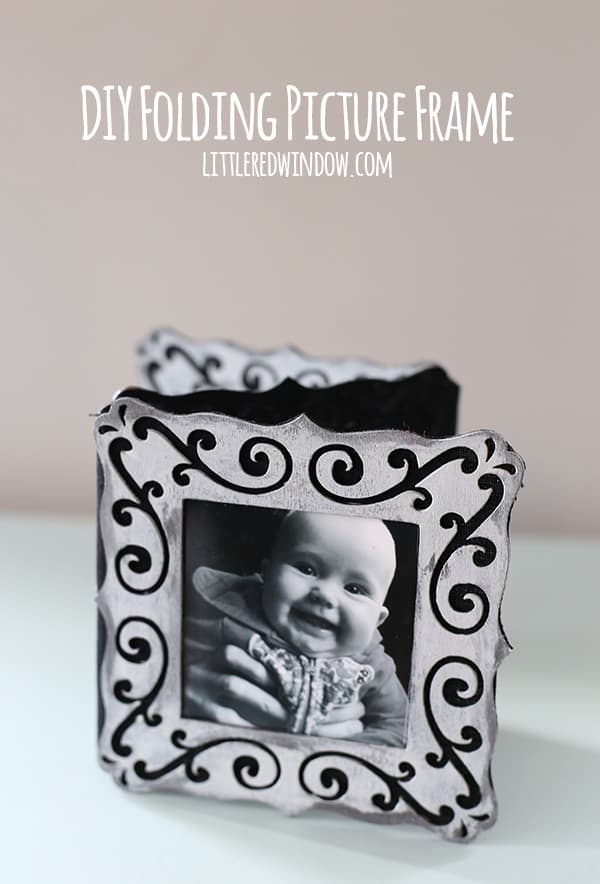
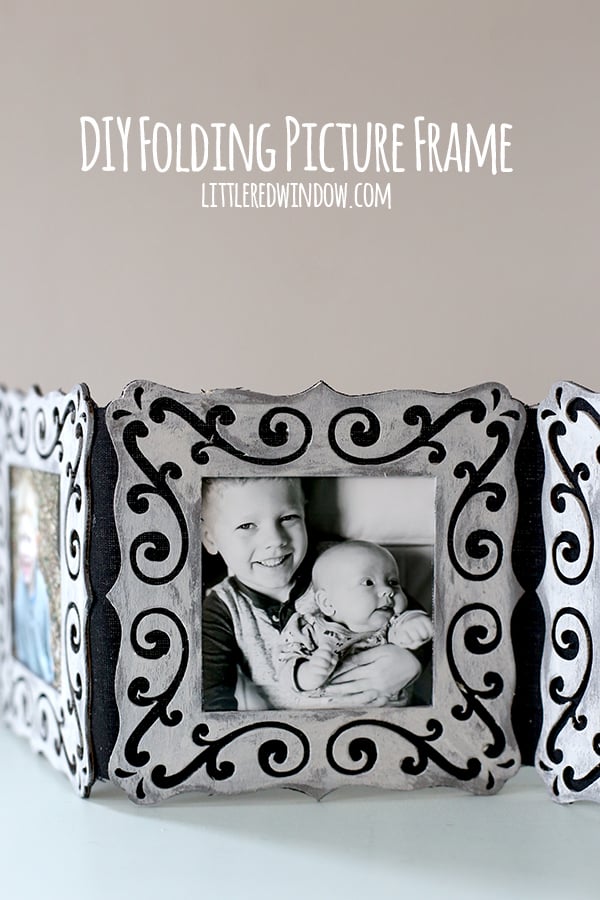
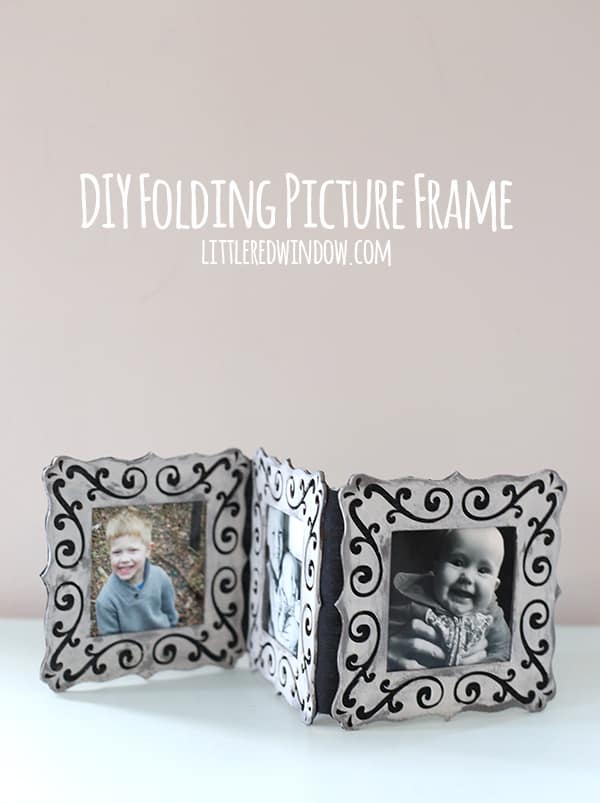
And that’s it! You have folding frames that you can reconfigure in tons of different ways! You can even fold it flat and take it with you! How cool is that?!
If you liked this, you may also like some of my other posts…
- 10 Tips for Organizing Your Craft Supplies On a Budget - April 25, 2024
- Rib Zag Hat Knitting Pattern - April 23, 2024
- Double Stockinette Stitch Knitting Pattern: Easy How To for Beginners - April 18, 2024



Rebecca Payne says
So Cute and Creative.
comment-132124 says
I will surely subscribe for even more author’s publications.
That one has just blown up my mind! I actually remember the
previous post which made exactly the same expression was of those guys
https://timemanagementninja.com/2012/10/10-ways-to-bring-a-positive-attitude/comment-page-1/. I’m so thankful, you get my day!
Proceed in typically the same pace plus style, thank
a person.