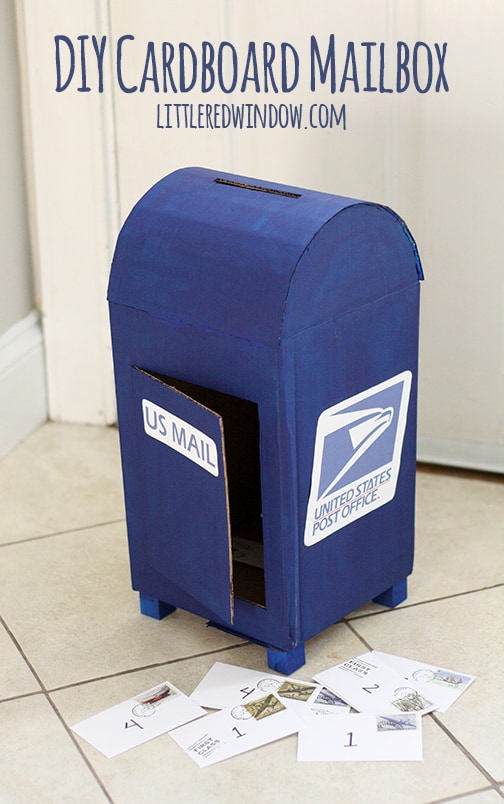
DIY this Cardboard Mailbox for your little Mail Carrier out of an old box and a few other supplies you’ll already have at home! Your little one will love delivering their own mail to their own DIY mailbox!
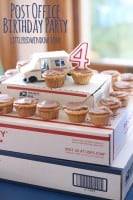
Ok, so for O’s Post Office Birthday Party I knew I wanted a cute little play mailbox for the kids to play with.
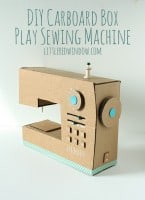
And you know how I love to make things like this on the cheap right? Like my cardboard sewing machine? Or cardboard Thomas the Train?
So when I was working on this party, O and I went to the craft store one day to buy something. And it happened to be the day they were restocking all the shelves for fall.
Now since we just moved, I had been planning to make little mailboxes from one or two of the seven gazillion (not an accurate estimation) cardboard boxes we have in the garage.
But they were all pretty big and pretty square which would have been fine for my DIY mailbox plan, but would have taken more work.
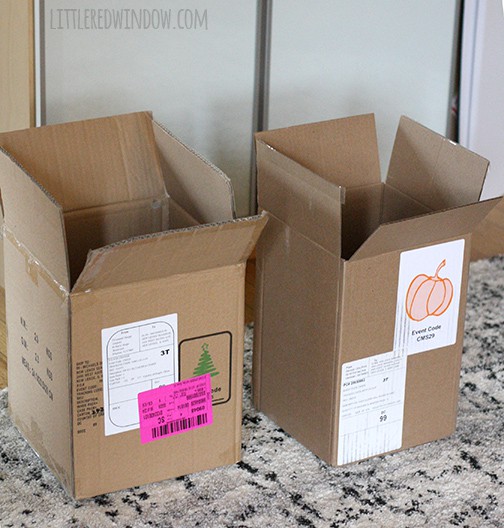
So imagine my delight when I spotted two perfect shaped empty boxes in a cart in the middle of the craft store aisle.
And imagine how much more delighted I was when the woman working there told me I could take them home for free!
(Also imagine her super confused and skeptical face when I asked…)
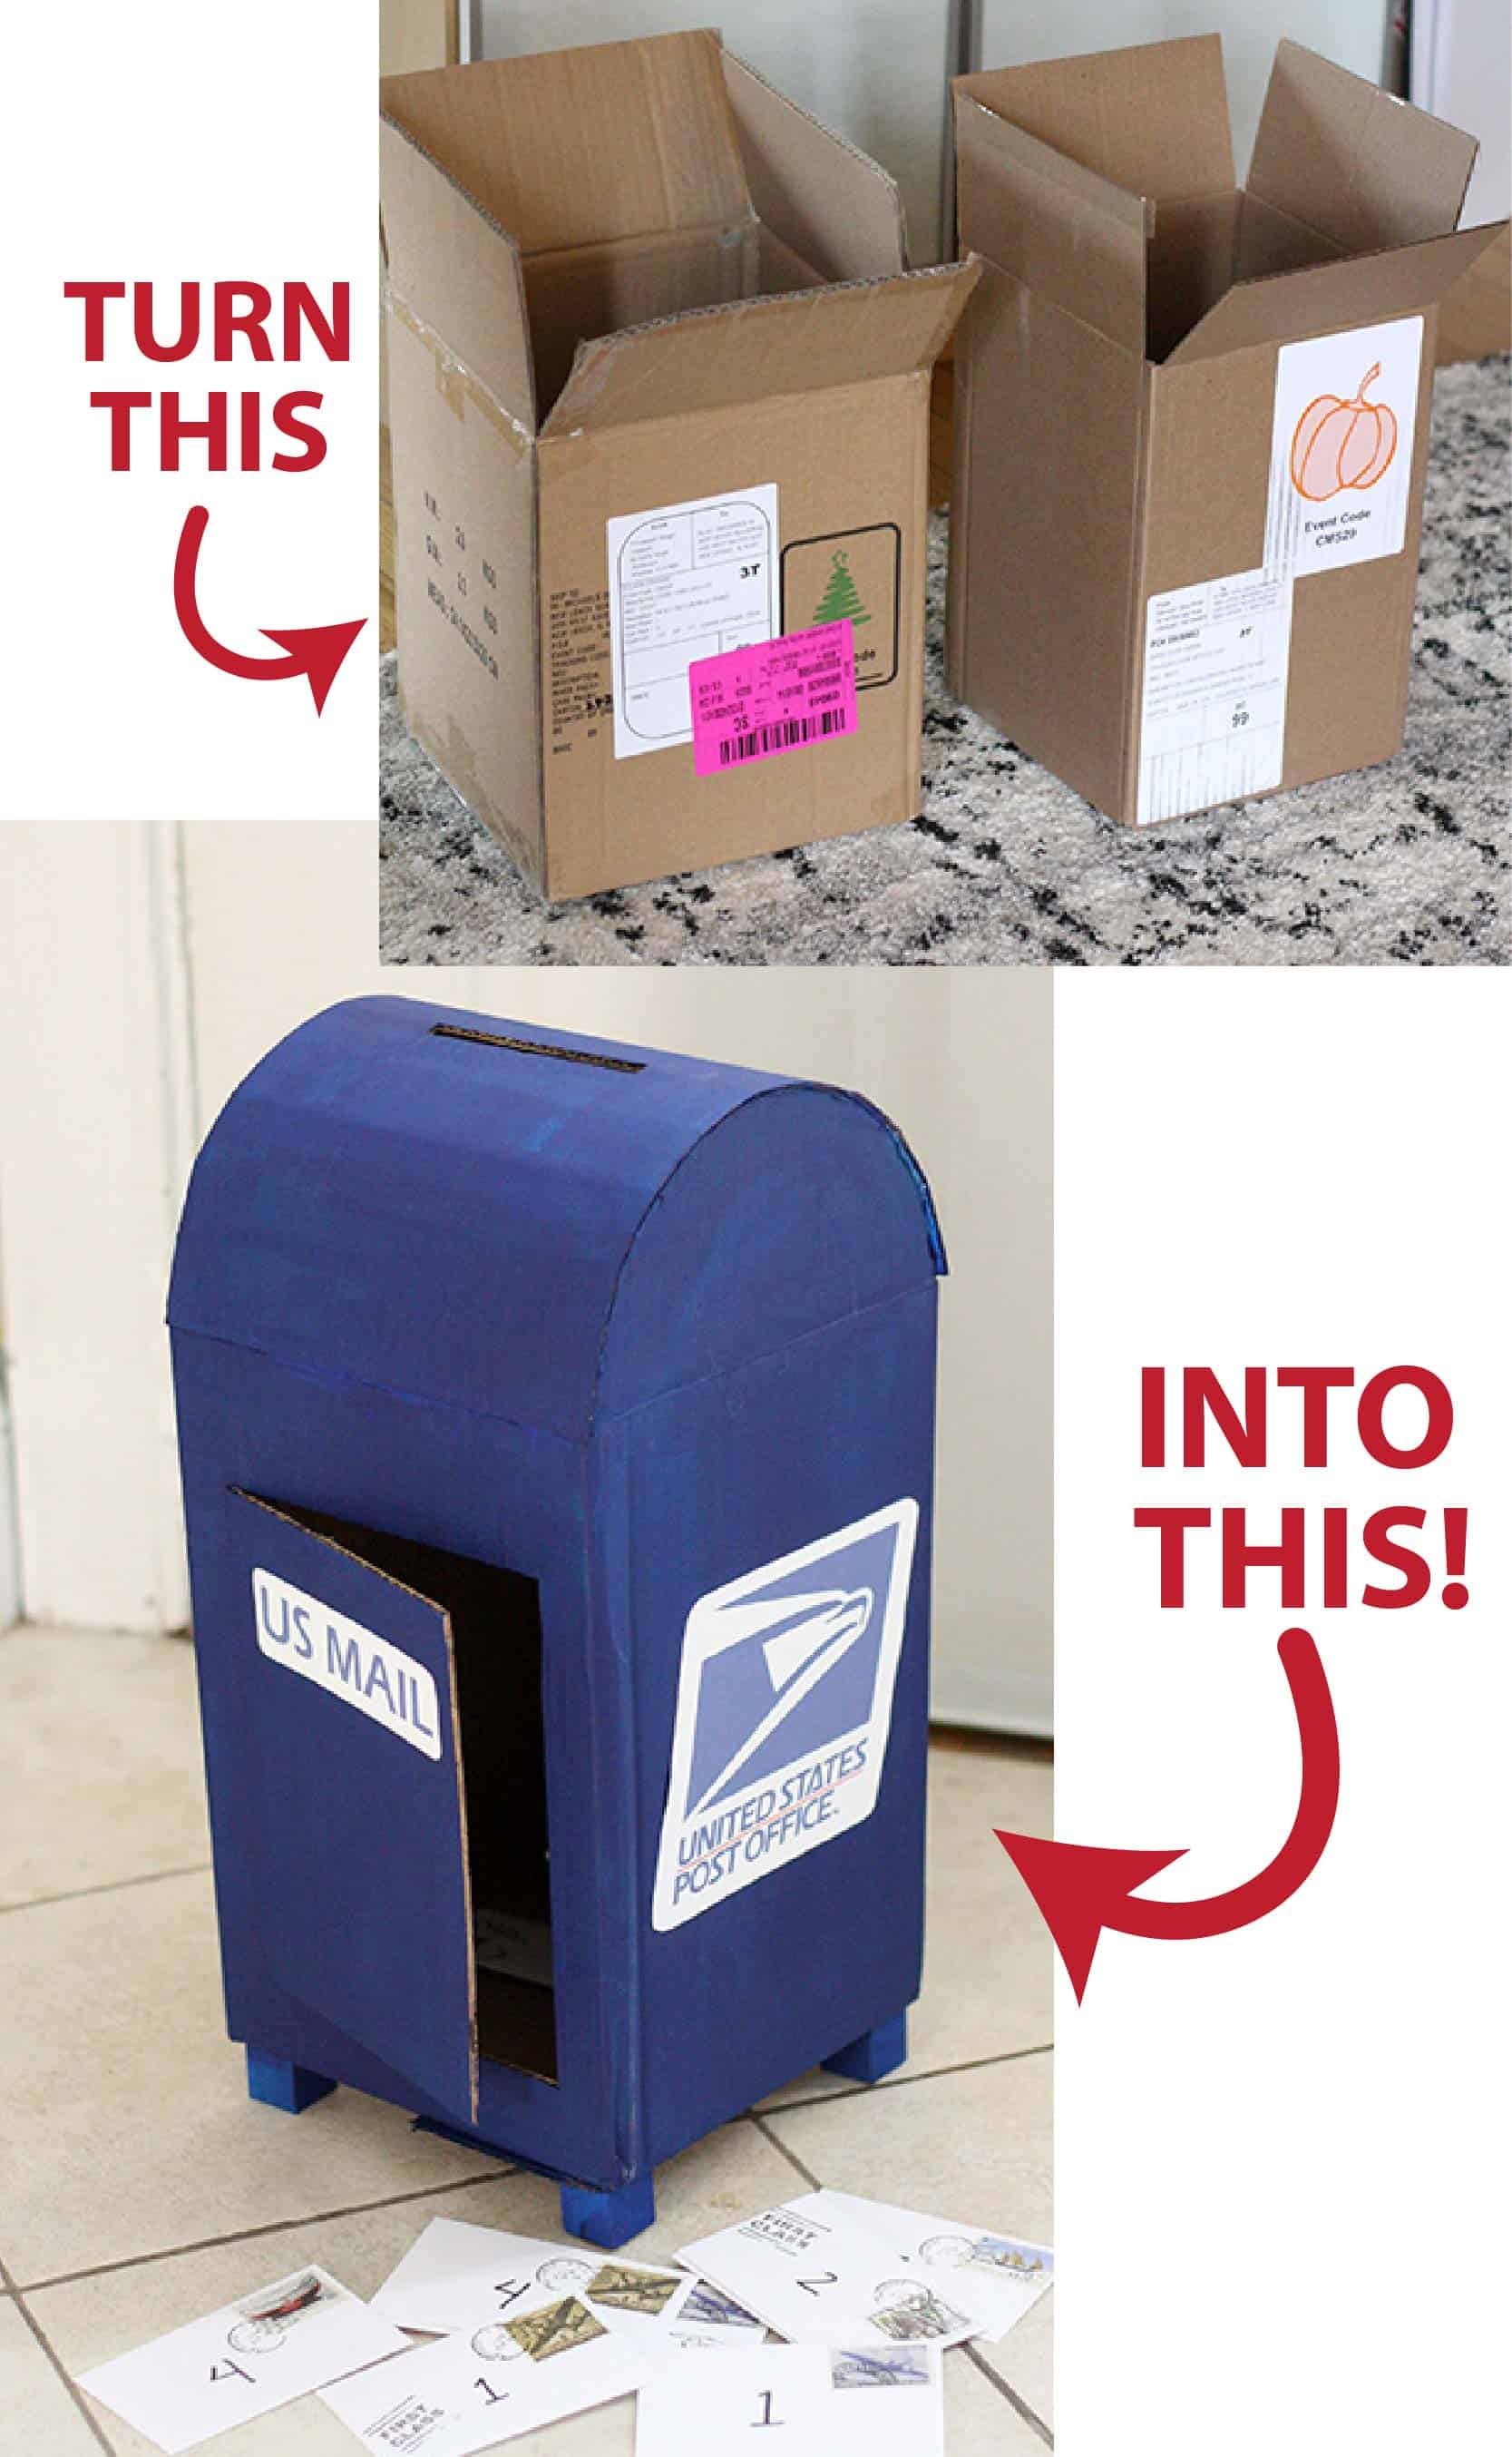
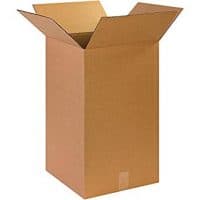
Look! Aren’t they perfect for a play mailbox?! Ok, maybe you’re not as excited as I am yet. But I had a plan and tall rectangular boxes with square bases were perfect for that plan to make a mailbox! So, here we go!
DIY Cardboard Mailbox Supply List
If you want to make a mailbox, here’s what you need…
- Cardboard Box
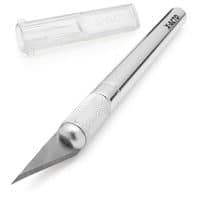
- Craft knife
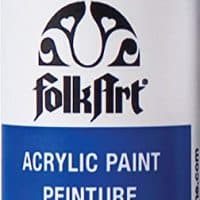
- Blue craft paint
- Paintbrush
- Printer
- Gluestick
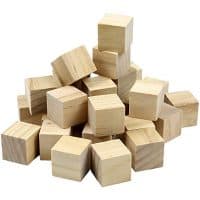
- 1″ wooden blocks
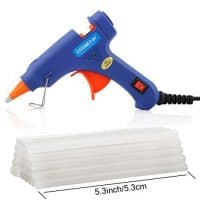
- Hot glue gun
DIY Cardboard Mailbox Instructions
Do you have everything you need to make your own DIY mailbox? Ok, let’s get started!
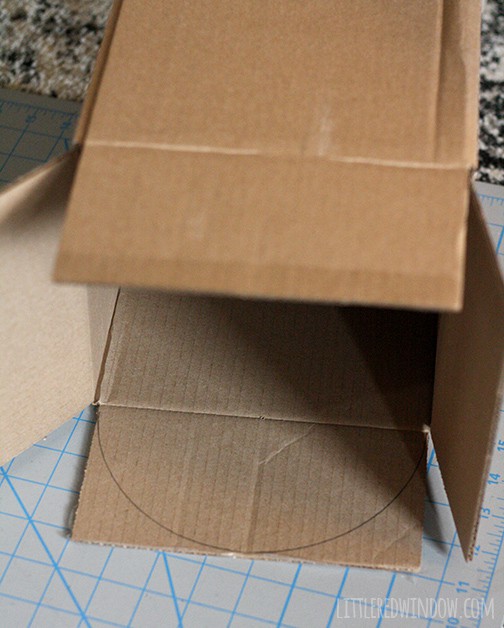
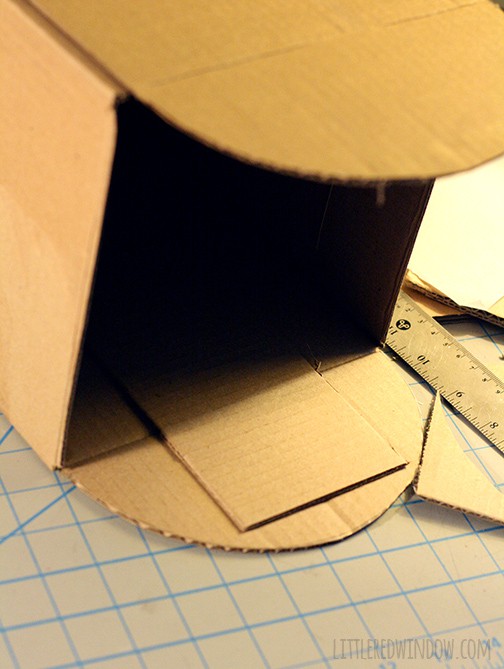
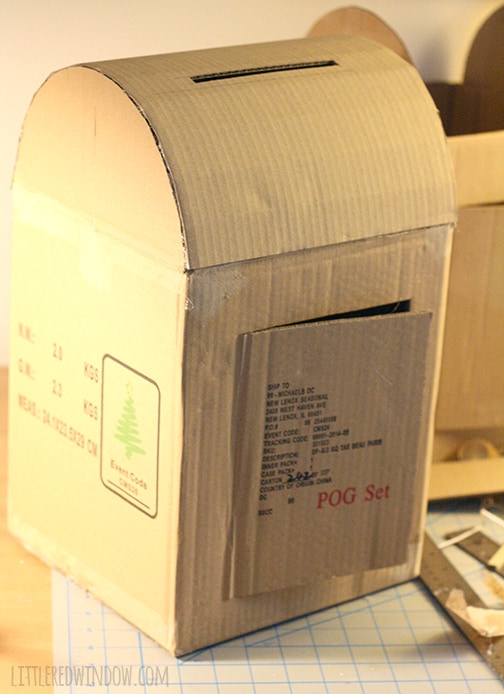
1. To start to make a mailbox, on two opposite top flaps, draw a semi-circle as wide as the flap. That will be the curved top of the play mailbox.
2. Using an exacto knife, cut along those semi-circular lines. Then use half of the flaps you cut off and glue them inside to reinforce the semi-circle flaps and keep them standing straight up. Hot glue works great!
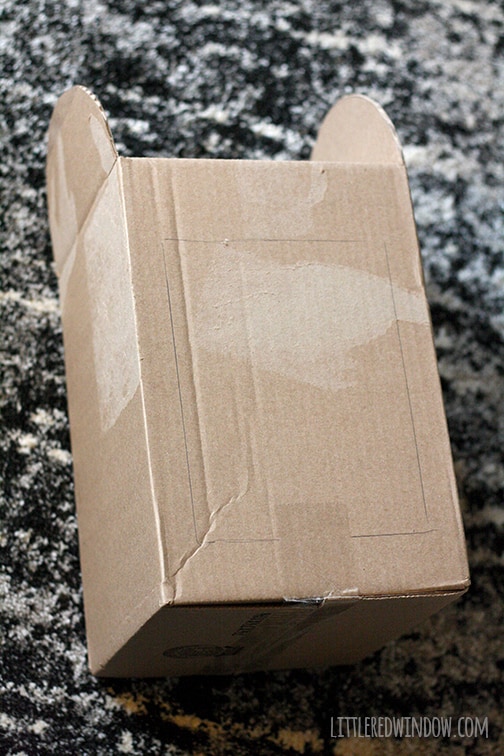
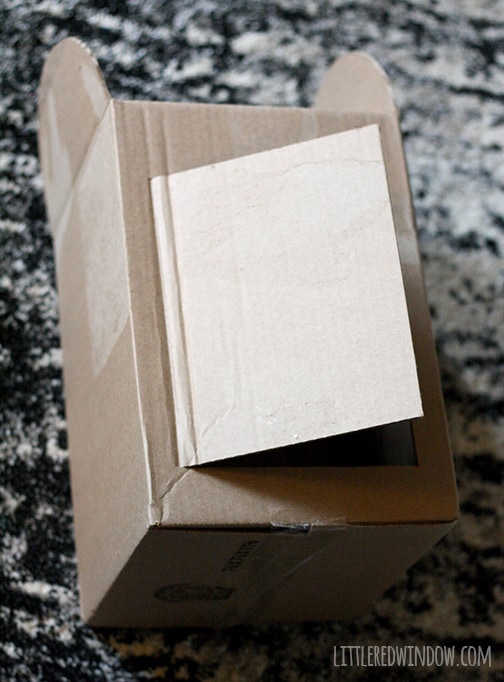
3. Decide which side will be the front, draw a rectangle and cut along 3 sides, leaving one tall side uncut.
4. Bend the door open along that 4th uncut edge.
5. Find or cut a flat piece of cardboard that is equal in width to the distance between the two semicircular flaps (from outer side to outer side). This will become the top of the mailbox.
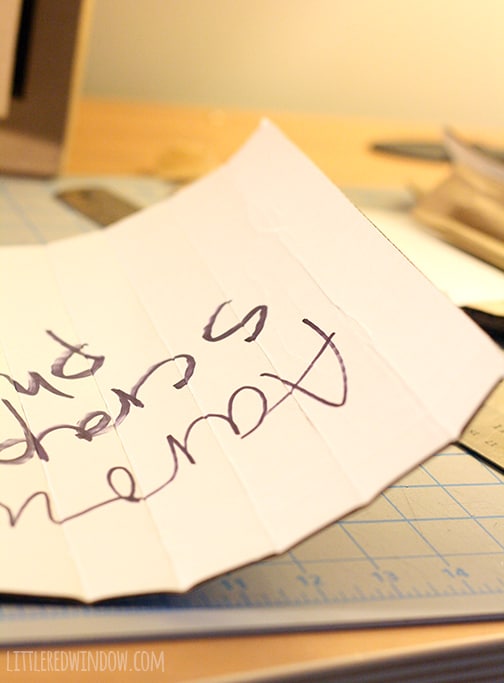
Using a ruler and an exacto knife, score parallel lines on the back side across that width about an inch apart or so. You just need to lightly cut the very first layer of the cardboard.
Don’t cut down into the corrugated part. Then fold the cardboard gently so it starts to curve.
6. Hold your curved top piece in place and measure how long it will need to be (this is basically the length of the top curved edge of the mailbox (otherwise know as the circumference of that semicircle).
Cut the scored rectangle to length. Then draw and cut a slot for the mail to go in in the middle of the top. Finally, use hot glue to carefully attach it to the top. Try and keep the glue on the inside.
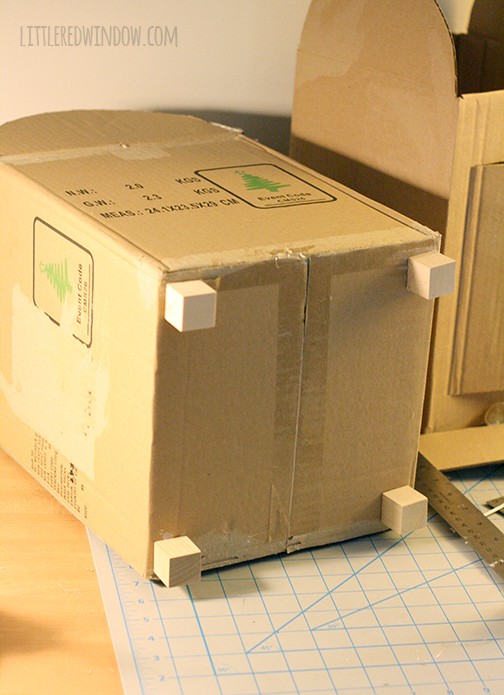
7. At this point I added 4 1″ wooden blocks to the bottom for the feet. I attached them with glue.
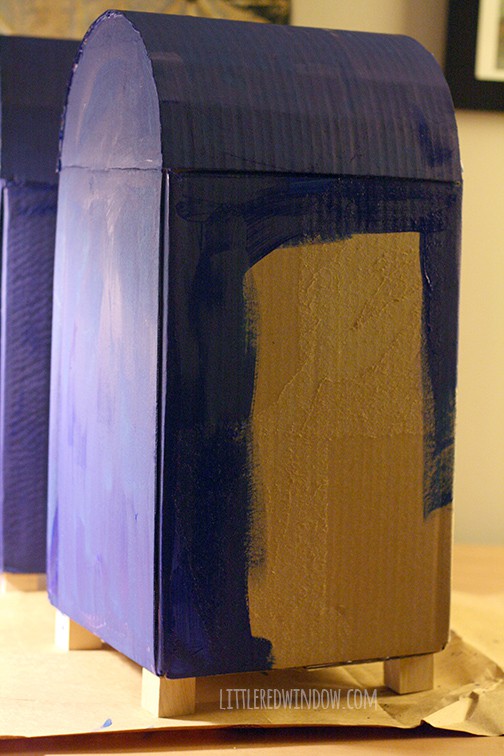
8. When the glue is dry, paint the whole thing “mailbox blue” with acrylic craft paint. I needed two coats to cover it well.
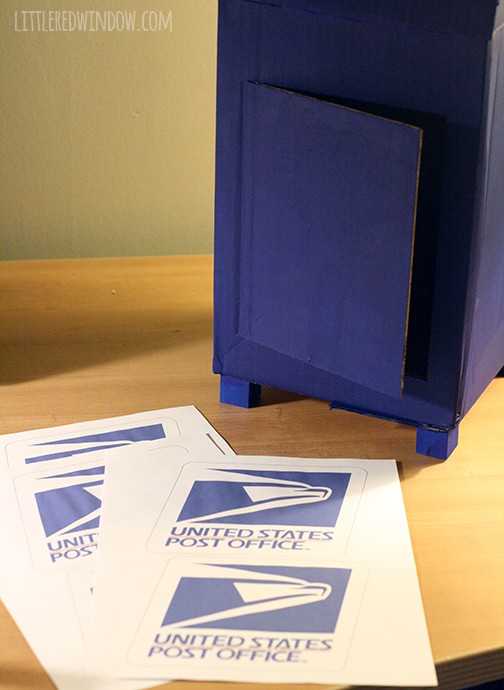
9. For the logos, I just printed them out on regular paper, cut around them carefully and glued them on. (I can’t provide this logo file for you as it’s copyrighted, sorry!)
You could also paint them or use a paint pen or even vinyl if you have a fancy craft cutting machine!
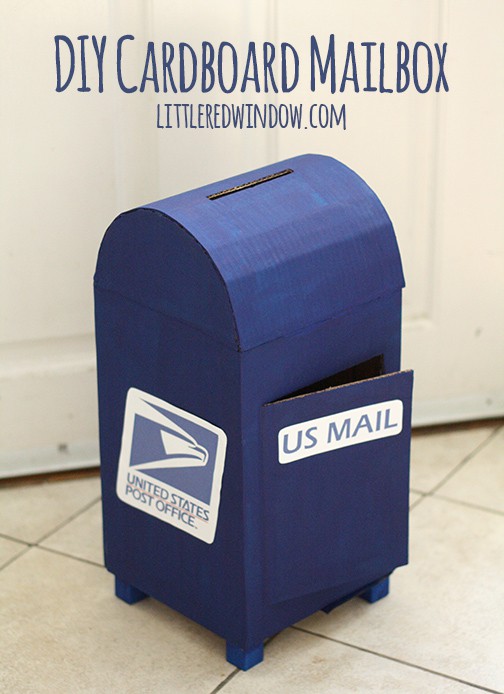
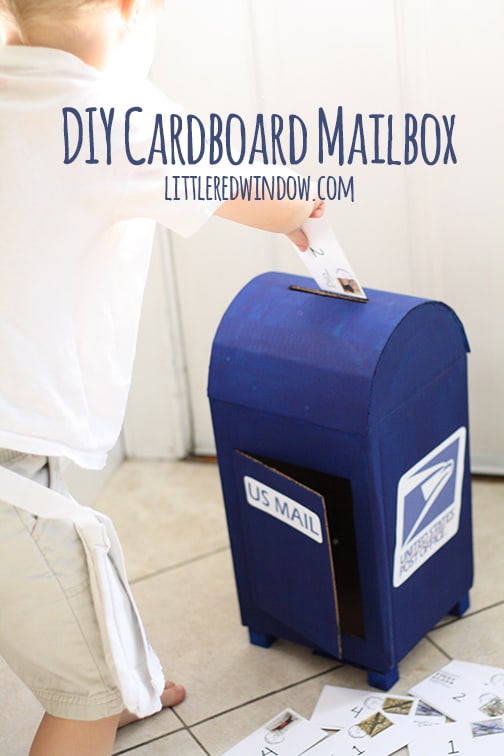
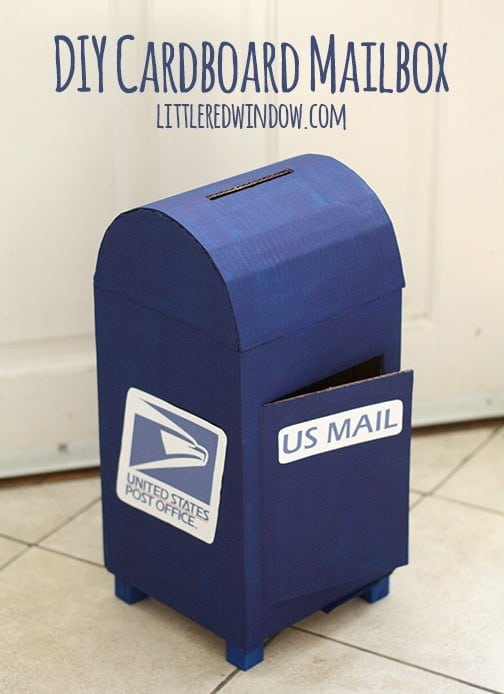
And here’s the finished DIY play mailbox! The kids really had a lot of fun playing with them and it took less than two hours and under $5 to make two of them!
Tips & Tricks for making your own DIY Cardboard Mailbox or Play Mailbox…
- Be patient when you’re curving the curved top of the mailbox. It will be worth being gentle and working slowly!
- Your play mailbox will probably require at least three coats of blue paint to cover everything. This is a great part for kids to help with!
- If you have mail you will be using, be sure to measure it before you cut the mail slot so it will fit!
- When your mailbox is finished, let your kids write, stamp and address their own letters, they’ll have a blast!
Make a play mailbox out of an old recycled cardboard box, your kids will have a blast delivering the "mail"! Tips and tricks for making your own DIY cardboard mailbox: As an Amazon Associate and member of other affiliate programs, I earn from qualifying purchases.DIY Cardboard Mailbox
Instructions
Notes
Recommended Products
- 10 Tips for Organizing Your Craft Supplies On a Budget - April 25, 2024
- Rib Zag Hat Knitting Pattern - April 23, 2024
- Double Stockinette Stitch Knitting Pattern: Easy How To for Beginners - April 18, 2024





Bensalem Masonry Contractors says
That’s a very cute idea, definitely keep some little hands busy!
Mar says
can you tell me where to find a printout like that?
Cassie May says
I just googled the logo!
Dora Hagerman says
I like your creativity a lot. thanks for sharing such amazing idea.
Arthur Riley says
We are having a party of 10 kids over for Christmas this year. And their parents, of course. I think this would be a great thing for everybody to do. Write cards beforehand and “deliver” them into everybody else’s mailbox. I’ll just paint them a bit more festive.
S. Smith says
What kind of glue did you use? Thanks!
Cassie May says
hot glue!
Zane says
How did you draw your circle? I suck at free hand.
Cassie May says
I traced a plate!
Nancy Bice says
Going to attempt to turn line into Santa’s mail box for family Christmas.
kimberly c says
OMG…. im creating these for my husbands coworkers at the post office for christmas this year and filling them with goodies probably should get started like now they are so cute and recycled materials are the best.
Cassie May says
what a fun idea! I’d love to see a pic when you’re finished!
Denise says
Stealing this idea to make a Mailbox for kids to place Thank you cards for their First Grade teacher during Teacher Appreciation Week! Thank you so much for the fun, easy and perfect! looking mailbox!
Emily says
Your box looks great! My daughter picked this for her Valentine’s box this year. Ours wasn’t quite as good looking as yours but we had a good time making it. Our adventure is detailed at http://www.mommysnotperfect.com. Thanks for the inspiration!
Liza Allen says
HELP – I made the mailbox. Thanks for your easy instructions. I used a glue gun for the first time.
Here’s my problem – I want to give this mailbox as a gift tomorrow & an having a hard time getting a post office logo isolated inline to print out in a good size. Where & how did you get yours?
Cassie May says
I replied to your other comment, good luck!
Cassie says
I was wondering the same thing about he PO logo
Cassie May says
Hi! Yeah, you’ll just have to google it and see what you can find. Because it’s the real USPS logo, I can’t provide it for you on my site. But I’m sure you can find one that would work if you use google image search!
Judy says
OMG I would LOVE one of these to put on my desk at the office! Would you happen to have one for sale??? :/ I totally suck at DIY and I am not as crafty…eek!
Deborah says
I love that you make these toys for your kids. They are so much more special than store bought junk. It teaches them to appreciate creativity too. Thanks for sharing this at What We Accomplished Wednesdays! Have a super week!
Blessings, Deborah
Cassie May says
Thanks Deborah, that’s so nice!
Rosey says
I saw this featured at the Road to Domestication and had to come over to pin it. This is seriously cute!
Cassie May says
Thanks Rosey!
Leslie says
This has to be the cutest thing i’ve seen in awhile! If my little cousins were smaller they’d totally love this! Your so creative and you did a great job.
Cassie May says
Thanks Leslie!!
Kimberly says
Super cute idea! Pinned. Lou Lou Girls
Emily Marie says
This is such an awesome idea. Not only for kids but for cool add on to things like unboxing and PO Box videos. If I ever make such a video I am definitely making one of these!
carolyn | homework says
I love it! Thank you so much for sharing on The Inspiration Board at homework. I loved your project and featured you today!
Have a wonderful weekend!
carolyn ~ homework
Cassie May says
Thanks Carolyn!!
Aida@TheCraftingFoodie says
This is so awesome! I love it, and more importantly, I know my girls will go crazy with it. Pinned!
Starla J @ Pressing In and Pressing On says
This looks great. We make our own valentine boxes. This would be fun to make then. Thank you.
Cassie May says
That would be so cute! I’d love to see a pic if you make one! Thanks for stopping my Starla!
Shirley Wood says
This is so stinking precious! Children always love to play with the boxes! I hope you will come over and share this at the Home Matters Linky party! http://wp.me/p4fJXd-112
Cassie May says
Thanks Shirley!
Shirley Wood says
Thank you so much for sharing with our readers at the Home Matters Linky! Pinned it.
Kristi says
SO fun Cassie! My little guy would absolutely LOVE this!!!
Tavette says
Adorable! And….you make everything so do-able with your well thought out instructions.
Your thrill at finding just the right size and shape box – and 2 of them at that (for 2 mailboxes) – is totally understandable! I’ve been known to do my little happy dance when finding just the right thing for a craft project and you just have to ignore the strange looks. THOSE people don’t have the imagination you do and couldn’t even begin to realize what a cute project is going to be created by those throw-away boxes.
Thanks for the tutorial.
Tavette – S. Fla.
Cassie May says
You’d think people working at the CRAFT store wouldn’t have been so surprised though, right? lol! Thanks for stopping by Tavette!