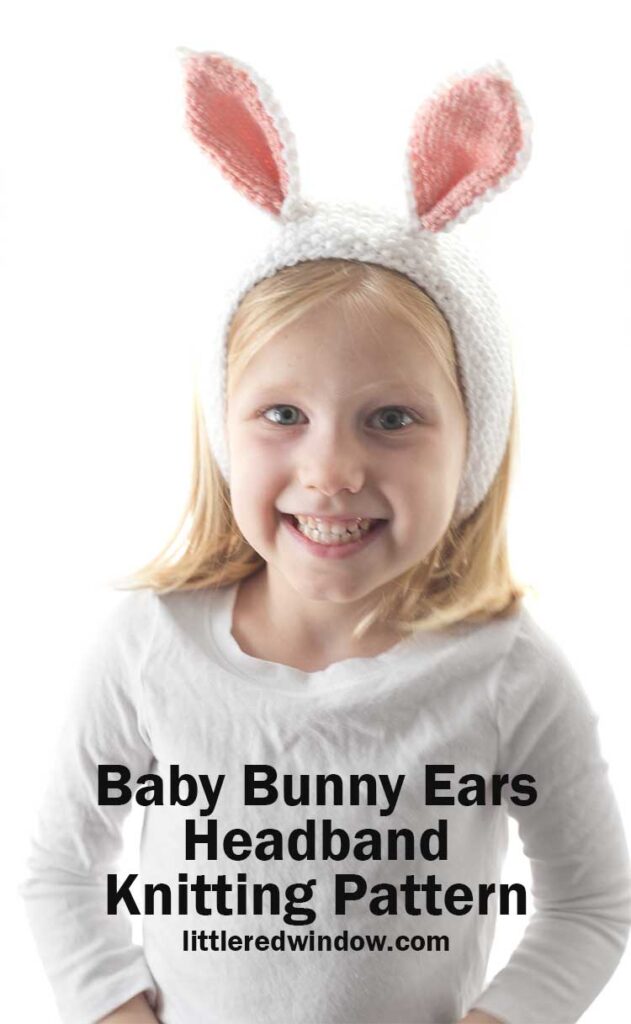
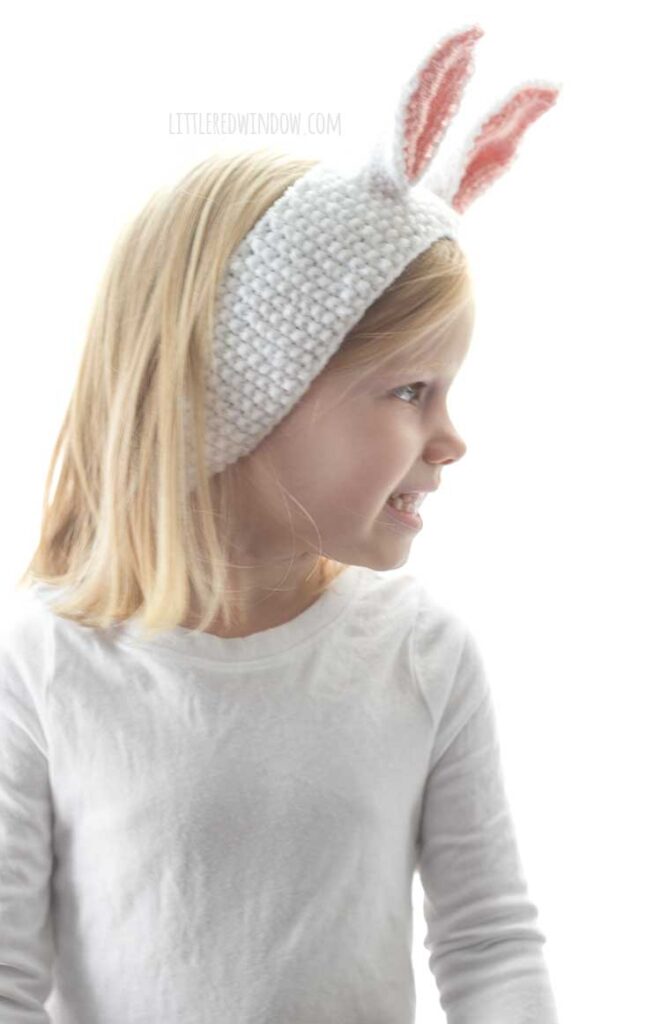
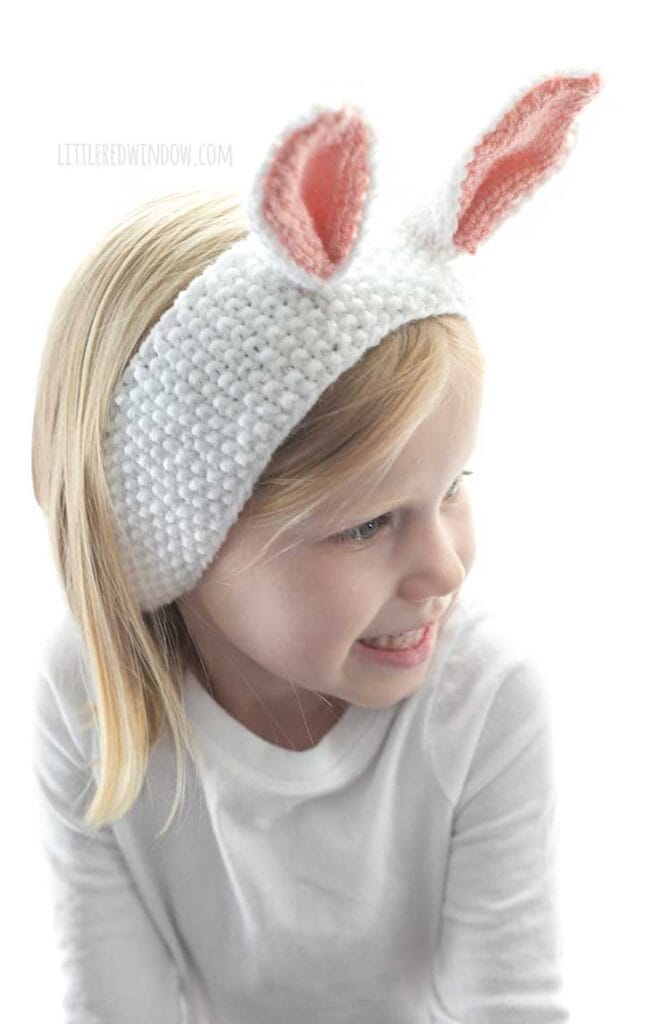
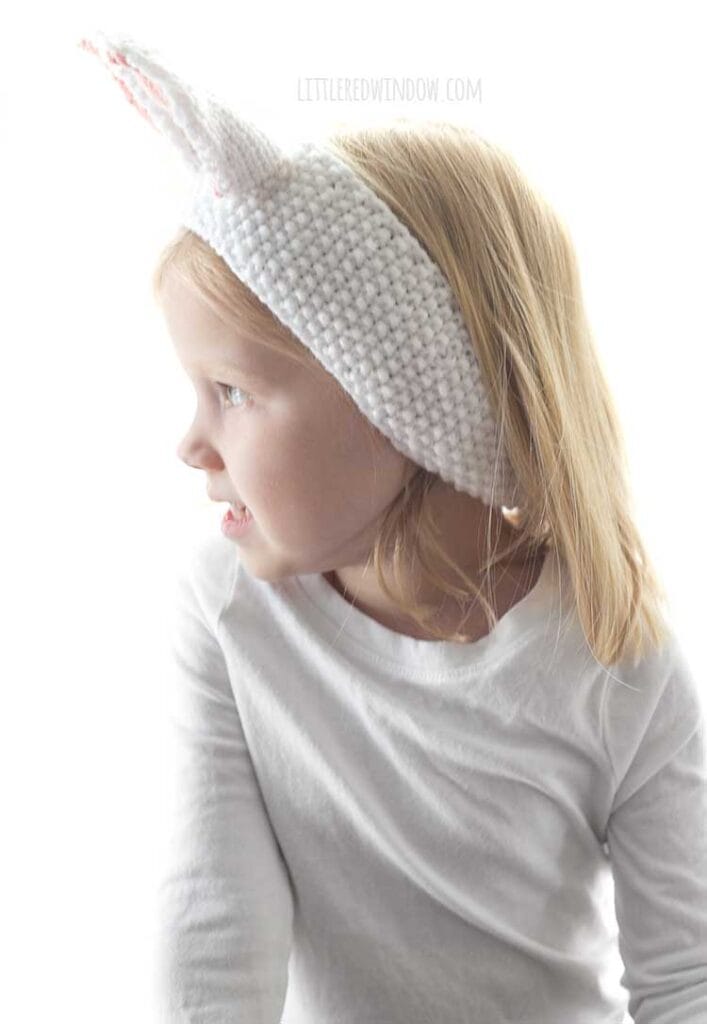
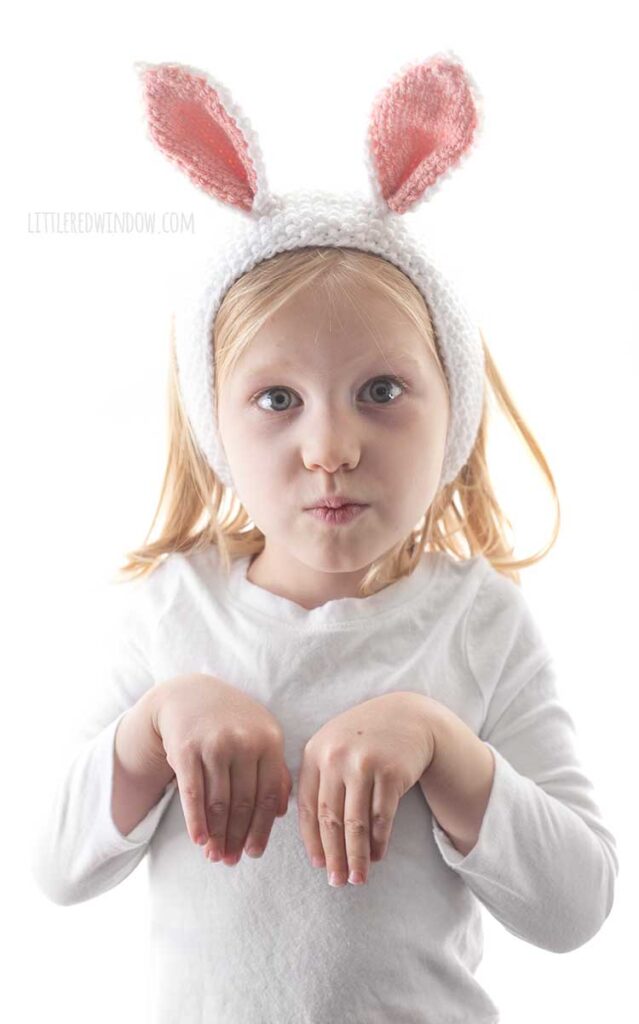
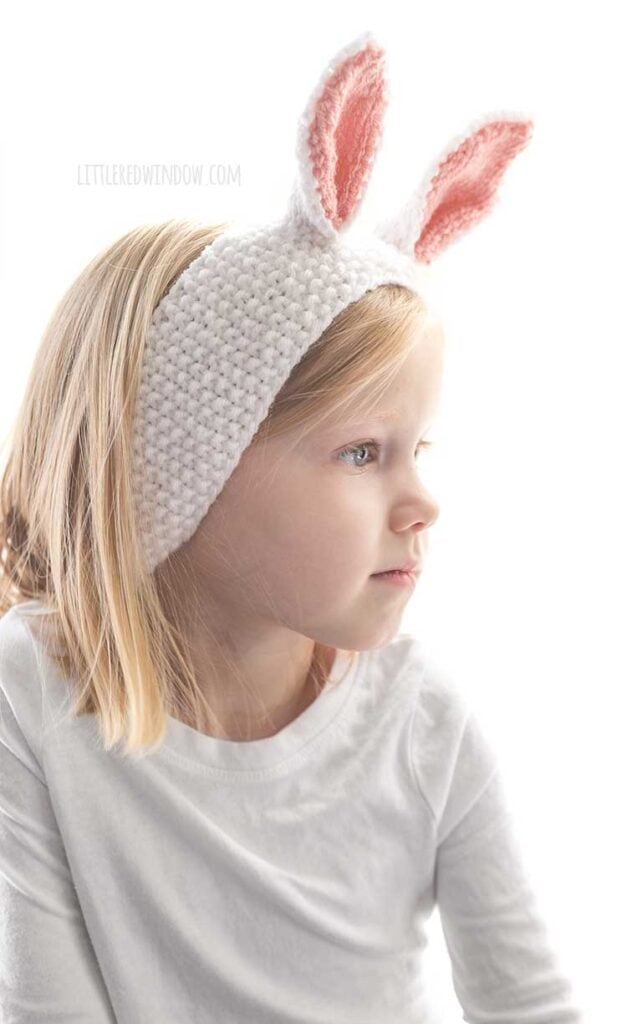
This adorable bunny ears headband is a super fun and fast knit that you can make for your favorite little bunny!
I think of all of the animal hats and bonnets and headbands, the ones with baby bunny ears like this bunny ears headband are really high at the top of the list of my favorites. You wouldn’t think knit bunny ears made of nothing but yarn would stand up so well, but they really do and so they look incredibly incredibly cute when a toddler, baby or small child wears them while running around.
Baby V likes to wear her bunny ears headband around the house and it’s almost too much cuteness to handle. Oh boy! And of course, they’re perfect for Spring time or Easter if you celebrate that. An Easter bunny ears headband for Easter Sunday would be perfect!
There are, of course, a couple other pros to knit baby headbands. Number one is that they knit up really super fast. Even faster than a baby hat knitting pattern which is already usually a pretty fast pattern. The other pro for knitting headbands? No double pointed knitting needles required! They could not be easier!
And finally, the other great thing about easy baby headband knitting patterns is that they’re fantastic for transitional weather. They keep your little one’s ears warm but not super warm. I know my kids prefer them for spring or fall so they don’t end up super sweaty when it’s chilly but not freezing.
Tips and Tricks for knitting Baby Bunny Ears Headbands
- If you re-size the headband, make sure to cast on an odd number of stitches for seamless seed stitch.
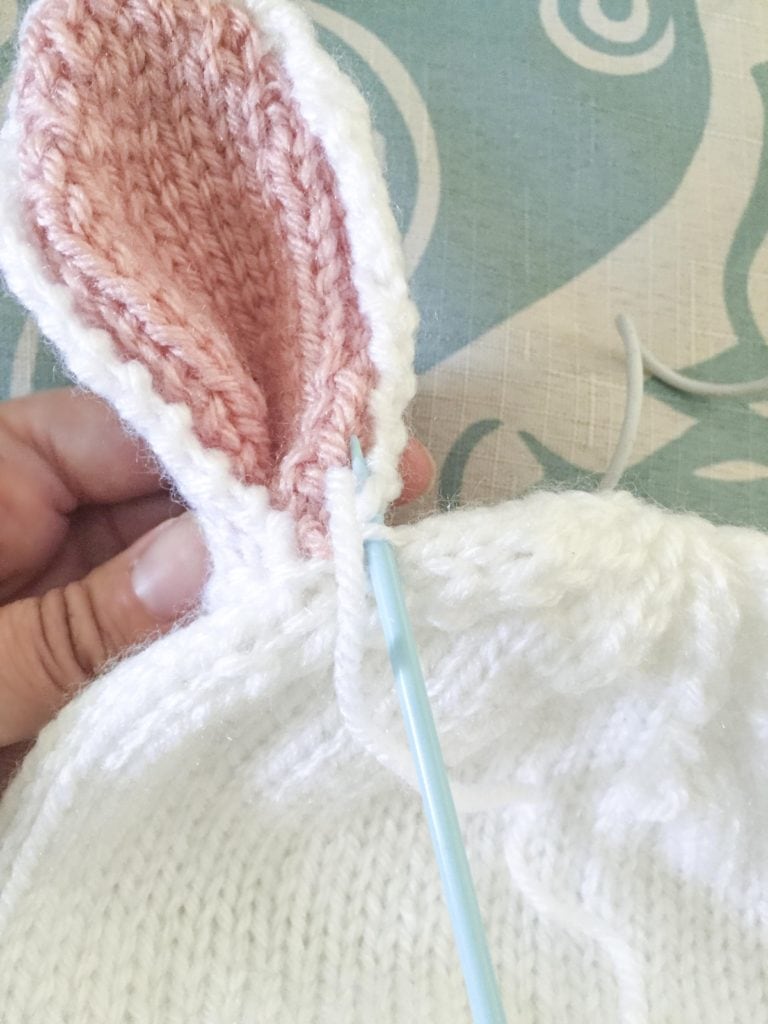
- Check out my video tutorial for assembling and attaching animal ears where I show you step by step how to add the ears.
- If you’re having a hard time assembling the ears or attaching them to the headband, consider pinning them together or in place to make sewing easier.
Baby Bunny Ears Headband Knitting Pattern
(includes Sizes 0-3 months, 6 months, 12 months, 2T+)
Gauge: 20 stitches = 4 inches
Baby Bunny Ears Headband Supply List
(If you need help, my favorite knitting reference book for everyone from beginners to advanced knitters is THIS ONE!)
Looking for the pattern? Here’s how it works: This pattern is available for FREE in one size right here on my site (keep scrolling down). Or for just a few dollars, you can choose to purchase an upgraded PDF pattern that is nicely formatted and easy to print. Besides being easy to print, the PDF pattern also contains MORE SIZES with instructions for additional sizing including 0-3 months, 6 months, 12 months and 2T+! Thank you for supporting Little Red Window!
Baby Bunny Ears Headband Knitting Pattern Instructions
(size 0-3 months)
Using long-tail cast on, cast on 57 stitches onto your circular needles with the white yarn color, join to knit in the round. Knit alternating knit and purl stitches in a seed stitch pattern until the headband is 2 inches wide. Then bind off loosely in pattern.
To knit the outer ears (make 2):
Using straight needles, cast on 12 stitches using the white yarn. Leave a long tail to stitch the ears to the hat.
Rows 1-16: knit odd rows, purl even rows
Row 17: k2tog, k8, ssk
Row 18: purl all stitches
Row 19: k2tog, k6, ssk
Row 20: purl all stitches
Row 21: k2tog, k4, ssk
Row 22: purl all stitches
Row 23: k2tog, k2, ssk
Row 24: purl all stitches
Row 25: k2tog, ssk
Row 26: p2tog
Cut yarn, pull through remaining stitch to close, weave in that end.
To knit the inner ears (make 2):
Using double pointed needles as straight needles, cast on 10 stitches using the pink yarn. Leave a long tail to stitch the inner ear to the outer.
Rows 1-16: knit odd rows, purl even rows
Row 17: k2tog, k6, ssk
Row 18: purl all stitches
Row 19: k2tog, k4, ssk
Row 20: purl all stitches
Row 21: k2tog, k2, ssk
Row 22: purl all stitches
Row 23: k2tog, ssk
Row 24: p2tog
Cut yarn, pull through remaining stitch to close, weave in that end.
To assemble the headband:
First use the long tail on one pink inner ear to whipstitch it wrong sides together to one white outer ear.
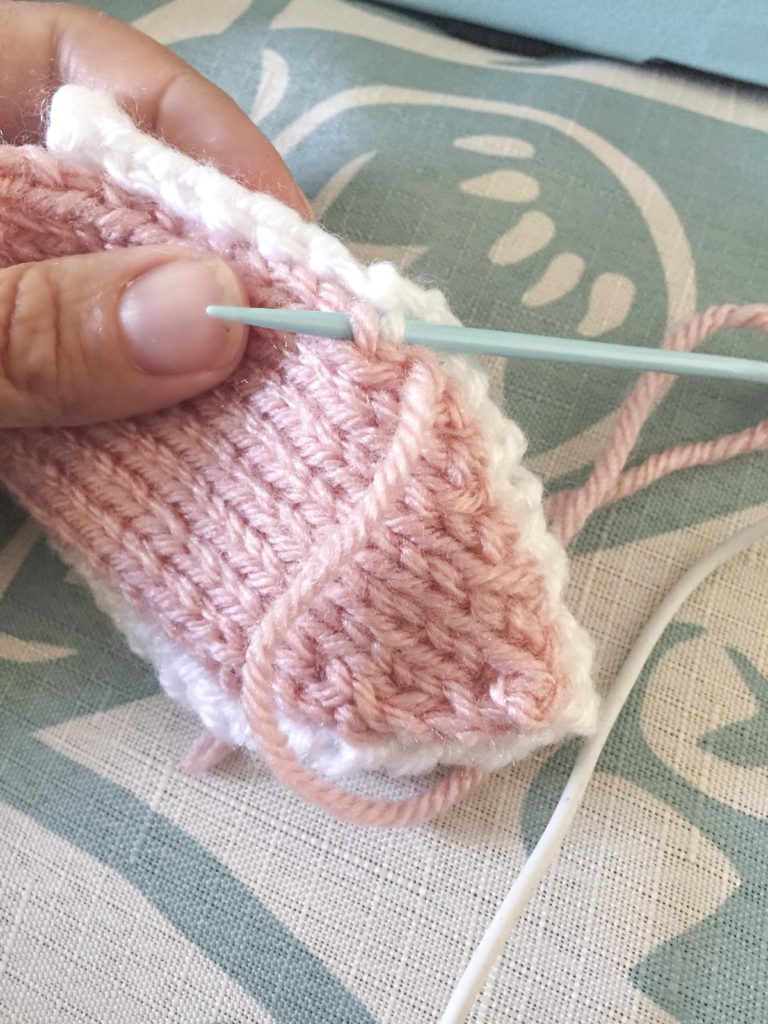
Make sure your stitches don’t show through to the other side of the outer ear. Knot the yarn and weave in the end. Repeat with the other ear parts. Pinch one assembled ear at its base and use the white cast-on tail to make one stitch so it holds its shape.
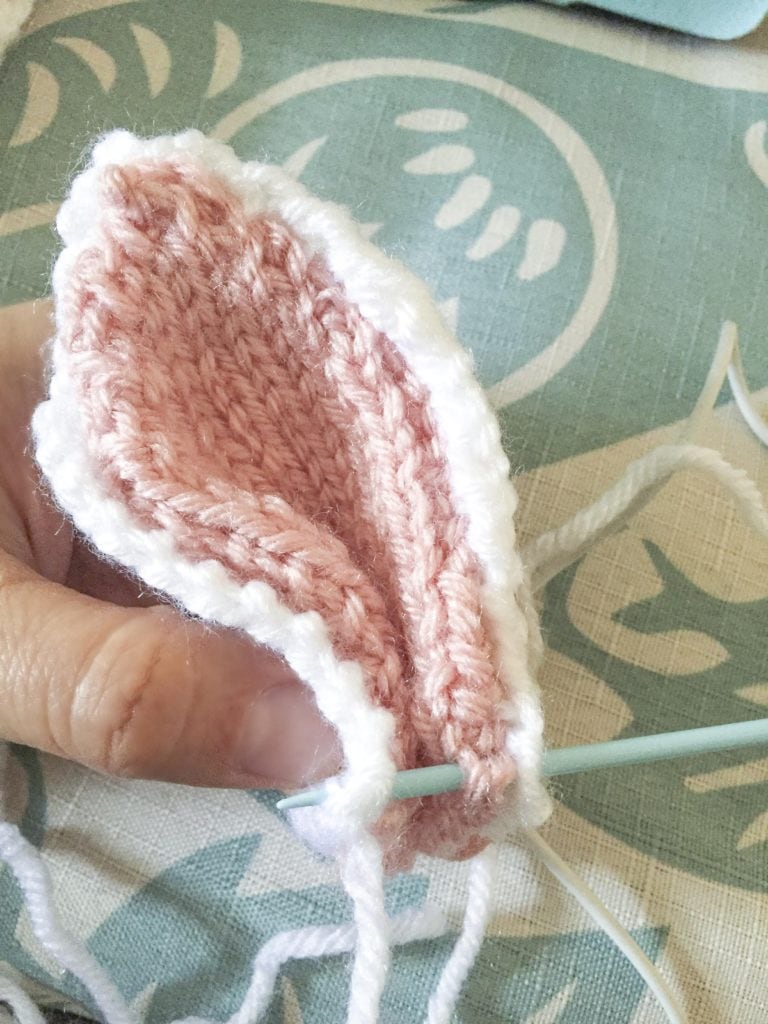
Then stitch the ear to the top of the headband. Repeat with other ear.
Happy Knitting!


- Fiery Fades Hats Knitting Pattern - April 16, 2024
- Flower Pillow Knitting Pattern - April 11, 2024
- Compare the Top 5 Best Types of Paintbrushes for Craft Projects - April 11, 2024




Leave a Reply