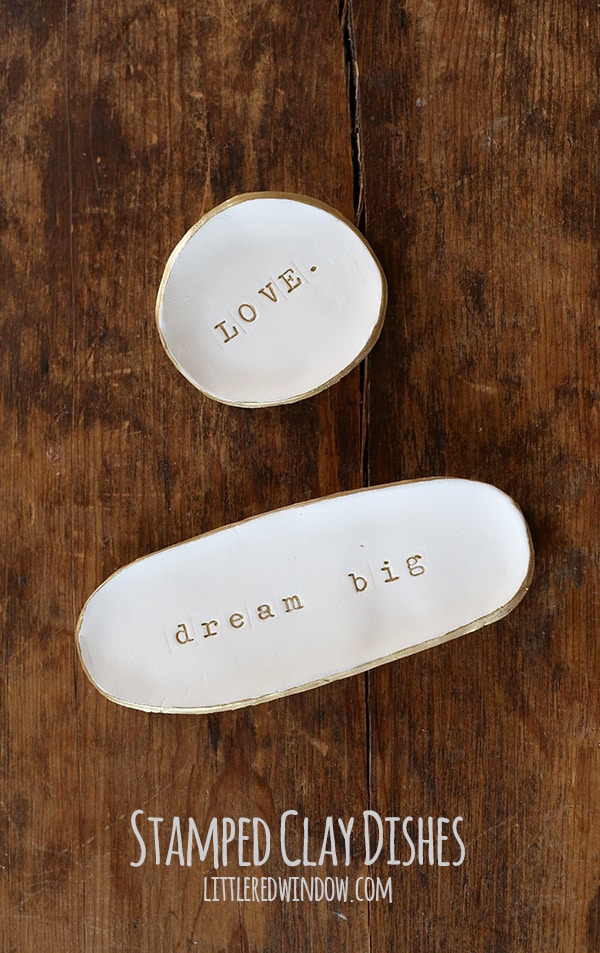
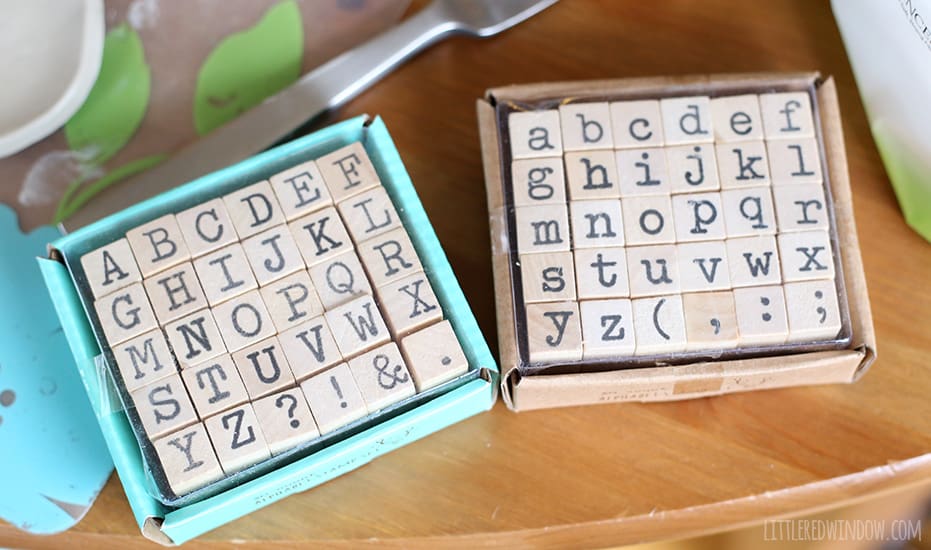
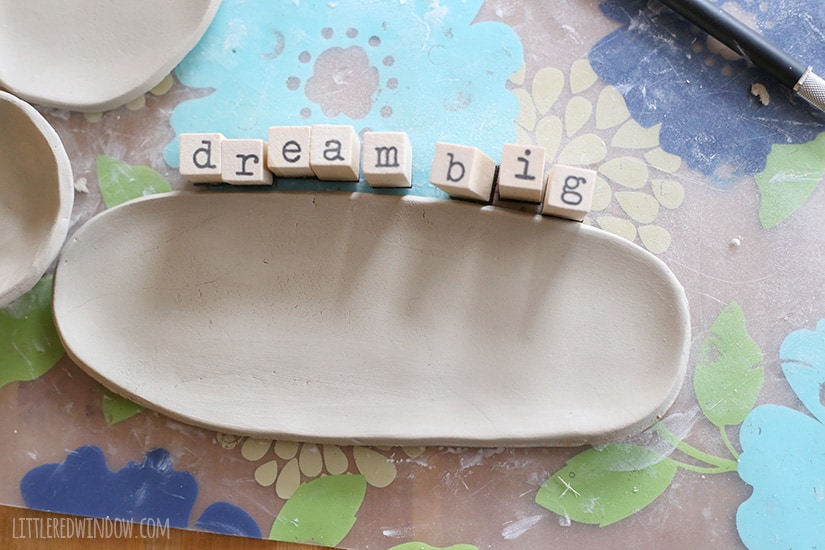
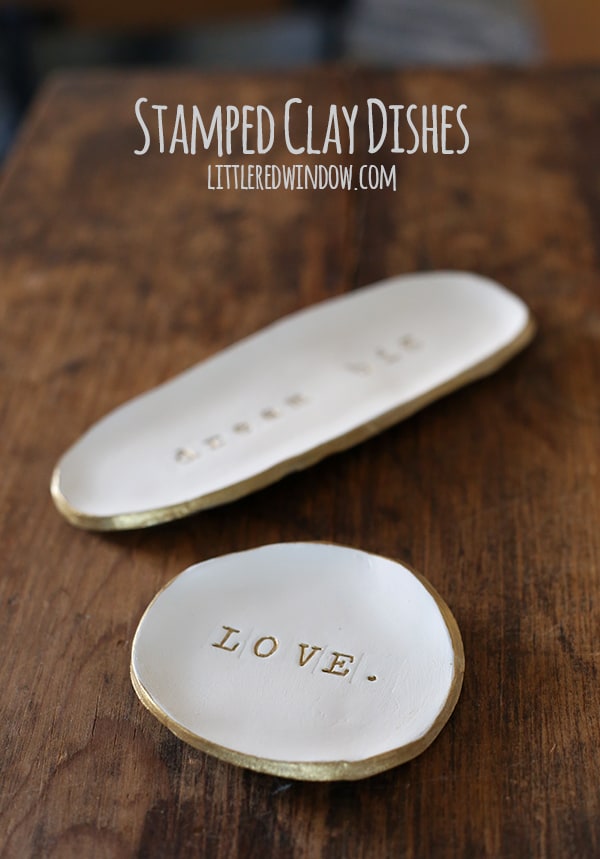
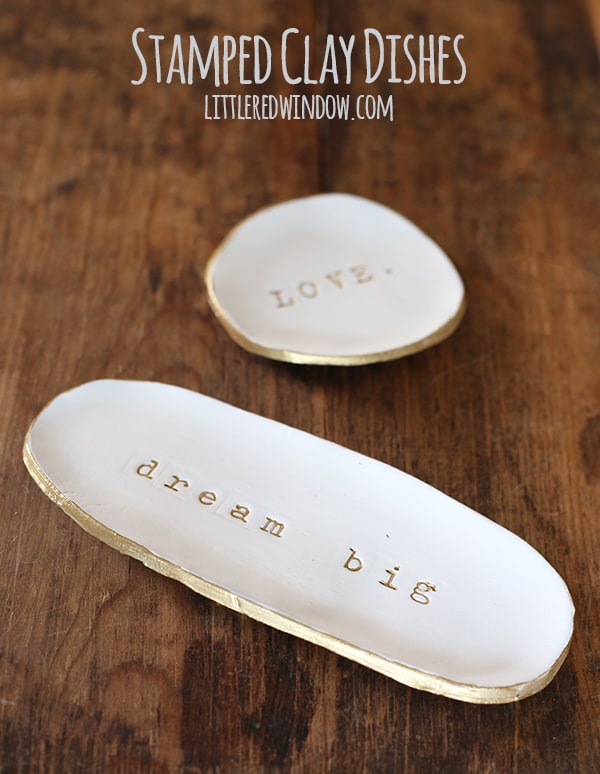
Use alphabet stamps to create pretty personalized trinket dishes!
Ok, if we’re being totally honest right now, my house is kind of overrun with trinket dishes at the moment (anyone familiar with my favorite Mitch Hedburg joke? “My apartment is infested with koala bears. It’s the cutest infestation ever…”). Anyway, I probably should start giving some of them away as gifts or something. However in our house they’re actually pretty handy because I happen to be married to someone who tends to leave said trinkets all over the place. I’m constantly finding piles of change, collar stays, thumb drives, earbuds and extra pens (omg, the pens!) all over the place. So at least if they’re sitting on a cute little trinket dish on the bookshelf it looks less like they were randomly discarded and more like we intended it? Maybe? (Or maybe that’s clutter rationalization. I shudder to think what Marie Kondo would think about this…) Anyway, a certain adorable someone is about to become mobile and we’re used to a fairly well behaved 5 year old (this is the same child who rarely, if ever, put anything in his mouth that wasn’t food, even as a baby) so we really need to get a handle on it. Bring on the trinket dishes! Contain the clutter and choking hazards!
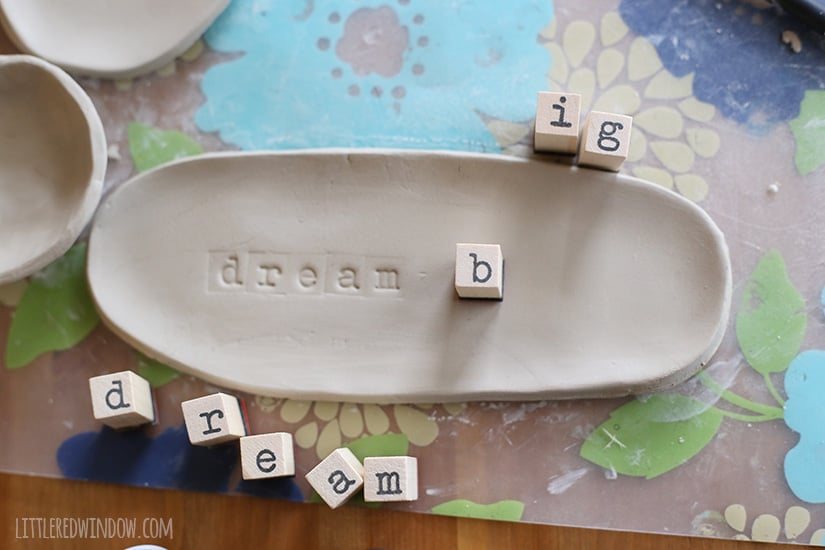
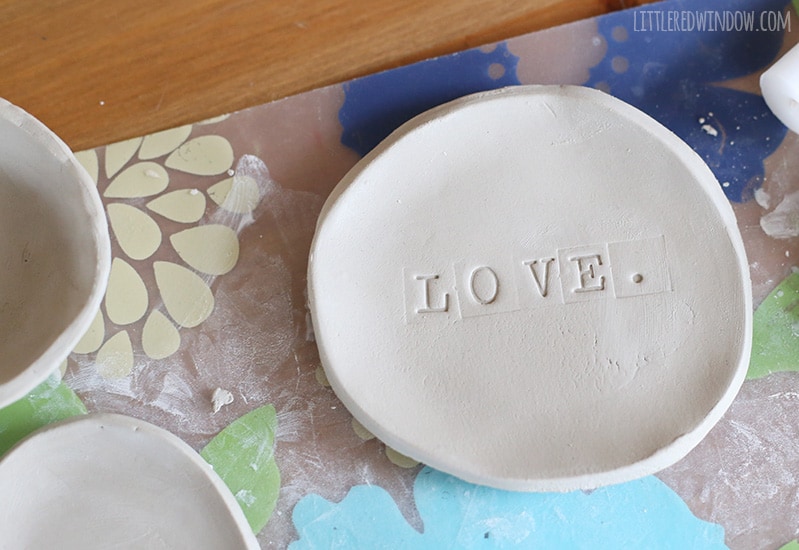
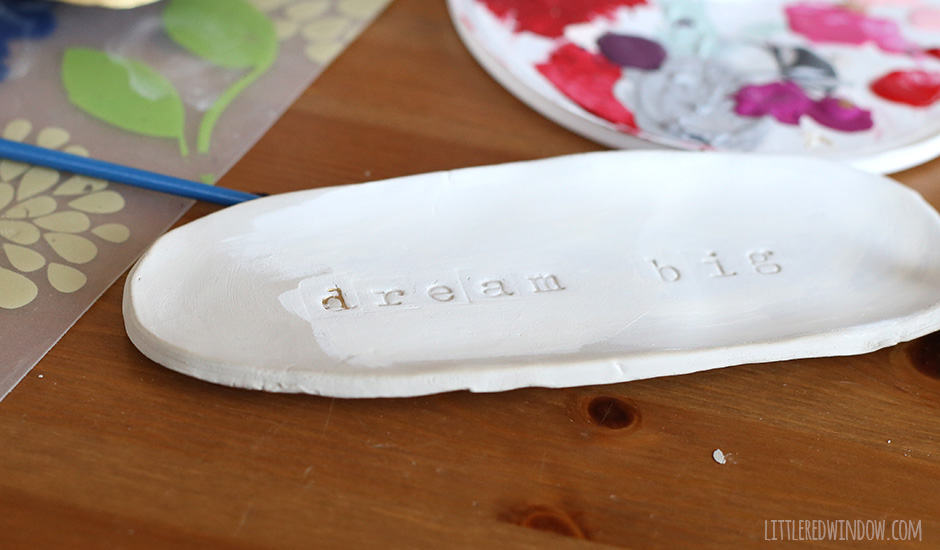
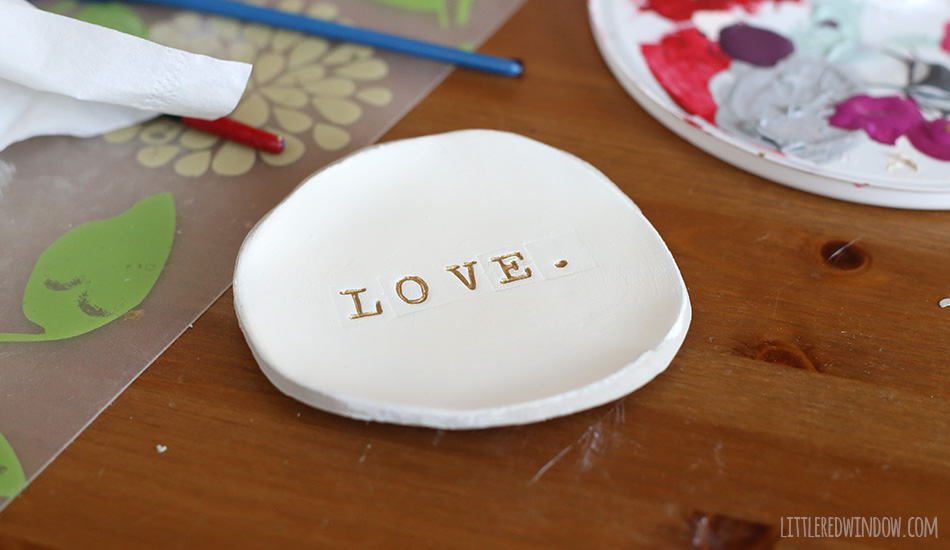
Anyway, my clay obsession continues and the other weekend, while playing with clay I whipped up these adorable stamped trinket dishes. (You kinda have to use all the clay in the package once it’s open, know what I mean? Oh darn! *sarcasm* ) But they were super super easy to make and I think really would make a great gift if you personalized them with a meaningful word or name for someone you love, don’t you think? Here’s how to make your own:
Stamped Clay Trinket Dishes
Creamy white acrylic craft paint
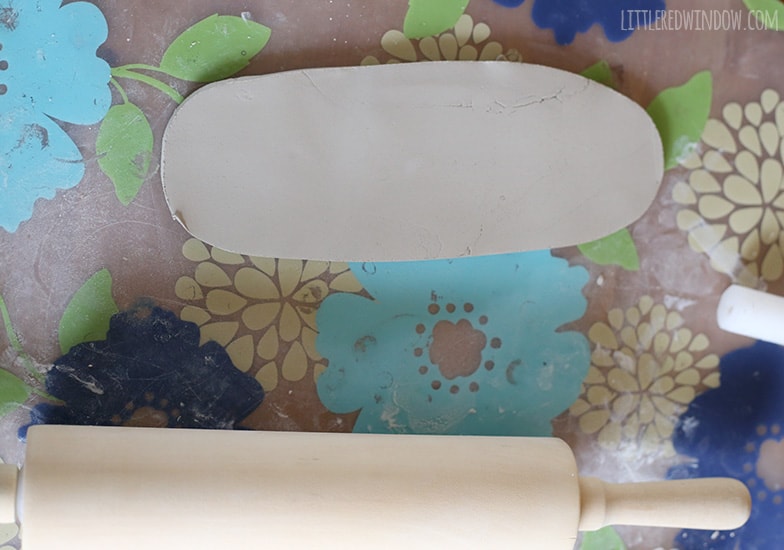
1. Roll your clay out to about 1/4″ thickness and use a craft knife or clay tools to cut it into whatever shape you want. I prefer mine to look irregular and handmade, but you could certainly trace a drinking glass or a plate or something.
If you liked this, you may also like some of my other posts…
- 10 Tips for Organizing Your Craft Supplies On a Budget - April 25, 2024
- Rib Zag Hat Knitting Pattern - April 23, 2024
- Double Stockinette Stitch Knitting Pattern: Easy How To for Beginners - April 18, 2024




Leave a Reply