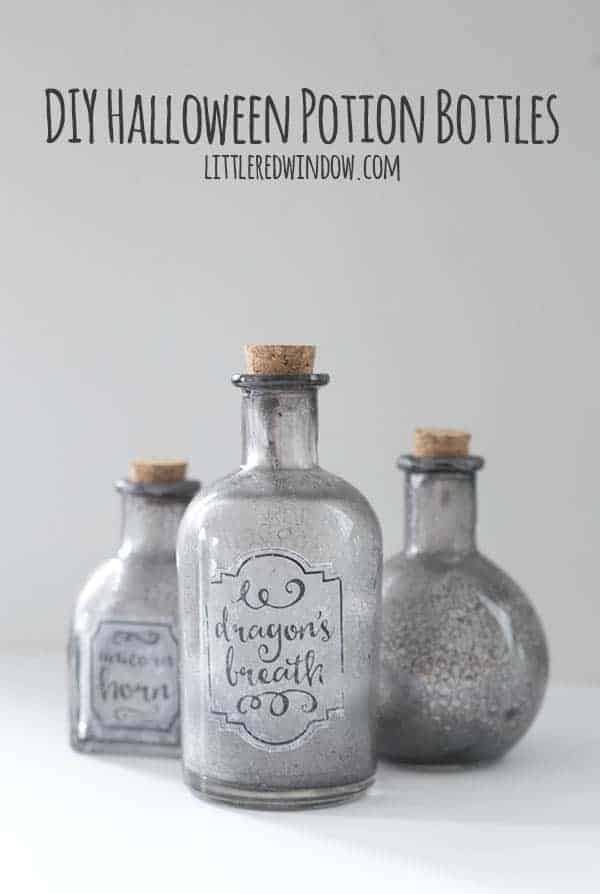
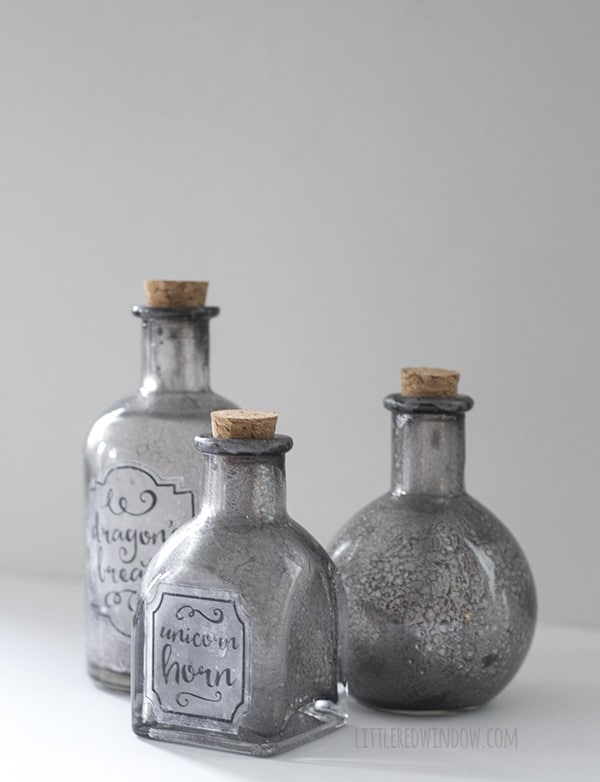
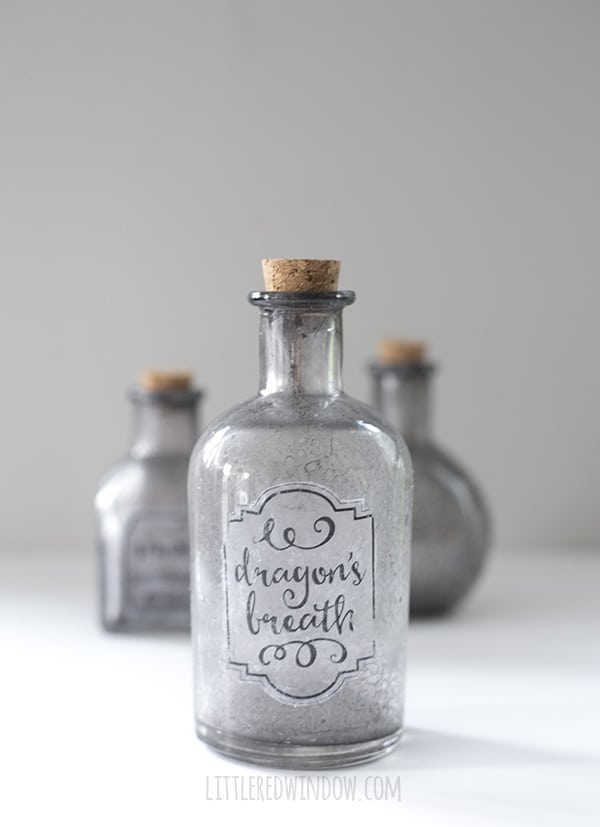
Add some creepiness to your Halloween decor with these spooooky DIY Halloween Potion Bottles! There’s a free download so you can print your own potion labels!
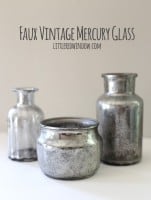
You guys, I just LOVE how these Halloween potion bottles turned out. And I love holiday decor that doesn’t scream HOLIDAY! Like at first glance these could just be nice mercury glass bottles but then, when you look closer…
Anyway, I’ve been wanting some spooky witch’s potion bottle forever and I finally got around to making some.
I recently watch Bedknobs and Broomsticks with O which is one of my all-time favorite movies and I laughed thinking about how her mail order witch class reminds me of all the popular mail order subscription services we have now. But instead of makeup or fancy snacks, she got potion ingredients and spells!
Anyway, these don’t take long to make but you will need to read up on tutorial for how to make Faux Mercury Glass, because these use the same method! Here’s how I did it…
DIY Halloween Potion Bottles Supply List:
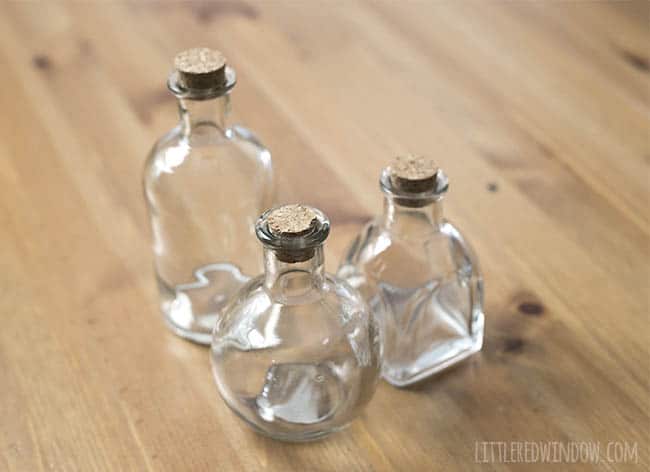
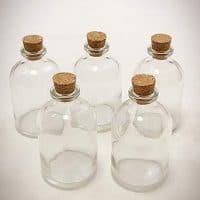
- Glass bottles with cork tops (and straight vertical sides)
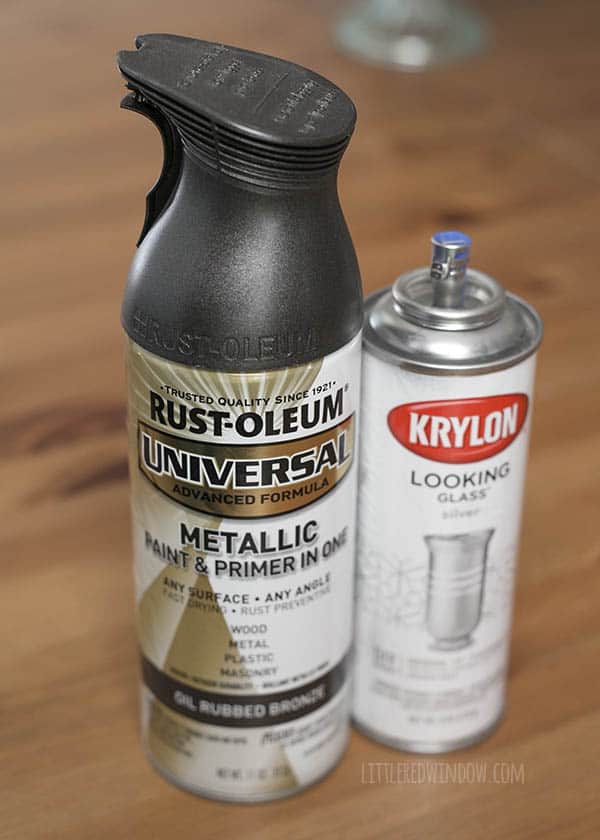
- Oil rubbed bronze spray paint
- Mirror glass spray paint
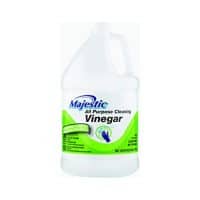
- White vinegar in a spray bottle
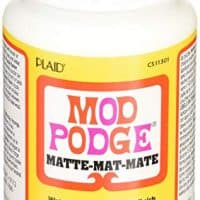
- Matte mod podge
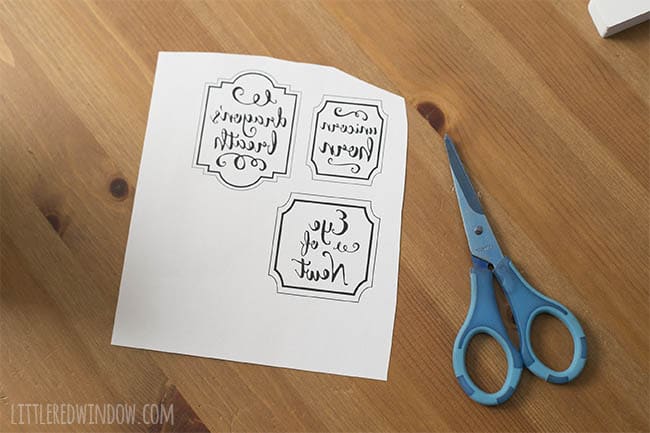
- Printable Potion Labels (print the page with backwards text for this project, or use the other page for any other crafty Halloween project)
DIY Halloween Potion Bottles Instructions:
***IMPORTANT*** I have provided both forward and reversed text labels, for this method of image transfer you need to print the page with the text BACKWARDS or it will not work!
1 . First go read my Faux mercury glass tutorial. Go ahead, I’ll wait…
Ok, then take the corks out of your bottles, set them aside and paint the insides of the bottles following that tutorial. The only thing I did differently with these bottles was use a bit more oil rubbed bronze paint and a little less mirror paint.
2. Next, DOWNLOAD and print your labels on a laser printer. This image transfer will not work if you use an inkjet printer. (If you don’t have a laser printer, print your labels at a copy shop).
***IMPORTANT*** I have provided both forward and reversed text labels, for this method of image transfer you need to print the page with the text BACKWARDS or it will not work!
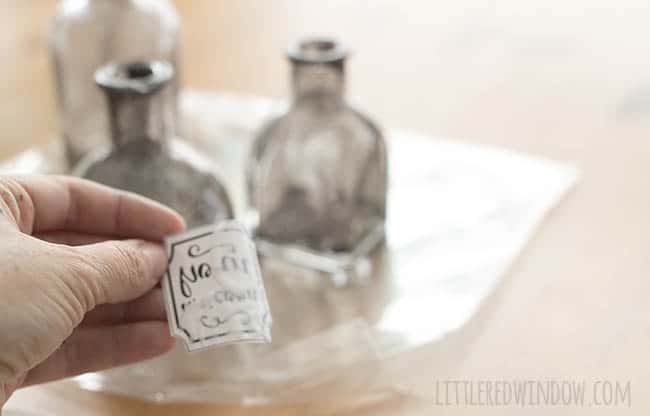
4. Carefully cut out your labels with scissors and then apply a fairly thick coat of mod podge to the labels.
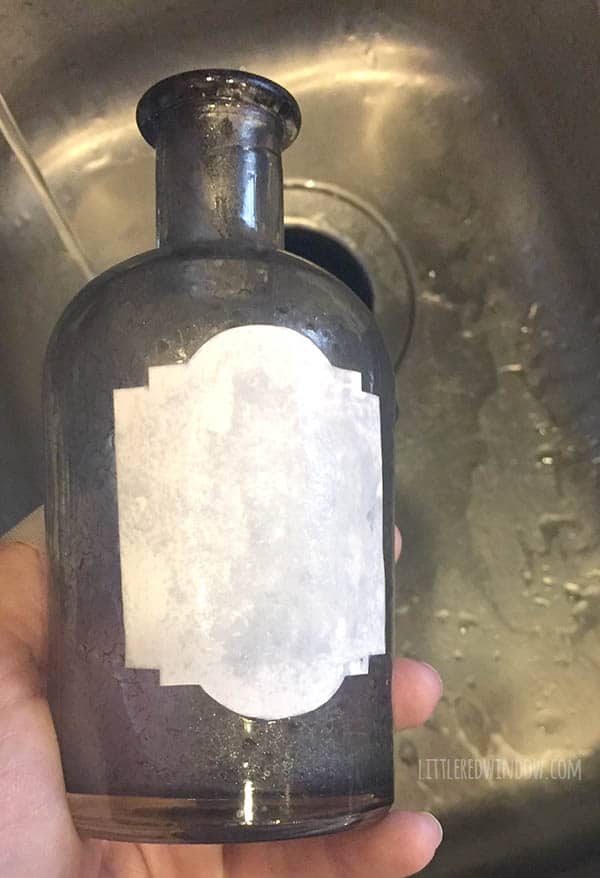
Finally apply them to the glass and smooth out any air bubbles or mod podge that oozes out from the edges.
While round bottles are ok, make sure they have straight up and down vertical sides. That globe shaped bottle in the background did not work!
5. Let your labels dry at least 8 hours, preferably overnight.
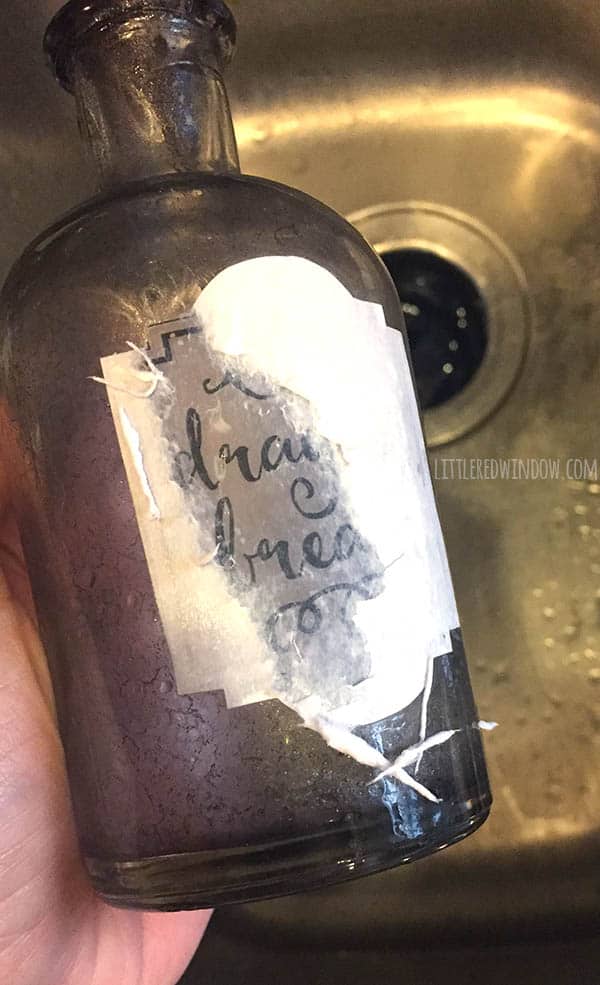
6. When the labels are dry, wet them with water and then use a fingertip to gently start to rub away the paper. It may take a few passes to get all the paper off and be really gentle so you don’t remove the image transfer as well!
7. If you want, you can apply another coat of matte mod podge over just the label part to protect it a bit better. And that’s it! Enjoy your spooky halloween potion bottles!
Make your own spooky faux mercury glass Halloween Potion Bottles with this easy step by step tutorial! As an Amazon Associate and member of other affiliate programs, I earn from qualifying purchases.DIY Spooky Halloween Potion Bottles (FREE download!)
Materials
Instructions
Recommended Products
- Double Stockinette Stitch Knitting Pattern: Easy How To for Beginners - April 18, 2024
- Fiery Fades Hats Knitting Pattern - April 16, 2024
- Flower Pillow Knitting Pattern - April 11, 2024


Anne says
Thank you!