Have a little fun doing laundry with this cute DIY Laundry Room Change is Good Change Jar!

My husband, while not always the most organized, happens to have 2 excellent habits. Number one, he never leaves the toilet seat up. And number two, he always empties his pockets before he puts his clothes in the laundry hamper (or you know, takes them off and throws them on the back of a chair. Potato, potahto…) So I rarely end up fishing coins and other random things out of the dryer but I do end up with piles of spare change on shelves in the laundry area, bathrooms and bedrooms. In my quest to make our laundry room/ laundry hallway less depressing, I thought a cute spare change jar might help. I found a nice square sided jar at the craft store and thought what better to have a spare change jar say than, “Change is Good” Ha! I mean both in terms of coins and in terms of life choices, it’s an inspirational pun! And you know I can’t possibly resist a good pun. So here’s how I made it…
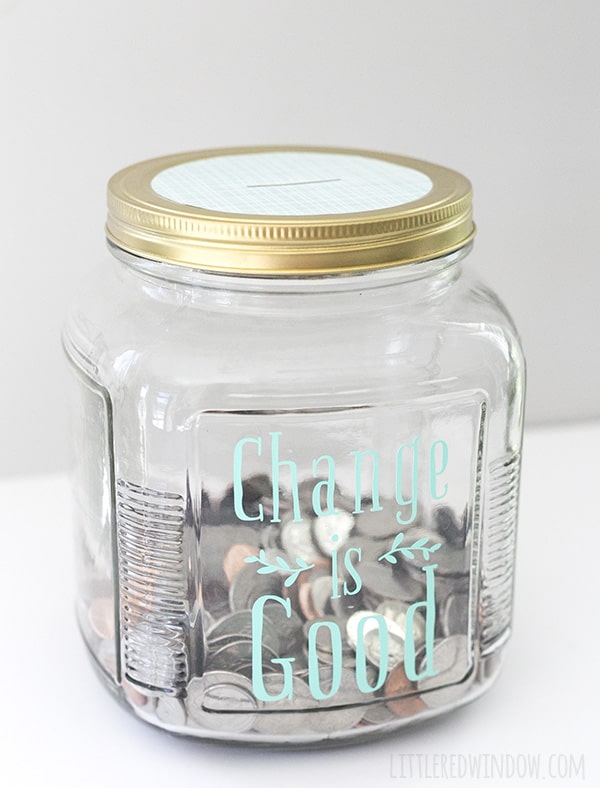
DIY Laundry Room Change is Good Change Jar
Glass jar with flat-ish sides and metal lid
Electronic Cutting machine like Silhouette or Cricut
Clear contact paper or transfer tape
1 . The first step was to cut a slit in the top of the metal jar lid to put the coins through. I didn’t have the proper tools for this and used a utility knife and as a result my cut looks AWFUL. So do as I say, not as I do. Mark a rectangular slit big enough to fit coins in the center of the lid and punch or drill a couple holes at the corners. Then use metal snips to cut the slit out. Finally, file the edges so they aren’t sharp. (Seriously, I told you my cut was terrible. Boo, Cassie! See, I do make mistakes too. But if yours isn’t perfect either, don’t worry, we’ll cover it up later….)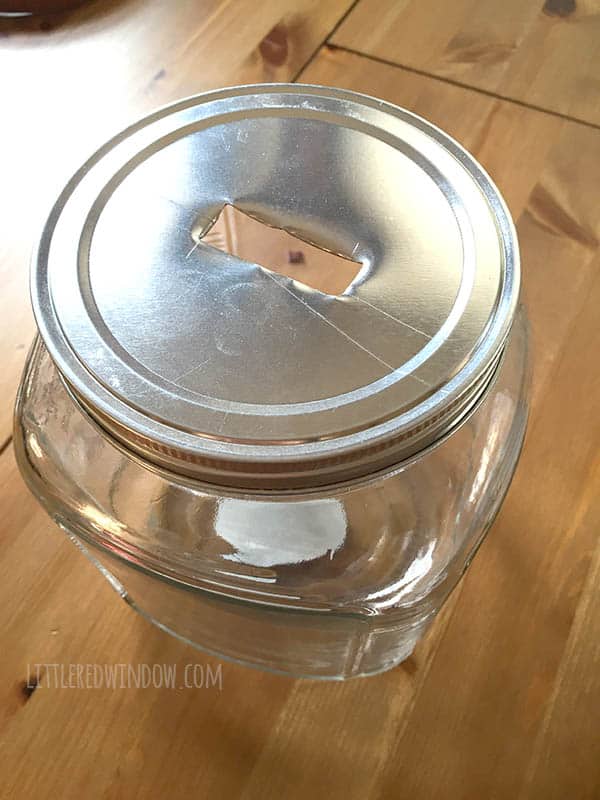
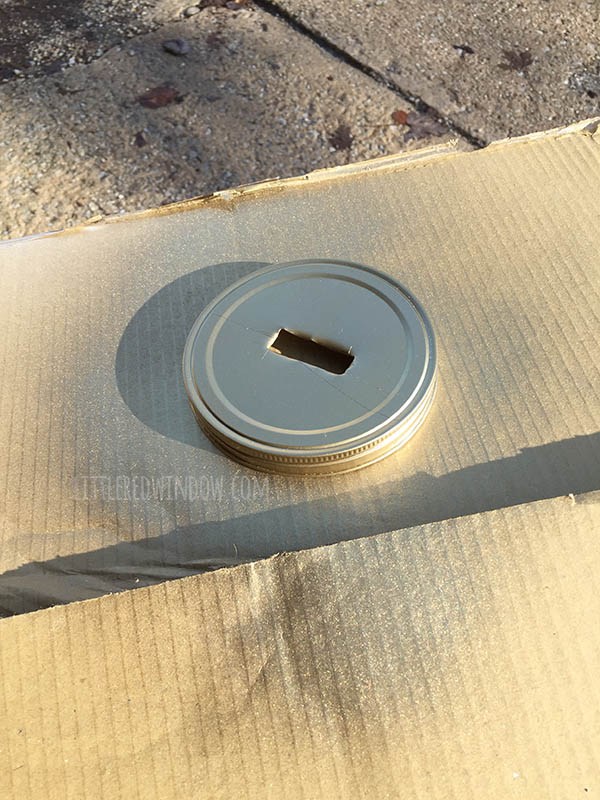
2 . Take the jar lid outside and spray paint it gold. Or whatever other color you want, it’s up to you!
3 . While the paint is drying, measure the sides of your jar and set up your cut file in your cutting machine software. I laid mine out to say, “Change is Good” with a few little floral branches for fun. Then cut the design using the standard vinyl cut settings that come with your machine. If you use a silhouette, I almost always move my speed down to 1 and overcut by a tiny amount when I am cutting more complicated designs like this. (The font I used is called Boho Serif)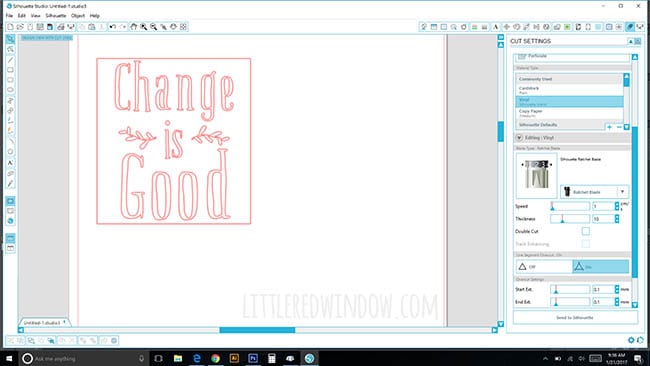
4. Peel away the parts of the design that you won’t need (aka the negative space).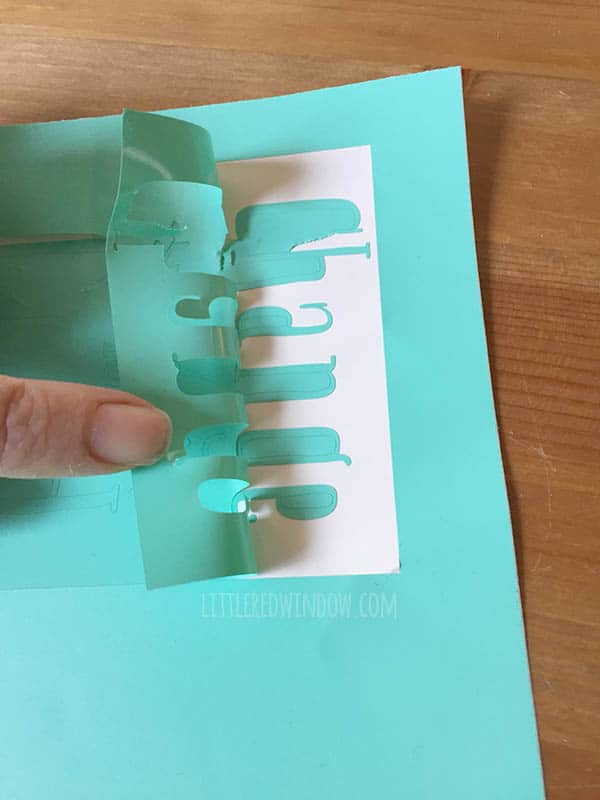
5. Then lay a piece of clear contact paper or transfer tape down on top of your design, rub all over and then carefully lift it back up, it should pick up the vinyl design. 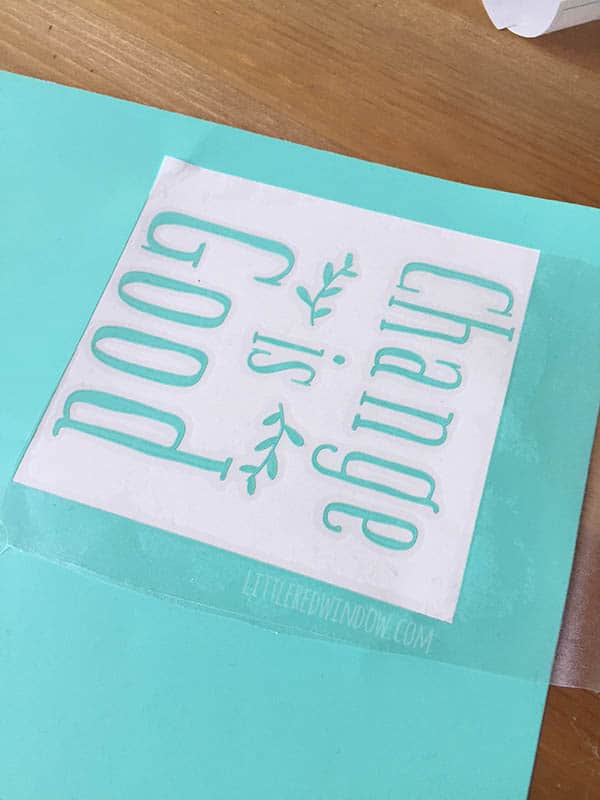
6. Transfer the design to your jar, rub all over again and then carefully peel away the contact paper again, leaving the vinyl adhered to the jar!
7. When the paint on the lid is dry, measure the size of the top of the jar. Mine happened to be the same size as a coffee mug so I used that to trace a circle on my cardstock.
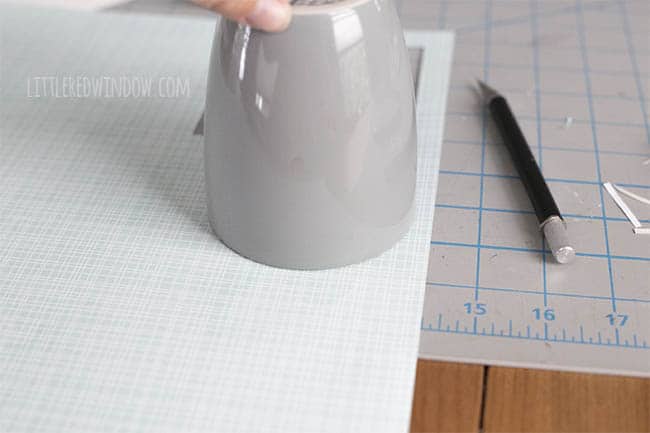
8. Cut the circle out and then draw and cut a coin slot in the middle, just slightly smaller than the coin slot you already cut in the jar lid. This will cover up any rough edges. Hot glue the cardstock circle to the top of the jar. (You can also mod podge on top of this to protect it if you want).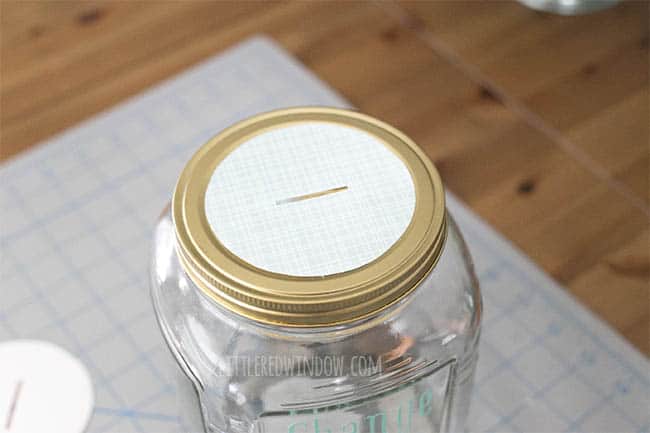
And that’s it! Your Change is Good Change Jar is finished! Collect all that spare change and laugh a your own lame joke as you save! 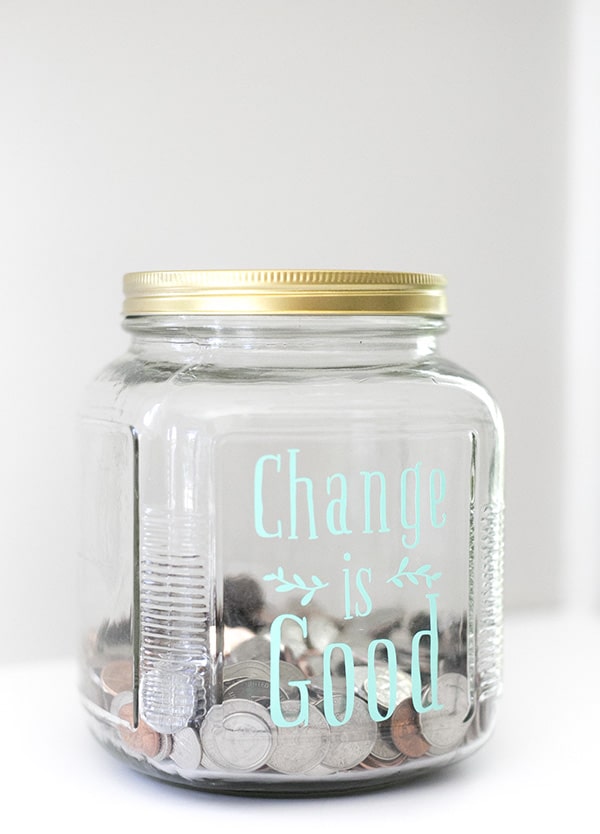
If you liked this, you may also like some of my other posts…


- Crayon Scarf Knitting Pattern - July 21, 2026
- Pencil Scarf Knitting Pattern - July 7, 2026
- Tri-Color Linen Stitch Hat Knitting Pattern - June 22, 2026
Leave a Reply