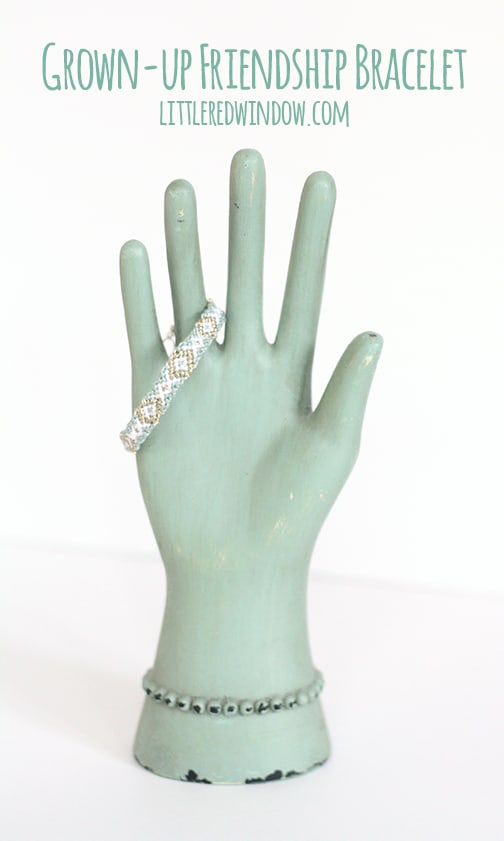
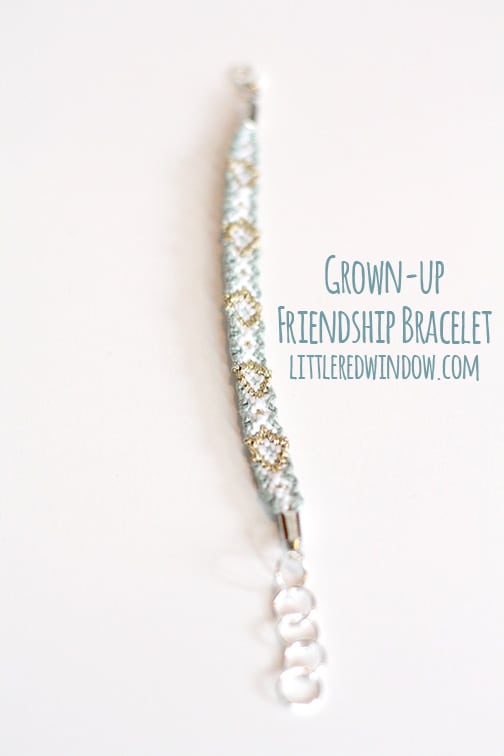
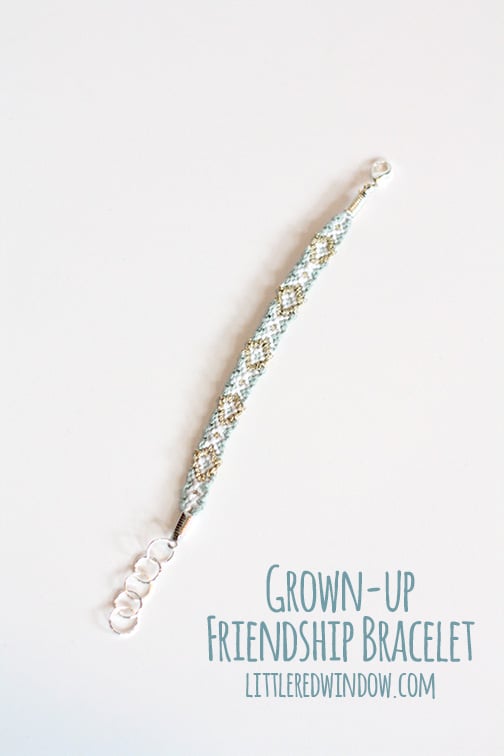
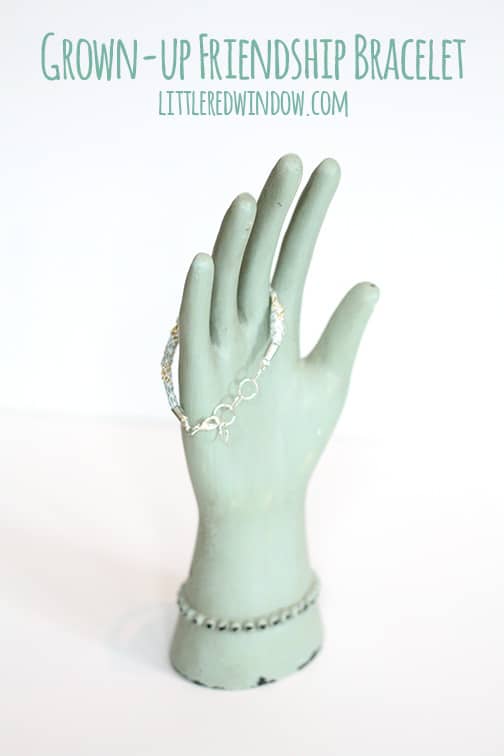
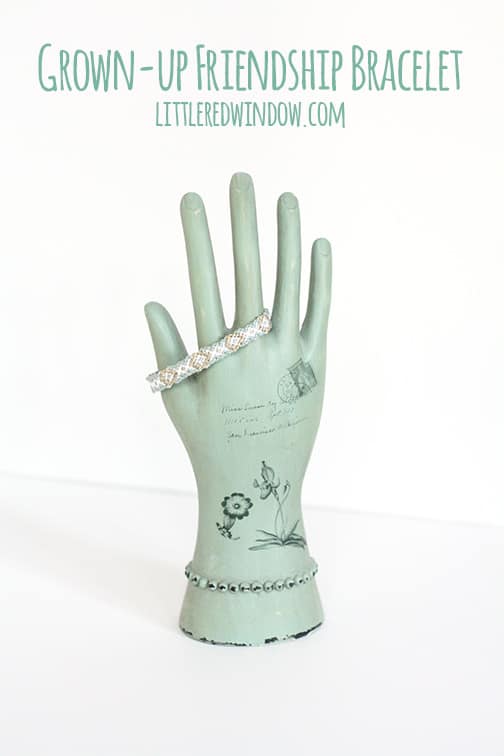
Make your own grown-up Friendship Bracelet in no time!
Did you notice that friendship bracelets are totally back in? I loved making them as a kid although I know I just did the kind that are only one kind of knot from left to right over and over again. I had no idea what other options there were. But I’ve been seeing some really cute bracelets lately with more complicated patterns and I was wondering how to make them. So I did some googling and found friendship-bracelets.net which seems to be the holy grail of friendship bracelet patterns. You can even make your own patterns! Anyway, I wanted to share with you how I made my new bracelet a little more grown-up because I think I’m a little to old to be wearing them ’til they fall off nowadays.
Grown-up Friendship Bracelet
3 colors of Embroidery Floss
Fold Over Cord Crimps
(size needed depends on how many strands of floss your bracelet uses)
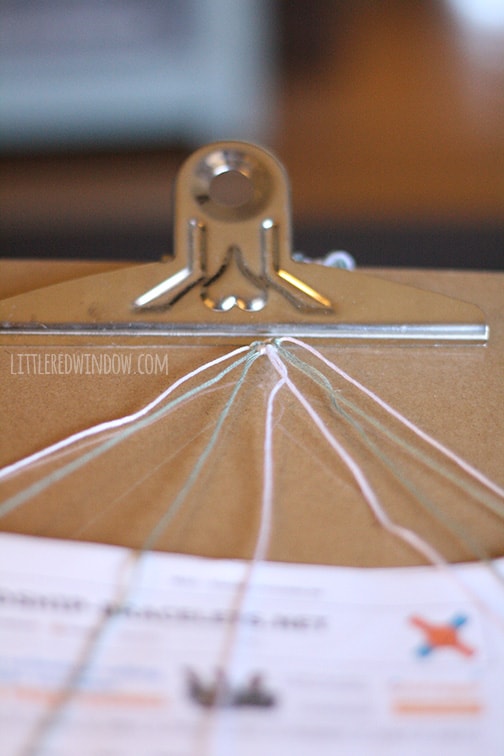
1. First pick a pattern and cut your embroidery floss. I used this pattern which used 8 strands of floss. From what I read and googled, 90cm was a good length for a regular bracelet and it ended up being more than enough. I secured one end on a clipboard but the good old safety pin through the knee of your jeans would work as well (is that how you did it as a kid?)
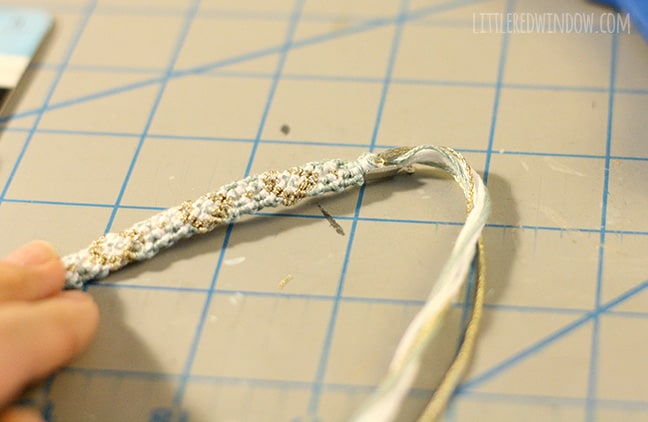
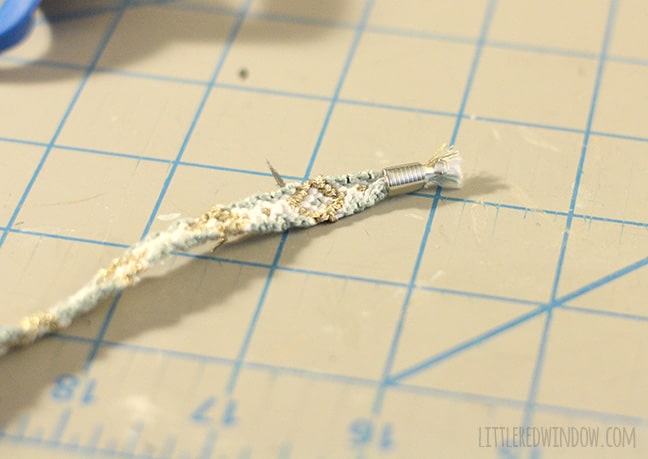
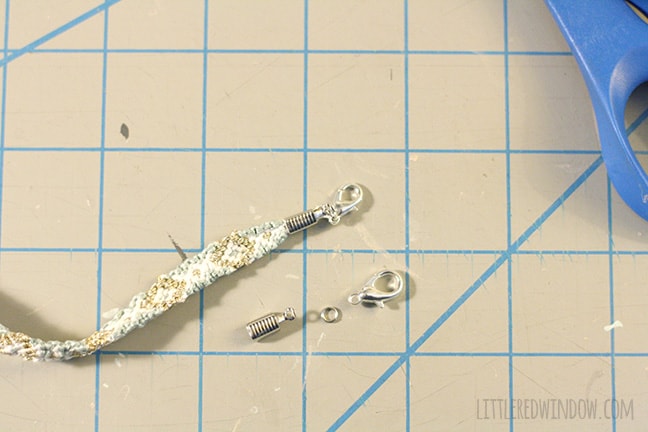
2. When you are finished making your bracelet, use one of the fold over crimp ends at each end. To secure them, lay the knot of the bracelet into the channel. Make sure the nice side faces the front of your bracelet.
4. I added one small jump ring and a lobster clasp to one end. If you need tutorials on basic jewelry making techniques, I don’t have enough hands to take pictures of these steps but here are some good explanations!
If you liked this, you may also like some of my other posts…
- 10 Tips for Organizing Your Craft Supplies On a Budget - April 25, 2024
- Rib Zag Hat Knitting Pattern - April 23, 2024
- Double Stockinette Stitch Knitting Pattern: Easy How To for Beginners - April 18, 2024


Becky says
Love this! I love these kind of bracelets.
Emily says
Amazing! Now all you need to do is exchange them with all your friends!! (haha. wink. wink.)
Cassie May says
I totally got the idea from Nichole so I’d say that’s appropriate! 😉