You don’t need a fancy craft cutting machine for this super easy vinyl project, this adorable Santa Party Bucket!
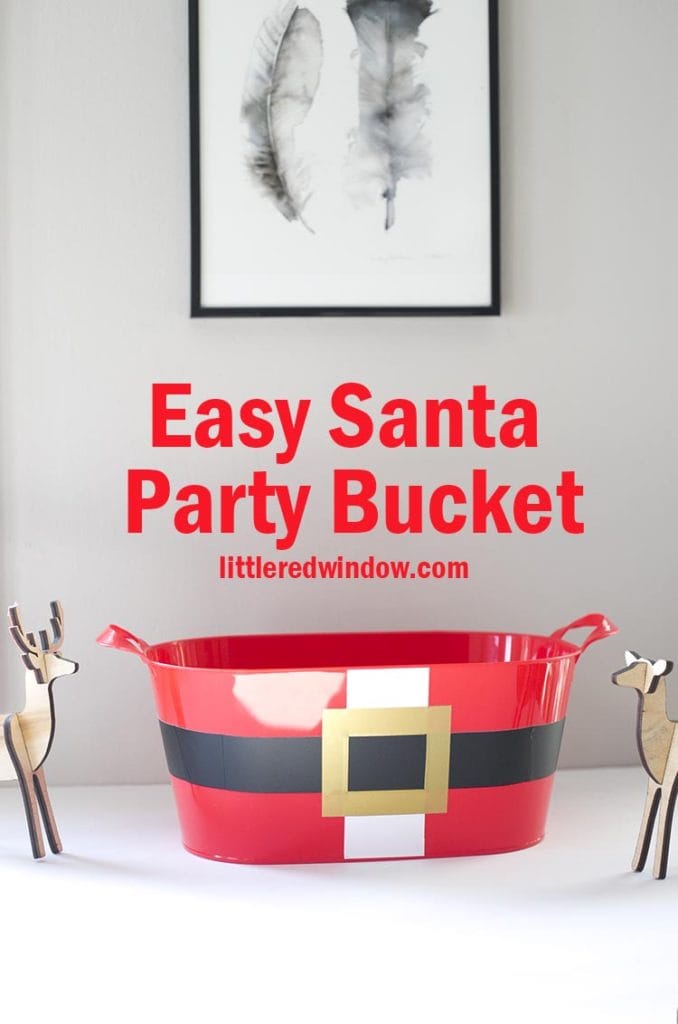
Friends, last week, I was having one of those weeks where ALL of my technology went wrong. Our power went out. My work email inbox was full even though I had no idea it had a limit. And I pulled out my Silhouette Cameo to use for another project and there was some kind of issue with the machine and Windows 10 that made it just not work.
I spent 3 hours fixing it. And it does work now after some excellent customer service help from the Silhouette people. But luckily, even if I hadn’t been able to fix it, I still would have been able to do make this SUPER cute Santa Party Bucket in about 10 minutes. By hand.
I know! Did you know you can do vinyl projects without a fancy cutting machine? You DO NOT need a Silhouette or Cricut. And I know there are lots of reasons you might not have one. So don’t despair!
Also, can we talk for a second about what this cute little party bucket IS? Is it a drinks bucket? A party bucket? A drinks tub? A bowl? What would you guys call it? I will probably put ice in it and fill it with drinks but it also looks super cute filled with pears!
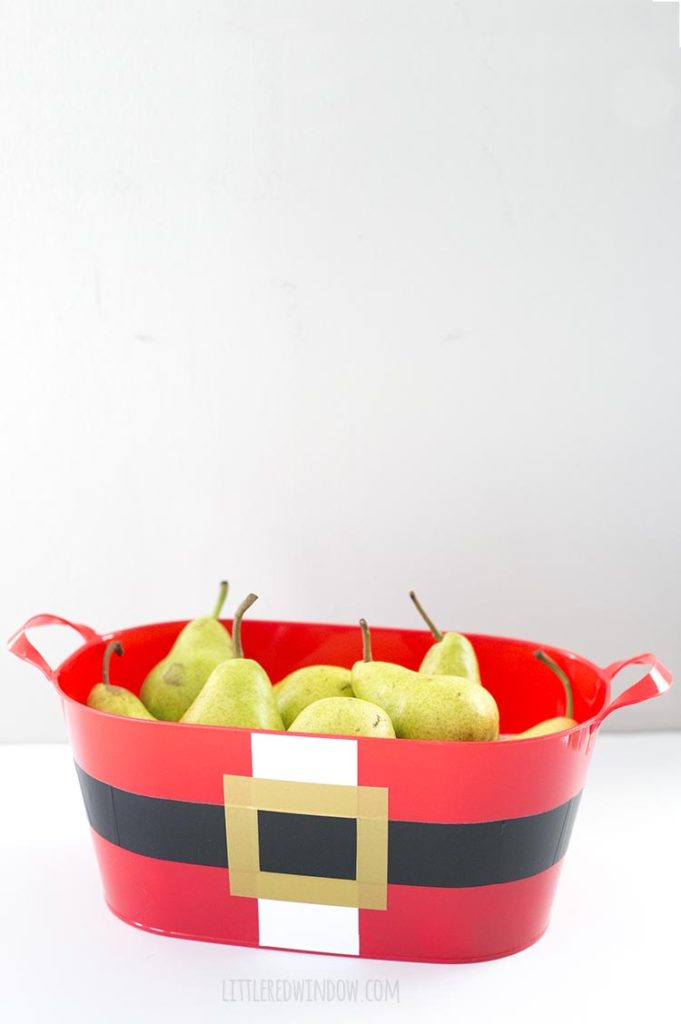
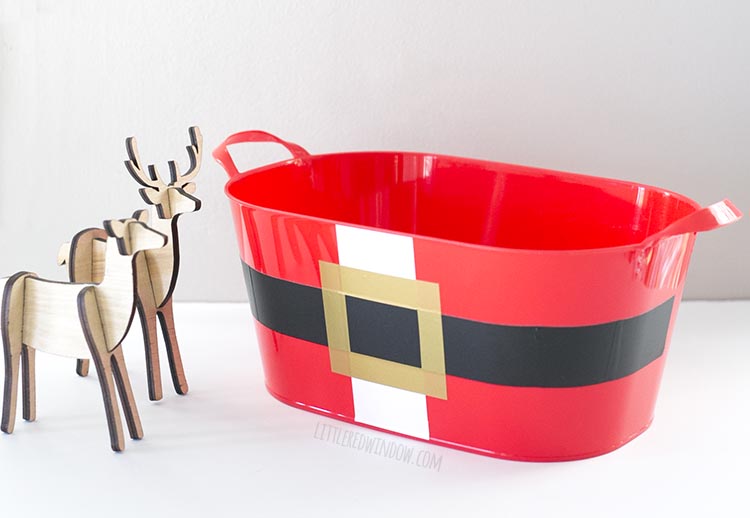
Whatever you call it, this Santa party bucket is a total Christmas craft win!
Tips & Tricks for making an Easy Santa Party Bucket
- Choose permanent vinyl (like Oracal 651) if you want this project to last, if you might want to use your party bucket for something else, choose a repositionable vinyl (like Oracal 631).
- Make sure your craft knife has a brand new blade.
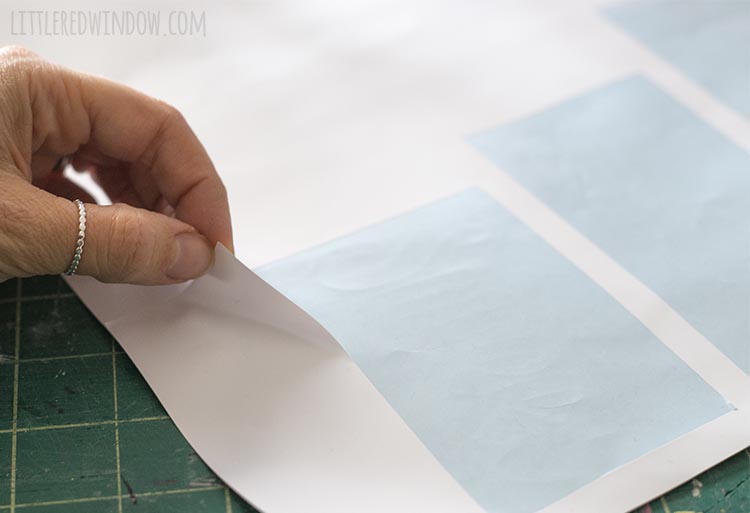
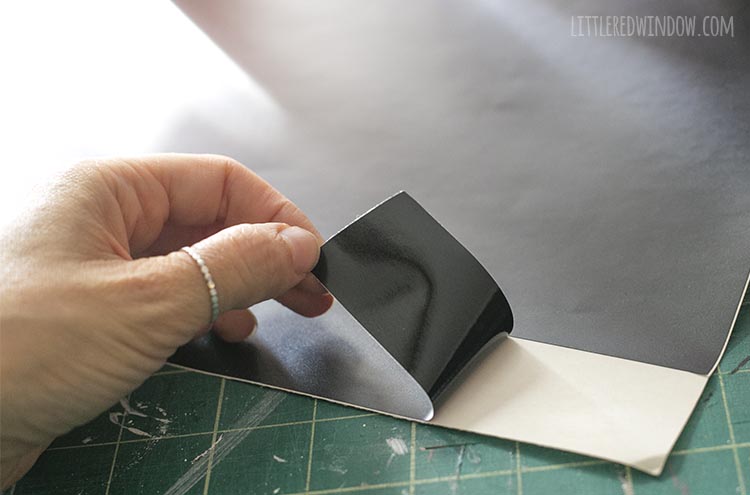
- Try to cut through only the vinyl layer with your knife, not all the way through the paper backing.
- Use a metal ruler to make sure your edges are super straight.
- Hand wash your Santa party bucket to make sure the design stays put.
Easy Santa Party Bucket Supply List
Santa Party Bucket Instructions
- Make sure your drink tub is clean and dry.
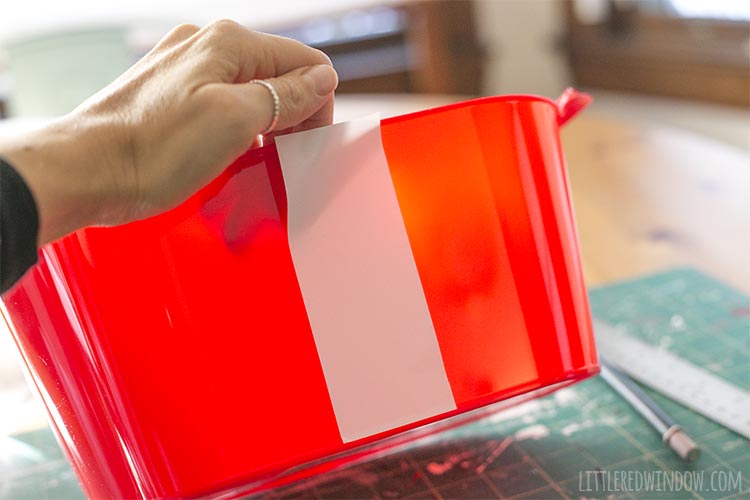
- Measure the height of the tub at the front center and cut a two inch side stripe of white vinyl. Try to cut only through the vinyl so you can more easily peel it from the paper backing.
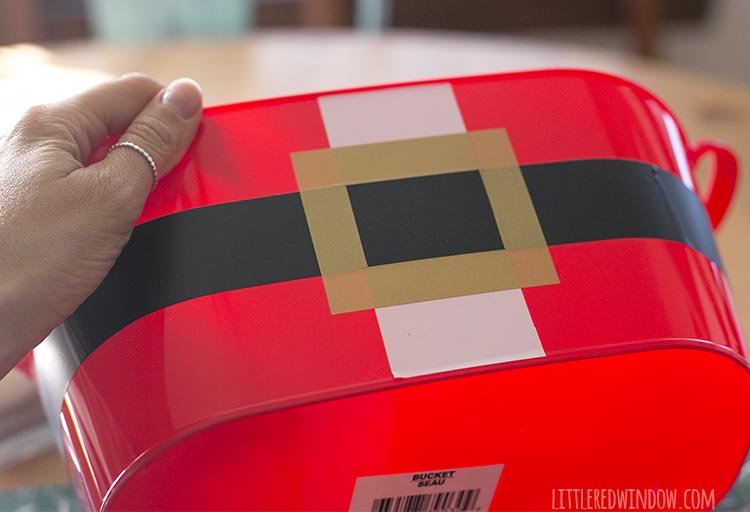
- Apply the white stripe to the front center of the party bucket laying down the top edge first and carefully smoothing it as you lay it down to make sure there aren’t any bubbles.
- Next measure the circumference of you bucket about halfway up. I actually chose to have my Santa’s belt only go about 2/3 of the way around the bucket, stopping just around the back. This made it MUCH easier to apply and my bucket had the words “Merry Christmas” on the other side so now I can turn it around if I want.
- Cut a strip of black vinyl about 1 1/2 inches wide and the length that you measured.
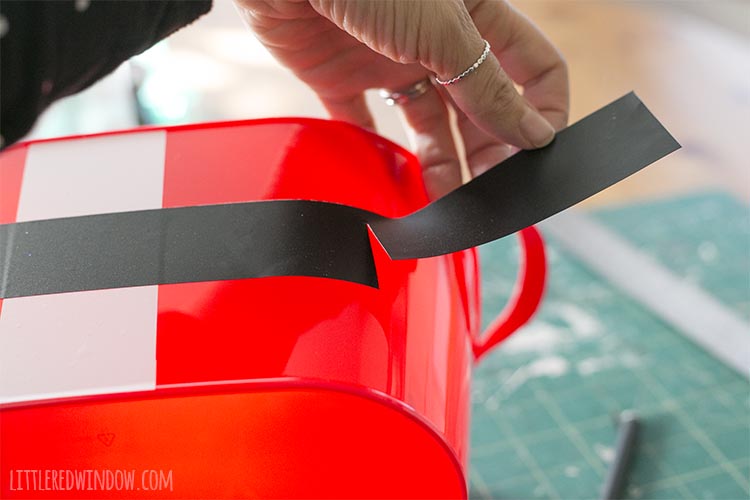
- Carefully peel the black strip from the paper apply it to the tub. For the belt, it worked best for me to apply it from the center (where it crossed the white stripe) going out, smoothing out bubbles as you go.
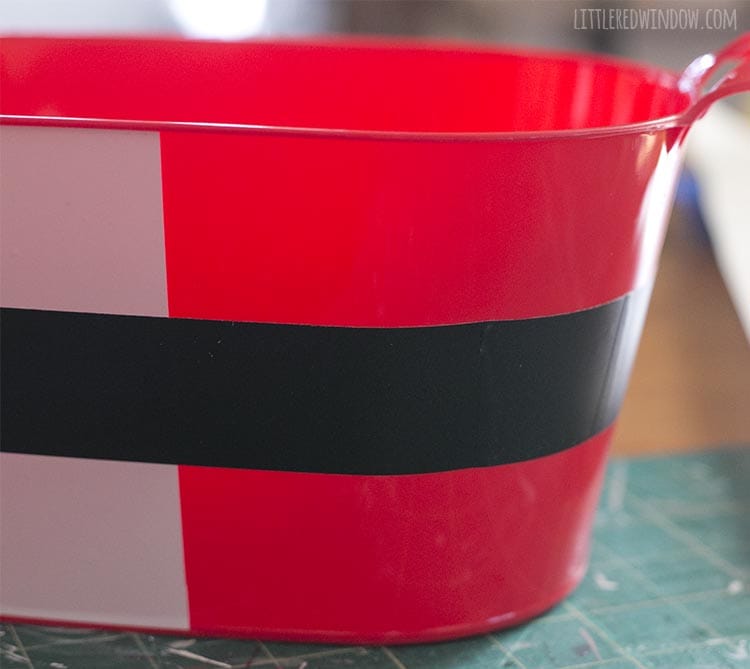
- Because our party buckets don’t have straight up and down sides, if you just apply the belt strip straight, it will curve weird when you get to the sides. Instead, when you get to the curvy part, use your knife to carefully cut a vertical slit ALMOST all the way through the strip. Then overlap the bottom edges of that slit to adjust the belt so it stays horizontal as it goes around the corner.
- The slit will pretty much be invisible in the finished bucket because of the dark black matte vinyl. See, how you can’t even see it below?
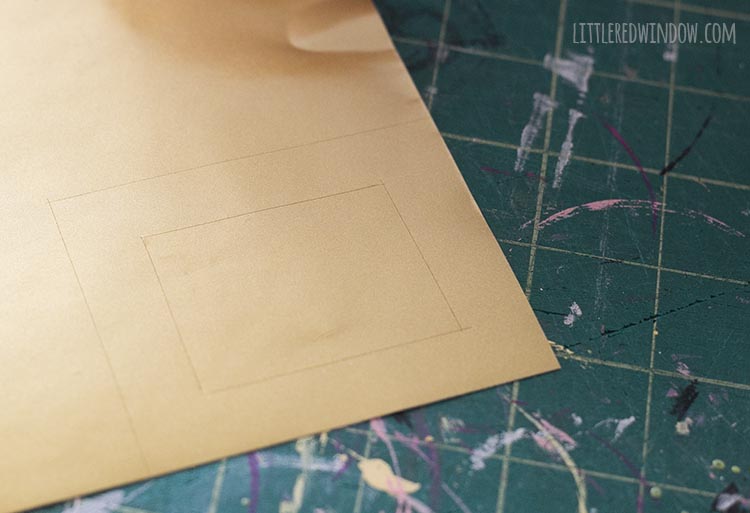
- Finally you’re going to cut a rectangle from the gold vinyl for the buckle. The inside rectangle should be the same width as your black belt and the outer rectangle about 1 inch wider on all sides.
- Carefully peel the gold vinyl from the backing and apply it to the front of the drink tub where the black and gold stripes intersect.
- And that’s it! Enjoy your Easy Santa Party Bucket! Don’t forget to had wash it to make sure your fun vinyl design stays intact!
If you liked this, you may also like some of my other posts…
- Rib Zag Hat Knitting Pattern - April 23, 2024
- Double Stockinette Stitch Knitting Pattern: Easy How To for Beginners - April 18, 2024
- Fiery Fades Hats Knitting Pattern - April 16, 2024




Steve Jefferson says
Hi there,
thank you for this great idea to do with kids! it’s really amazing! Sure they love to make this cute little party bucket with me.