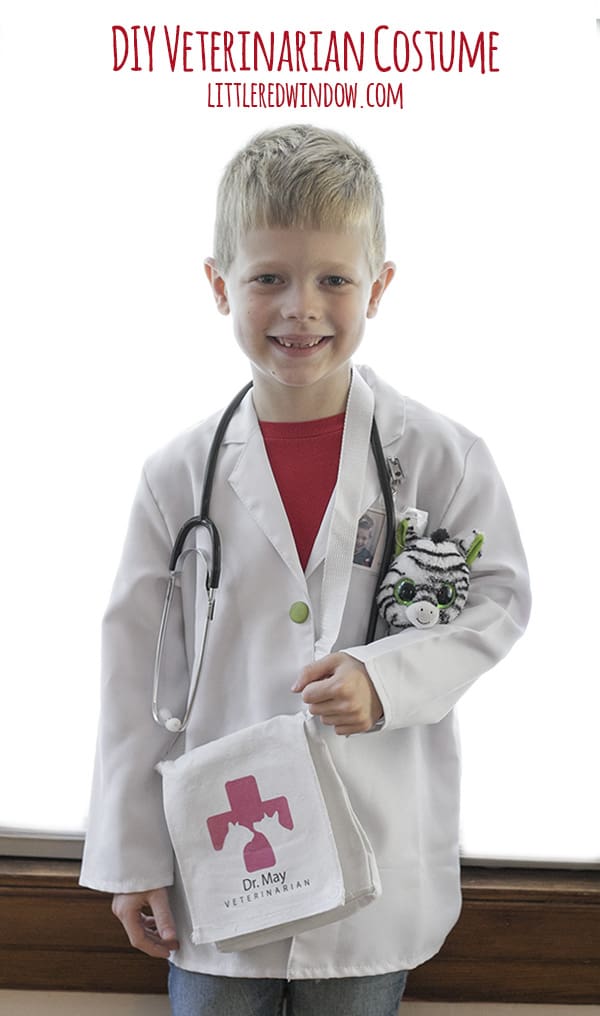
This DIY Veterinarian costume is perfect for your little animal lover for Halloween!
You guys! I hit the Halloween jackpot this year! After several weeks of hints about wanting to be some sort of Ninjago character for Halloween (which is a show/movie/book he has never even seen…) where I sort of shrugged, said “maybe…” and then quickly changed the subject, O finally suggested a Veterinarian costume! Hooray!
I mean, come one, how cute is this guy?! I honestly think he came up with the idea as a loophole to the “no stuffed animals at school” rule, but hey, I’ll take it! I am so in love with Halloween costumes that aren’t commercialized characters and can be made largely with things you already have at home. Actually I didn’t have to buy one single thing to make this! Although, if you don’t have a professional craft stash like I do, you might need to get one or two things. But even so, this was so easy! It took maybe 15 minutes of hands on time, tops! Here’s how I did it…
DIY Veterinarian Costume Supply List
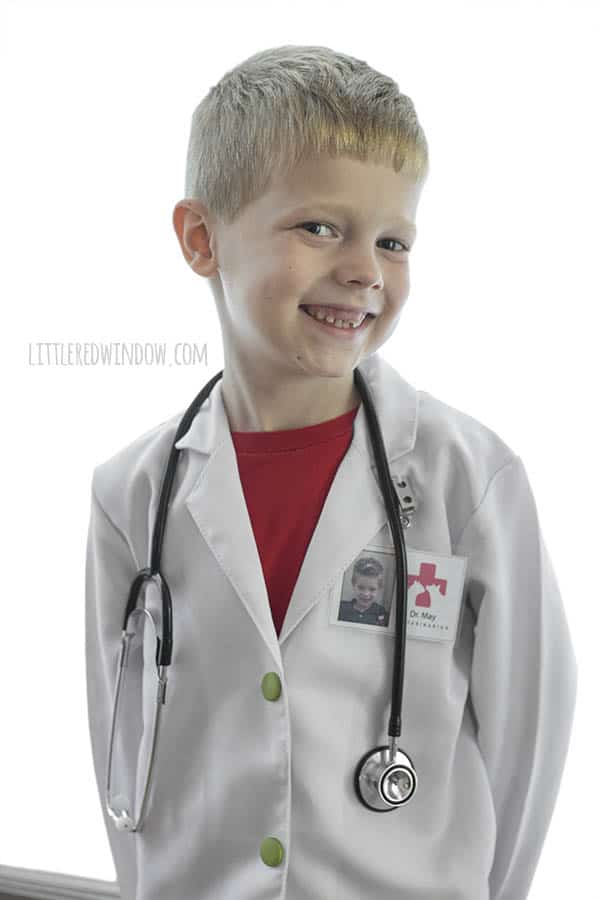
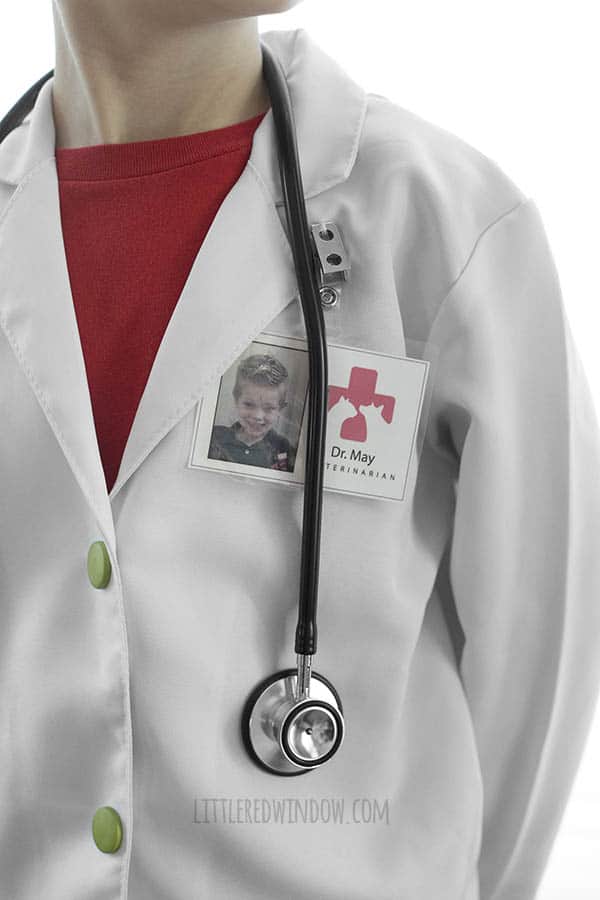
White doctor coat, O is acutally wearing a “scientist” coat but we just covered up the science logo with his name badge.
Stethoscope (we had this in our dress up bin already)
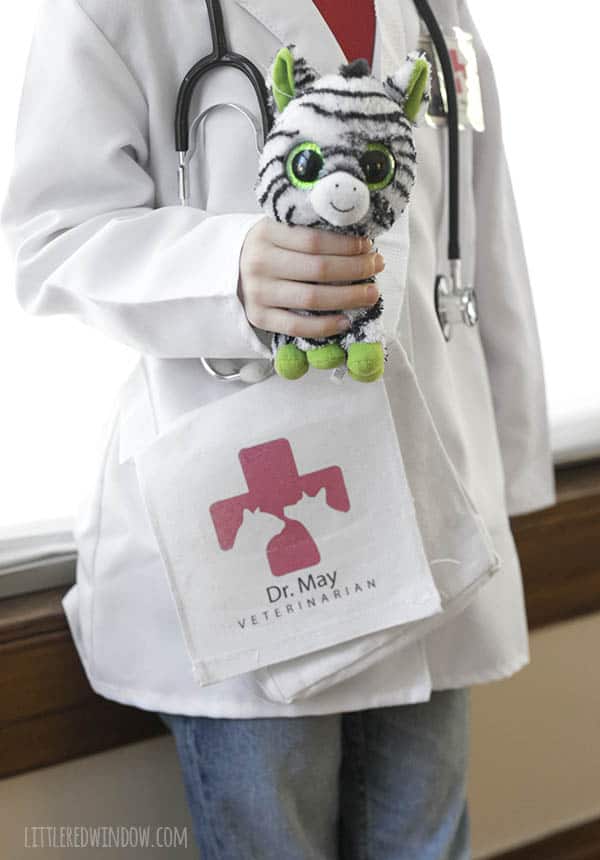
Blank canvas bag ( I bought these messenger style bags from Oriental Trading for O’s Post Office birthday party, but they don’t sell them anymore. Any regular tote bag will do)
Laminator (optional, this is the one I have, works great)
Veterinarian logo, from Freepik
DIY Veterinarian Costume Instructions
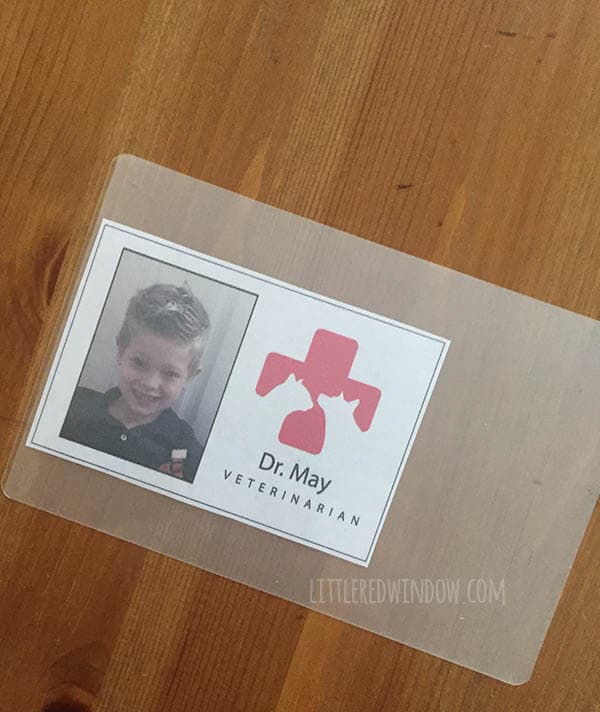
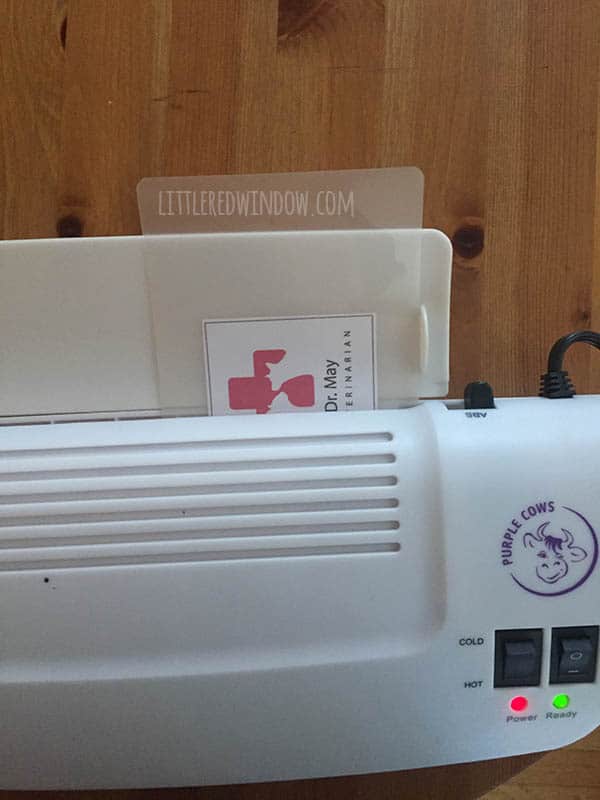
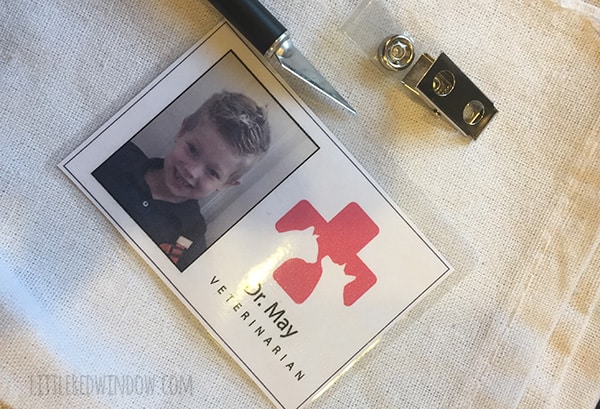
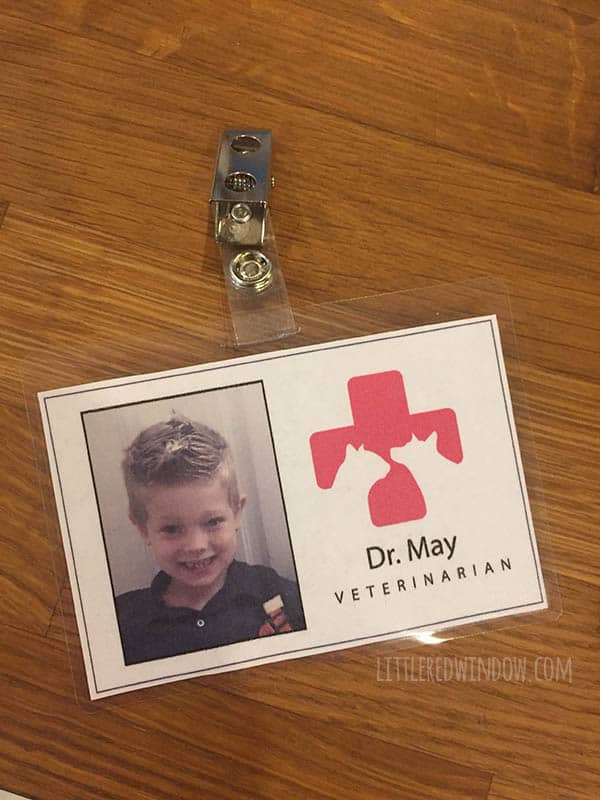
1 . I got this nice veterinarian logo from Freepik (link above) and used it to lay out a cute name badge for O using Illustrator. You can also use any free design software. Then, because I didn’t have a full blank name badge, just the clip from one, I printed it out, cut and it and laminated it. (If you have a full name badge, just skip that step, print your name tag, and insert in the name badge)
2. Then I cut a little slit in the top of the lamination to attach the name badge clip!
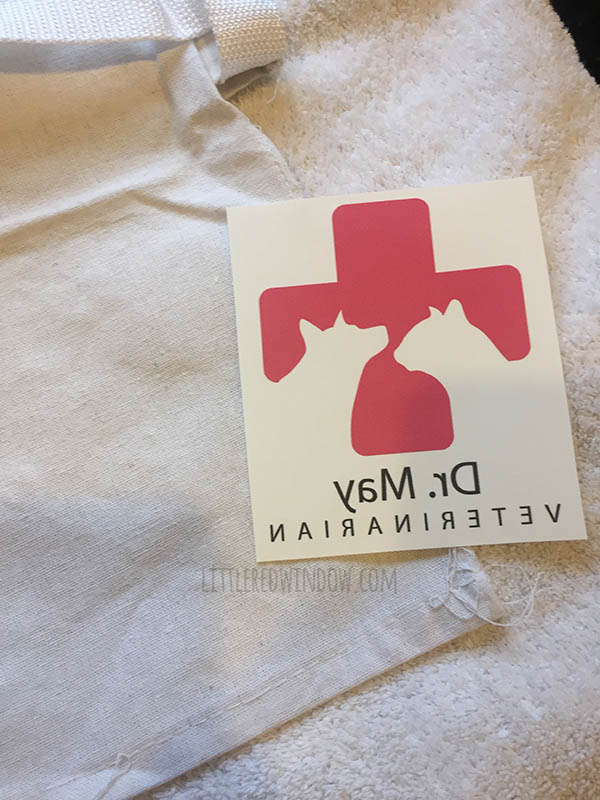
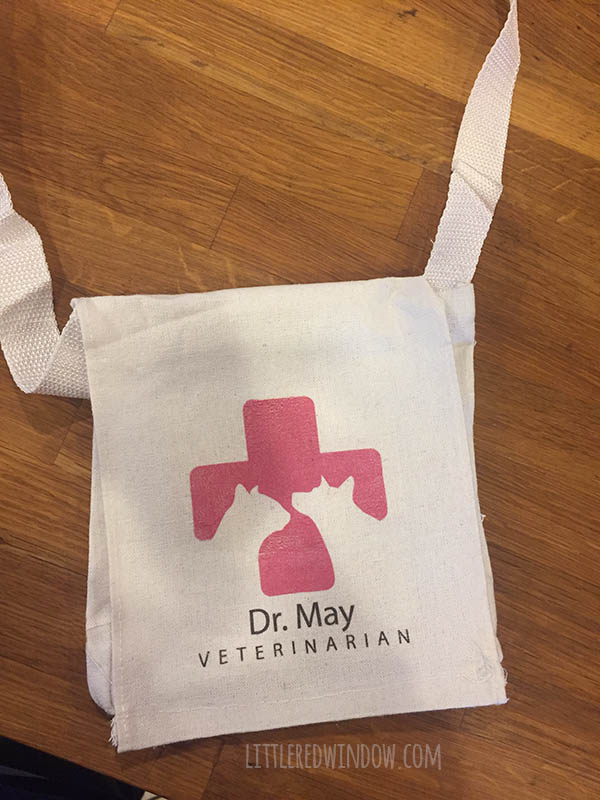
3. To make the veterinarian’s bag, I used the same logo and printed it on iron on printer paper. If your iron on paper tells you to, DON’T FORGET to reverse the image and make it backwards before you print it! Then I ironed it on according to the directions on the iron on paper.
And that’s it! Add the stethoscope and stuffed animal friend and your DIY veterinarian costume is ready to go!
If you liked this, you may also like some of my other posts…
- Rib Zag Hat Knitting Pattern - April 23, 2024
- Double Stockinette Stitch Knitting Pattern: Easy How To for Beginners - April 18, 2024
- Fiery Fades Hats Knitting Pattern - April 16, 2024



Leave a Reply