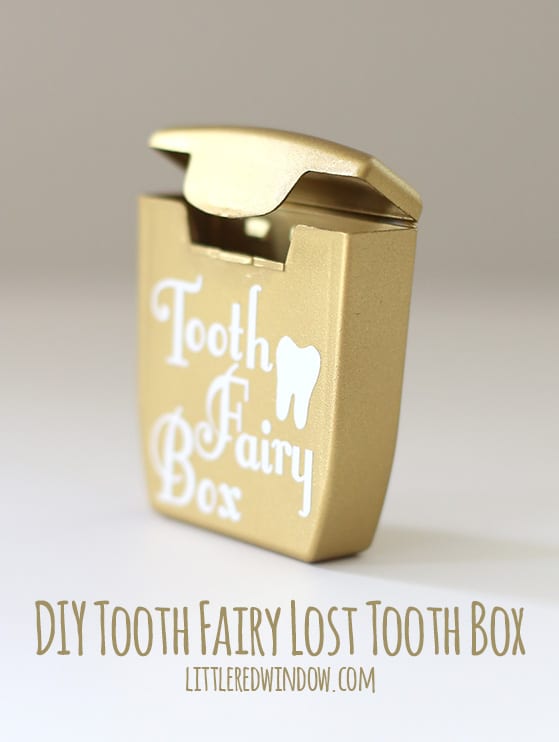
Make a cute little box to hold a lost tooth out of an old dental floss container and print a free printable tooth fairy letter from the desk of the Tooth Fairy (you can personalize it)!

You guys! This printable tooth fairy letter might be my favoritest thing ever (that’s a word, right?!)
When he was in first grade, O lost his first tooth! It went from very slightly wiggly to completely out in less than three days. He lost it during math class at school. Talk about extreme excitement! My parents happened to be visiting that week, although they left to go home and missed the actual tooth falling out by about two hours, but it was lucky for me because I was brainstorming all day about what to make for O to keep his lost tooth in.
And they kept saying, “what’s your big rush?” But I just had a feeling it was going to fall out the next day and it did! I finished this project just in time! Luckily it was a quick and easy DIY and the tooth fairy letter that you can personalize was the icing on the cake for this project!
I was feeling uninspired by the task at first. I feel like I’ve seen about 9,000 tooth fairy pillows. So I wanted to some up with something else. But it had to be easy to make, small and secure. Which is kind of a lot of requirements for a craft project.
And then I had a eureka moment when I thought to use a dental floss container! How perfect is that?! And conveniently, my dad had the perfect classic dental floss container in his suitcase for me to use (he kept the flossy insides to keep using)!
I also whipped up an really cute letter from the tooth fairy to share with you as well. Scroll all the way down if you’d like to download and print your free copy (you can personalize it for your child)! Here’s how I did it:
DIY Tooth Fairy Lost Tooth Box Supply List
- Dental Floss Container
- Spray primer for plastic
- Gold spray paint
- White adhesive vinyl
- Cutting machine (or you can recreate the design with a paint pen!)
DIY Tooth Fairy Lost Tooth Box Instructions
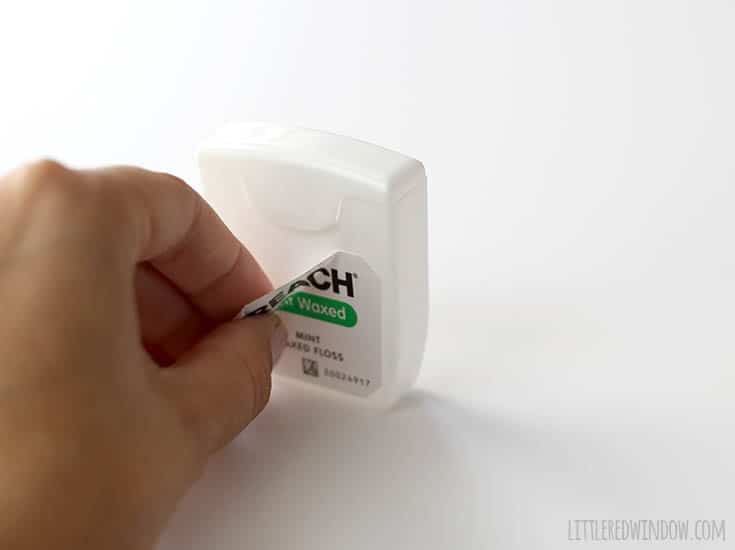
- First, peel off any stickers or decals on your dental floss container.
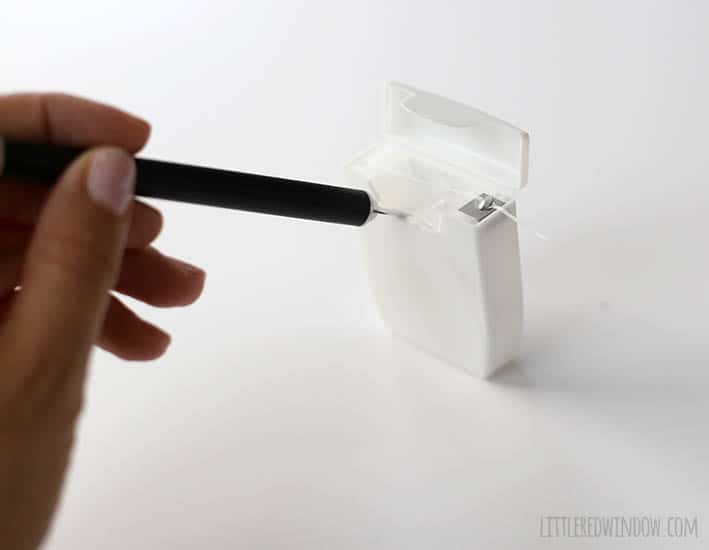
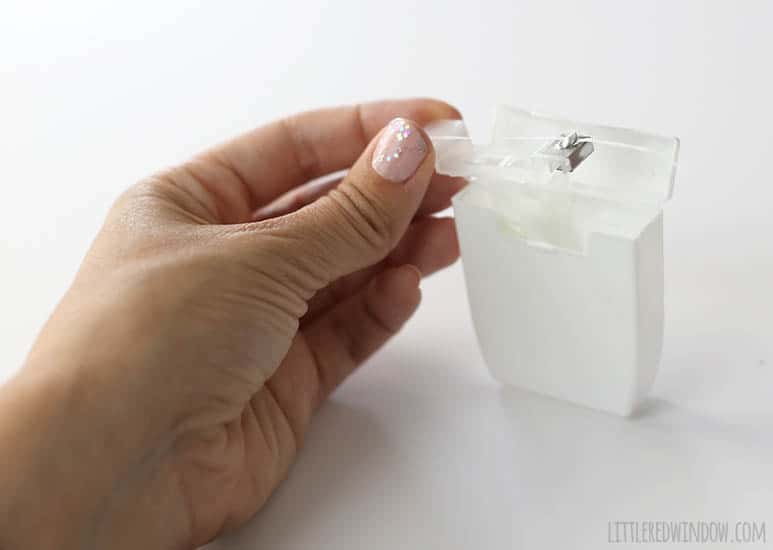
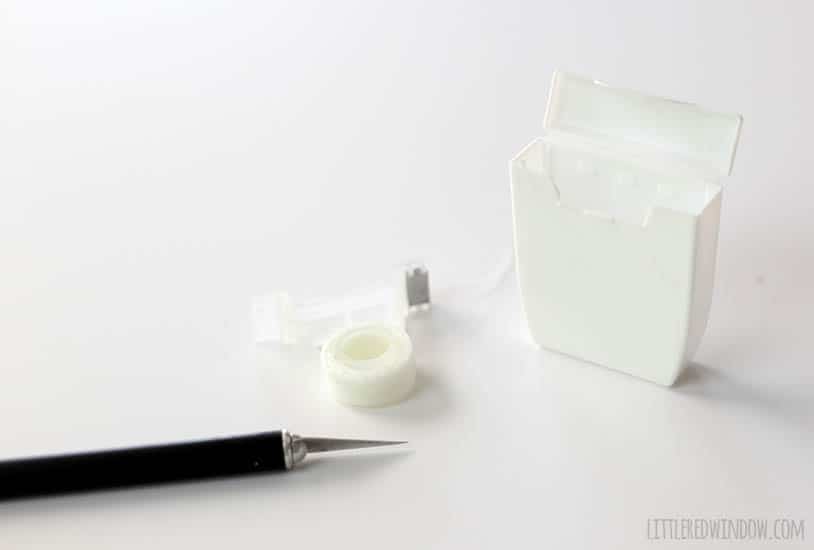
2. Then use a craft knife or something similar to pop out the internal dental floss mechanism. Mine came out very easily. If it isn’t empty, set the floss aside to keep using!
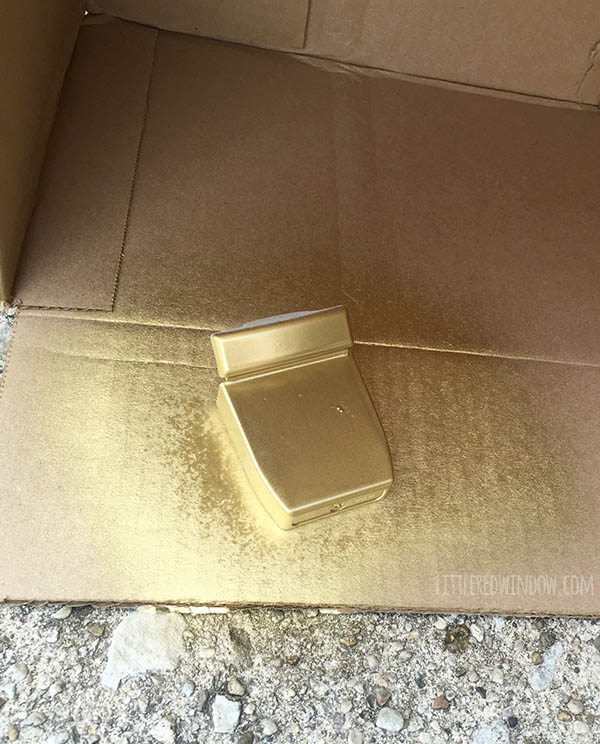
3. Take your floss container outside and give the entire thing a good coat of spray primer. I tried doing it without primer and the paint peeled right off. Make sure your primer says it’s appropriate for plastic. When it’s dried according to the primer’s directions, give it several thin and even coats of gold spray paint. Don’t forget to open it up and get inside the lid!

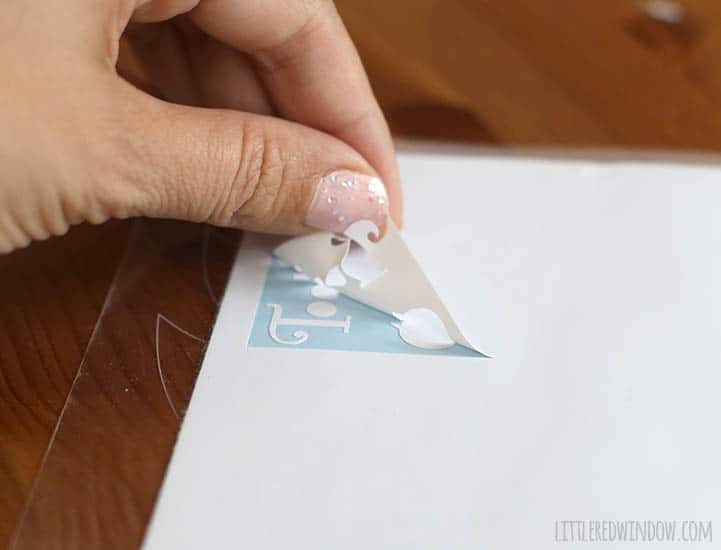
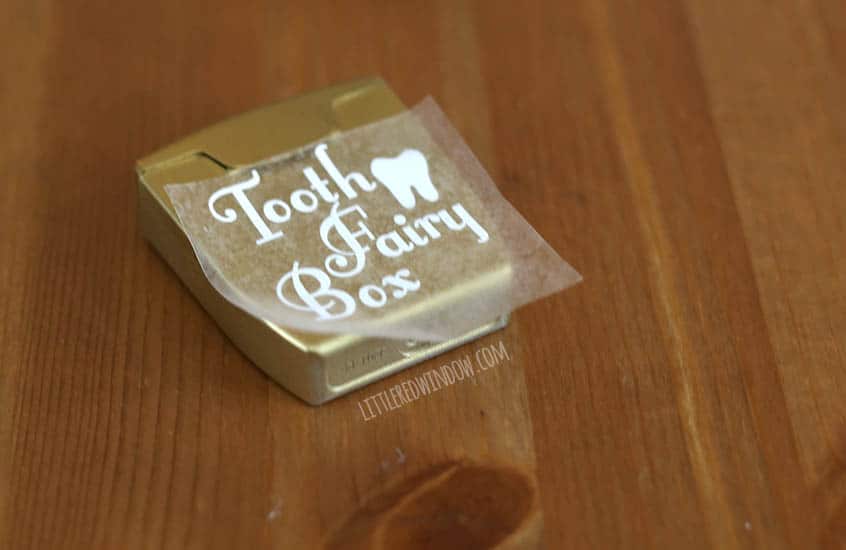
5. Apply the vinyl to the dental floss container and rub all over to make it stick. Then carefully peel off the contact paper. 6. I also added another little tooth shape to the back of the container just for fun. And that’s it!
It worked out great for the tooth fairy’s first visit. Except for that 30 seconds right before bed when someone kept peeking inside to “say goodbye to my tooth” and said tooth fell out and was almost lost. But that had very little to do with the tooth container and more to do with the extremely excited 6 year old tooth-loser.
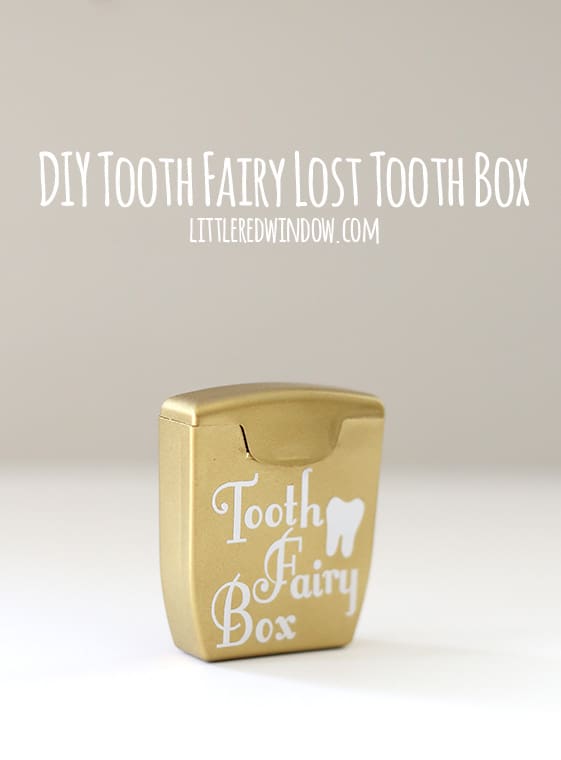
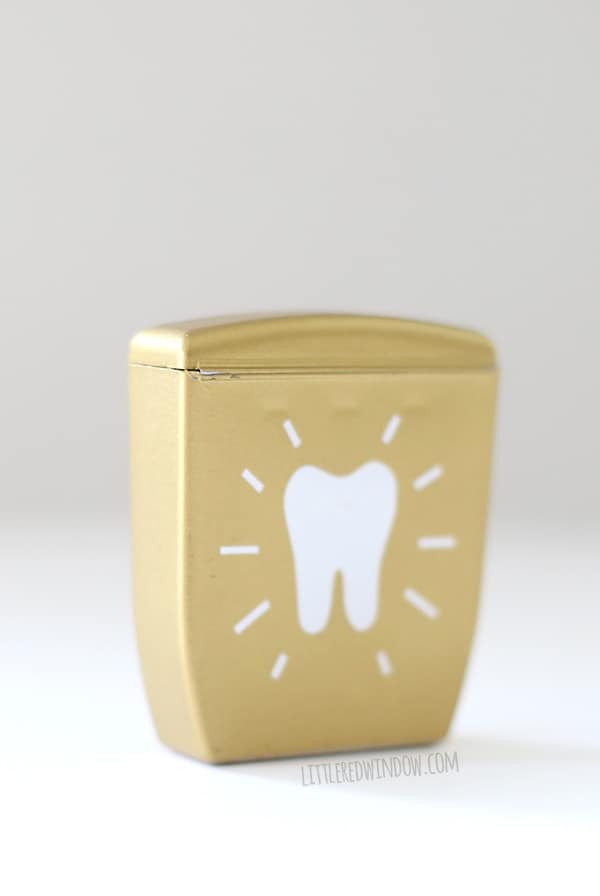
As an added bonus, the tooth fairy told me this little container was the perfect place to leave her money! And if you’re looking for a copy of that cute printable tooth fairy letter, here it is (scroll down to download).

I have both a completely blank copy of the tooth fairy letter letterhead if you want to write your own letter or a version with the first tooth message that I wrote plus blank space for your child’s name (as shown in the picture above) so you can personalize it either way!
Free Printable Tooth Fairy Letter
Enjoy! And please if you make one or use the printable tooth fairy letter for your kids, I’d love to hear about it! O was surprisingly super excited about the “Tooth Fairy Smile Club”, he thought that sounded very important, lol!
If you liked this, you may also like some of my other posts…
- 10 Tips for Organizing Your Craft Supplies On a Budget - April 25, 2024
- Rib Zag Hat Knitting Pattern - April 23, 2024
- Double Stockinette Stitch Knitting Pattern: Easy How To for Beginners - April 18, 2024



usman says
One of the focal points of dental care is preventive dentistry, emphasizing the importance of regular check-ups and hygiene practices to thwart potential dental issues. Oral hygiene, including brushing, flossing, and mouthwash use, forms the foundation of this preventive approach. It serves as a frontline defense against the development of cavities, gum disease, and other oral ailments. Additionally, preventive dentistry encourages early detection of dental problems, paving the way for timely intervention and minimally invasive treatments.turismo dentale
Artarmon Fine Dental says
The Free Tooth Fairy Letter is designed as a fun and easy to use tool to help your family keep up with their dental needs.
Dental says
SO Nice, I hope he loves it! Mine loved the letter good of all!
sonwa says
This is great! My son loved it!
Despina says
Hi! I thought I’d share how I always end my Tooth Fairy letter because I think it’s sweet.
The TF writes: I tapped your gap so your new tooth comes in straight and strong. Can’t wait to fly your way again soon! Love you as far as my wings can flutter, The Tooth Fairy
😊
Cassie May says
Love this!! thanks for sharing!
Laneic Lavalle says
This is absolutely adorable and unique too! I think i’ll have to do this instead of the traditional pillow once my sons teeth start wiggling!
Cassie May says
oh great, I hope he likes it! Mine loved the letter best of all! 🙂
Tim Curry says
We love this idea for a fun craft of gift for little ones.
Tim Curry says
Same!
Bre says
Using the printable tonight – thank you! Also, I love your sparkly nail polish!
Cassie May says
I think I need too start counting manicures as an expense, my hands usually look terrible in photos, lol!
Nuface Dental Clinic says
What a creative and fun idea for a lost tooth box and tooth fairy letter! It’s always exciting when a child loses their first tooth, and having a special place to keep it and a personalized letter from the Tooth Fairy makes it even more memorable.
I love how the author repurposed an old dental floss container for the lost tooth box – it’s a great way to reduce waste and create something unique. And the free printable tooth fairy letter is adorable, with its playful design and customizable options.