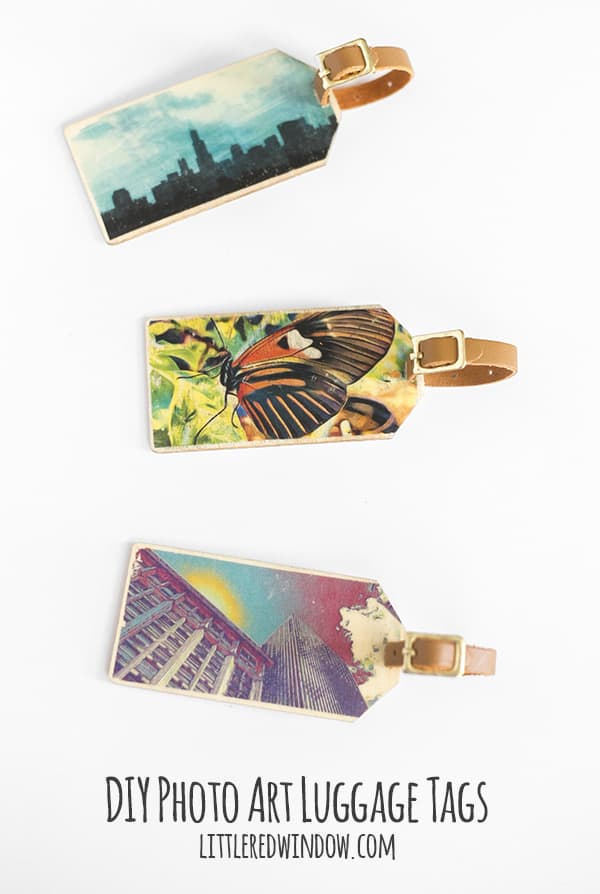
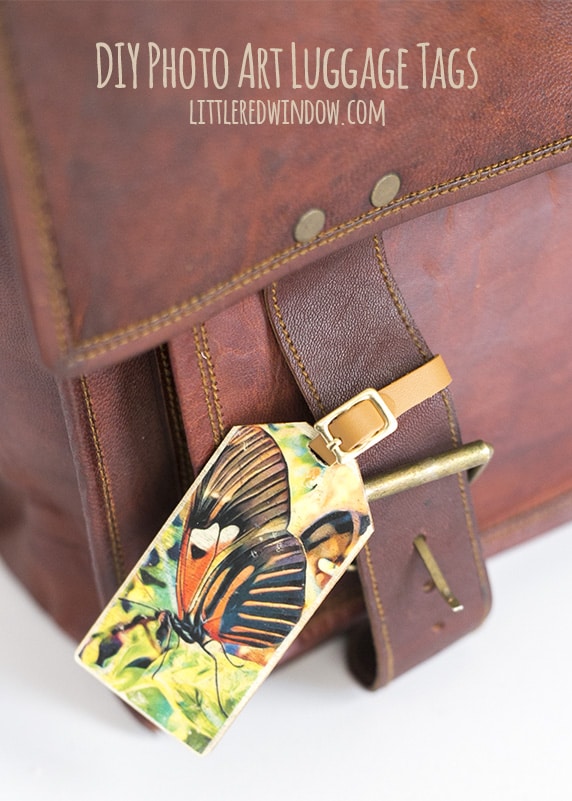
Transfer your personalized photo art to wood to make these fun and unique photo art DIY luggage tags!
Thanks to BeFunky for sponsoring this post, all opinions are my own!
So you guys, I’ve been wanting to try transferring photos to wood FOREVER! I love the look but for some reason I thought it was going to be difficult or that the results wouldn’t live up to my perfectionist tendencies (spoiler alert: not true!) I was drooling over wood photo transfers on the same day I was planning an upcoming family vacation and lamenting the fact that I hate checking my boring black suitcase because it looks just like all the other boring black suitcases and trying to watch the luggage carousel and two small children is so stressful. So then I started browsing luggage tags online and quickly came to realize that in trying to be unique in identifying our luggage we’re all doing the exact same thing and thus not being unique at all. Now instead of 1000 black suitcases on the luggage carousel, there are 500 black suitcases with a bright red luggage tag and 500 black suitcases with a bright green luggage tag. I think you see where I’m going here…we need personalized DIY luggage tags!
To make this entire thing even more serendipitous, BeFunky Photo to Art effects came along at exactly the right time! I think by now you guys know that I don’t do a lot of sponsored posts and when I do, I’m pretty picky. Luckily for you I have used a lot of online photo editing software and apps. The vast majority of them are hard to use or really limited in their capabilities so I was pleasantly surprised when I got the chance to try the BeFunky plus photo editor. It was super easy to use. And I edit photos as my job so I know what I’m talking about! It did all the things I could do with photoshop plus had art effects. And not just lame art effects like you can get in free apps. Really cool art effects. I’m in love!
I took some of Aa’s instagram photos and used some of their fun digital art effects to create some really cool artwork that I thought would make perfect personalized DIY luggage tags to stand out in a crowd. Here’s how I did it!
Photo Art DIY Luggage Tags
Laser printer and digital photo art
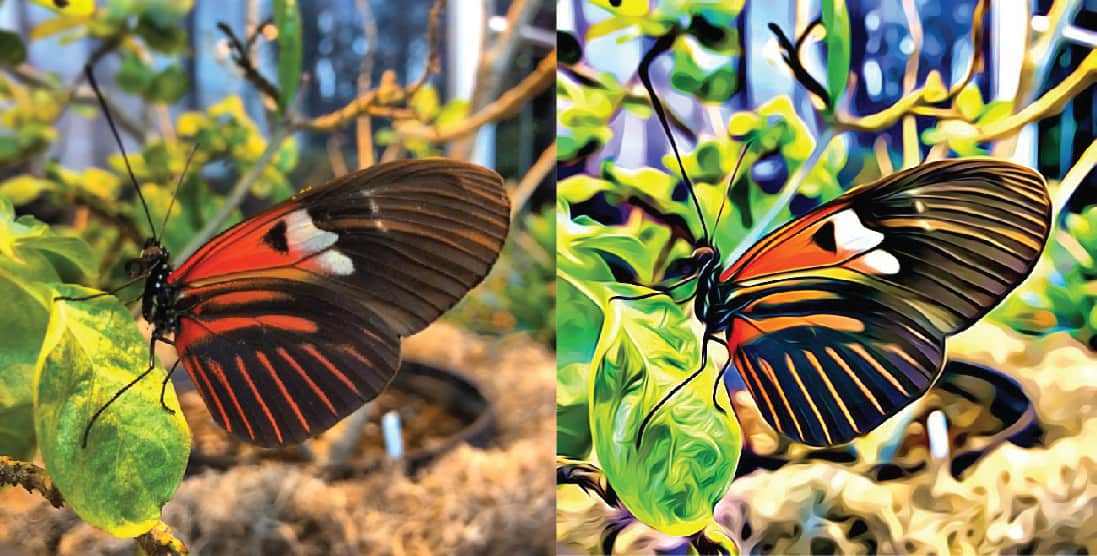
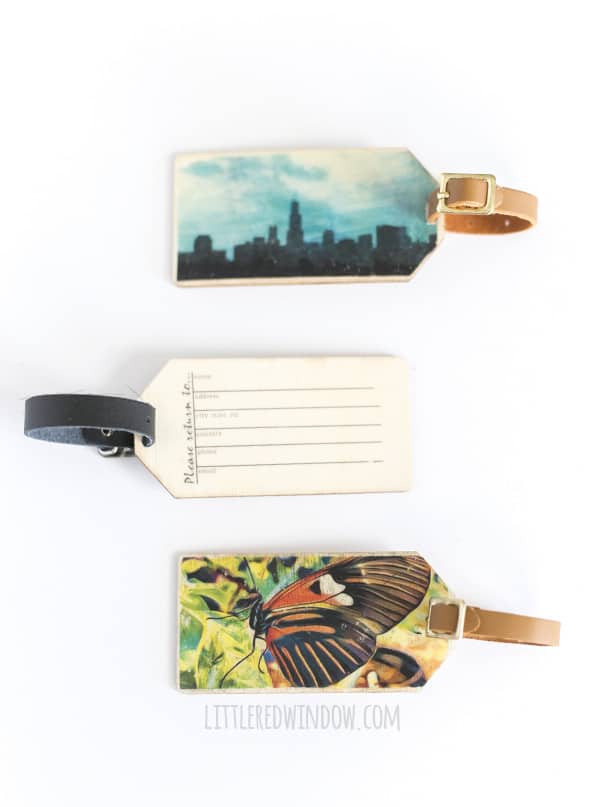
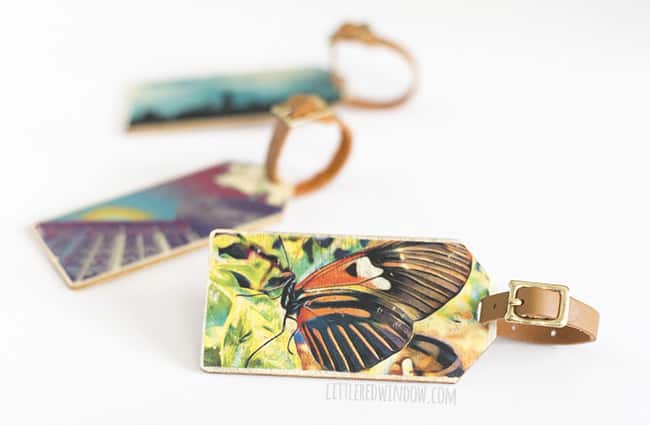
- First you need to turn your regular boring old photos to into art, you can sign up for a BeFunky Plus account to access all of the fun effects (it’s only $4.95/month or $2.91/month for an annual account) but don’t worry you can try them all out for free first before you subscribe. My faves were the photo to cartoon effect that I used to “cartoonize” this awesome butterfly photo. This one was the hands down fave in my household. Here’s the before and after…
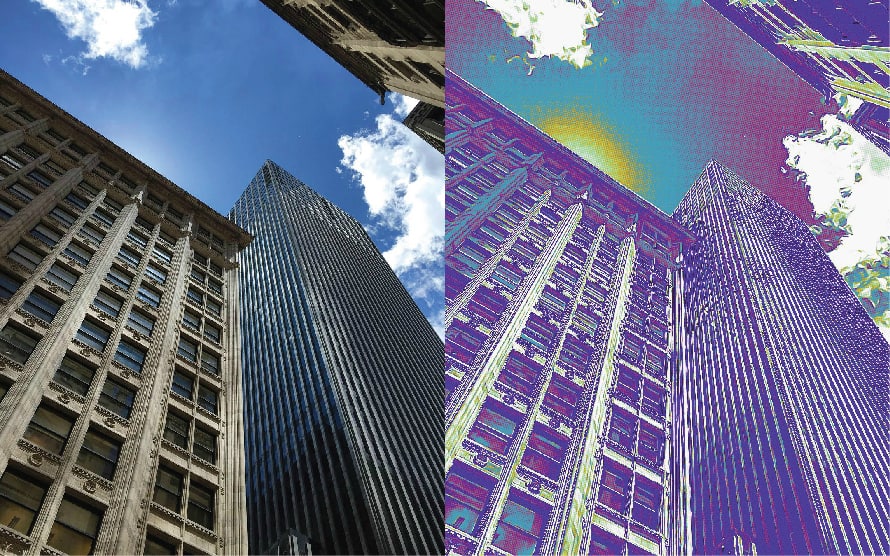
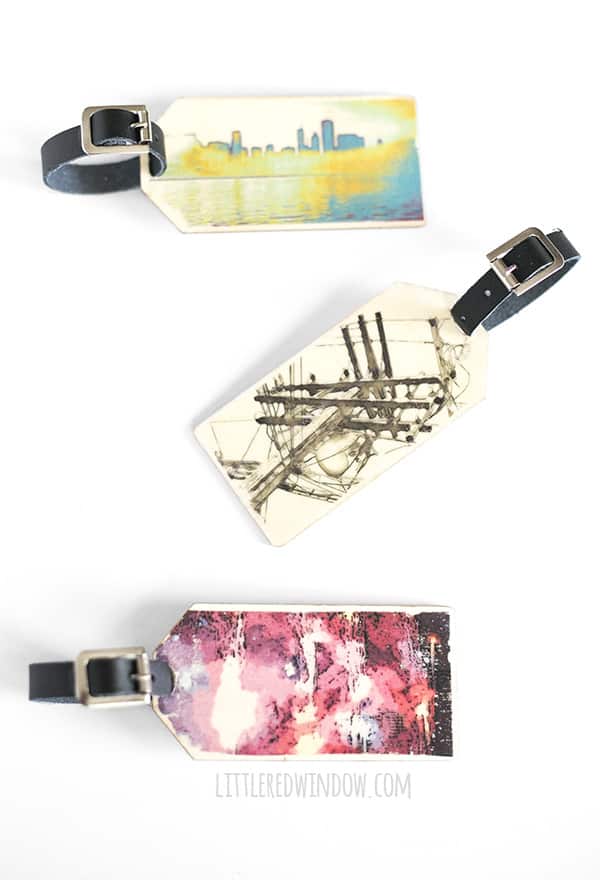
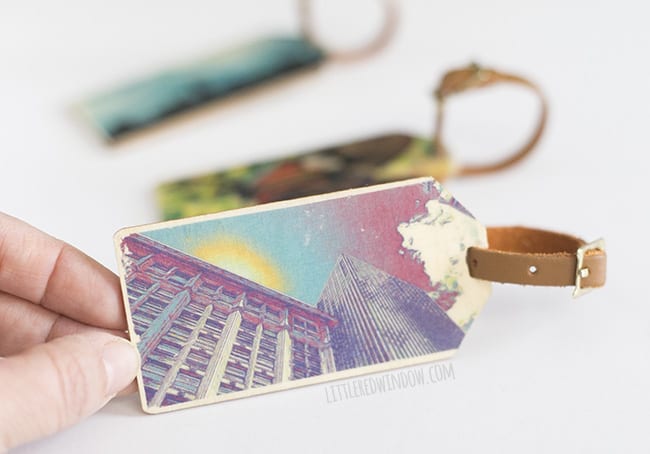
But I also loooved all of the Digital Art effects that BeFunky has . The PopArt dlx effect is so cool, look what it did to this nice architectural shot of downtown Chicago:
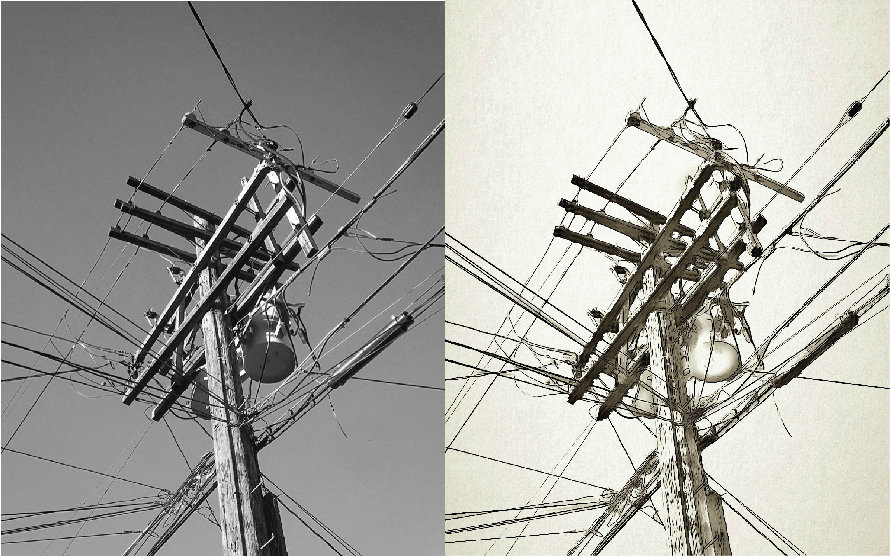
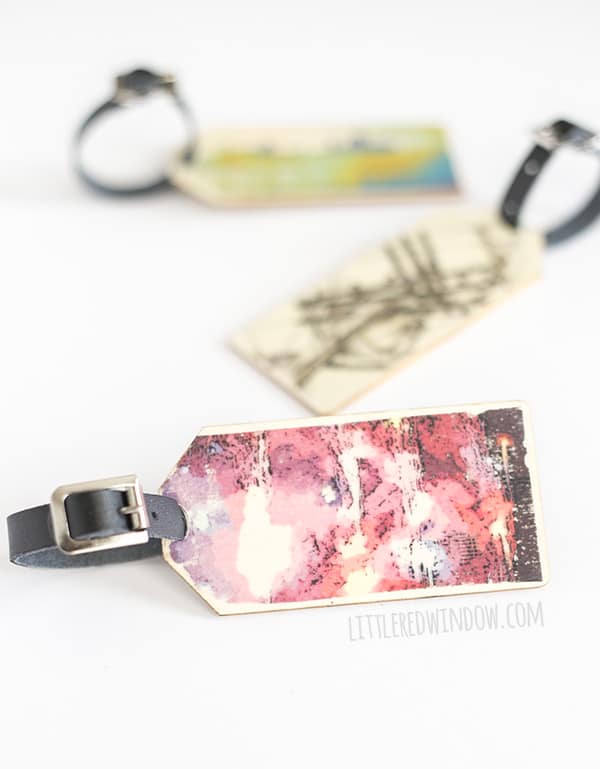
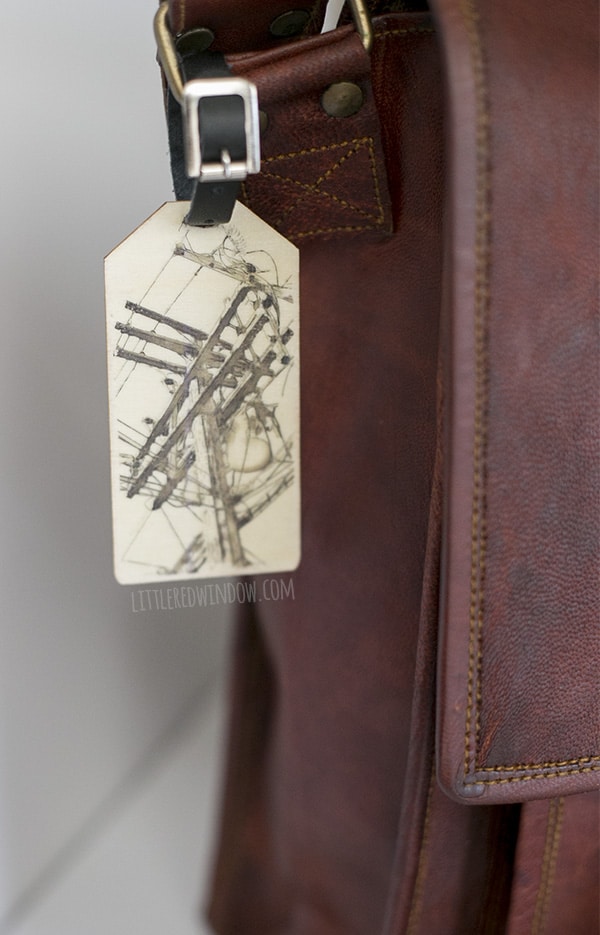
And Aa was especially fond of the Ink Wash effect on his gritty industrial photo of a telephone pole from our alley…
I loved that the Digital Art effects aren’t one size fits all, you can adjust their settings and play around with their opacity so you have a lot of control over your finished artwork. You can even add cool things like lens flares or graphics and frames to your photos!
2. Now before you start this project, the two most important things to know are:
-You MUST print your photo art on a laser printer NOT an inkjet printer. A laser printer is the kind that uses toner instead of ink cartridges. If you aren’t sure what you have, try printing something and getting it wet, if the image smears you’ve got inkjet, if not, it’s a laser print and you’re good to go!
-And if your image contains text, make sure you reverse it before you print it!
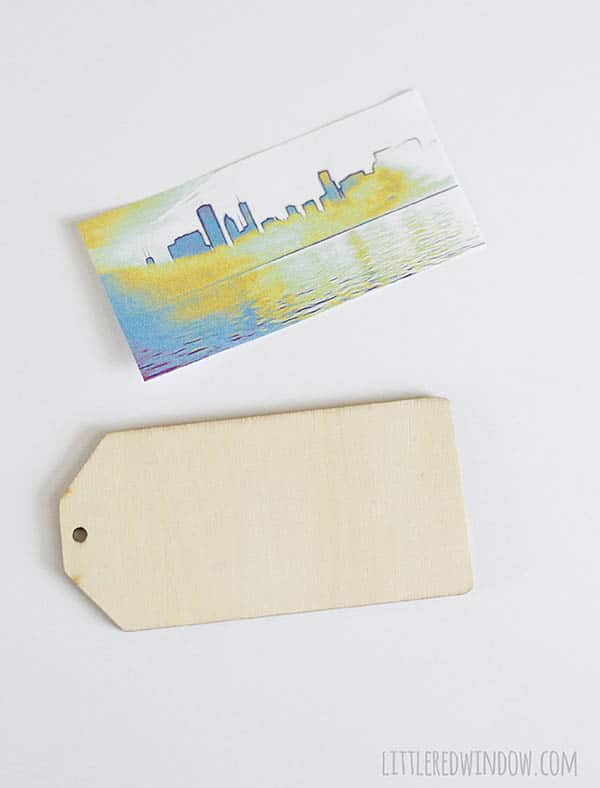
I sized and printed my photo art images and then cut them out to be the same size as my wood tags.
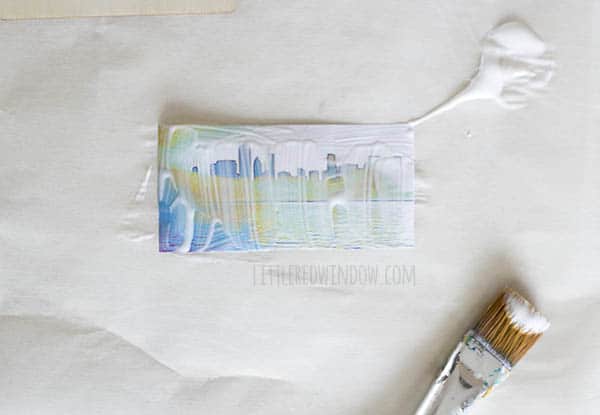
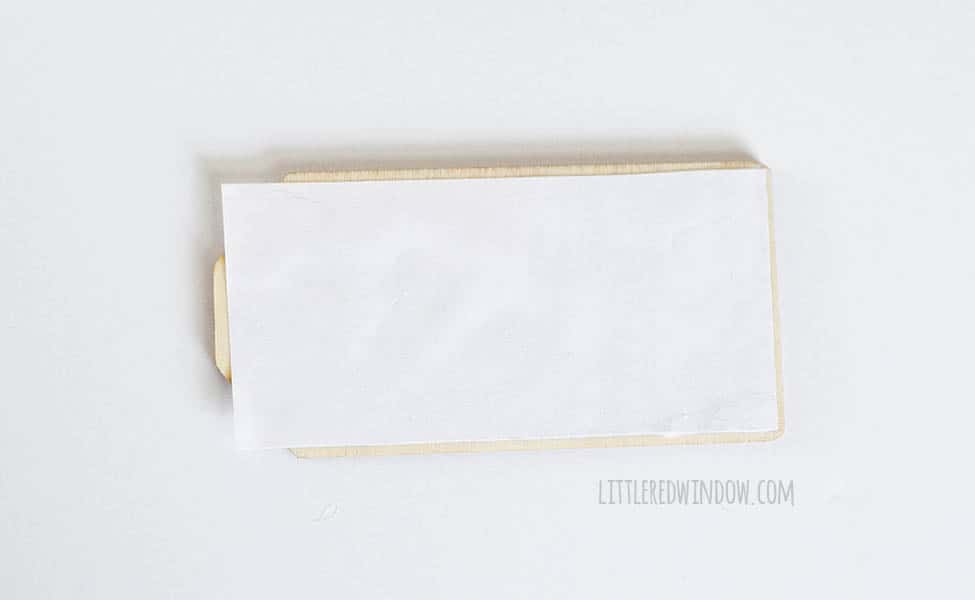
3. Brush a thick coat of matte mod podge onto the surface of your print and then lay it face down on top of your wood tag. Smooth out all bubbles and wrinkles.
(Note: Because you’re using matte Mod Podge, keep in mind that you will be able to see the wood grain and color through any parts of your image that were white. If you’d prefer the white parts stay white then follow the same steps but use Mod Podge photo transfer medium instead!)
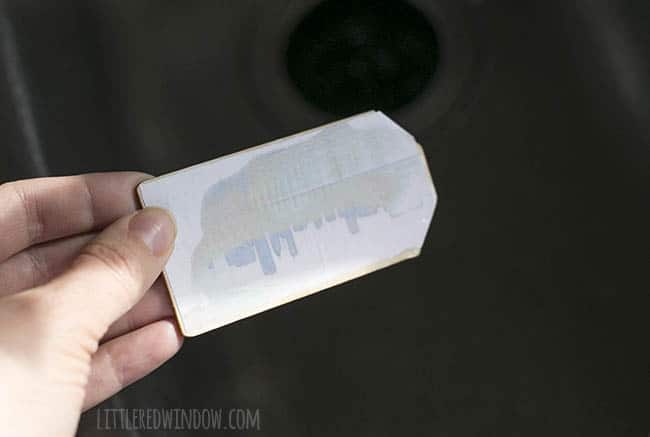
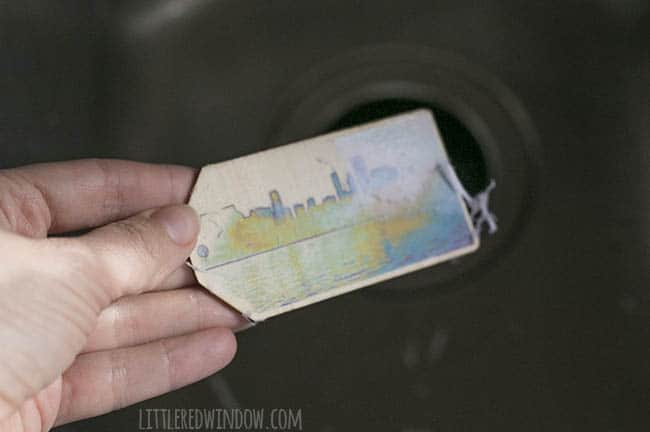
It may take a few passes to get all the white paper fuzzies off but when the paper is all gone your image will be bright and clear when it’s dry! Repeat the transfer steps on the other side of the tag if you want. I put a quick contact info form on the back of mine so we could label our bags.
5. When the wood tags are completely dry, give your DIY luggage tags a coat or two of matte Mod Podge to seal them. Then attach your luggage loops or leather straps (I had to make the holes on my tags larger to fit the leather straps). And that’s it!
This was such a fun project, I hope you’ll hop on over and give BeFunky’s Digital Art effects a try, they’re such a blast to use! And here’s hoping your gorgeous and unique new Photo Art DIY luggage tags will help you find your bags in a crowd!
How fun is that pink abstract one, that started out as a photo of fireworks!
But really I can’t decide if the butterfly or the architectural shot is my fave…what do you think?
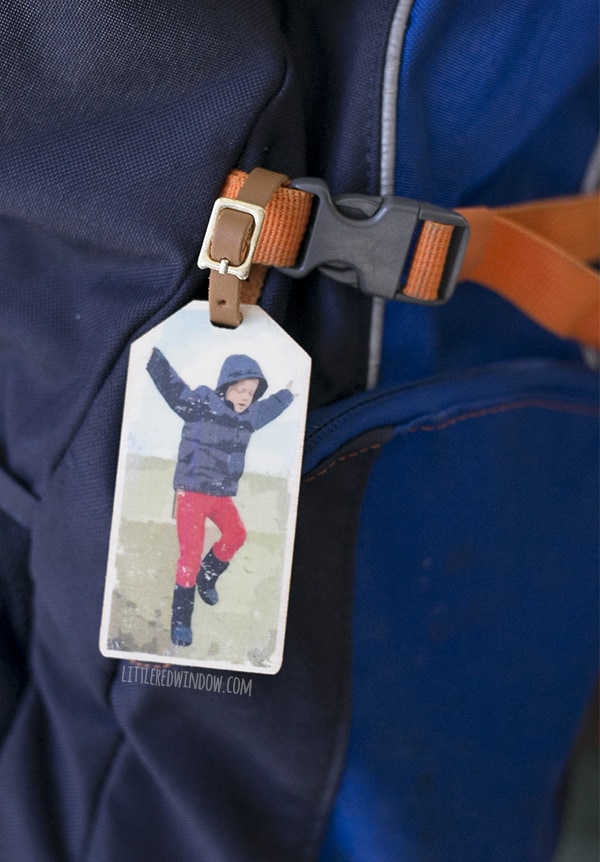
I also “cartoonized” a photo of O for his backpack and he was completely delighted…
And he had a hard time choosing, but Aa went with the indutrial electric pole ink wash art for his work bag. Hopefully that will keep him from leaving it and his computer behind in a random restaurant with no contact info on it…I mean…not that that has ever happened or anything…cough, #itdid, cough….
If you liked this, you may also like some of my other posts…
- 10 Tips for Organizing Your Craft Supplies On a Budget - April 25, 2024
- Rib Zag Hat Knitting Pattern - April 23, 2024
- Double Stockinette Stitch Knitting Pattern: Easy How To for Beginners - April 18, 2024




Ella Smith says
Photo art luggage tags are a fun and creative way to show off your photos and keep your luggage organized. They’re also a great way to show your friends and family where you’ve been and what you’ve seen.
Trisha says
This is a cute and easy idea to make a tag. I love this idea and now I am going to make tags for me. Thanks for sharing this blog.
Yona Williams says
Ooo – I love how that butterfly luggage tag really stands out. I love the concept of being a part of creating my own tags like this! I also have a ton of Mod Podge that I haven’t used.
Toughcookiemommy says
These luggage tags are so cute and creative. I love the colors and the way that you can customize them.
Kiwi says
Aw this is a cute travel DIY! Now you are inspiring me to do a travel DIY project thank you!
Amber Nelson says
Those tags are awesome. I would think this would be an awesome way to keep bags easy to spot at the airport!
Jean says
These are gorgeous, I love how they turned out! Its such a clever idea to have personalised tags to make sure your baggage is easier to pick out.
Kit Stanwood says
Wow these luggage bags tags are breath taking! I also love your brown bag. But WOW that butterfly one realllly pops! You came up with some cool photos to transfer and it sounds super easy! I’m about to try and transfer pictures to canvas the same way.
Chelsea Damon says
I absolutely love these! They would make a great little gift for someone who loves to travel or a couple leaving on their honeymoon!
Krystal // The Krystal Diaries says
These are really cute luggage tags! It’s such a unique idea.
Christine says
What an awesome idea. My family and 3 other families are all heading to Disney right before Christmas this year so this would be a great early Christmas present that I could make everyone for their luggage!
Tereza says
These are so creative, absolutely love them! Definitely one of my most favourite DIYs I’ve seen this year so far! Pinned;) x
Melissa says
Those luggage tags are really good looking and you can put any photo or picture on them. I always have so much trouble finding my luggage in time, these should help.
Meg says
THESE ARE AMAZING!!! What a great idea. I am definitely pinning this and I think I might have to make my hubby some for Father’s Day as he travels a lot for work.
Angela says
What a beautiful idea! I love it love it love it!!! Did I mention I love it? I always wanted to try this but had no clue where to star`t and like you I thought it was difficult. Thank you for showing us how to get beautiful results with little effort
Terri Steffes says
These are super cute. The process doesn’t seem to hard other than getting a hold of a laser printer!
Anna nuttall says
Aww what an amazing idea. I love this. I should whip up something like this in photoshop for when i go away next year. xx
Lisa Collins says
I LOVE these and they turned out beautifully! What a great way to remember special trips or even people when you travel.
Angela Tolsma says
These are so awesome! I never would have thought to do a luggage tag! I love how you edited the photos to make them pop!
Laura says
These are so cool! I will definitely be trying my hands at these! These would make great gifts too!
Steph says
I’ve used beFunky for a couple things, but I didn’t know I could do anything like this with it. Cool!
Theresa says
This is a really cute idea! It looks like something you could buy in a store.
Kindness in Demand says
These are beautiful and so creative. I think it’s time I retire the bright yellow piece of plastic I use and make some of these!
robin Rue says
I love this so much! I totally want to make my own luggage tags now. I had no idea it was so easy.