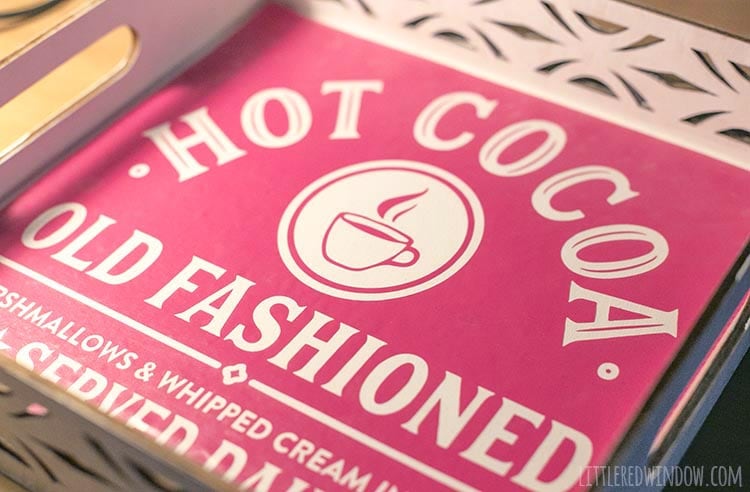
This adorable DIY Hot Cocoa Tray is an easy DIY project and the perfect cozy winter and holiday decoration for your home!
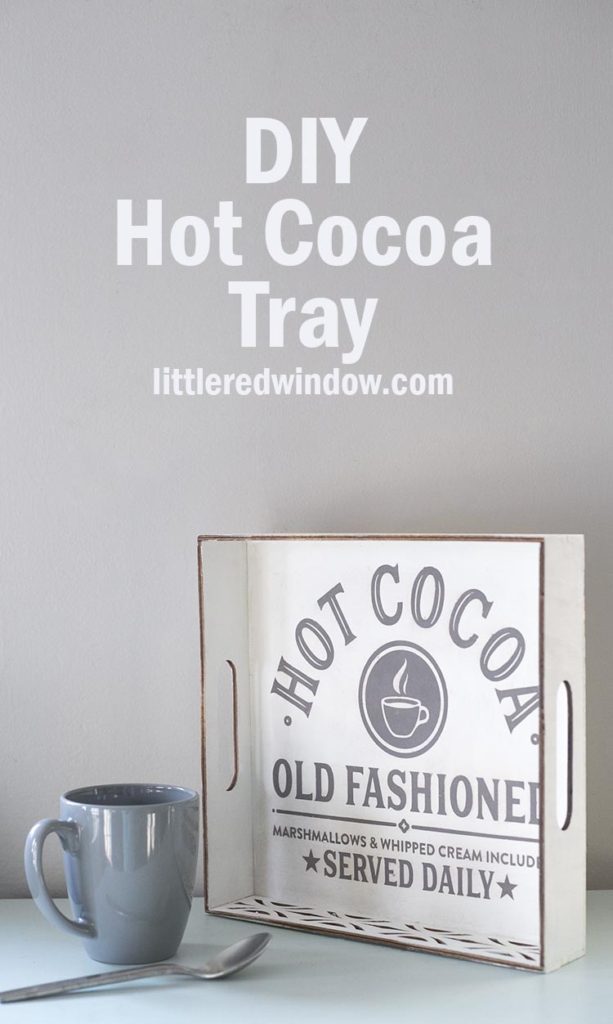
You guys, I’ve been wanting to make a really cute hot cocoa tray like this FOREVER. But what put me off was having the time to sit down and design the words on the front.
Which is when I had an epiphany…I do not always need to reinvent the wheel. Seriously, there are tons of way better graphic designers than me and guess what, when I searched the Silhouette store there were SO many cute designs that were very similar to what I was envisioning.
Is the point of this project for me to show you how to do graphic design? Or would you guys prefer to have a design that you can also use to get the same look? Knowing you all, which I hope I do after all this time, it’s the latter!
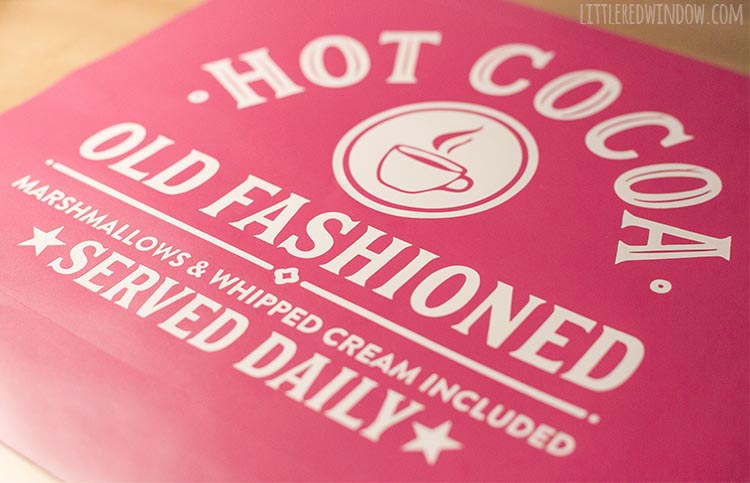
So I picked design #282125 which is totally adorable. And downloaded it in 20 seconds. Totally 100% worth it.
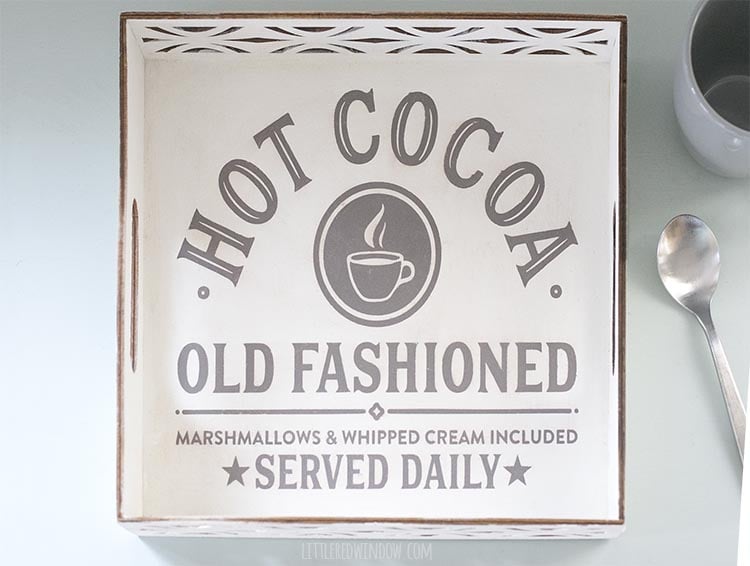
Then I measured my cute tray (which came from Michaels a while ago but I’ll try and link to something similar). And cut the design out of some scrap vinyl to make a stencil.
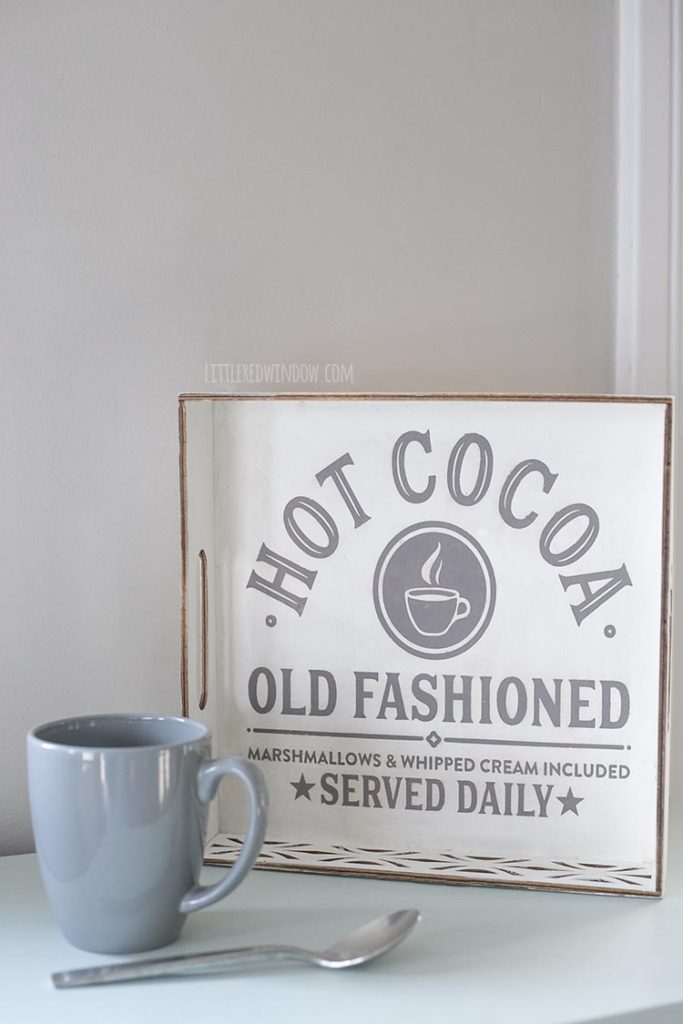
You guys, it turned out SO cute.
So today I’m sharing tips and tricks for making your own DIY Hot Cocoa Tray, I hope you love yours as much as I love mine!
Tips & Tricks for making vinyl stencils
- Make sure you’re using repositionable vinyl for your stencil, not permanent!
- Make sure the blade in your cutting machine is nice and sharp.
- Make sure none of the design elements are TOO tiny at the size you are cutting them.
- If there are small design elements, turn the speed down to 1 and add a 0.1 overcut on the lines to make SURE that the corners are cut through.
- Use clear contact paper from the dollar store instead of expensive transfer tape, it works just as well and it’s $1!
- Once the stencil is on your tray, rub all over firmly paying special attention to the edges.
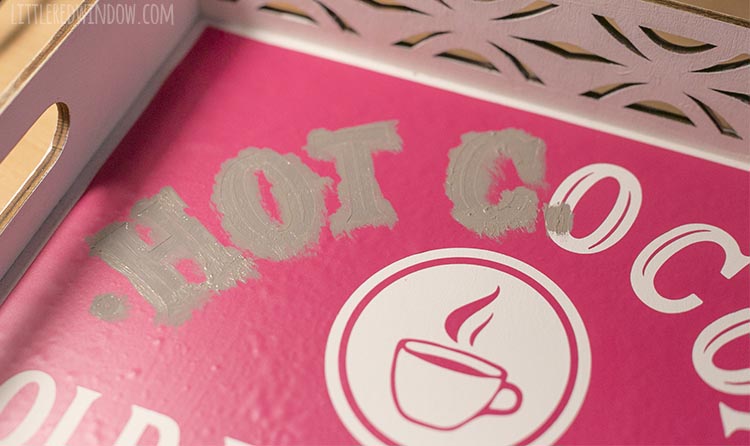
- Apply paint lightly and with a dabbing motion to minimize bleeding under the edges.
- Peel the stencil off before the paint is fully dry to minimize paint peeling.
- Use a tiny paintbrush to touch up any areas that aren’t quite perfect
DIY Hot Cocoa Tray Supply List
- Square Wood Tray
- White chalk paint
- 12″ x 12″ repositionable scrap vinyl
- Silhouette Cameo
- Hot Cocoa cut file
- Clear contact paper or transfer tape
- Gray acrylic craft paint
- Waterproof clear sealant or chalk paint wax
DIY Hot Cocoa Tray Instructions
- If it isn’t already, paint your tray white.
- Measure the inside surface of your tray and draw a square about 1/4 inch smaller on all sides in the Silhouette Studio software.
- Then place the hot cocoa design centered inside the square. You DO want to cut this square out WITH the design in order to make a stencil.
- Use appropriate matte vinyl cutting settings. I often slow my speed down to 1 when cutting designs with small parts and I add an overcut of 0.1 at the corners to make sure they are cut well.
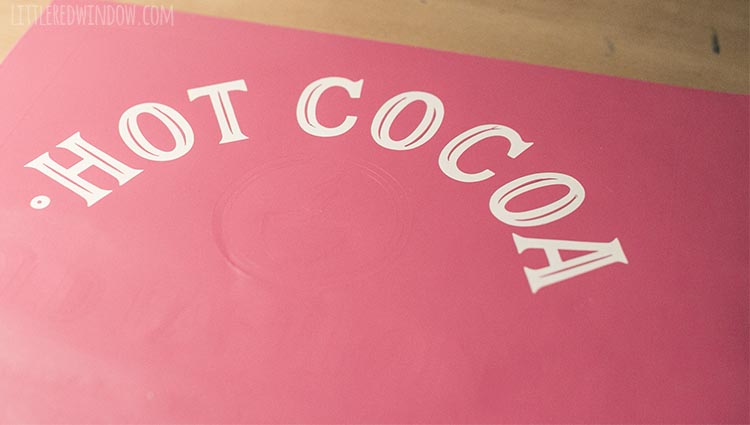
- Cut your stencil and then weed the entire design. Be VERY careful not to lose the small insides of letters like “A”!
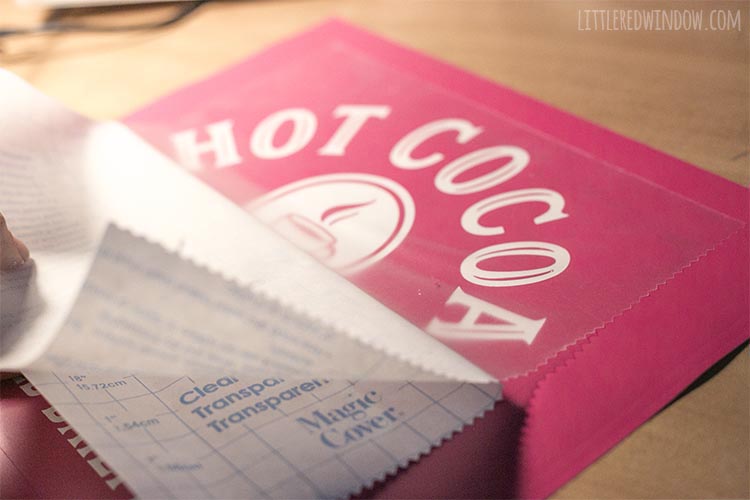
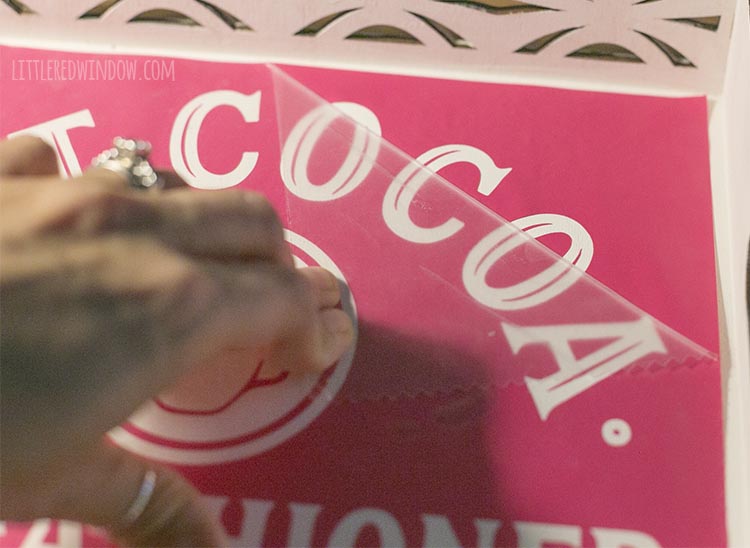
- When you have finished weeding the design, cut a piece of transfer tape or contact paper a tiny bit larger than the square you drew and carefully place it over the stencil. Rub all over to adhere the design.
- Then carefully life the transfer tape to pick up the stencil.
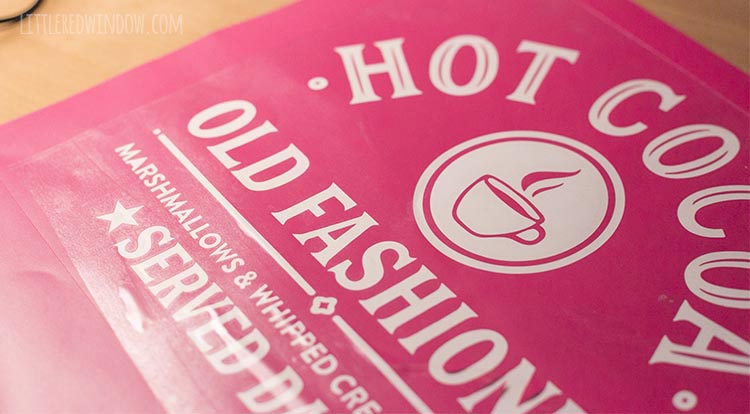
- Lay the design down inside your tray and CAREFULLY smooth it out from the center to make sure there are no bubbles.
- Rub all over, paying special attention to all of the edges and the smaller design elements like the insides of letters, to make sure the stencil sticks well to the tray.
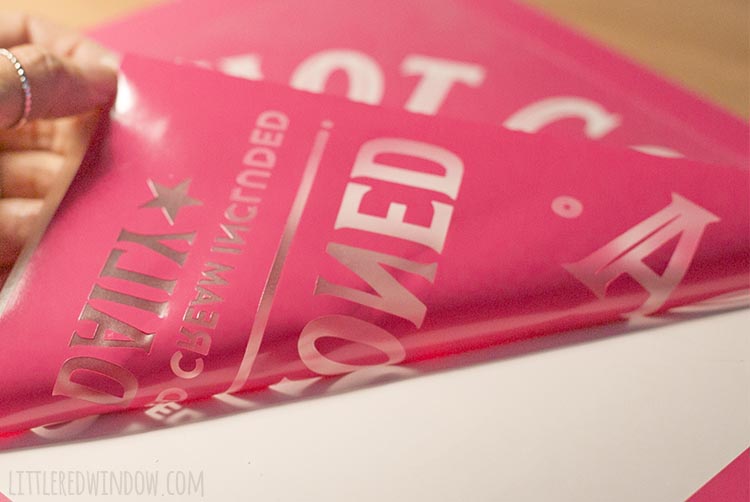
- Then carefully peel off the transfer tape leaving the stencil behind.
- Apply a THIN coat of paint to the stencil with a dabbing motion. Your paintbrush should be almost dry. If you use too much paint it will bleed under the edges.
- Peel off the stencil before the paint is completely dry to minimize the chance of peeling.
- Apply either a clear chalk paint wax (if your tray is going to be mostly decorative) or a waterproof clear sealant (if you plan to actually use it for drinks)!
If you liked this, you may also like some of my other posts…
- Double Stockinette Stitch Knitting Pattern: Easy How To for Beginners - April 18, 2024
- Fiery Fades Hats Knitting Pattern - April 16, 2024
- Flower Pillow Knitting Pattern - April 11, 2024


Leave a Reply