Make this cute hanging picture frame with just a few supplies! 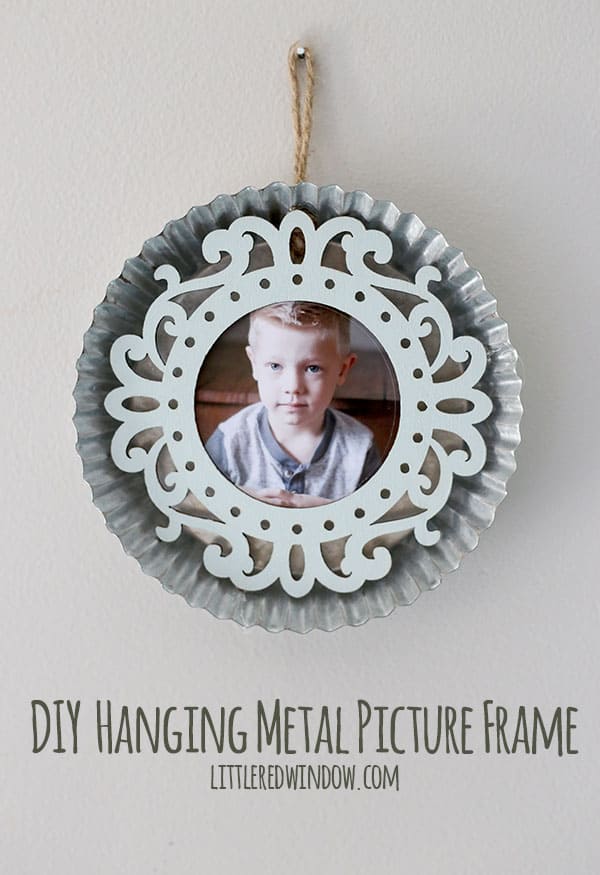
If you are new here, you should know, one of my favorite things to do is wander the craft store aisles and just see what sparks my imagination. And simultaneously I am on a quest to figure out what to do with all those amazing laser cut wood shapes they’re selling nowadays. (That makes me sound like an old fogey but seriously up until 2-3 years ago, they only sold really standard boring wood shapes) So the last time I was there (child free, if you can believe it! ) I happened upon some galvanized metal items. And I grabbed this round thing with a twine hanger that I thought looked like a tart tin. But it was actually labeled “bottle cap”. So then I stood in the aisle for like five minutes trying to figure out what someone would want with a giant hanging metal bottle cap. Do you really like soda or beer? Or maybe it’s for people like me who just like the shape and want to use it for some un-bottle related reason? I don’t know. But it happened to perfectly fit with a round laser cut wood frame I had also put in my basket so I decided to bring it home. And this adorable little hanging picture frame was born! This was a quick and easy but satisfying project, the kind of thing that would be perfect for craft night with friends! Here’s how I made it:
Hanging Metal Picture Frame
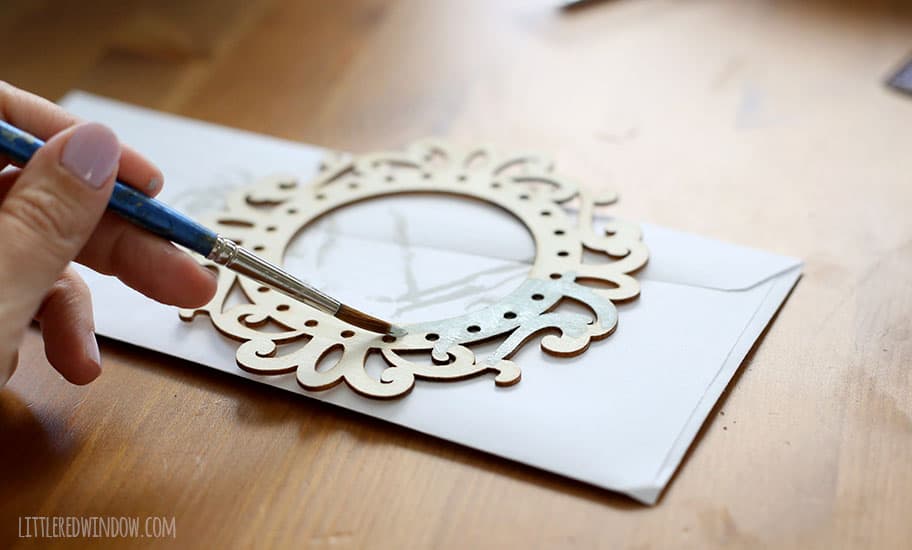
1. First, paint your wood frame. I chose a light robin’s egg blue. It took 2 coats.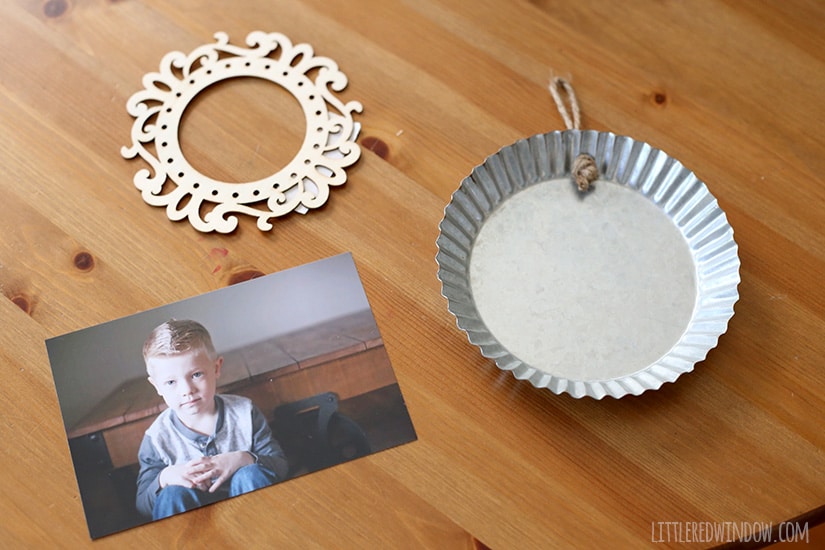
2. Then lay your photo behind the frame and mark where to cut it. I drew inside the circle shape with a sharp pencil and then cut about 1/8″ outside of that line.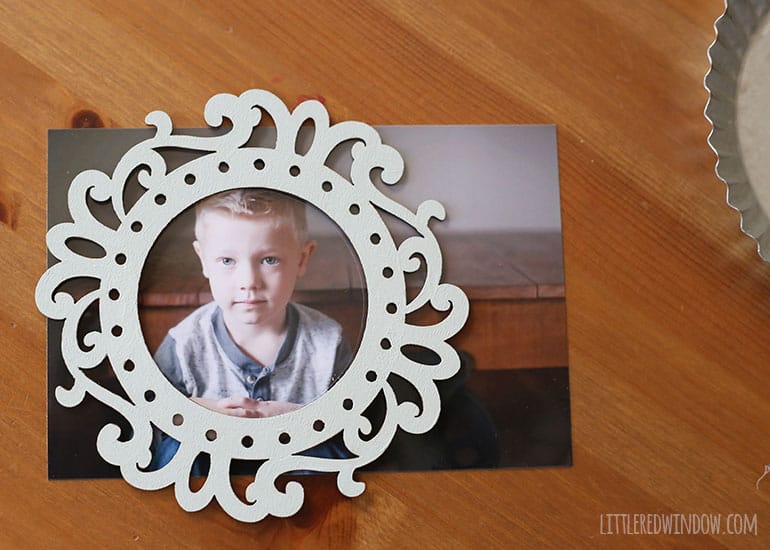
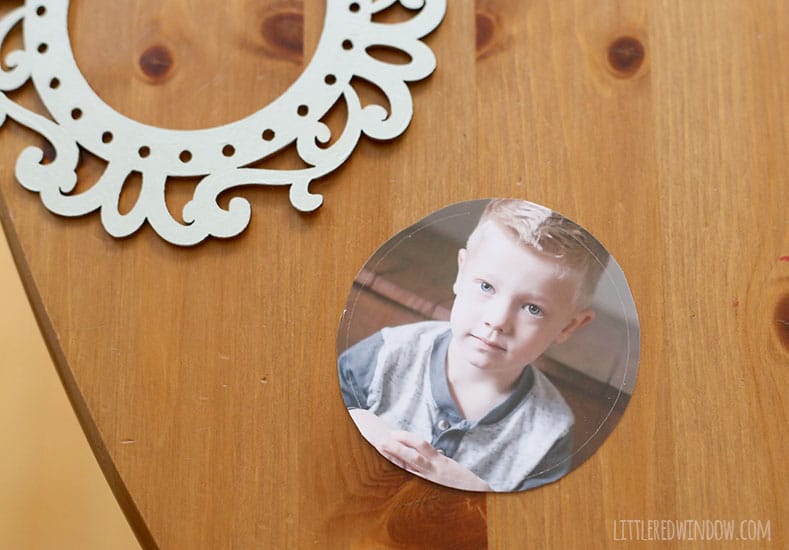
3. Glue the photo carefully to the back of the frame.
4. Use a couple tiny dabs of hot glue to glue the frame inside the metal shape where they touch.
Hand an enjoy! These would make such cute gifts!
(*If you live in the Minneapolis area, you should hire our real life friends Cadence & Eli, they are wonderful photographers and took this gorgeous pic of O! Also, they’re super fun.)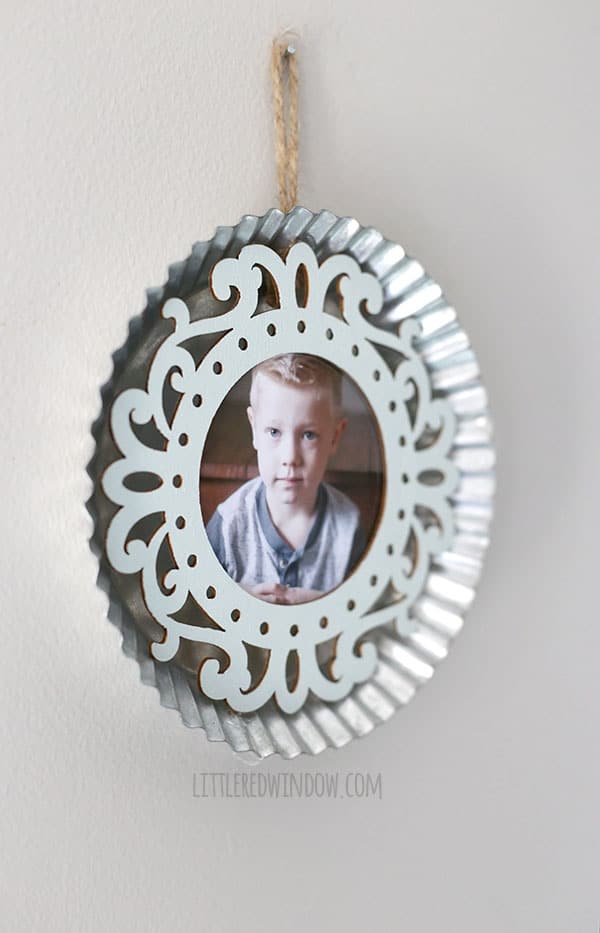
If you liked this, you may also like some of my other posts…


- Pencil Scarf Knitting Pattern - July 7, 2026
- Tri-Color Linen Stitch Hat Knitting Pattern - June 22, 2026
- Yummy Ice Cream Cone Hat Knitting Pattern - June 16, 2026
Fabrication says
So glad I found your post. Finally got my picture up on the wall. Woohoo! Thanks! 🙂
Emma says
The top of the wire should be about 1/3 of the way from the top of the frame to the hanging devices. Hold the wire through the hole and pull it out to determine the length before looping through the hole a second time. Use a small hot glue pad to glue the inside frame to the metal shape they touch. As you can see in the picture above, the answer is yes – and the metal prints look amazing when inserted from frame to frame.
laura says
Use a couple tiny dabs of hot glue to glue the frame inside the metal shape where they touch
roman says
awesome idea. You are so creative. Love your site.