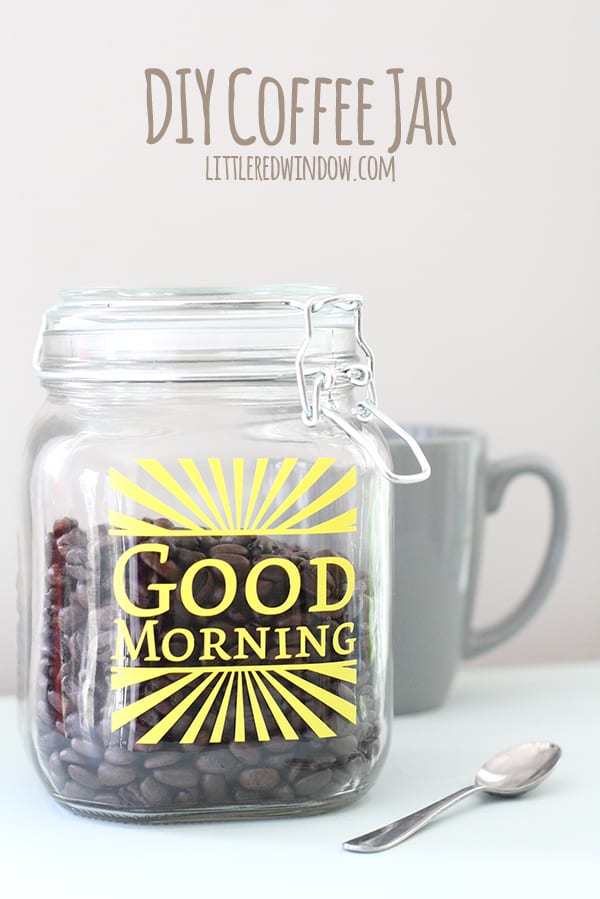
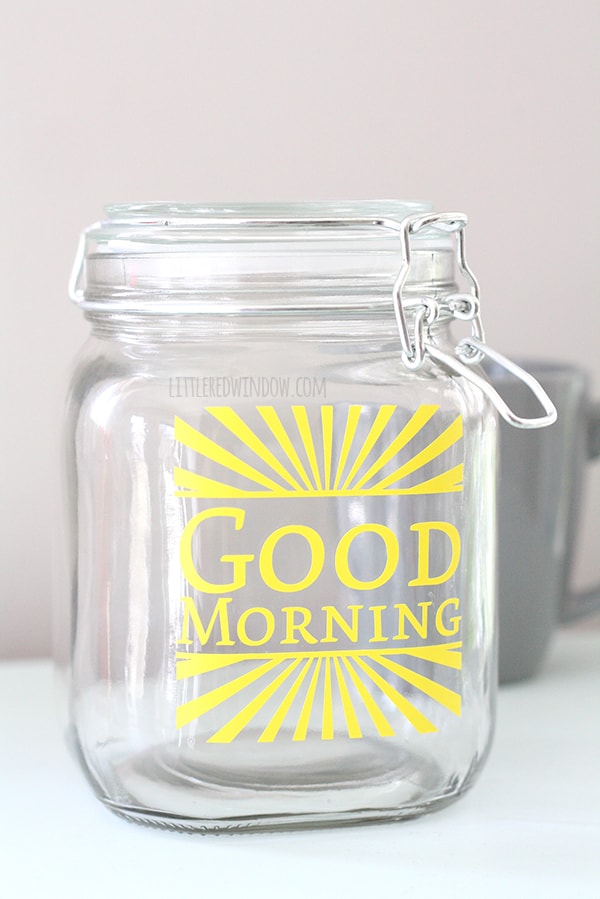
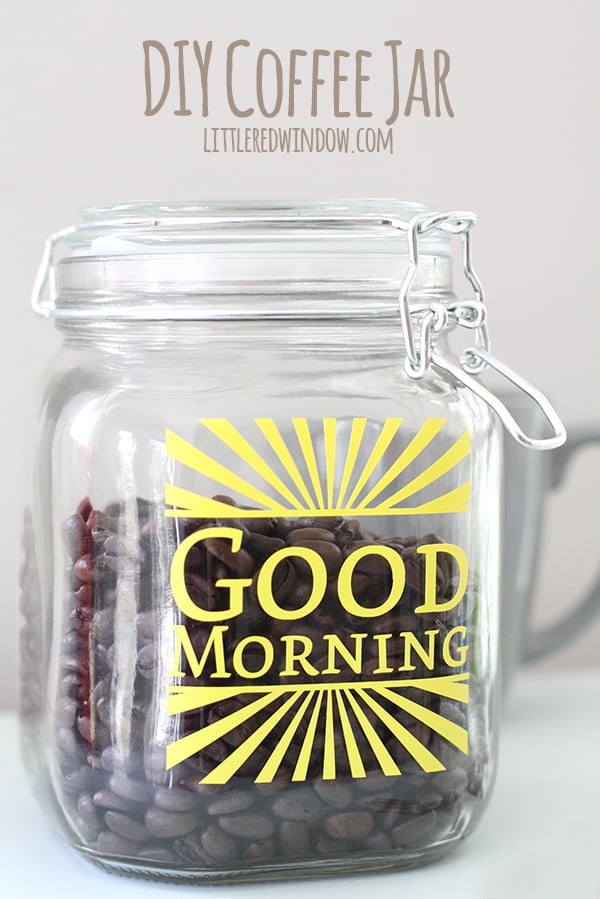
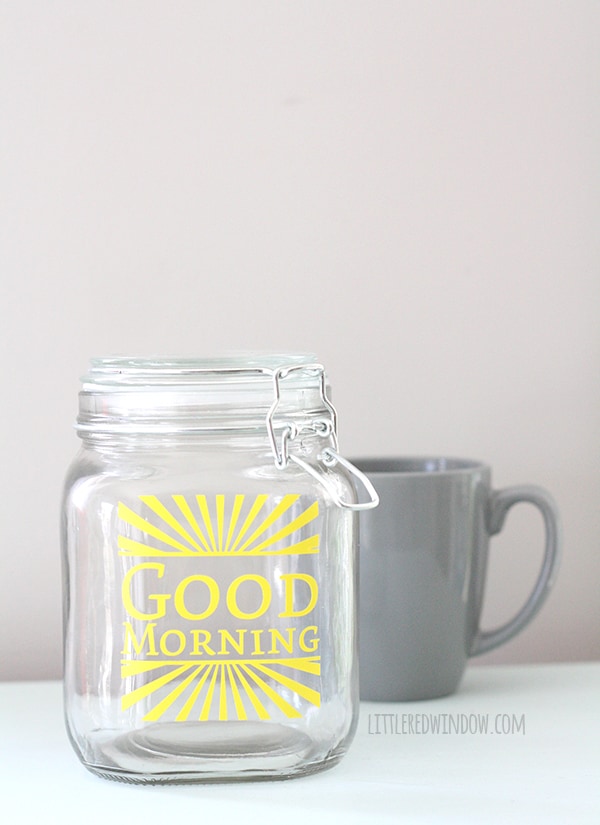
Make this cute and sunny DIY Coffee Storage container in just a few minutes! This cute airtight storage container will keep your coffee beans fresh and put a smile on your face when you wake up in the morning!
So let me explain why I needed a DIY coffee storage container… My husband and I live in a house divided. And no, I don’t mean politically. We fully agree on that. Nope, he’s a coffee lover and I am a tea fanatic. Although he’ll occasionally have a cup of tea, I just can’t do coffee. I can’t get over the bitterness. So we have twice the stuff to store to prepare our preferred morning drinks. My tea all fits in a drawer, but I’ve been struggling with what to do with all the coffee paraphernalia. I needed a coffee container!
We hardly ever use the big coffee machine and I hate that it sits out on the counter getting dusty, but it’s one of those things you kinda have to have for parties, right? His current favorite method of coffee preparation is an Aeropress which apparently makes excellent coffee, but, you guys, it’s just not cute. So I finally cleared out some cupboard space above the coffee machine for the Aeropress and the 2 different kinds of grinders and the filters and the coffee scoop (geez, coffee require so much STUFF!) but I was having a hard time fitting the coffee beans.
On a whim I grabbed a really cute glass jar with a cork top from the dollar section at Target but when we brought it home, even after washing, we realized it has a really really weird smell. It seems like it was the cork and it smelled exactly and strongly like potting soil but more chemically. Which I don’t think is an aftertaste you want in your coffee. So I started using that as a vase for flowers (without the stinky cork) and gave up. Until I saw one of these airtight hinged glass jars at the craft store! Perfect for my DIY coffee storage! So here’s how I made my coffee container much cuter. Now I actually LIKE to have it sitting on my counter!
DIY Coffee Storage Supply List
DIY Coffee Storage Instructions
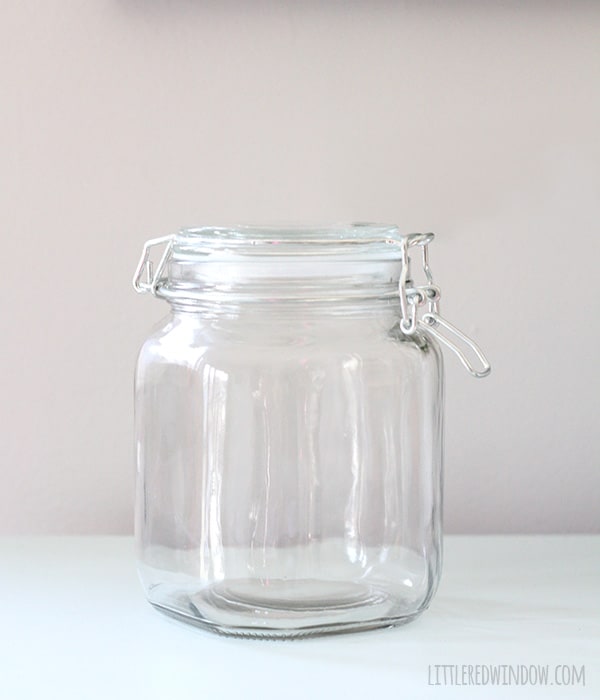
Here’s the jar I used for my coffee container, I recommend one with a squared off bottom and flat sides instead of one that’s round.
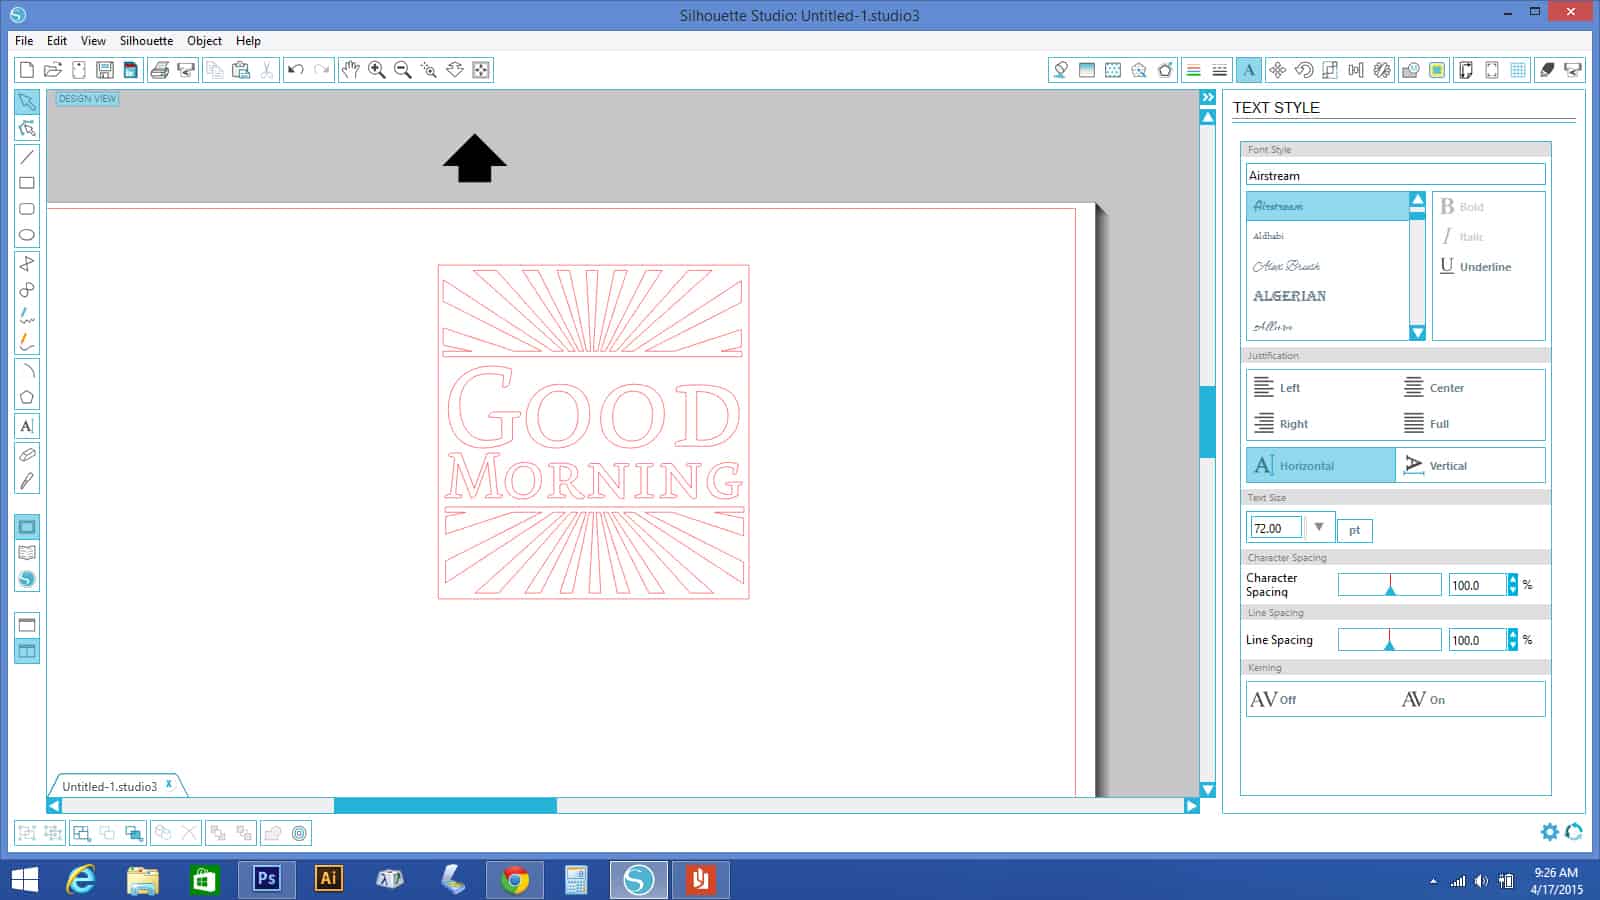
1. The first thing I did to start my DIY coffee storage was buy a sunburst shape from the Silhouette store. I was going to draw my own but honestly, that would have take three times as long and while my son was happily occupied at that second, you never know how long that will last. So I bought it.
Then I measure the side of my empty coffee container and laid out what I wanted the vinyl decal to look like using the Silhouette software that comes with it. It looked like this:
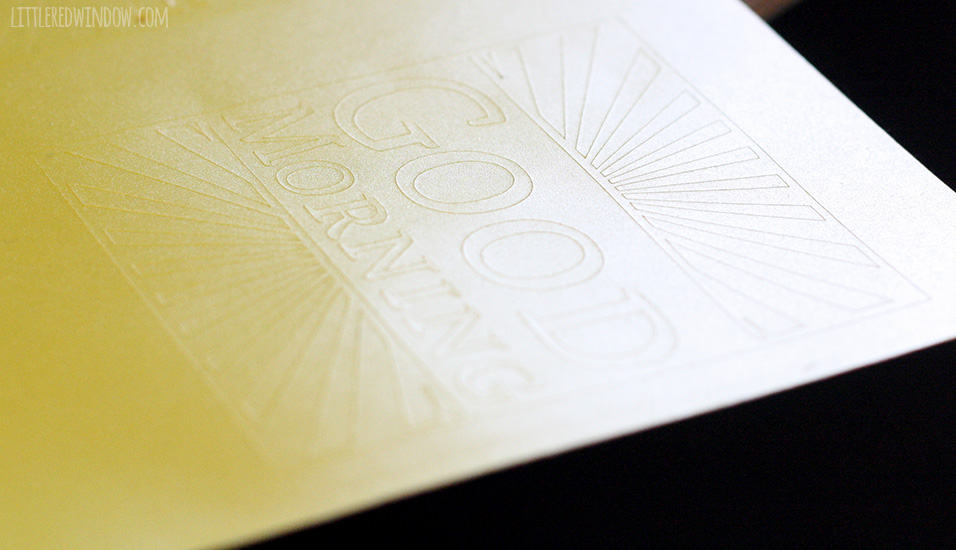
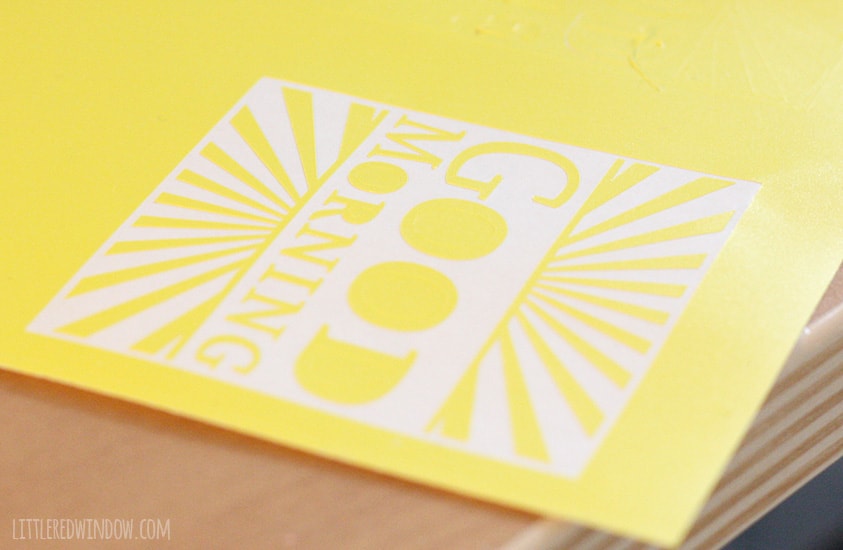
2. I loaded my yellow vinyl into the machine, checked my settings and cut it out. And honestly, the first time, I used a different font that had too many narrow parts and the vinyl tore a bit so I had to do it over. But what you see above is the final version that worked! So be wary of any super skinny parts of your text!
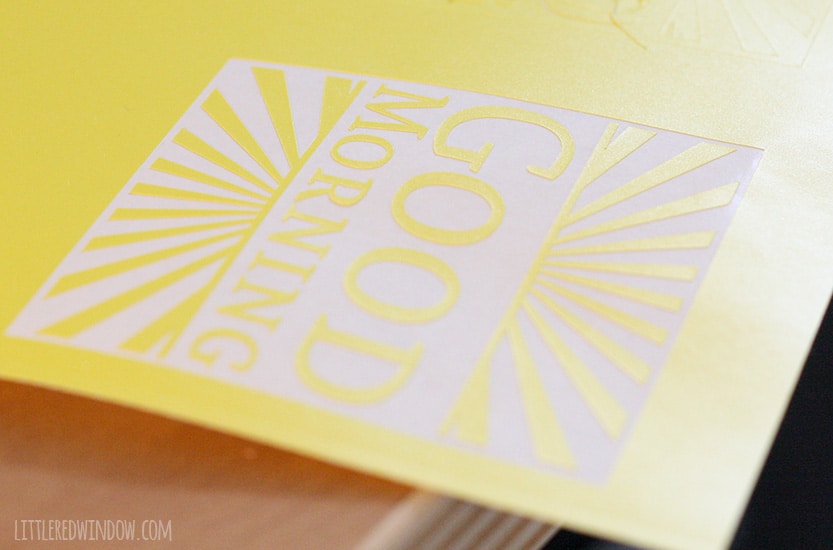
3. Next peel off the negative space.
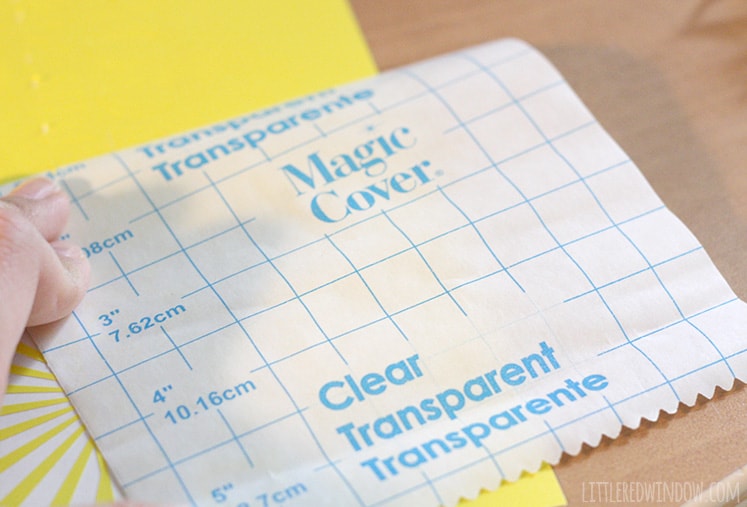
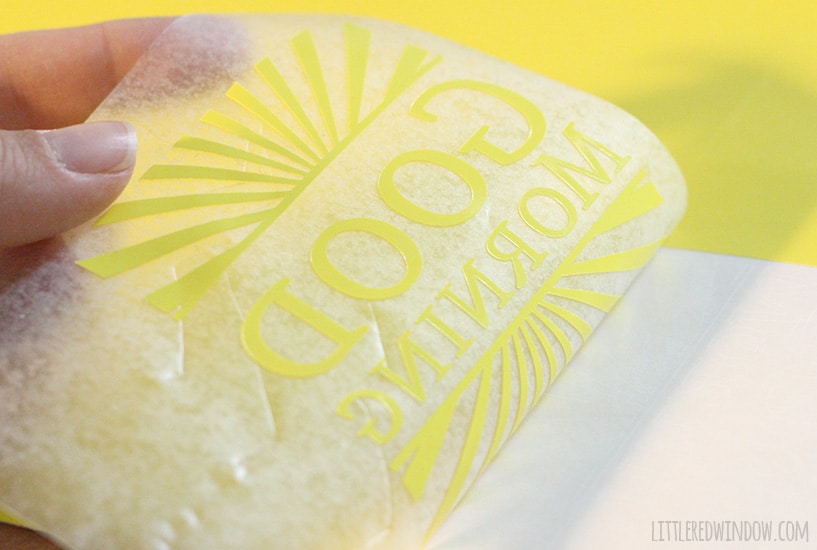
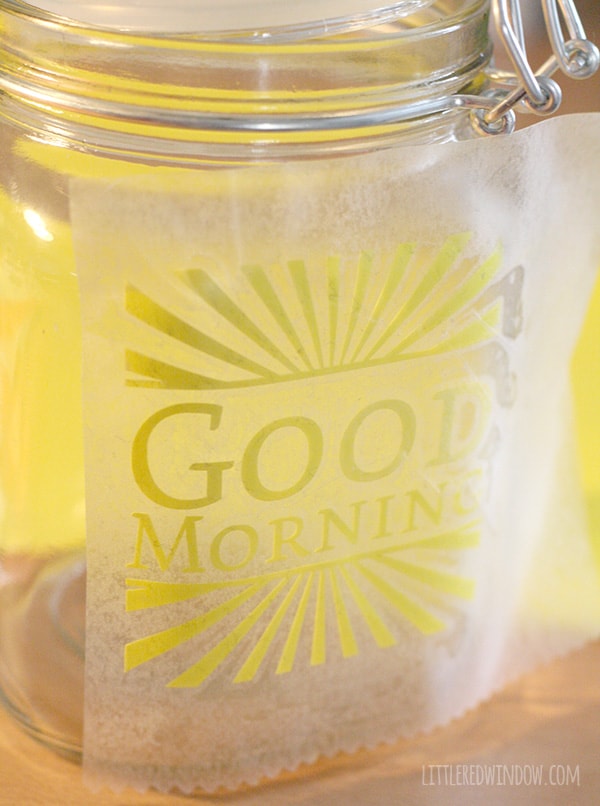
5. After you’ve “burnished” your design onto the contact paper, gently peel it up, stopping to re-rub any parts that don’t come up right away.
6. Then you just position your vinyl where you want it, stick the contact paper down and rub all over again with your finger or credit card to adhere the vinyl to the surface.
Tips for making vinyl projects like this DIY Coffee Storage work better:
- Turn the speed on your cutting machine down if you have any text in your design
- Turn overcut on the smallest possible amount (.1) in my machine to make sure corners are fully cut
- Peel away negative space vinyl really slowly and make sure not lose any parts of letters that you might need like the dot on top of an ‘i’.
- Use contact paper instead of transfer tape to move your coffee storage vinyl design, it’s much cheaper!
If you liked this, you may also like some of my other posts…
- 10 Tips for Organizing Your Craft Supplies On a Budget - April 25, 2024
- Rib Zag Hat Knitting Pattern - April 23, 2024
- Double Stockinette Stitch Knitting Pattern: Easy How To for Beginners - April 18, 2024




Brian says
Amazing DIY on making a coffee storage. I like this idea and very grateful to you for share such a useful guide with us.
temple run says
that’s what she said). I never would’ve turned down coffee cake, but I didn’t like peppers until I was in my 20s.
Z3X Samsung Tool Pro Crack says
Your Article is so awesome I love coffee in morning evening night everywhere…
usps tracking says
Great article and interesting, thank you for sharing.
roll the ball says
Thanks for sharing. I see the novelty of your writing, I will share it for everyone to read together. I look forward to reading many articles from you.
Cedar Hospitality says
Hey Cassie, You have make wonderful jar and looking stylish. I love your job…
Cassie May says
Thank you so much!