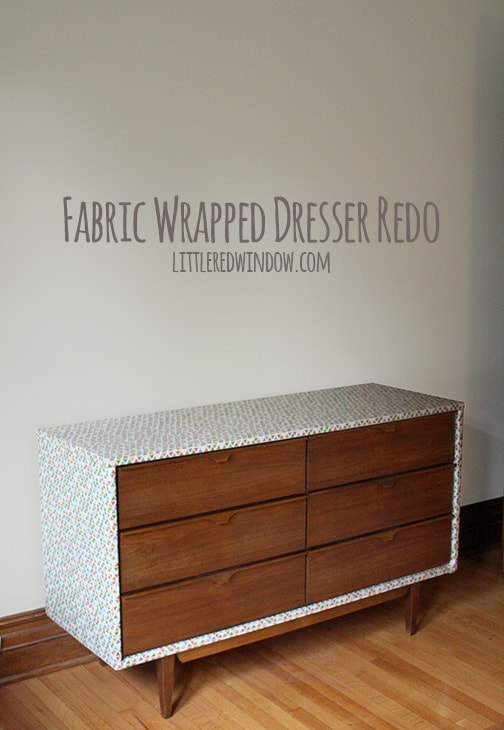
Turn a Craigslist dresser into a one-of-a-kind Fabric Wrapped Dresser in just a few easy steps! 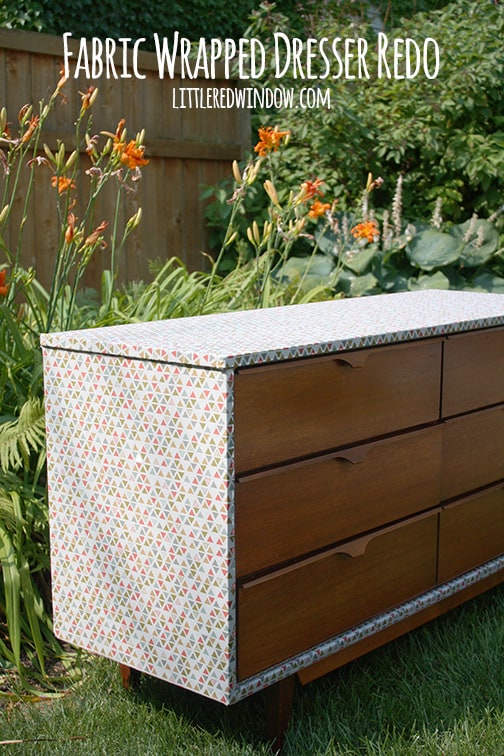
So as you know, we recently moved to a new house. In our old house, I had a full double closet with a customized Elfa shelving system. It had shelves and drawers and a hanging bar. It was great. Well, in our new house, my closet is considerably smaller and I needed a dresser. And if you know me, you probably though, oh, I bet she went to Ikea! Well, guess what? I did not! I swore to my husband that I was done with Ikea dressers (this statement is not legally binding). I love build it yourself furniture for so many things but moving dresser drawers just aren’t their strong point (literally). I looked around for something else and finally decided I’d rather go with something vintage and substantial.
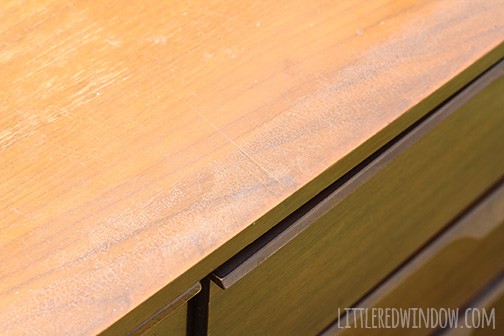
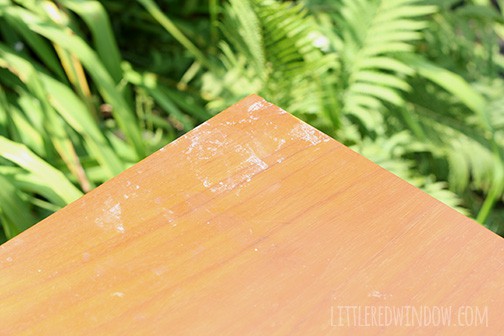
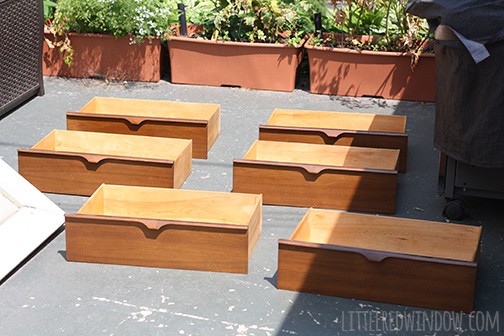
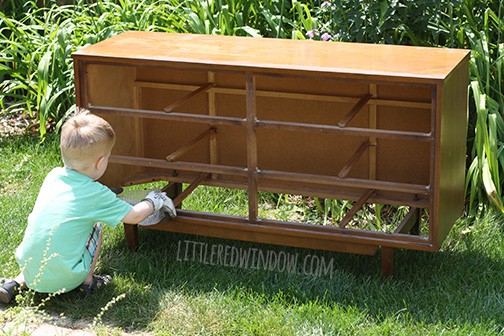
Long story short, I found a fairly beat up mid-century modern dresser on Craigslist for $100. I definitely wanted a long, low dresser as opposed to a tall one and this fit the bill. I also liked the shape a lot, but it needed some help. 
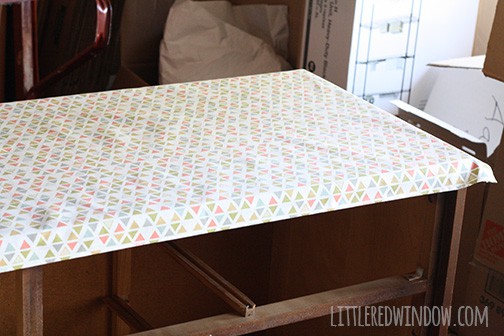
So I decided to wrap it in fabric! I’ve never done anything like that and you know I like a challenge! I bought some home dec weight fabric and did a lot of measuring and sketching to figure out how to do this. I’ll show you how I did it, but this process would be different for every piece of furniture depending on its shape. Here’s my sketch which will probably make absolutely no sense to anyone but me. The takeaway is, if you’re doing this project, measure carefully and more than once and have a plan before you start!
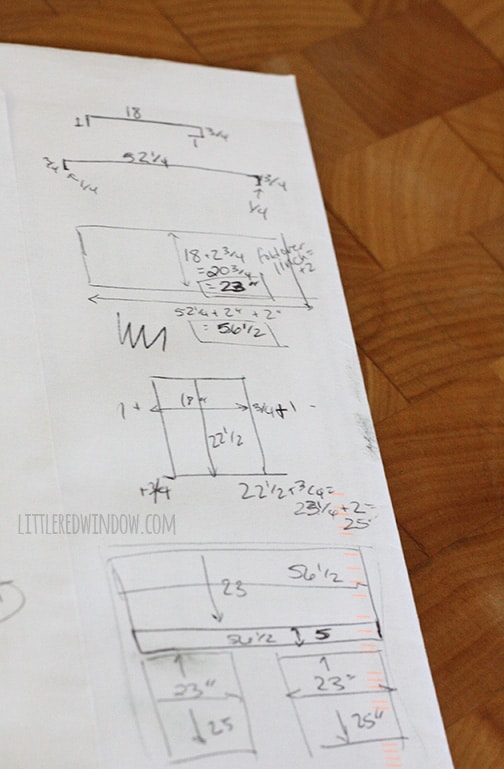
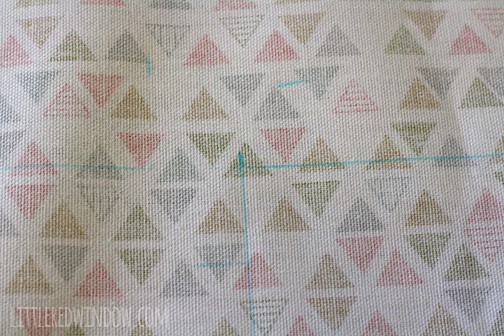
I had barely enough fabric so I measured at least 4 times before cutting!
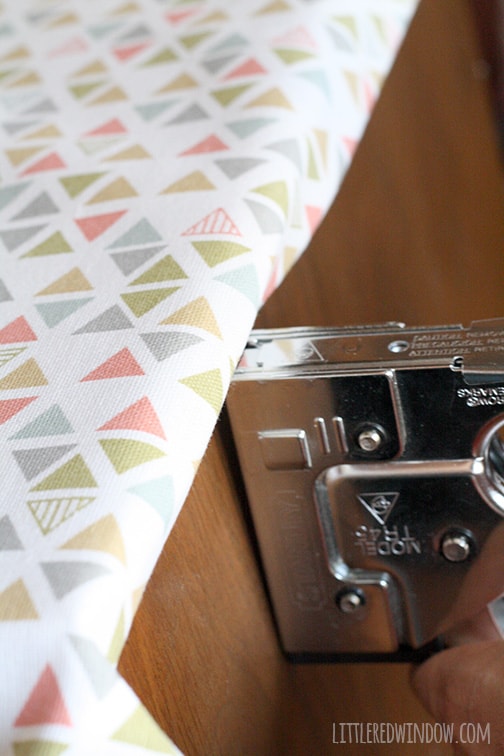
Unfortunately I don’t have a picture of this next step because the light is out in our laundry room. But I knew that for the edges of the fabric that would be visible from the front of the dresser, I wanted a nice clean folded, hemmed edge. Rather than sit down at my sewing machine and sew several loooong hems, I used iron-on hem tape (affiliate link) to fold over and secure the edge. I just followed the instructions on the package and it worked great and provided a nice neat folded edge!
Then, when it came time to attach the fabric, I started with the top surface. There are a lot of different ways you could do this including some kind of decoupage with glue or medium but I decided that I wanted the fabric to be attached but at least somewhat removable in the future if I change my mind down the line. So I decided to use a staple gun in places the staples couldn’t be seen and hot glue (affilliate links) on edges that would be visible from the front. This worked for my fabric but you might want to test yours out on the back or bottom before committing.
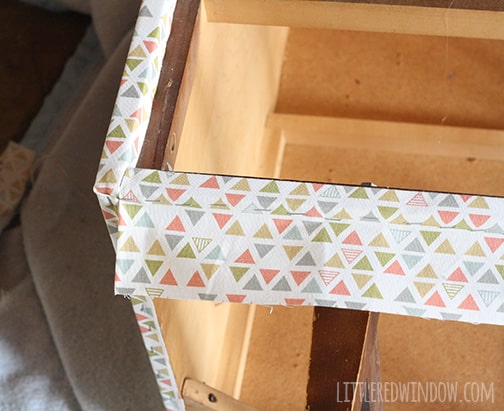
I wrapped the fabric down under that front edge and secured with glue. Then I pulled it taut to the back and stapled. For the sides of the dresser, I knew I would be adding the fabric piece for the side and it could help cover the seam, so I used staples under the lip of the top.
When I got to corners, I very carefully folded the edges and pulled them tight like you could if you were wrapping a present. I secured that with glue because it was on the front.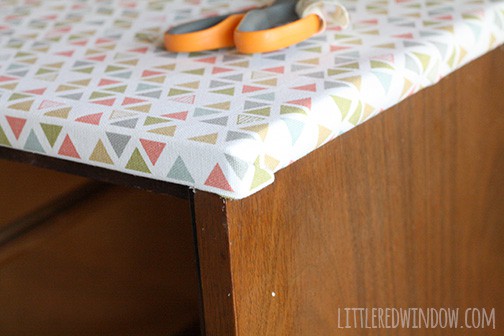
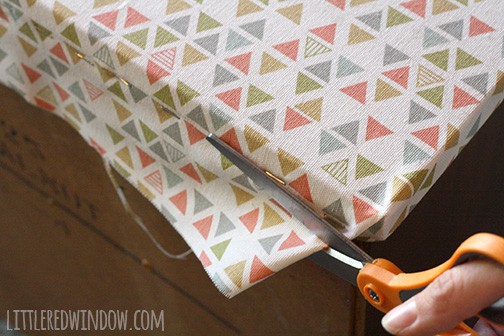
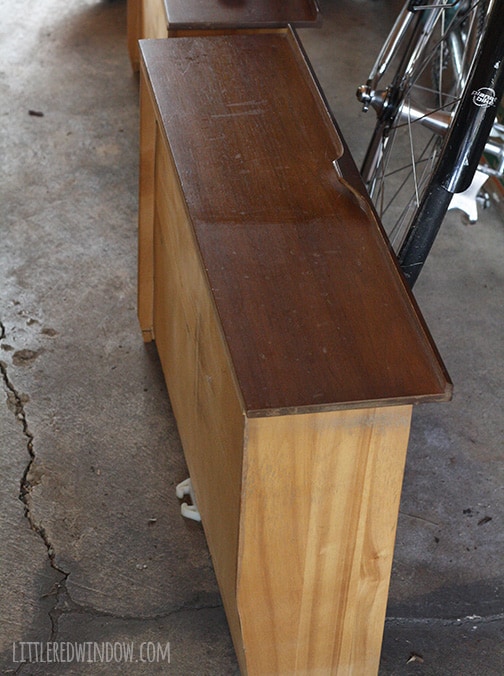
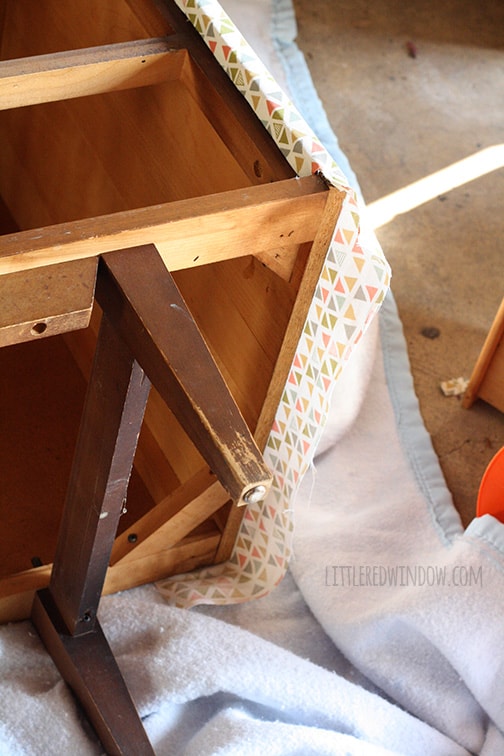
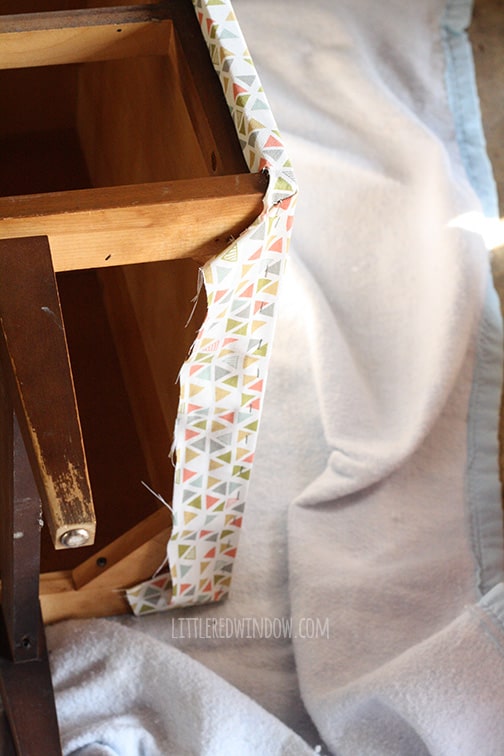
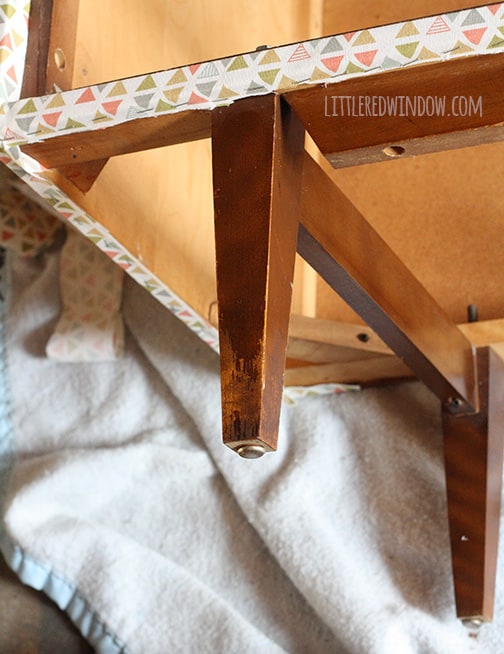
When the top was done, I repeated the same steps on the sides of the dresser. This is a view of the front side looking up under the top.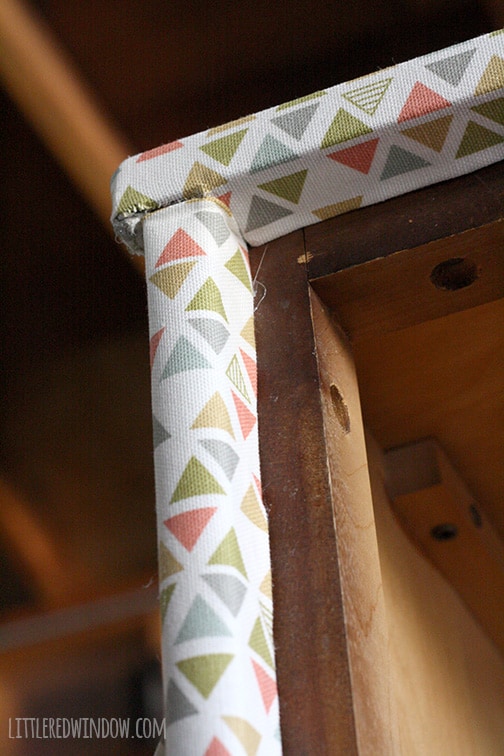
The final part was a small piece on the bottom that went just in front of the legs of the dresser across the front. 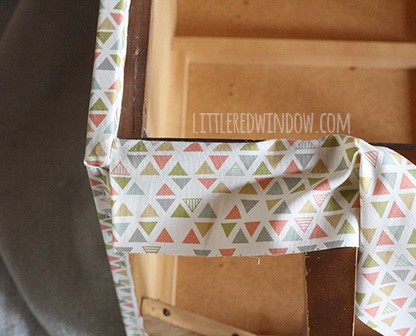
Finally I used some scratch cover for dark wood (affiliate link) to make the chewed up legs look a bit better. (I should have done this step earlier, that stuff could have really ruined my fabric if I wasn’t careful!)

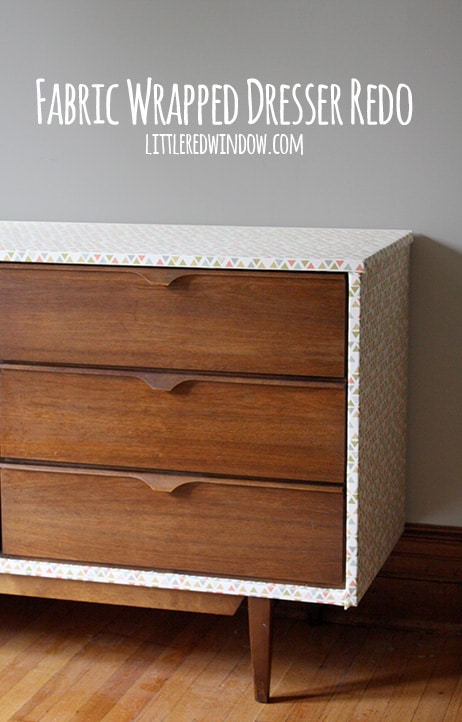
I am really happy with the way it turned out. I just might start wrapping everything in fabric now!

If you liked this, you may also like some of my other posts…


- Tri-Color Linen Stitch Hat Knitting Pattern - June 22, 2026
- Yummy Ice Cream Cone Hat Knitting Pattern - June 16, 2026
- Tied Stocking Cap Knitting Pattern - May 19, 2026
Jan says
This is very cool but how do you clean the dresser top (especially) when the dust finds it?!
Cassie May says
lint roller! (that’s also my secret trick for lamp shades) 🙂
Laurie says
I love the rescue of this beautiful piece of furniture. Although it’s a shame that the veneer made it necessary to cover the outside, I especially love that you were able to preserve the fronts of the drawers.
Svannah says
Awesome idea. I should do this soon….both of the dressers we own are old and out dated.
Just have to say…I LOVE this fabric. I purchased the same print but in a green/blue scheme for a kids picnic table redo. And I used the scraps to make a purse. That’s how much I love the print. 🙂
Cassie May says
Ooo, there’s a green/blue scheme?!
Svannah says
There sure is. I wish I could attach a photo of my project to this comment. I found it at Hancock Fabrics during the summer. It’s so cute!
Deborah says
Wow, that took a lot of measuring and figuring. My brain would be hurting! It turned out great. Thank you for sharing at What We Accomplished Wednesdays. Have a lovely week! ~Deborah
Jennifer Dawn says
Great makeover! never would have thought to use fabric, but it looks fantastic! I love the fabric you chose!
Cassie May says
Thanks Jennifer!
fabulosa says
What a wonderful idea. Looks amazing, and is better than painting!!
Cheri says
Good job! I covered the top of my banquet table my sewing machine is on with contact paper and it just adds such a nice “decoration” to the room!
Ashley says
So cool! I have never thought of doing this, but is such a great idea. thanks for sharing on the Polkadots on Parade link up!
xoxo
Ashley
http://www.arrayofstyle.com
JaneEllen says
You did a great job, what patience and skill getting all that fabric on straight and so nicely. Love that fabric, the pattern and colors are good so they go with pretty much anything. You are to be commended, BRAVO for great job.
About all I’ve ever thought about doing was putting fabric on front of drawers. Haven’t done it yet but might some day depending on what I want to cover. Patience is absolutely not one of my virtues if I have any. Great tutorial, not easy to explain. Happy days
Cassie May says
Thanks JaneEllen! fabric drawer fronts would be great too, I have another dresser I kind of want to do that to, also! 🙂 Thanks for stopping by!