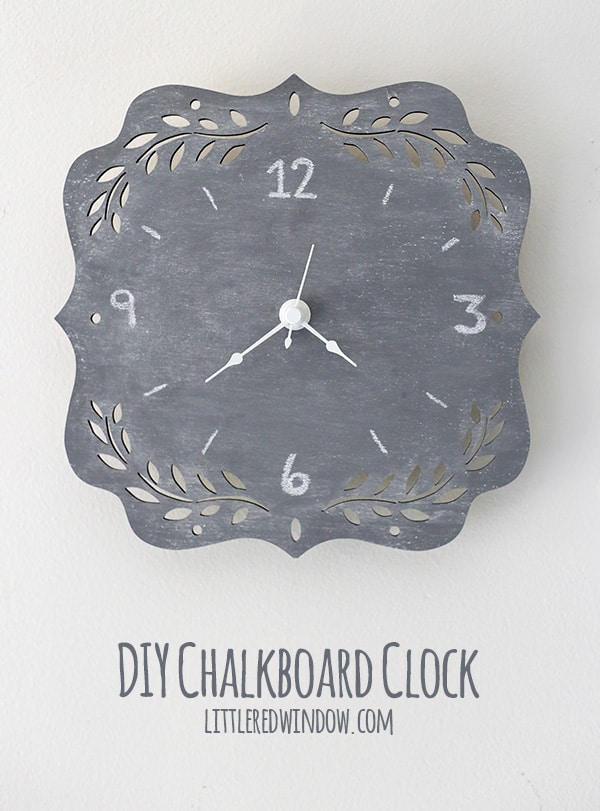
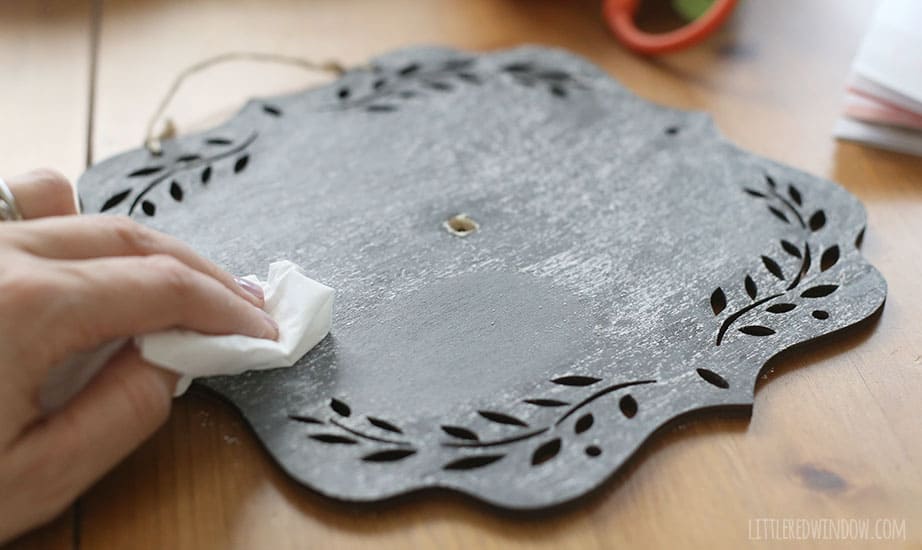
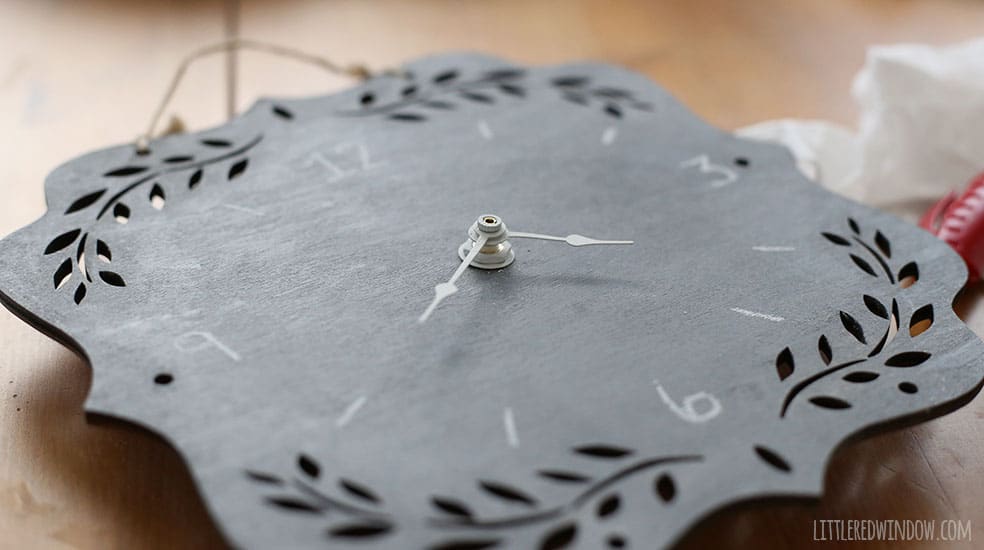
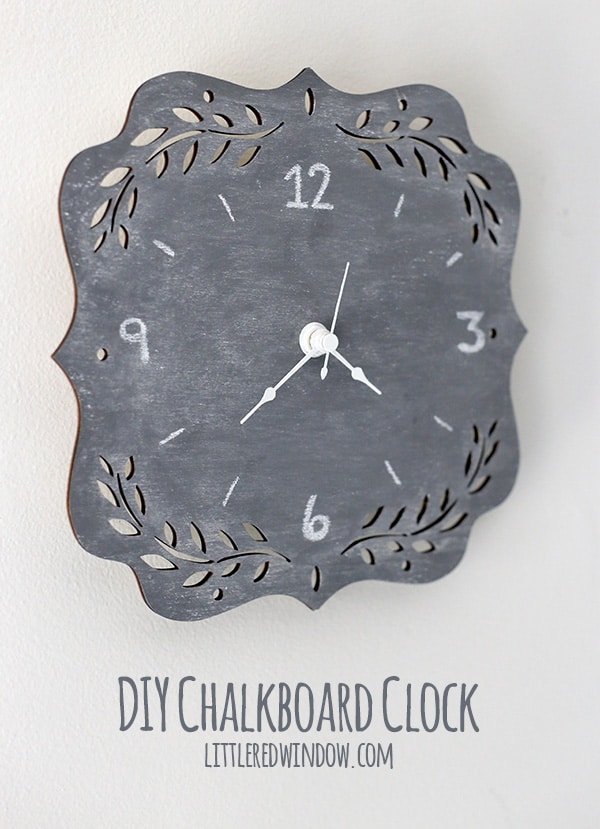
Make a cute and simple DIY chalkboard clock with just a few supplies from the craft store!
Ok, I know everyone uses their phones and computers to tell time these days, but I still like a clock in most rooms so I can just quickly glance up and check the time. I really really hate being late for things. And yes, I guess I could just wear a watch but the baby would probably just chew on it so I prefer an actual clock. Does that make me old?
Anyway, the other day I realized that one place we’re missing a clock is in the downstairs bathroom. And we’ve been using that bathroom a lot more these days because the other one shares a wall with the baby’s room and can’t really use that one when she’s asleep. So I grabbed a few supplies from the craft store and decided to make my own cute chalkboard clock! Here’s how you do it!
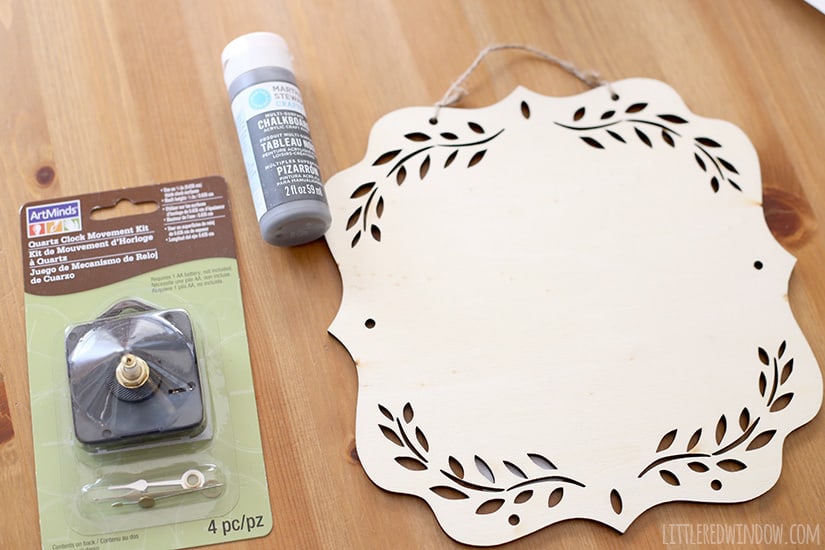
DIY Chalkboard Clock Supply List
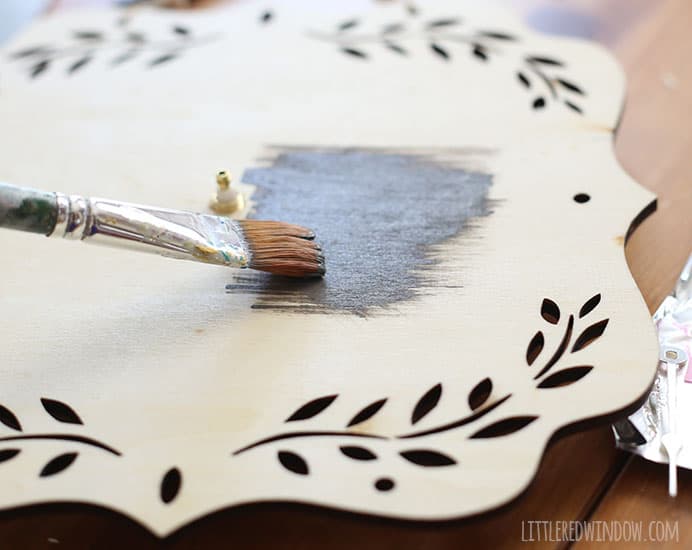
Chalkboard paint (color is arrowhead)
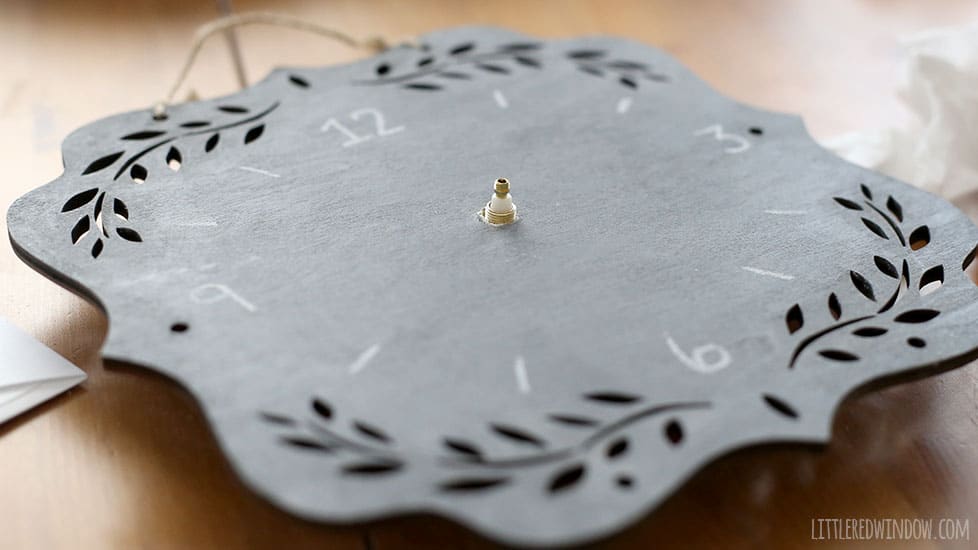
Drill & drill bits
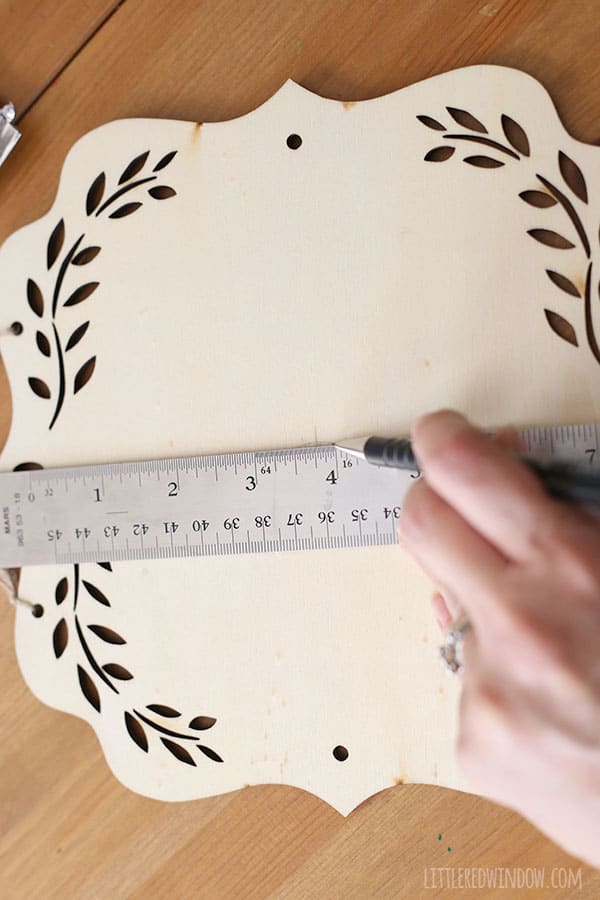
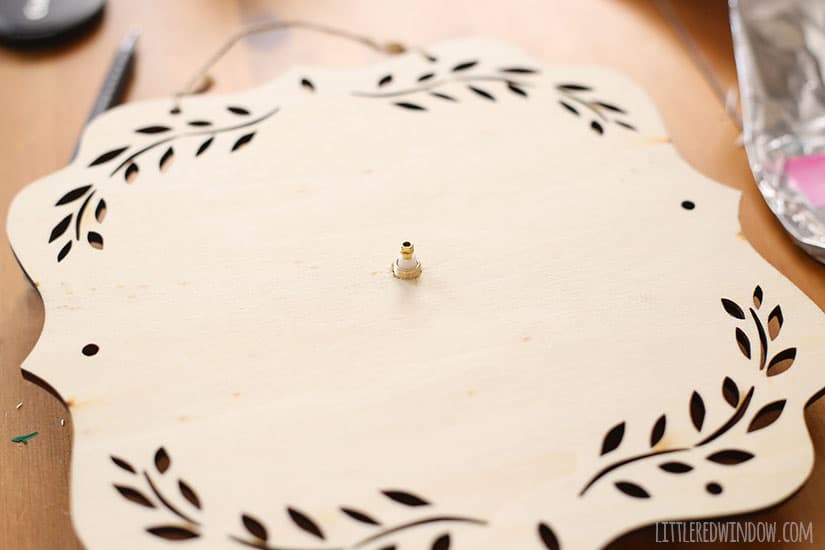
DIY Chalkboard Clock Instructions
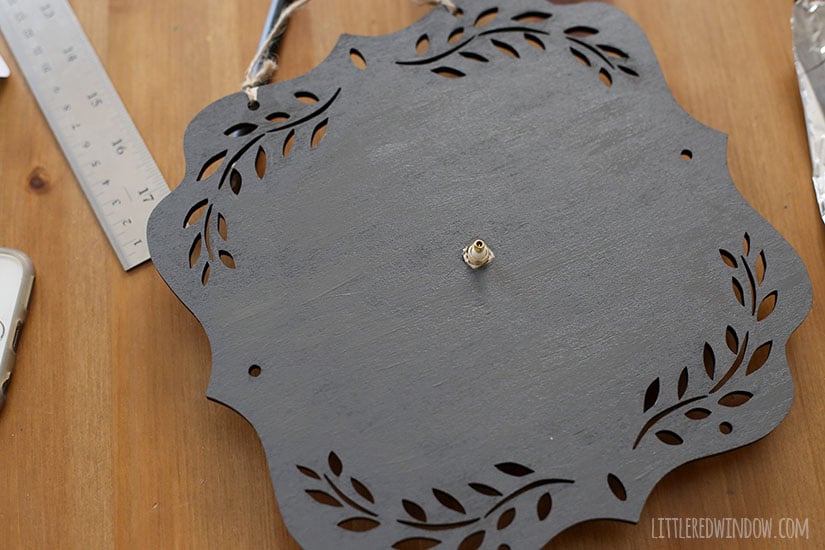
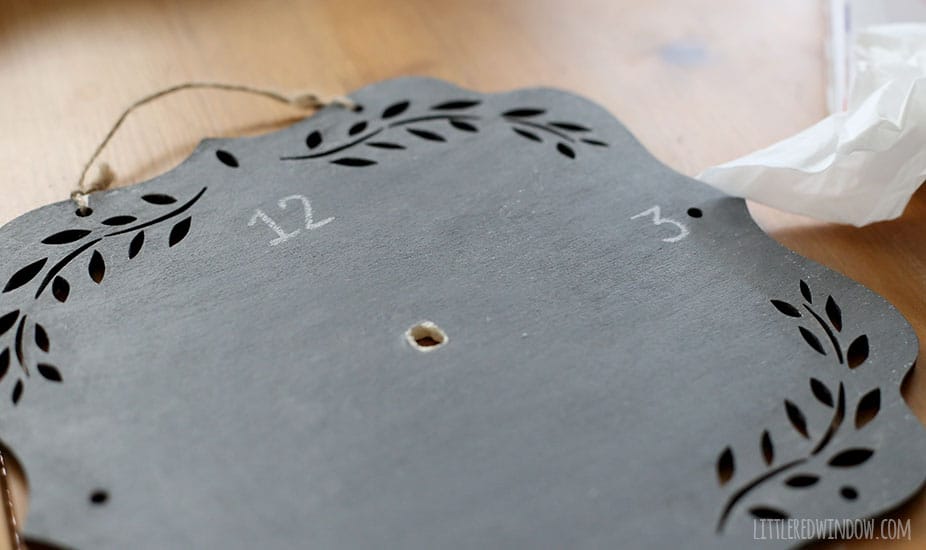
1. The first thing you need to do is mark the exact center of the wood plaque.

If you liked this, you may also like some of my other posts…

- Crayon Scarf Knitting Pattern - July 21, 2026
- Pencil Scarf Knitting Pattern - July 7, 2026
- Tri-Color Linen Stitch Hat Knitting Pattern - June 22, 2026
kwiklip says
Love this. Just picked up sine frameless slates from the dollar store. I’m totally modifying your idea to make some clocks. Thanks!
Cassie May says
Great! Have fun!
Bethany says
Totally making this for my newest gallery wall, Cassie. Thanks. 🙂 Hope you guys are all well!